How to Remove a 3D Print Stuck to the Build Plate Without Damaging It
The print finished. It looks right. And it will not come off the plate.
Most stuck prints do not need more force. Start gentle and move up one step at a time. Cooling alone frees a lot of prints, and a removable plate, a strand of floss, or a plastic scraper handles most of the rest. A few setting changes then stop it from happening again.
Quick answer: what to try first
|
Your Situation |
Try This First |
Hold Off On |
|
Print just finished, plate still warm |
Wait until the plate reaches room temperature |
Pulling or prying |
|
Magnetic or spring steel plate |
Lift the plate off, then flex it if it is made to bend |
Bending a rigid plate |
|
Glass plate |
Cool fully, then slide a plastic scraper under one edge |
Freezer while warm, metal blades |
|
Sturdy block or box shape |
A slow twist at the base |
Yanking straight up |
|
Thin legs, wings, or fine detail |
Dental floss worked under the base |
Gripping the delicate parts |
|
Glue stick residue under the print |
Cool water on a water safe plate |
Soaking the plate in solvent |
|
Resin print on the platform |
Nitrile gloves and the tool your printer maker supplies |
Heat or flex tricks from FDM printing |
Why Your 3D Print Is Stuck to the Build Plate
 A print sticks too hard when the first layer bonds more than it needs to. The cause usually shows on the underside of the print, or in the first minute of the job.
|
Cause |
What You Notice |
Change Next Time |
|
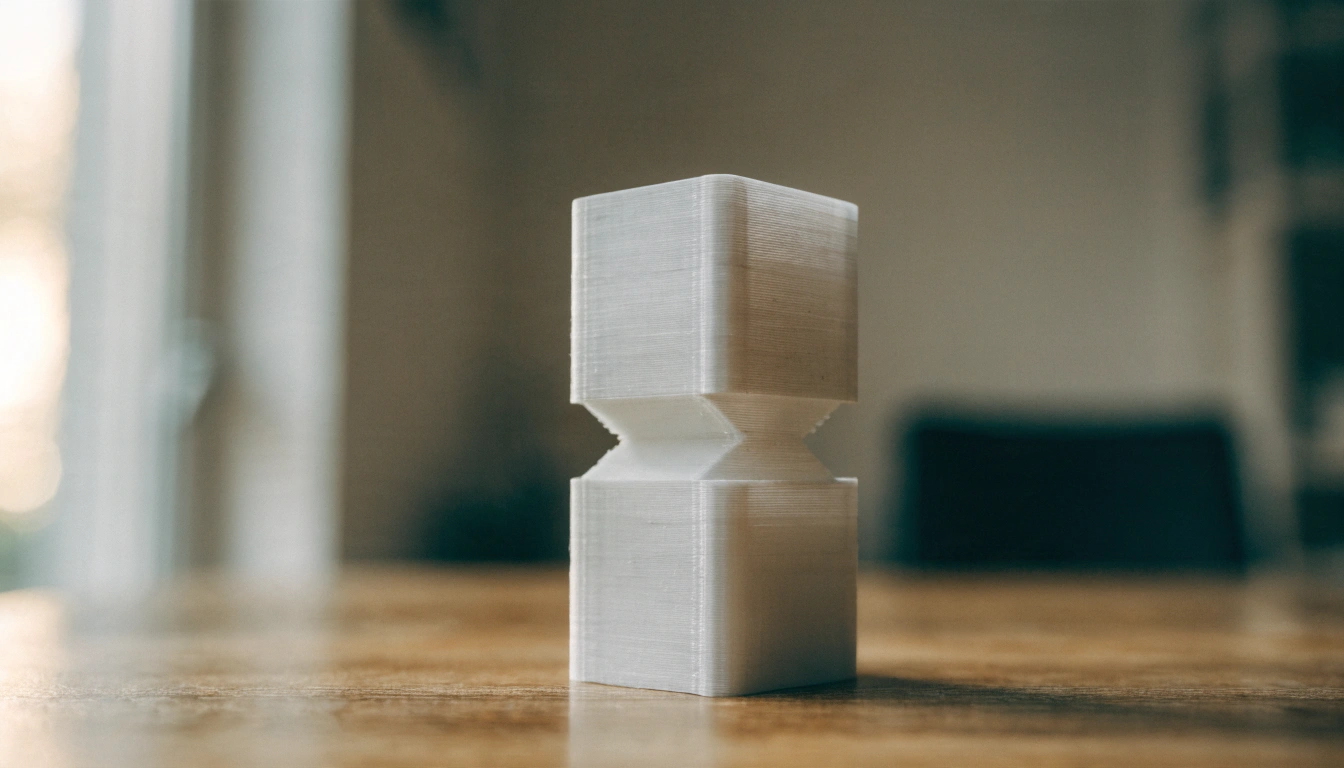
Nozzle too close (low Z offset) |
Wide, flat first layer lines pressed into the plate |
Raise the Z offset in small steps |
|
Over squished first layer |
Glossy, almost see through bottom with no line gaps |
Recalibrate first layer height |
|
Bed hotter than the filament needs |
Soft, shiny base edges |
Go back to the filament maker's range |
|
Too much glue or spray |
A tacky film around the base |
Clean off old coats, apply one thin layer |
|
Filament and surface bond too well |
PETG on smooth glass or smooth PEI grips hardest |
Use a release layer or a different surface |
|
Removed too soon |
Warm plate, print will not move |
Wait for room temperature |
Get this print off first. Then come back to this table, because a stuck print that keeps repeating is a settings problem, not a removal problem.
Before You Pry: A Quick Safety Check
 Thirty seconds of checking protects the model, the plate, and your hands.
• Heat. Nozzles and heated beds stay hot after the job ends. Touch the edge of the plate before you grab anything.
• Plate type. Glass, smooth PEI, textured PEI, spring steel, and magnetic sheets release differently. Check the manual if you are not sure.
• Model shape. Thin parts snap before the base lets go. Apply force at the base only.
• Tool direction. Anything with an edge points away from your hand and body.
|
WARNING: Hot parts first NIOSH's guide to safe 3D printing in schools and makerspaces warns that heated printer parts can burn skin and advises giving them time to cool. Michigan State University's 3D printing safety guidance says to handle only components that are cool. |
|
EDITORIAL NOTE For families: waiting is a good job for a young maker. They watch the plate cool and test it with a gentle push. The adult steps in only for tools and liquids. |
How to Remove a Stuck 3D Print, Step by Step
Work down the list and stop the moment the print lets go. No model needs all nine steps.
1. Let the Plate Cool to Room Temperature
Plastic and plate shrink at different rates as they cool. That mismatch breaks the bond on many prints with no help at all. Test with a light push at the base once the plate feels cool, and give a large, flat print longer than a small one.
2. Take the Plate Off the Printer
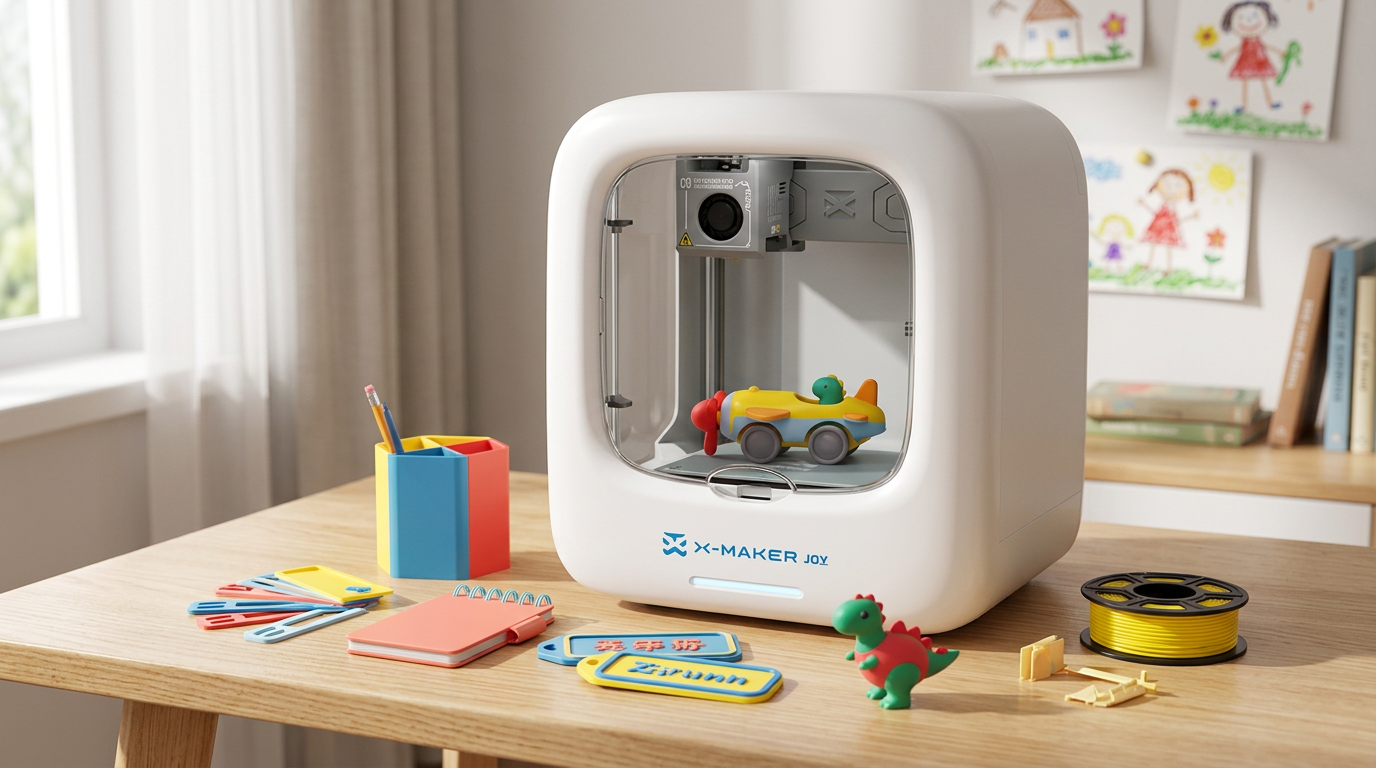
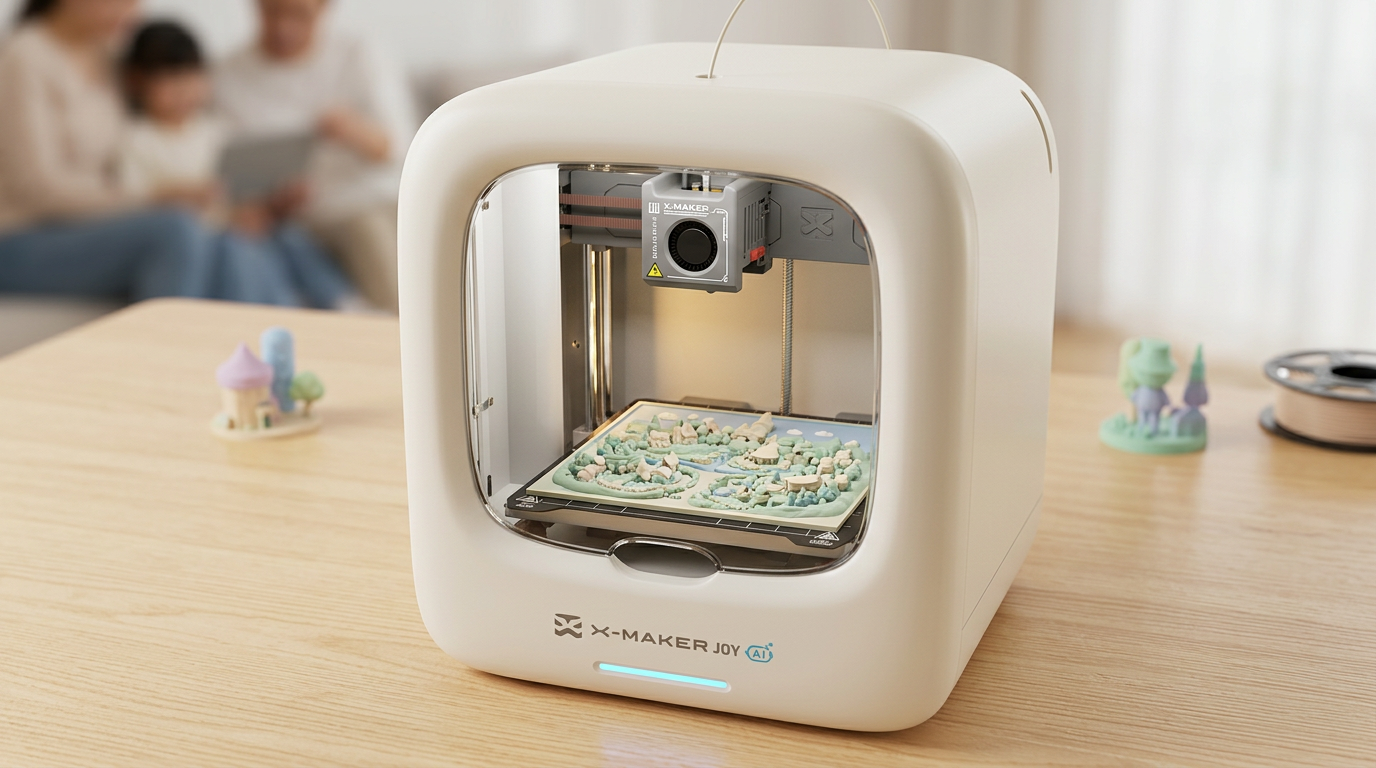
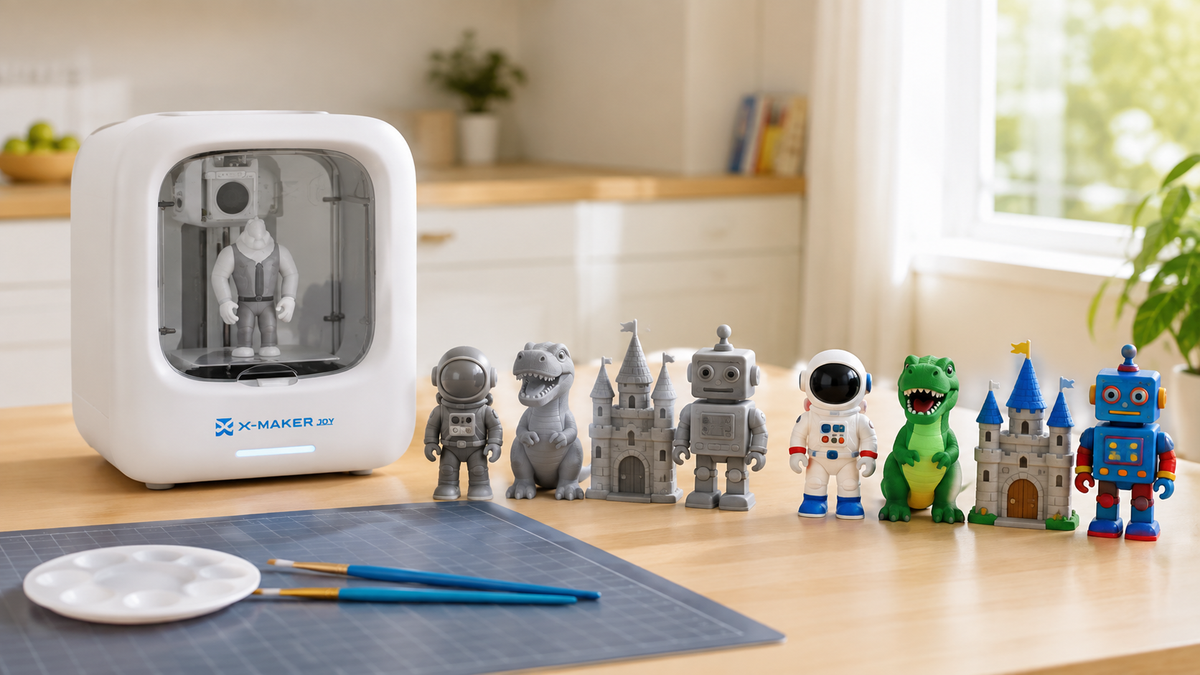
 Working at a table is safer than reaching into the machine. Magnetic plates lift straight off. AOSEED's beginner 3D printer for kids, the X-MAKER JOY, uses a magnetic build plate, so the plate comes out of the enclosure in one move and the removal happens away from the print head.
Set the plate on a flat, stable surface. A folded towel stops it sliding.
3. Flex the Plate, If It Is Built to Bend
Spring steel sheets are designed to curve. Bend the cooled sheet gently away from the print, then the other way. One edge usually pops first, and the rest follows with little effort.
Never bend glass or any rigid plate. If the manual does not say the plate flexes, treat it as rigid.
4. Twist Gently at the Base
Grip a solid shape low and rotate it a few degrees. Sideways movement breaks adhesion better than a straight pull. If the model starts to bend, stop and switch to floss.
5. Saw Underneath With Dental Floss
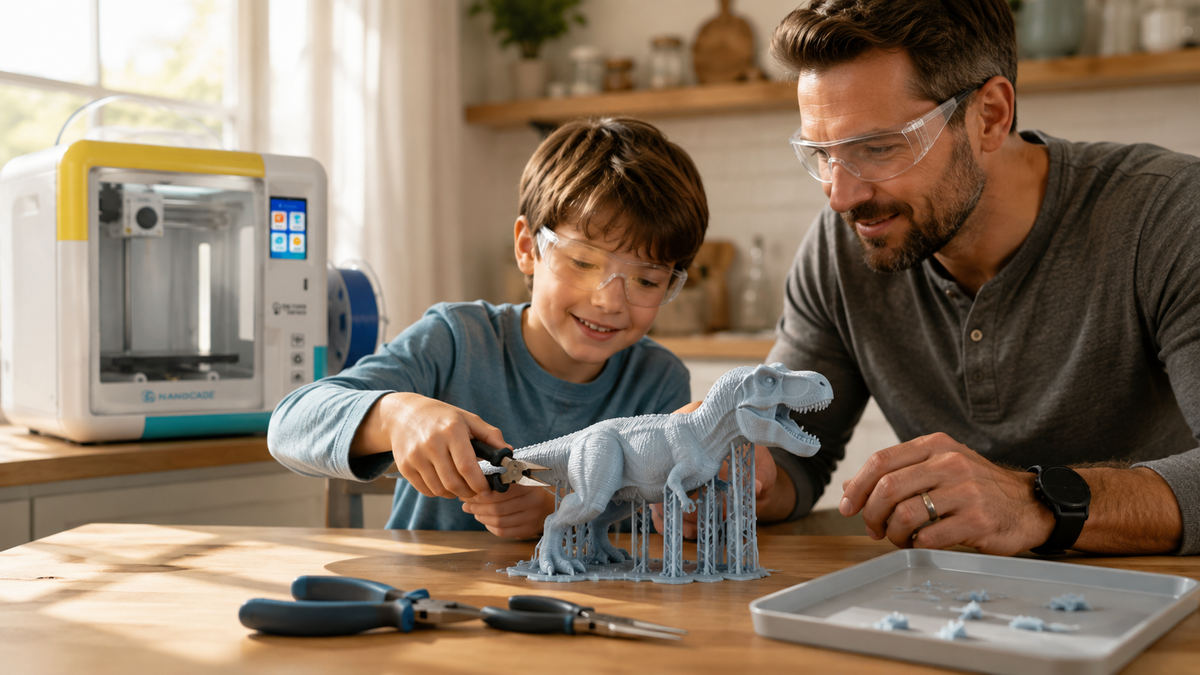
 Floss slides under the first layer without a hard edge touching the plate. Wrap a long strand around one side of the base and work it back and forth toward the far side. Thin fishing line works too. This is the best choice for models with legs, fins, or thin walls.
6. Slide a Plastic Scraper Under One Edge
Hold the scraper almost flat and push it under one corner. Push slowly, or tap the handle lightly. Do not stab down into the plate, and do not scrape back and forth across it.
Stanford's 3D printing safety and health guidance recommends cut resistant gloves whenever a tool or razor is used to remove a part from the build plate. Plastic is also gentler on coatings than metal.
7. Use Cool Water or the Fridge
Only once the plate is at room temperature. A removable, water safe plate can go under cool running water, which also softens water soluble glue stick residue. If the plate maker allows it, a few minutes in the fridge adds a second round of shrinkage.
Keep water away from the printer, its magnets, and its electronics.
|
WARNING: Glass and cold Never move a warm glass plate into the freezer. A sudden temperature drop can crack it. |
8. Add a Few Drops of Isopropyl Alcohol
IPA helps most when glue or spray sits under the print. Run a few drops along the edge, wait a minute, then try the scraper again. Check the plate manual first, since some coatings do not tolerate alcohol.
Treat it as a fire risk. The NIOSH Pocket Guide entry for isopropyl alcohol lists a flash point of 53°F (about 12°C). Keep it away from a hot bed and store the bottle out of children's reach.
9. Warm the Bed Briefly (Heated Beds Only)
If a cold print still refuses, a short reheat can shift the bond the other way. Set the bed low for a few minutes, switch it off, and try the scraper. Stay well below the temperature the part printed at. You want a little expansion, not a soft, warped model.
|
TIP: Stop at the step that works Every extra method adds a little risk to the plate or the part. Once the print moves, finish with the same gentle method. |
Removal Methods by Build Plate Type
 The plate decides the method. When the plate maker's instructions disagree with a general trick, follow the manual.
|
Build Plate |
Best First Move |
Avoid |
|
Glass |
Cool fully, then a plastic scraper at one edge |
Bending, metal blades, sudden cold |
|
Smooth PEI on steel |
Remove after cooling and flex gently |
Digging a blade into the coating |
|
Textured PEI |
Flex in two directions |
Scraping across the texture |
|
Spring steel sheet |
Flex away from the print, then change direction |
Sharp creases |
|
Magnetic sheet |
Lift off, flex only if the manual allows |
Water near the magnetic base |
|
Resin build platform |
The maker's removal tool at the base, gloves on |
Heating or bending |
Glass rewards patience. Most prints on glass loosen after a full cool, and a plastic scraper at one edge finishes the job.
Removal Tips by Filament Type
|
Filament |
How It Behaves on the Plate |
What Helps Most |
|
PLA |
Usually releases after cooling. Sticks when the first layer is squished |
Cool, then flex or twist. Check the Z offset |
|
PETG |
Grips smooth glass and smooth PEI very hard |
Cool fully, never force it, use a release layer next time |
|
ABS |
Shrinks as it cools, which helps it let go |
Full cool, then flex or a gentle twist |
|
ASA |
Behaves much like ABS. Large bases hold hardest |
Cool fully. Review bed temperature and adhesive before reprinting |
AOSEED printers run PLA, and the X-MAKER also takes ABS, so the first and third rows cover what most families print.
Resin Prints Need a Different Routine
Resin printing skips the heat and flex tricks. Uncured resin should not touch bare skin. Stanford EHS calls for disposable nitrile gloves and eye protection when handling uncured resin, supports, and wash solutions, and NIOSH's 3D printing hazard overview lists skin contact with liquid printing materials as a core risk.
Let the resin drain as the printer maker directs. Then slide the supplied tool under the base at a low angle, and wash and cure the part following the resin maker's steps.
What Not to Do When a Print Will Not Budge
• Pull hard on a warm print. It often lets go on its own after cooling.
• Pry toward your fingers. Prints release suddenly, and the tool follows.
• Scrape side to side. That scratches glass and scars coatings.
• Move hot glass into the freezer. Thermal shock can crack it.
• Pour solvent around the model. A few drops at the edge is enough.
• Try to dissolve the print. Anything strong enough to attack plastic can damage the plate too.
|
WHY AOSEED PRINTERS KEEP PRINT REMOVAL SIMPLE FOR FAMILIES Stuck prints happen on every printer. What changes is how much of the fix a family has to manage. AOSEED printers use a magnetic build plate, so removal happens at the table instead of inside the machine. The X-MAKER JOY is fully enclosed and auto levels, which takes much of the guesswork out of first layer height. Both models print PLA, the most forgiving filament in the table above. Kids design and print through guided apps and thousands of ready made models, and the parent's job shrinks to a few clear moments, like lifting the plate when a print is done. Compare kids' 3D printers to see which model fits your child's age and projects. |
Clean the Plate Before the Next Print
Leftover skirt lines and glue change how the next first layer sticks.
• Let residue cool, then lift an edge with the plastic scraper.
• Wash water soluble glue off with water and a little dish soap, if the plate allows it.
• Wipe away fingerprints and dust.
• Dry the plate fully and check nothing is trapped under it before it goes back in.
How to Stop Prints From Sticking Too Hard Next Time
Change one setting per print. That way you know which change fixed it.
|
Setting |
What to Check |
Adjustment |
|
Z offset |
First layer looks flat and glossy |
Raise it in very small steps |
|
First layer |
Lines wider than the nozzle, drag marks |
Recalibrate, or rerun auto leveling |
|
Bed temperature |
Higher than the filament label suggests |
Return to the maker's range |
|
Adhesive |
Several old coats built up |
Clean off, apply one thin coat |
|
Surface match |
PETG on smooth glass or PEI |
Add a release layer or switch surface |
|
Raft |
A detailed model that always sticks |
Print on a raft, then snap the raft off |
A raft costs some filament and time. For a detailed model that keeps welding itself to the plate, it is usually worth it.
When to Keep Going and When to Stop
Keep going with gentle methods when:
• The plate is still slightly warm
• The print shifts a little under light pressure
• One edge has started to lift
• You have not tried floss or flexing yet
Stop and change your approach when:
• The model bends before the base moves
• The scraper is marking the plate or lifting its coating
• You are reaching for more force instead of a new method
• The same filament sticks this hard every time
Stuck every time? The cause is in the prevention table, not in your technique.
Conclusion
A stuck print is rarely a disaster. Cool it, take the plate off, then work through flexing, twisting, floss, and a plastic scraper in that order. Save water, IPA, and reheating for stubborn cases, and keep glass away from sudden cold.
Then fix the cause. Check the Z offset, the bed temperature, and how much adhesive is on the plate before the next job.
For families who want printing to stay easy well past the first week, AOSEED's family friendly 3D printing platform pairs a magnetic build plate with guided design apps. The X-MAKER JOY is $239, a clear first printer for young makers ages 4 to 12.
FAQs
How Do I Safely Remove a 3D Print From a Build Plate?
Let the plate cool to room temperature, then take it off the printer. Flex it if it is built to bend. On glass or another rigid plate, slide a plastic scraper under one edge instead.
Tip: keep any tool pointed away from your hands, and stop once the print lets go.
Why Is My PLA Print Sticking to the Build Plate?
Usually the first layer was pressed too flat. A low Z offset, a bed hotter than PLA needs, or old glue buildup all add grip. A glossy, flattened underside points to the Z offset.
Tip: change one setting at a time so you know which fix worked.
How Long Should I Wait to Take a 3D Print Off the Plate?
Wait until the plate reaches room temperature. Small prints cool faster than large, flat ones, so go by touch rather than a set number of minutes. Many prints release on their own once cool.
Tip: if the plate edge still feels warm, keep waiting.
Does Higher Bed Temperature Help Adhesion?
Yes, up to a point. A warm bed holds the first layer while printing, but heat beyond the filament's range makes the finished part harder to remove, especially PETG.
Tip: start with the range on the filament label and adjust in small steps.
Does Isopropyl Alcohol Destroy PLA?
Not in the small amounts used for plate cleaning. The bigger risks are some plate coatings and fire, since NIOSH lists IPA's flash point at 53°F.
Tip: apply a few drops with a cotton swab, away from a hot bed.
What Dissolves PLA Plastic?
Some strong solvents can attack PLA, but none belong in a stuck print routine. Anything that damages the plastic can also damage the plate and bring fume or fire risks.
Tip: use cooling, flexing, floss, or a plastic scraper instead.
How Long Can a Resin Print Stay on the Build Plate?
No single time limit fits every resin and printer, so follow your printer and resin makers' steps for draining, washing, and curing. Wear nitrile gloves, because uncured resin should not touch skin.
Tip: set up your wash and cure step before the print finishes.
How Do You Remove ASA From a Build Plate?
Let the print and plate cool fully, since ASA shrinks as it cools. Flex a flexible sheet in two directions, or slide a plastic scraper under one edge on a rigid plate.


Further reading

STEM Building Toys for Kids: Blocks, Kits and Printers Compared

Toy 3D Printer: What to Look for in a Printer That Makes Toys at Home

Personalized Gifts for Kids: Name Tags, Keepsakes and Custom Toys You Can Design