

STEM Projects for Kids: Design, Build and Test Challenges for Ages 8 to 12
A cardboard car that rolls two feet is a craft. A car that rolls two feet, gets a straighter axle, and then rolls nine feet is a STEM project. The difference is the test.
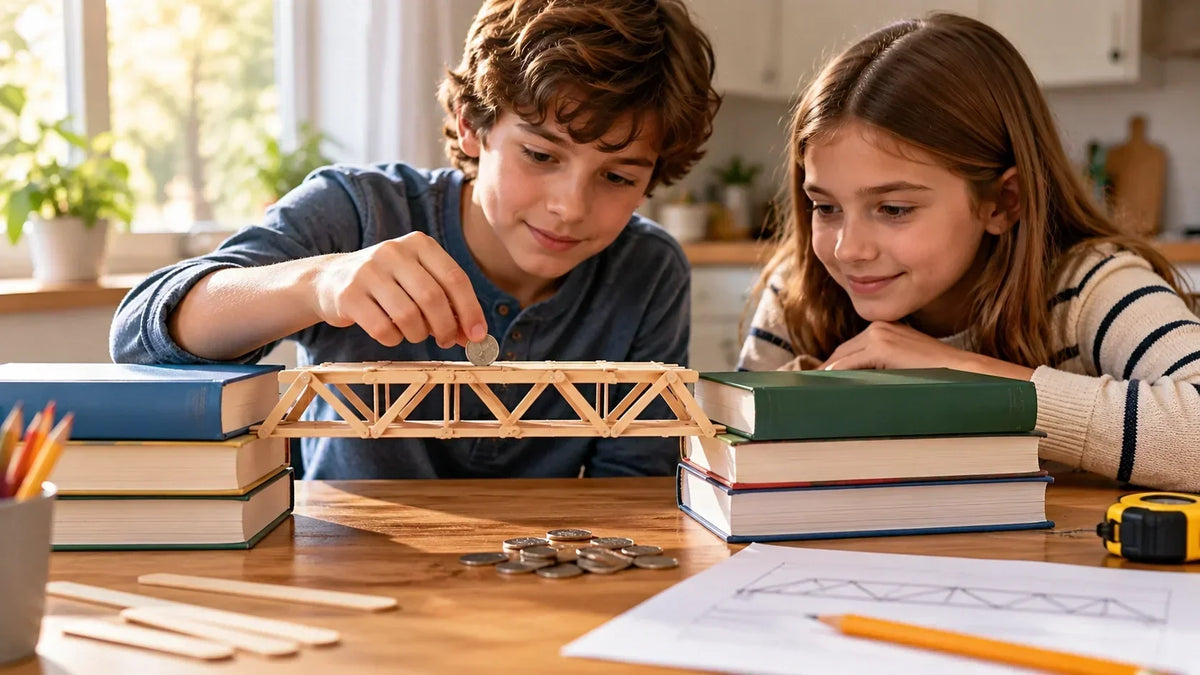
Below are 15 design, build and test challenges for kids ages 8 to 12. Each has a goal, a number to measure and one thing to change for round two. Most need only cardboard, tape, straws and craft sticks. Steps that need an adult are flagged.
Short on time? Use the quick pick table. Want deeper learning? Read the process section first.
Quick Pick: 15 STEM Challenges at a Glance
|
# |
Project |
Best Ages |
Time |
What Kids Measure |
Big Idea |
|---|---|---|---|---|---|
|
1 |
Egg Drop Protection |
8 to 12 |
45 to 60 min |
Egg intact at each height |
Impact, cushioning |
|
2 |
Craft Stick Bridge |
8 to 12 |
2 sessions |
Coins held before failure |
Load, structure |
|
3 |
Straw Skyscraper |
8 to 10 |
30 to 45 min |
Height, seconds standing |
Stability |
|
4 |
DIY Marble Run |
8 to 10 |
45 to 90 min |
Run time in seconds |
Gravity, slope |
|
5 |
Hydraulic Robotic Arm |
11 to 12 |
2 sessions |
Reach, successful lifts |
Fluid pressure |
|
6 |
Rubber Band Car |
9 to 12 |
60 min |
Distance per wind |
Stored energy |
|
7 |
Balloon Car |
9 to 11 |
45 to 60 min |
Distance, straightness |
Thrust, friction |
|
8 |
Straw Rocket |
8 to 9 |
20 to 30 min |
Flight distance |
Air pressure, drag |
|
9 |
Craft Stick Catapult |
9 to 11 |
30 to 45 min |
Landing distance, accuracy |
Levers |
|
10 |
Solar Car |
11 to 12 |
2 sessions |
Distance, course time |
Solar to motion |
|
11 |
Water Filter Model |
9 to 12 |
45 min |
Clarity before and after |
Filtration |
|
12 |
Simple Circuit |
10 to 12 |
30 to 45 min |
Bulb on or off, conductors |
Closed loops |
|
13 |
Solar Oven |
9 to 12 |
45 to 60 min |
Temperature over time |
Heat transfer |
|
14 |
DIY Weather Station |
9 to 12 |
1 week |
Daily temperature, rainfall |
Data patterns |
|
15 |
Probability Experiment |
8 to 12 |
30 min |
Outcome counts |
Prediction vs result |
What Are STEM Projects for Kids?
STEM projects are build and test challenges that combine science, technology, engineering and math. Good ones for ages 8 to 12 have a clear problem, something to build and a result you can measure.
A child builds a craft stick bridge, loads coins until it sags, adds a brace and loads it again. That second test is what makes it STEM.
What Does STEM Stand For?
Science, technology, engineering and mathematics. In real projects all four show up together, as a rubber band car shows.
|
Letter |
Where It Shows Up in a Rubber Band Car |
|---|---|
|
Science |
Energy stored in the twisted band turns into motion when it unwinds |
|
Technology |
A phone stopwatch and a tape measure record each run |
|
Engineering |
Kids choose wheel size, axle position and how heavy the body is |
|
Math |
Distances get measured, averaged and compared across versions |
What Makes a Project a STEM Project?
A real STEM project hands the child a decision. Copying a template is assembly. Choosing, testing and changing a design is engineering.
Look for at least three of these:
-
A problem or question to solve
-
A design the child can change
-
Building, experimenting or observing
-
A measurement or recorded result
-
A test that compares one version with another
-
A redesign based on what happened
The first attempt does not need to work. Science Buddies describes the engineering design process as iterative: test, find the problem, go back a step.
STEM Projects vs. Science Experiments
They look alike. The goal differs.
|
Science Experiment |
Design Challenge |
|
|---|---|---|
|
Starting point |
A question |
A problem or a target |
|
Main job |
Find out what happens |
Make something that works, then make it work better |
|
Example |
Does wing size change how far a paper plane flies? |
Build a paper plane that flies 20 feet and lands inside a hoop |
|
Success looks like |
A clear answer backed by data |
A design that meets the target |
Design challenges add one more question: how do I make this better?
Why Build and Test Projects Work for Ages 8 to 12
Kids this age can sketch, build, measure and explain a change without an adult carrying the chain.
Models make ideas visible. Friction is obvious when a car slows on carpet. Strength is obvious when one bridge holds 40 coins and the next holds 12.
No kit needed. Household supplies cover most projects below.
Skills Kids Build Through STEM Projects
A failed tower is information. So is a slow car.
|
Skill |
Where It Shows Up |
|---|---|
|
Measuring and recording data |
Distance, height, coins held, temperature |
|
Comparing solutions |
Version 1 results next to Version 2 results |
|
Planning before building |
Labeled sketches with rough measurements |
|
Troubleshooting |
Finding the wheel that rubs or the joint that slips |
|
Explaining observations |
"The center sagged at coin 18" instead of "it broke" |
|
Working within limits |
A fixed number of straws, a tape length, a time cap |
|
Collaboration |
Rotating builder, tester and recorder roles |
How the Design, Build and Test Process Works

TeachEngineering lays out a seven step engineering design process: ask, research, imagine, plan, create, test and improve, then repeat.
Here is a six stage version for home and class, using a bridge.
|
Stage |
What Kids Do |
Question to Ask |
Bridge Example |
|---|---|---|---|
|
1. Define |
Write the goal and the limits |
What must it do? |
Span 12 inches, hold 20 coins, 30 sticks max |
|
2. Sketch |
Draw two or three ideas |
Where will the weight push? |
Flat beam vs. truss with triangles |
|
3. Build |
Make Version 1 from the sketch |
Does it match the plan? |
Glue, then dry overnight |
|
4. Test |
Measure against the goal |
What number did we get? |
Held 14 coins |
|
5. Diagnose |
Find where it failed |
Where did it break first? |
Center sagged, joints held |
|
6. Improve |
Change one thing, test again |
Did the number go up? |
Added triangles, held 23 |
Define the Problem or Challenge
"Build a bridge" is vague. "Span 12 inches and hold 20 coins" is a challenge.
Add limits, such as 30 sticks, 12 inches of tape and 40 minutes. Limits force real decisions.
Brainstorm and Sketch a Design
Ask for two or three rough sketches showing shape, key parts, sizes and joints.
Ask: Where is the weakest part? Where does the weight push?
Choose Materials and Build
Cardboard makes a light base, craft sticks make stiff supports, rubber bands store energy.
Give competing teams the same kit so design, not supplies, decides the result. Write down any big change made mid build.
Test and Measure the Results
"Pretty far" cannot be compared. Seven feet four inches can. Choose the measure first:
-
Distance traveled
-
Time taken
-
Maximum weight supported
-
Tower height
-
Temperature inside a box
-
Successful trials out of five
-
Amount of water collected
Find What Worked and What Failed
Look before rebuilding. Did the bridge bend mid span? Did a wheel rub?
"The center sagged at coin 18" points to the fix. "It failed" does not.
Improve the Design and Test Again
Fix one problem, such as braces where the bridge sagged, then rerun the same test.
NASA JPL shows the same loop in its engineering design process flow chart: build, test, evaluate, improve.
|
TIP: Keep the test identical between rounds. Same floor, same start line, same coins, same person releasing. If two things change at once, nobody can tell which one mattered. |
STEM Projects 1 to 5: Engineering and Building Challenges
Keep each goal open so two kids can build different answers and both pass.
1. Egg Drop Protection Challenge

Build a container that keeps a raw egg whole during a drop.
Start at chair height and go higher only after a pass. For older kids, TeachEngineering's Egg-cellent Landing activity adds a materials budget and ties it to spacecraft landings.
|
You need |
Raw eggs, cardboard, straws, cotton, tape, rubber bands, a small bag of packing scraps |
|
The goal |
The egg survives drops from three increasing heights |
|
How to test |
Drop from a marked height, open, record "whole" or "cracked", then move up one level |
|
What to change next |
Cushion thickness, a drag surface to slow the fall, which side lands first |
|
SAFETY: An adult picks the drop spot and handles any height above a chair seat. Wash hands after cleaning up raw egg. |
2. Craft Stick Bridge Weight Challenge
Span a 12 inch gap between two book stacks and hold the most weight with limited sticks.
Sketch a beam, arch or truss first. Let glue dry overnight, or you test the glue, not the design.
After failure, reinforce only the spot that broke and test again.
|
You need |
Craft sticks (set a cap, such as 40), white glue, coins or washers, a small cup to hang or rest the load |
|
The goal |
Hold the most coins across a 12 inch gap |
|
How to test |
Add one coin at a time and record the last count before the deck gives way |
|
What to change next |
Triangle braces, deck thickness, how far sticks overlap at each joint |
3. Straw Skyscraper Challenge
Same straws, same tape for everyone. Tallest tower standing 30 seconds wins.
A wide base is steady but costs height. Round two adds a fan test.
NASA's STEMonstrations lesson on trusses for grades 5 to 8 shows how the space station uses triangle trusses for the same job.
|
You need |
20 to 30 straws, 1 meter of tape, a ruler, a small fan for the bonus round |
|
The goal |
Tallest freestanding tower that stays up for 30 seconds |
|
How to test |
Measure height in centimeters, then run a fan test from a marked spot |
|
What to change next |
Base width, cross bracing, number of triangles in each level |
4. DIY Marble Run
Build a cardboard and tube track that carries a marble from start to finish.
Pick one target, such as slowest run or most turns. When the marble stalls or jumps, change one piece.
|
You need |
A marble, paper tubes, cardboard, tape, paper cups, a stopwatch |
|
The goal |
Example: the slowest complete run from top to finish cup |
|
How to test |
Time three runs and average them |
|
What to change next |
Slope angle, banked turns, wall height on the curves |
5. Hydraulic Robotic Arm
Water filled syringes joined by tubing move a craft stick arm. Push one plunger and the other extends.
Move a paper cup between two marks. Sketch the joints first.
|
You need |
4 to 6 syringes, plastic tubing, water, craft sticks, cardboard, brads or small bolts |
|
The goal |
Move an object from Spot A to Spot B without touching it by hand |
|
How to test |
Measure reach in centimeters and count successful moves out of five |
|
What to change next |
Arm length, pivot position, syringe size |
|
ADULT STEP: This build needs close supervision. An adult should punch or drill pivot holes and handle any cutting with sharp tools. |
STEM Projects 6 to 10: Motion, Forces and Energy Challenges
Moving projects give feedback in seconds.
Keep the start line, surface and launch method fixed, or a better score may just mean a smoother floor.
6. Rubber Band Powered Car

A band wound around the rear axle stores energy that drives the car.
Veering means bad alignment. Barely moving means rubbing axles, slipping wheels or too much weight.
|
You need |
Cardboard, 4 bottle caps, 2 straws, 2 skewers, rubber bands, a paper clip hook |
|
The goal |
Farthest distance from one wind |
|
How to test |
Tape measure from the start line, three trials per version |
|
What to change next |
Wheel size, number of winds, body weight |
7. Balloon Powered Car
Air escaping a balloon through a rear straw pushes a light chassis forward.
Alignment, mass, friction and straw angle all matter. Change one per round.
|
You need |
A plastic bottle or cardboard base, bottle caps, straws, skewers, balloons, tape |
|
The goal |
Travel at least 3 meters inside a taped lane |
|
How to test |
Record distance and whether the car stayed in the lane |
|
What to change next |
Straw angle, balloon size, total mass |
8. Straw Powered Paper Rocket
Roll paper around a pencil, seal one end, add fins, slide it onto a straw and blow.
Change one feature per round so the result points to a cause.
|
You need |
Paper, tape, a pencil, scissors, drinking straws, a tape measure |
|
The goal |
Longest flight, or the most landings inside a hoop out of five |
|
How to test |
Measure from the launch line to the first touchdown |
|
What to change next |
Fin count, fin size, body length, nose shape |
|
SAFETY: Launch in a clear area. Never aim rockets at faces, pets, windows or anything breakable. |
9. Popsicle Stick Catapult
Banded craft sticks and a bottle cap cup make a lever launcher. Use soft pom-poms only.
Try accuracy instead of distance: score shots against a floor target.
|
You need |
8 to 10 craft sticks, rubber bands, a bottle cap, glue, pom-poms |
|
The goal |
Land three pom-poms inside a 30 cm target circle |
|
How to test |
Mark landing spots and measure distance from the center |
|
What to change next |
Fulcrum position, stack height, how far the arm is pulled back |
|
SAFETY: An adult sets one launch direction and keeps people and pets out of that path. |
10. Solar Powered Car
A small panel and motor drive a light car. Kids design the chassis and panel angle.
Test in full sun and in shade. A slow car is a reason to check friction and weight.
|
You need |
A small solar panel, a hobby motor, wheels and axles, a light base (many come as a kit) |
|
The goal |
Finish a 2 meter course in the shortest time |
|
How to test |
Time the course in full sun, then at a different panel angle |
|
What to change next |
Panel tilt, gear size, total weight |
Kit wiring may need an adult.
STEM Projects 11 to 15: Science, Technology and Math Challenges
These projects produce data instead of machines.
Record results right away. Memory bends toward what kids expected.
11. Build a Water Filtration System
Turn a cut bottle top into a funnel, layer gravel, sand and cotton, then pour muddy water through.
Rate clarity from 1 to 5, then rearrange layers and retest.
|
You need |
A plastic bottle, gravel, sand, cotton or coffee filters, two clear cups |
|
The goal |
The clearest water after one pass |
|
How to test |
Clarity score from 1 to 5, plus a photo of each cup |
|
What to change next |
Layer order, sand depth, number of passes |
|
SAFETY: This is a model, not a water purifier. Never drink the filtered water. Mix test water from tap water and garden soil instead of collecting it from drains or ponds. |
12. Build a Simple Electric Circuit
Light a bulb with a battery and wires, then test clips, foil and erasers as conductors or insulators.
Round two adds a switch.
|
You need |
A AA battery pack, insulated wires with clips, a small bulb or LED, test objects |
|
The goal |
Light the bulb, then control it with a homemade switch |
|
How to test |
Record which objects light the bulb when placed in the gap |
|
What to change next |
Switch design, adding a second bulb in series or parallel |
|
SAFETY: Use low voltage batteries and parts made for kids. Never connect a homemade circuit to a wall outlet. |
13. Build and Test a Solar Oven

Foil reflects sun in, plastic wrap traps heat and black paper absorbs it.
Science Buddies' pizza box solar oven activity takes 20 to 30 minutes to build and works best above 75°F.
|
You need |
A pizza box, foil, plastic wrap, black paper, tape, an oven thermometer |
|
The goal |
The highest inside temperature after 30 minutes |
|
How to test |
Read the thermometer every 10 minutes in direct sun |
|
What to change next |
Flap angle, insulation around the edges, box orientation |
|
SAFETY: An adult handles the utility knife. The inside can get hot, so use an oven mitt when checking food or the thermometer. |
14. Build a DIY Weather Station
A thermometer, a marked rain jar and a paper wind vane, read at the same time daily.
After a week, total the rain and graph the temperatures.
|
You need |
An outdoor thermometer, a clear straight sided jar, a ruler, paper and a pencil for the vane |
|
The goal |
Seven days of readings taken at the same time each day |
|
How to test |
Compare each prediction with the next reading |
|
What to change next |
Instrument placement, reading time, adding a second location |
Keep instruments away from streets and ladders.
15. Run a Probability Experiment
Predict, then roll a die 60 times and tally. Expect about 10 per face.
Roll 60 more and see whether totals even out.
|
Face |
1 |
2 |
3 |
4 |
5 |
6 |
|---|---|---|---|---|---|---|
|
Predicted (60 rolls) |
10 |
10 |
10 |
10 |
10 |
10 |
|
Round 1 tally |
||||||
|
Round 2 tally |
How to Test and Improve a STEM Project
Testing shows whether the build works, and by how much.
Decide What You Want to Measure
Bridge: weight held. Car: distance or time. Tower: height and seconds standing. Keep it explainable in one sentence.
Make a Prediction Before the Test
Ask for a prediction and the reason behind it.
Wrong guesses are fine. The gap starts the next question.
Record the First Test Results
Write numbers, not "good" or "fast". Note version, conditions and problems. Snap a photo.
Change One Part of the Design
Change one feature, such as straighter axles, and write it down before retesting.
Test the New Version
Same surface, start and method. Run three trials and average them.
Compare the Results

"14 feet instead of 9" beats "it was better". A sample log:
|
Version |
Change Made |
Trial 1 |
Trial 2 |
Trial 3 |
Average |
|---|---|---|---|---|---|
|
V1 |
First build |
8 ft |
9 ft |
10 ft |
9 ft |
|
V2 |
Straightened the rear axle |
13 ft |
15 ft |
14 ft |
14 ft |
|
V3 |
Two extra winds on the band |
17 ft |
12 ft |
16 ft |
15 ft |
V3 went farther on average but less consistently. More energy, less control. That is a tradeoff.
Keep a STEM Project Journal
One notebook page per version is enough.
|
Journal Section |
What to Write or Draw |
|---|---|
|
Challenge and goal |
One sentence plus the target number |
|
Sketch |
A labeled drawing with rough sizes |
|
Materials |
What was used and how much |
|
Prediction |
What will happen and why |
|
Results |
The numbers from each trial |
|
Problems found |
Where and how it failed |
|
Next change |
The one feature to adjust |
Arrows and short notes are fine. It records thinking, not handwriting.
How to Choose a STEM Project for Ages 8 to 12
Match the project to experience, not just age. A 9 year old model builder may be ready before a 12 year old beginner.
|
Level |
Typical Ages |
Good Starting Projects |
How Kids Measure |
Adult Role |
|---|---|---|---|---|
|
Beginner |
8 to 9 |
Straw rocket, straw tower, marble run, simple bridge |
Distance, height, counts |
Precut thick materials |
|
Intermediate |
9 to 10 |
Balloon car, rubber band car, weather station, solar oven |
Several trials, version vs. version |
Heat and cutting steps |
|
Challenging |
11 to 12 |
Solar car, hydraulic arm, circuits, multi stage builds |
Averages, tradeoffs, several limits at once |
Wiring and drilling checks |
Beginner STEM Projects for Ages 8 to 9
Few parts, fast feedback, simple counts. Adults can precut, but the child designs.
Intermediate STEM Projects for Ages 9 to 10
Log several trials, compare versions and explain each change. Add caps like 40 sticks per bridge.
More Challenging Projects for Ages 11 to 12
Add several constraints at once, such as cost, mass and speed.
Quick Projects vs. Multi Day Projects
Rockets and towers fit one session. Bridges, weather stations and solar cars suit several days.
A focused 30 minute test beats a big build an adult finishes.
Individual vs. Team STEM Challenges
Solo work shows one child's thinking. Teams handle bigger builds. Rotate roles each round:
-
Builder: assembles the design from the sketch
-
Materials manager: tracks the kit and the limits
-
Recorder: writes predictions and results
-
Tester: runs each trial the same way every time
How to Make a Project Easier or Harder
|
To Make It Easier |
To Make It Harder |
|---|---|
|
Fewer materials to choose from |
A longer bridge gap or a taller target |
|
A simpler goal, such as "stands for 10 seconds" |
The car must carry a load, such as 5 coins |
|
Precut the hard parts |
Cap the tape at 30 cm per team |
|
Show one basic example first |
Require a set improvement, such as 20% farther than Version 1 |
The child keeps the main design choice.
STEM Project Materials and Safety
Most projects use household supplies. Plan adult help around tools, heat, electricity and launches.
Common Household STEM Materials
Stock one supply box with:
-
Cardboard and paper
-
Drinking straws and craft sticks
-
String and rubber bands
-
Tape and white school glue
-
Paper cups, plastic bottles and caps
-
Aluminum foil
-
Rulers and a tape measure
Label containers so kids see what is available.
Recycled Materials Kids Can Build With
Cereal boxes, tubes and caps work well. Skip containers that held chemicals, medicine or raw meat.
Try a limit: one recycling bin only.
Measuring and Testing Tools
A tape measure, stopwatch, kitchen scale and notebook cover most tests.
When Kids Need Adult Supervision
The adult handles the risky step. The child keeps the design decisions.
|
Hazard |
Projects |
Adult Role |
|---|---|---|
|
Sharp tools |
Hydraulic arm, solar oven, solar car |
Cuts with utility knives, drills pivot holes |
|
Heat |
Solar oven, hot glue builds |
Handles hot glue for younger kids, checks hot surfaces |
|
Electricity |
Simple circuit, solar car |
Confirms low voltage parts, checks wiring |
|
Projectiles |
Catapult, straw rocket |
Sets the launch direction, clears the zone |
|
Breakables and food |
Egg drop, solar oven |
Chooses the drop spot, manages cleanup and food handling |
Review the test plan before the first trial.
Cutting, Hot Glue and Tool Safety
Kids use kid scissors. Adults handle knives, drills and hot glue. White glue and tape replace hot glue in most builds.
Electricity, Heat and Projectile Safety
Use batteries only, never wall power. Supervise hot solar ovens. Launch soft projectiles in one cleared direction.
What Kids Learn From STEM Design Challenges
The decisions along the way matter as much as the finished build.
Science and Physics Concepts
Force, friction, gravity, energy and heat transfer, plus how shape affects strength.
Engineering and Design Thinking
Solving problems inside limits, then going back to planning when tests say so.
Math, Measurement and Data Analysis
Measuring with a purpose: distance, time, averages and percentage change between versions.
Technology and Digital Skills
A stopwatch, spreadsheet or design app counts when it collects data or solves the problem. Watching a video does not.
Critical Thinking and Problem Solving
Kids trace failures to a cause, such as a bent axle or loose wire, then test a fix.
Creativity, Teamwork and Persistence
Open goals allow many right answers. Teams practice explaining and compromising. The first prototype is evidence, not a verdict.
Take the Design Cycle Further With a Kid's 3D Printer
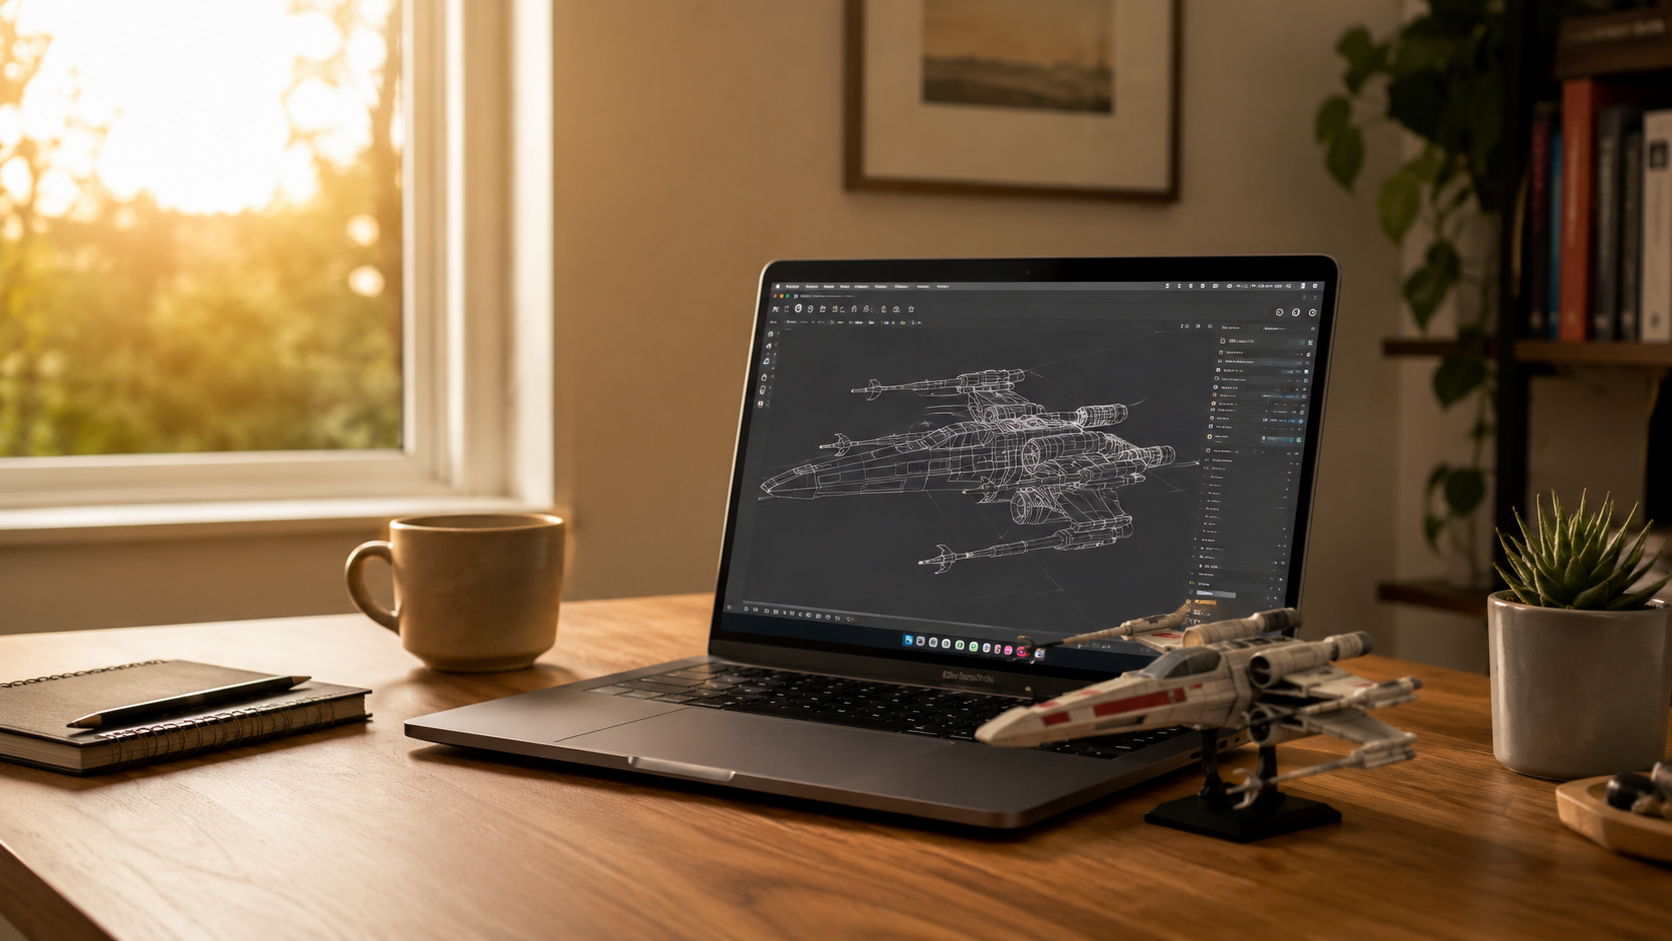
Around age 10, cardboard runs out. The wheel or joint a child drew doesn't exist, so designing the part becomes the next challenge.
With a 3D printer, kids design a part, print it, test it, then edit the file for Version 2.
|
Challenge |
Part to Design and Print |
What to Test |
|---|---|---|
|
Rubber band car |
Wheels in three diameters |
Distance per wind |
|
Craft stick bridge |
Triangle connectors for the joints |
Coins held before failure |
|
Straw rocket |
Nose cones in two shapes |
Flight distance |
|
Catapult |
Launch cups at different depths |
Landing accuracy |
|
Marble run |
Funnels and banked curves |
Run time |
|
Hydraulic arm |
A gripper claw |
Successful pickups out of five |
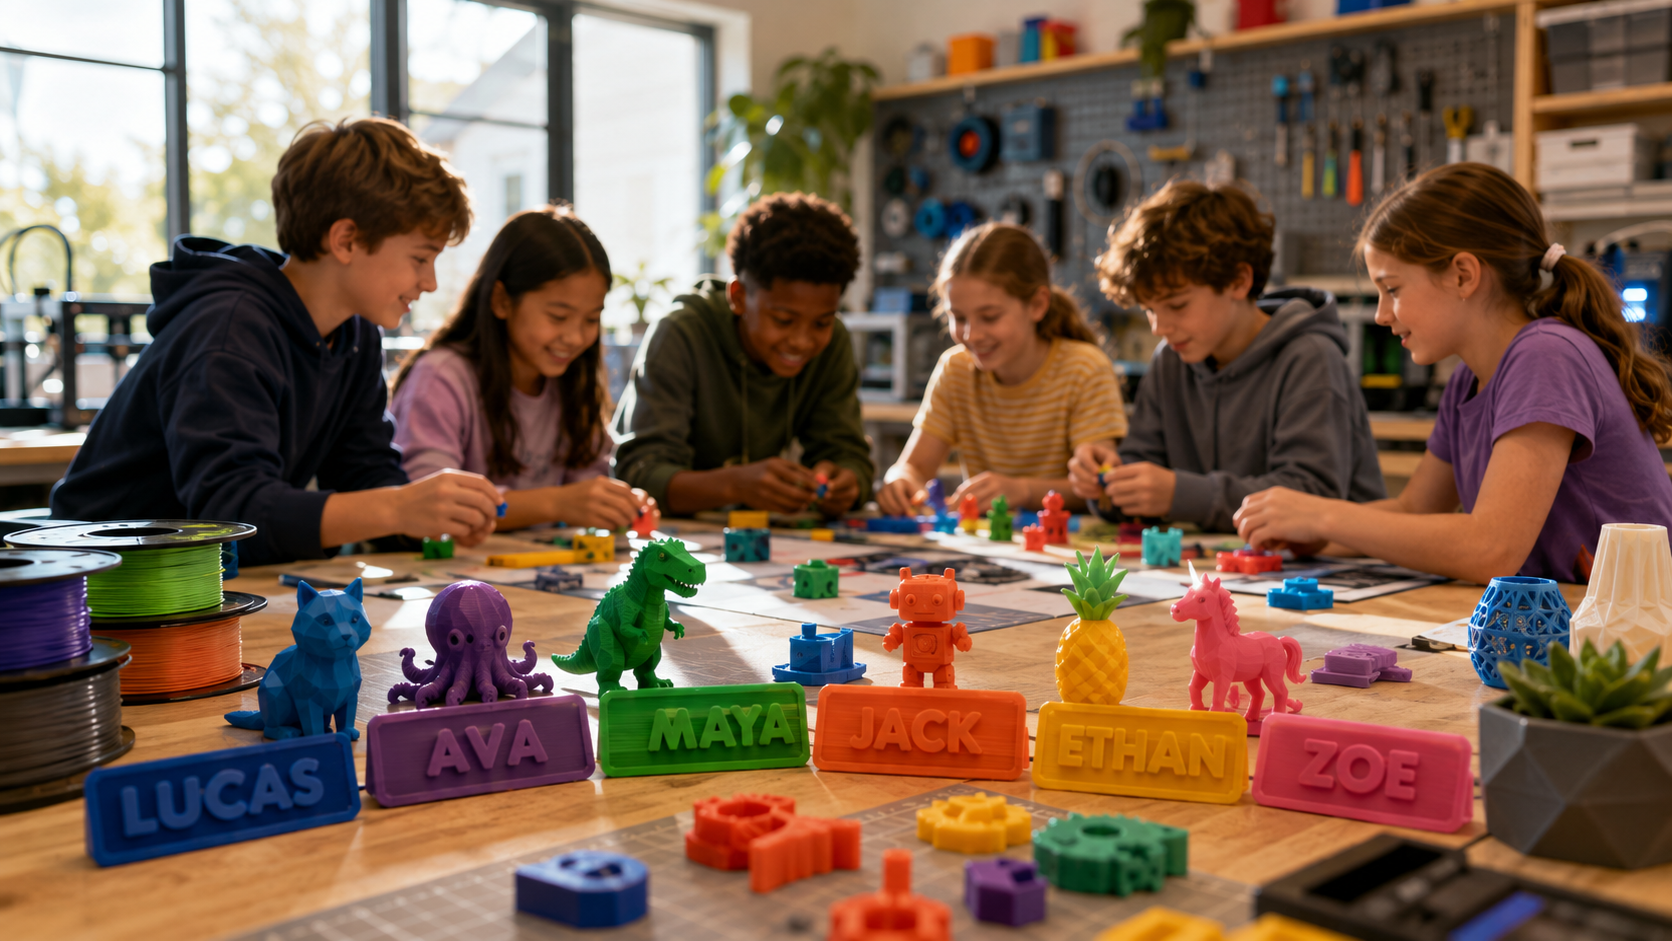
For kids 9 and up, the AOSEED X-MAKER is a STEM 3D printer for older kids with a 150 x 150 x 150 mm build area, 0.05 mm precision and under 50 dB noise. The AOSEED app moves kids from ready models and design games to beginner 3D modeling.
Younger builders usually start with the X-MAKER JOY. It is fully enclosed, levels itself, and turns drawings or photos into printable designs. Parents handle setup and the first print.
Both connect to thousands of ready to print models, so kids can edit an existing part first.
|
READY TO PRINT YOUR OWN TEST PARTS? COMPARE KIDS' 3D PRINTERS BY AGE, BUILD SIZE AND DESIGN TOOLS, THEN PICK THE ONE THAT MATCHES THE CHALLENGES ON YOUR LIST. |
When to Stick With Household Materials and When to Print Parts
They suit different stages.
Stick with cardboard, straws and tape when:
-
The child is 8 or 9 and still learning the test and redesign routine
-
You want one quick session with a result before dinner
-
The challenge is about limits, such as 20 straws and 1 meter of tape
-
Every team needs to start with identical materials
Add printed parts when:
-
The same part keeps failing because cardboard cannot hold a precise shape
-
The child wants to test exact sizes, such as 40 mm wheels against 55 mm wheels
-
A project runs over several days and parts must survive repeat testing
-
The child is ready to move from building to designing, and wants to see a sketch become an object
Conclusion
STEM projects for kids ages 8 to 12 work best with a problem, a design, a test and a second version.
Start with what fits the child and the supply box. The first build does not need to win. Finding the weak spot is the lesson.
When cardboard runs out, AOSEED's 3D printing platform for families lets kids print their own test parts. The X-MAKER JOY is $239 for younger makers, and the X-MAKER is $359 for kids 9 to 16 who want bigger builds.
FAQs
What Are Some Good STEM Projects for 8 Year Olds?
Paper rockets, straw towers, marble runs, craft stick bridges and balloon cars. Each has a clear goal and a simple measure, like distance, height or coins held, with no formulas needed.
Practical tip: Choose a build that takes 30 to 60 minutes, then offer one redesign round.
What Are Some Fun STEM Building Challenges for Kids?
Bridges, egg drops, marble runs, balloon cars, straw towers, catapults and rubber band cars. They work best with a number to beat, such as coins held or feet traveled, so kids can tell whether Version 2 improved.
Practical tip: Give every team the same materials and one measurable goal.
What Are Some Examples of STEM Science Projects for Kids?
Solar ovens, water filter models, weather stations, simple circuits and probability experiments. Each turns a science idea into data kids record, such as temperature over time or rainfall across a week.
Practical tip: Add a table with one prediction, three results and one improvement idea.
What Are Some Ideas for STEM Design Challenges?
Strongest bridge, tallest stable tower, safest egg container, farthest rolling car or most accurate launcher. State what the design must do, not how to build it, and add limits on tape, sticks or time.
Practical tip: Use the format "Can you build ___ that can ___ using only ___?"
What Is the Easiest STEM Project to Do?
A straw rocket. It needs paper, tape, a pencil and a straw, and kids can build and test it in minutes by measuring flight distance. The learning comes from changing the fins or length and launching again.
Practical tip: Change one feature and run three trials before picking a winner.
What Are Some Good STEM Activities for Grade 8 Students?
Solar cars, hydraulic arms, egg landers with a budget, bridge load tests and circuits. At this level, add calculations like averages, cost versus performance and written tradeoffs instead of bigger builds.
Practical tip: Ask for a sketch, a data table and a short redesign note with the prototype.
What Is a STEM Project for Kids?
A practical task that uses science, technology, engineering or math to solve a problem or answer a question. Copying a tower is construction. Designing the tallest tower from 20 straws, measuring it and rebuilding it is STEM.
Practical tip: Before starting, ask "What will we measure?" If there is no answer, add a target.
What Makes a Good STEM Project?
A clear goal, safe materials, room for the child to decide, and a result they can measure. Good projects allow more than one right answer and treat a failed first try as data for the next version.
Practical tip: Afterward, the child should be able to say what they tried, what happened and what they would change.



Further reading

Thanksgiving STEM Activities for Kids: Table Projects and Simple Engineering Challenges

Halloween STEM Activities for Kids: Spooky Builds That Teach Real Science

STEM Crafts for Kids: Build, Decorate and Test



