3D Printing Layer Height: Definition, Importance and Relationship with Nozzle Size
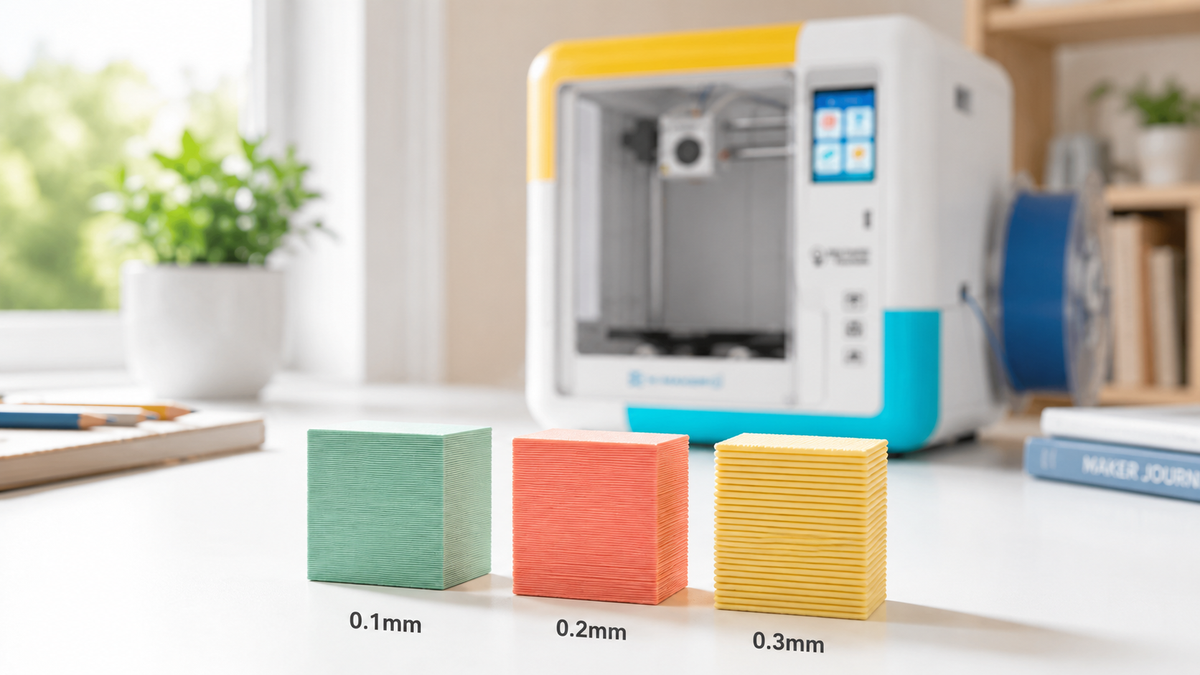
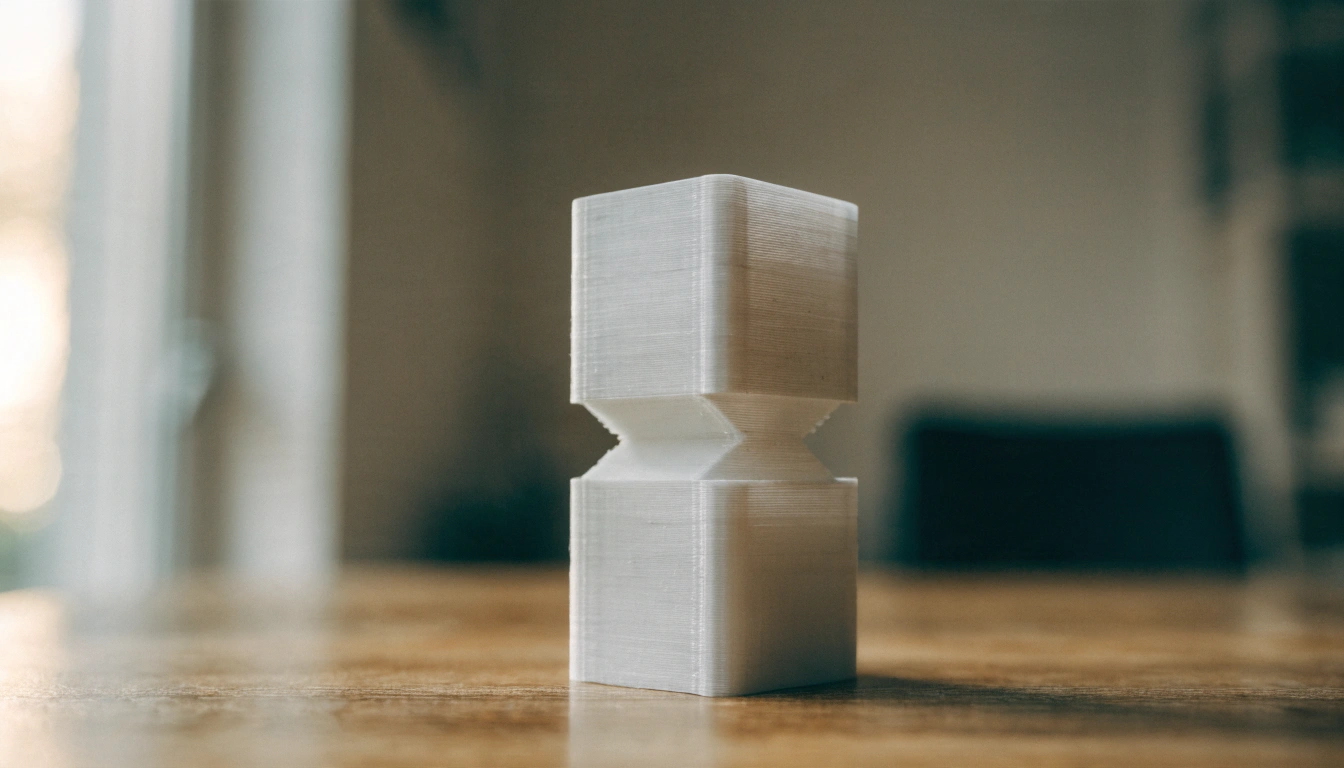
Layer height is the thickness of each horizontal slice along the Z axis. Lower values create more layers and can smooth curves, but they usually extend print time; higher values create fewer layers and more visible stepping.
Nozzle diameter helps bound the usable range, but it does not define a universal setting by itself. Start with the exact printer's validated nozzle, material, and slicer profile, then compare a fine, standard, or draft profile on the same model.
For many prints made with a 0.4 mm nozzle, the manufacturer's tested standard profile is the most reliable starting point. Move thinner only when visible vertical detail earns the added time, and move thicker only when the approved profile supports it.
|
Layer Height |
What You Get |
Common Uses |
|
0.05 to 0.10 mm |
Finest vertical detail, longest print time |
Miniatures, faces, decorative curves |
|
0.12 to 0.15 mm |
Noticeably smoother, still slow |
Display models, shallow slopes |
|
0.16 to 0.20 mm |
Balanced finish and duration |
Everyday parts, toys, organizers |
|
0.25 to 0.30 mm |
Visible lines, much faster |
Large models, test fits, hidden parts |
|
0.32 mm and above |
At or past the ceiling for a 0.4 mm nozzle |
Use only within a validated printer profile and check bonding |
What Is Layer Height in 3D Printing?

Ask a slicer for 0.2 mm and it cuts the model into slices 0.2 mm thick along the vertical Z axis. Lower value, more layers. Higher value, fewer. That is the whole setting.
The process underneath is additive. NIST describes additive manufacturing as building parts up layer by layer rather than cutting material away or moulding it, and layer height is how thick you make each of those steps.
How the Slicer Turns a Model Into Layers
Take a 20 mm model. At 0.2 mm the printer stacks about 100 layers to reach the top. At 0.1 mm, roughly 200. At 0.3 mm, about 67. Same object, three very different jobs.
Every one of those layers still needs the nozzle to trace each wall, each infill pass, and each travel move the slicer planned. That is where the hours go. Thickness is not the only thing changing. How often the machine repeats the entire cross section changes with it.
Millimeters, Microns, and Why Both Show Up
Slicers show millimeters. Spec sheets often show microns. One micron is 0.001 mm. So 0.1 mm reads as 100 microns, and 0.2 mm reads as 200.
Same thickness either way. Bigger numbers, nothing more, which is worth remembering when two printers get compared on paper.
|
QUICK CLARIFICATION Layer height controls vertical resolution only. It does not narrow your nozzle. If a small logo or a 0.3 mm gap will not print, dropping from 0.2 mm to 0.08 mm rarely fixes it. Nozzle diameter is the limit there. |
Why Layer Height Matters More Than Most Slicer Settings
Four outcomes move off one value. Detail, surface finish, duration, and to some degree how the part behaves under load. Not many settings reach that far.
Detail and Surface Finish

Thin layers sit the visible lines closer together. Curves and slopes read smoother. Thick layers leave ridges. You can feel them with a thumb.
The mechanism is stair stepping. Curves get built from a stack of flat slices, and research on model orientation and surface roughness confirms that reducing layer thickness measurably reduces that effect. Shallow slopes show it worst. Flat walls barely change.
The visible benefit depends on geometry. A plain rectangular box may show little change between a fine and standard profile, while a sculpted face or shallow curve may show clearer stepping; compare the preview and a small sample.
Print Time
Halve the layer height and you roughly double the layer count. Total time will not scale exactly, because first-layer time, acceleration, and travel moves behave differently. The direction holds anyway. Tall models feel it most.
Slice the same file at two settings and compare the estimated duration, layer count, and preview before committing to the full print. This makes the trade-off visible on the actual model rather than relying on a generic time-saving claim.
Strength, and Why the Answer Is Not Simple
Layer height can affect measured strength, but the result depends on the exact material, specimen geometry, print orientation, wall and infill settings, temperature, and test method. Use study values only when the specimen and print conditions are fully reported, and do not treat tensile results as a direct measure of finished-toy impact or drop safety.
The wider picture is messier. A review of FDM strength optimisation found tensile strength for PLA and ABS generally dropping as layer thickness rose, while impact resistance and compressive strength often moved the opposite way. So the honest answer depends on how the part gets loaded.
Wall count, orientation, material, and temperature all pull on the result. For a bracket holding weight, adding perimeters usually does more than shaving 0.05 mm off the layer height. Print the real part. Load it properly.
|
Comparison Point |
0.1 mm |
0.2 mm |
0.3 mm |
|
Layers in a 20 mm model |
About 200 |
About 100 |
About 67 |
|
Surface lines |
Barely visible at arm’s length |
Visible but not harsh |
Clearly ridged |
|
Curve stepping |
Smallest steps |
Moderate |
Strong on shallow slopes |
|
Relative duration |
Longest |
Roughly half of 0.1 mm |
Shortest |
|
PLA tensile, tested average |
32 MPa |
30.19 MPa |
28.75 MPa |
|
Sensible use |
Miniatures, display pieces |
Everyday prints |
Drafts, large parts |
The Relationship Between Layer Height and Nozzle Size

How much plastic can leave the hot end in one line comes down to nozzle diameter. That puts real limits on how thick or thin a layer can usefully be. Hardware wins the argument.
Why the Nozzle Sets the Ceiling
A new line has to press against the layer beneath it. When the layer stands nearly as tall as the nozzle opening, the extrusion stays rounded instead of flattening into place. Contact area drops.
Bonding suffers after that. Gaps open between lines. Surfaces roughen. Sometimes the hot end cannot melt and move material at the rate the toolpath is asking for.
The 25% to 75% Guideline
A common heuristic places layer height at roughly one-quarter to three-quarters of nozzle diameter, but it is not a universal specification. Use only values validated for the exact printer, nozzle, material, and slicer profile.
Guideline, not rule. Printer design, filament, flow rate, and temperature all shift the practical edges.
A Common 80% Upper-Bound Heuristic
Some guidance stretches the ceiling to 80% instead of 75%. On a 0.4 mm nozzle that moves the maximum from 0.30 mm to about 0.32 mm. Small gap.
Two figures, one limit. The inconsistency is the useful part, because a maximum is an approximate edge rather than something to aim at.
|
Nozzle Diameter |
Min Layer Height |
Standard Layer Height |
Max Layer Height |
|
0.2 mm |
0.05 mm |
0.10 mm |
0.15 mm |
|
0.4 mm |
0.10 mm |
0.20 mm |
0.30 mm |
|
0.6 mm |
0.15 mm |
0.30 mm |
0.45 mm |
|
0.8 mm |
0.20 mm |
0.40 mm |
0.60 mm |
|
1.0 mm |
0.25 mm |
0.50 mm |
0.75 mm |
|
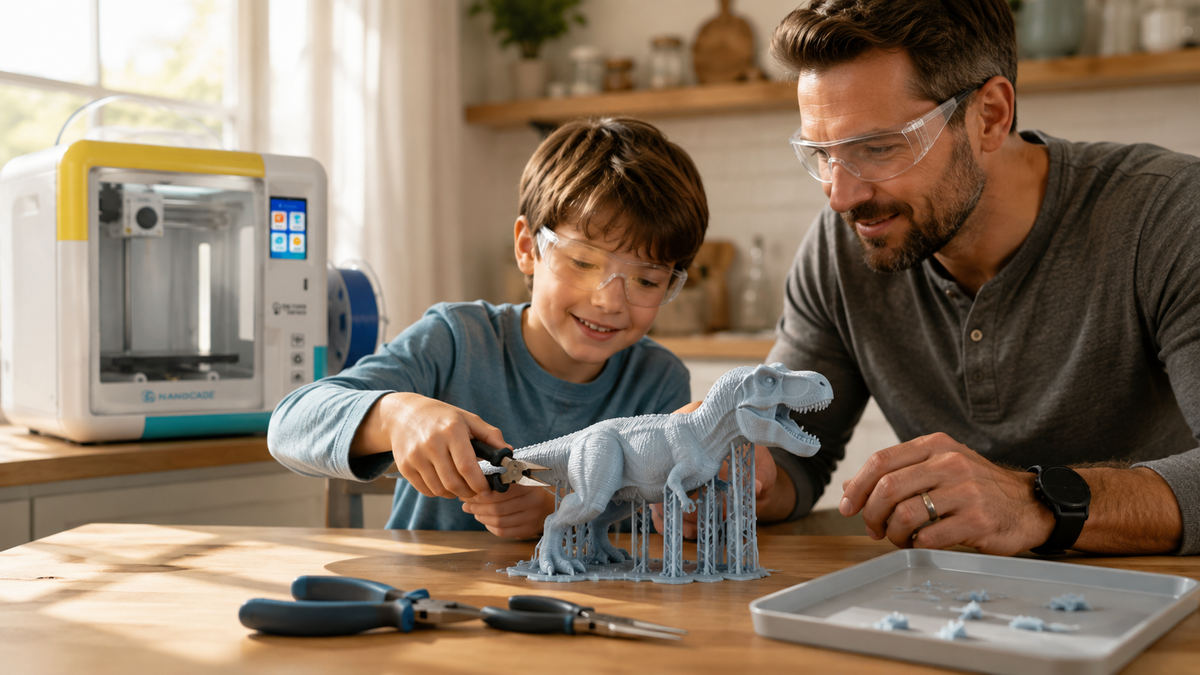
BEFORE YOU CHANGE A NOZZLE AT HOME Swapping a nozzle means handling a hot end and a heated bed. NIOSH guidance for makerspaces, schools, and libraries and Stanford EHS 3D printing guidance both point to enclosed machines, adequate ventilation, and manufacturer-recommended filament. With children in the room, an adult should handle the swap and the first print after it. Let parts cool fully before anyone touches them. |
Layer-Height Heuristics by Nozzle Size: Verify the Profile
The ranges below are generic heuristics, not AOSEED specifications or guaranteed settings. Confirm that the exact printer supports the installed nozzle and use only manufacturer-validated layer-height, material, temperature, and flow profiles.
Layer Height for a 0.2 mm Nozzle
A 0.2 mm nozzle is commonly chosen for small XY features and fine detail, but the supported layer heights depend on the printer, nozzle design, material, and flow profile. Use the manufacturer's tested values; do not transfer a generic minimum or maximum to unsupported hardware.
Layer Height for a 0.4 mm Nozzle
For a 0.4 mm nozzle, 0.1–0.3 mm is a common heuristic band, not a universal setting range. Start with the exact printer’s supplied 0.2 mm profile and use only finer or coarser profiles approved for that nozzle and material.
Layer Height for a 0.6 mm Nozzle
A 0.6 mm nozzle can trade fine detail for wider extrusion and higher throughput when the printer supports it. Use the supplied 0.6 mm profile rather than treating 0.15–0.45 mm or 0.3 mm as a universal range or default.
Layer Height for a 0.8 mm Nozzle
A 0.8 mm nozzle may suit large shells or rough prototypes on compatible hardware, but its usable layer range is limited by the validated hot end, material, extrusion width, and volumetric flow. Confirm an official profile before use.
Layer Height for a 1.0 mm Nozzle
A 1.0 mm nozzle requires a printer and hot end designed for the needed flow. Do not infer a 0.25–0.75 mm operating range from diameter alone; use the exact manufacturer's supported profile and keep model features large enough for the extrusion width.
Layer Height on a Kids 3D Printer
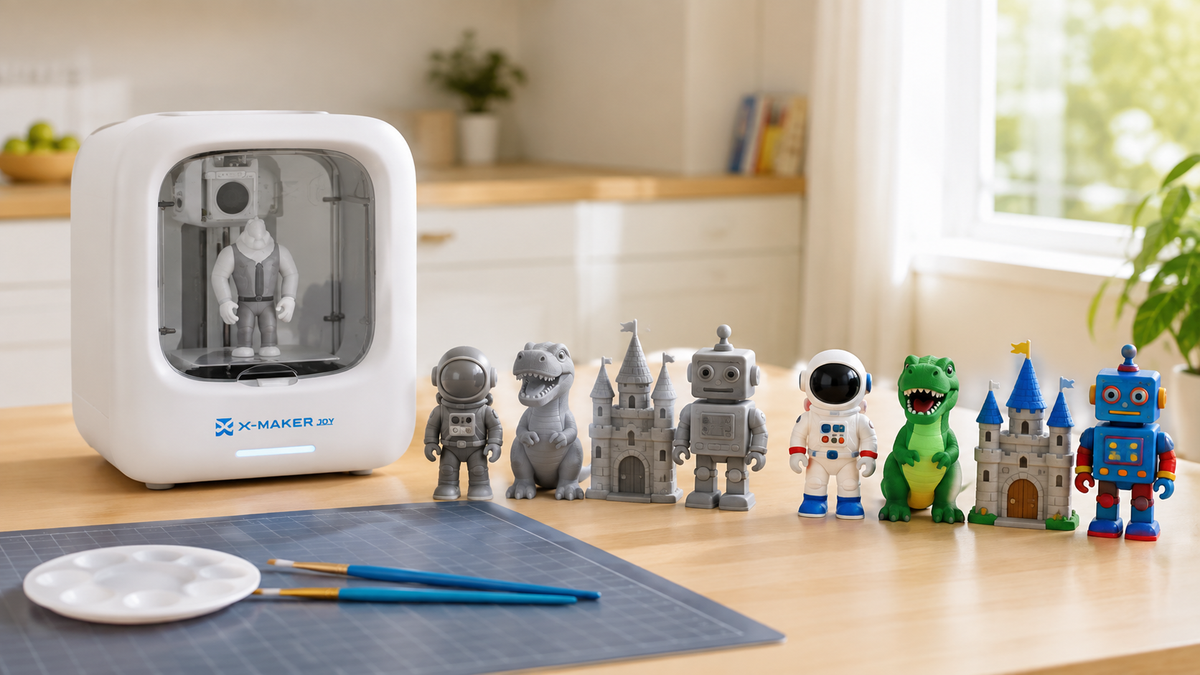
Some family-oriented workflows place layer height behind named profiles such as draft, standard, or fine. That can reduce first-print decisions, provided an adult can still verify the selected profile, preview, material, and supported range.
The setting still matters when a child asks why one print looks rougher than another. A useful family workflow offers tested presets first, then exposes layer-height control and a preview when the learner is ready to compare a draft profile with a fine profile on the same model.
A useful teaching sequence is to print one model with the standard approved profile, then compare it with a fine or draft profile while recording print time and visible surface differences.
|
Family workflow |
Preset-led controls |
Advanced controls |
|
Starting point |
Tested profiles with fewer visible decisions |
A tested profile plus settings that can be changed deliberately |
|
Layer-height access |
May be represented as draft, standard, or fine |
Exact values and variable layer height may be available |
|
Preview |
Confirm whether the app shows time and support changes |
Layer-by-layer preview is useful for comparison and diagnosis |
|
Typical fit |
Younger beginners who want a reliable start |
Older learners who want to test and troubleshoot |
A LAYER-HEIGHT SETTING IS USEFUL ONLY WHEN THE WORKFLOW ALSO MAKES THE TRADE-OFF CLEAR. LOOK FOR TESTED PRESETS, A LAYER PREVIEW, AND ENOUGH PROJECT VARIETY TO COMPARE DETAIL AGAINST PRINT TIME WITHOUT PROMISING THAT ONE PROFILE FITS EVERY MODEL.
What Layer Height Should You Use for Different Prints?
Match the setting to what the part has to do, not to what sounds precise. Table below assumes a 0.4 mm nozzle.
|
What You Are Printing |
Start Here |
Why |
|
Miniatures and figurines |
0.08 to 0.12 mm |
Faces, armour, and clothing folds need small vertical steps |
|
Everyday toys and organizers |
0.16 to 0.20 mm |
Reasonable finish without doubling the job |
|
Functional brackets and mounts |
0.15 to 0.20 mm |
Balanced. Add perimeters before chasing thinner layers |
|
Test fits and prototypes |
0.25 to 0.30 mm |
The rough finish stops mattering if the design changes |
|
Large shells and containers |
0.28 to 0.30 mm |
Fewer layers across tall geometry |
|
Parts you plan to sand or paint |
0.15 to 0.20 mm |
Medium avoids deep ridges that need filling |
|
Curved decorative pieces |
0.10 to 0.15 mm, or variable |
Stepping is most visible on gradual slopes |
First Layer Height and Variable Layer Height
Two related settings deserve a separate check: first-layer height and variable layer height. Confirm both in the tested profile before changing the main layer height.
First Layer Height

The bottom layer has a different job from everything above it. It grips the build surface. It also gives the rest of the print a flat foundation. Which is why many profiles make it thicker on purpose.
Use the exact printer’s validated first-layer profile. If adhesion or edge spread is poor, diagnose plate condition, Z-offset or calibration, line width, temperature, and flow according to the manual before changing layer height.
Too thin and a slightly wrong Z offset shows immediately. Too much squish and the bottom edge spreads outward. These two work together. Change one, check the other.
Variable Layer Height
Thickness can change inside one model. Detailed curves get thin layers. Plain walls get thicker ones, and the slicer handles the transition.
A figurine on a plain cylindrical base is the textbook case. The base gains nothing. The face gains plenty, so the time cost lands only where the geometry earns it.
Less helpful when the whole part needs one resolution, and less predictable than a fixed profile when a functional part is being tested. Preview the changes. Keep every value inside the nozzle range.
When to Go Thinner and When to Go Thicker

When to go thinner
- Curved, sloped, or sculpted surfaces where stepping will be obvious
- Small vertical features carry the detail. Faces, text, shallow relief, thin decoration
- The piece gets displayed rather than used, and you would rather not sand it
- Small part, so the extra layer count costs minutes instead of hours
- Your printer already produces clean results at standard settings
When to go thicker
- Checking fit, tolerance, or basic shape, with a revision already likely
- Large or tall part where layer count is what drives the print time
- The surface ends up hidden inside an assembly or flat against a wall
- Sanding, filling, or painting is coming anyway, so raw finish is not the goal
- A larger nozzle is fitted and can support the thicker layer properly
Common Layer Height Mistakes
Five common mistakes can make a layer-height change unhelpful. Check them before blaming the printer or changing several settings together.
Choosing a layer taller than the nozzle can bond. Set the ceiling from nozzle diameter. If thick layers keep being the goal, fit a wider nozzle instead of forcing a narrow one to act like one.
Using the smallest layer height for everything. Flat, simple models may gain little from ultra-fine layers, while print time rises because the machine must complete more layers.
Ignoring the time trade. A fine profile can turn a short print into an all-day job. Read the estimate and choose the quality level the project actually needs.
Forgetting the first layer. Normal layer height and first-layer height may differ because adhesion and surface detail have different requirements. Keep the combination within the tested printer and material profile.
Changing five settings at once. Adjust layer height alone, print a small sample, and judge the result before changing another variable; otherwise it becomes difficult to identify which change helped.
Conclusion
Treat layer height as a quality-versus-time control, with nozzle diameter and the validated printer profile defining the usable range. For a standard 0.4 mm nozzle, a tested 0.2 mm profile is a practical baseline; move thinner for visible vertical detail or thicker for drafts only when the printer and material profile support it.
Strength needs more care than one setting can give. Thinner layers measured stronger in tension in the PLA study above, but material, orientation, wall count, and temperature all matter, and thicker layers behave differently under impact. Test the actual part.
For families, the practical approach is to choose a kids’ 3D printer with manufacturer-validated profiles and controls that a responsible adult can review. Before buying, verify the exact model’s supported layer heights, nozzles, materials, age and supervision guidance, current regional price, warranty, and return terms on the manufacturer’s current product page and manual.
FAQs
What is a good layer height for a 0.4 mm nozzle?
A tested 0.15 mm or 0.20 mm profile is a sensible starting point for many prints. Use the printer and slicer manufacturer's profile first, then go thinner for visible detail or thicker for faster drafts within the supported range.
Is a smaller layer height always better?
No. Smaller layers can smooth shallow curves and improve vertical detail, but they increase the number of layers and therefore the print time.
- Choose thinner layers for miniatures, faces, and gentle slopes.
- Choose thicker layers for prototypes, hidden parts, and large simple shapes.
- Keep the tested profile when the visual difference is not worth the added time.
Does layer height affect 3D-print strength?
It can, but the result depends on the load and the rest of the print setup.
- Layer bonding changes with temperature, speed, and material.
- Orientation determines whether a load pulls along or across layer interfaces.
- Walls, geometry, and nozzle width may matter more than a small layer-height change.
How does layer height change print time?
A thinner layer creates more layers for the same model height, so the printer repeats perimeter, infill, and travel work more times. The exact increase depends on the model and profile, so compare the slicer estimates before printing.
Can layer height be larger than the nozzle diameter?
It should not be. Many slicers limit maximum layer height to about 80% of nozzle diameter; for a 0.4 mm nozzle that is about 0.32 mm. Follow the validated profile for the specific printer and nozzle.
When should I change the nozzle instead of the layer height?
Change the nozzle when the project needs a different extrusion width or throughput, not merely a different vertical finish.
- Use a smaller nozzle for tiny XY features that a standard extrusion line cannot reproduce.
- Use a larger nozzle for large models or strong wide beads when the printer supports it.
- Rebuild the printer profile after a nozzle change; do not reuse values meant for another diameter.
Sources
- National Institute of Standards and Technology, “Additive Manufacturing FAQs”
- Materials (NIH PMC), “An Experimental Study on the Impact of Layer Height and Annealing Parameters on the Tensile Strength and Dimensional Accuracy of FDM 3D Printed Parts”
- Polymers (NIH PMC), “Optimisation of Strength Properties of FDM Printed Parts, A Critical Review”
- Materials (NIH PMC), “The Influence of Model Orientation on the Surface Roughness of Polymeric Models Produced by FFF, mSLA, PJ, and SLS Methods”
- CDC National Institute for Occupational Safety and Health, “Approaches to Safe 3D Printing: A Guide for Makerspace Users, Schools, Libraries, and Small Businesses”
- Stanford University Environmental Health & Safety, “3D Printing Safety and Health Guidance”


Further reading

STEM Building Toys for Kids: Blocks, Kits and Printers Compared

Toy 3D Printer: What to Look for in a Printer That Makes Toys at Home

Personalized Gifts for Kids: Name Tags, Keepsakes and Custom Toys You Can Design