How Long Does a 3D Print Take? 15 Family Project Estimates
Most family FDM prints take anywhere from under an hour to a full day, but there is no reliable universal average. A small keychain may finish in under an hour; a detailed or helmet-sized project can take many hours or longer.
The fastest way to get a useful answer is to slice the exact model with the exact printer, nozzle, material, and profile. Layer height, walls, infill, supports, geometry, acceleration, and cooling all change the toolpath and therefore the estimate.
The 15 examples below are planning ranges, not measured AOSEED benchmarks. Treat them as a first scheduling check, then replace the range with the slicer estimate for your file. Actual time can still differ because of warm-up, calibration, firmware behavior, pauses, and failed-print recovery.
|
If you are printing |
Plan for |
Fits into |
|
A keychain, name tag, or game piece |
30 min to 1 hr |
One after-school sitting |
|
A cookie cutter, small figure, or fidget toy |
45 min to 4 hrs |
An afternoon |
|
A phone stand, toy car, or pencil holder |
2 to 6 hrs |
A weekend morning into lunch |
|
A vase, articulated dragon, or desk organizer |
3 to 10 hrs |
A full day, or overnight |
|
A science fair model or large school build |
8 to 20 hrs |
Two or three sessions |
|
A cosplay helmet or large prop |
9 to 30+ hrs |
Split across several days |
How Long Does a 3D Print Take on Average?
A small keychain may take under an hour, while a detailed prop can take a day or longer. There is no reliable universal average; slice the exact model with the exact printer, nozzle, material, and settings before scheduling it.
The range holds outside the house too. The library makerspace at UNC-Chapel Hill tells students that managed build times usually run 2 to 48 hours per job. It names four causes. Size, intricacy, how much support material the shape needs, and the queue ahead of it. Home printing removes the queue. The other three stay.
Size alone does not decide it. Same footprint, different clock. Two models can sit six hours apart because one uses finer layers and a denser interior.
Small Prints: 30 Minutes to 2 Hours

Keychains. Name tags. Game pieces, test cubes, simple charms. Few layers, little filament, usually no support material at all.
A plain shape at a standard layer height finishes fast. A detailed miniature the same size does not. Small prints are the right place for a child to learn what a setting does. A mistake costs 40 minutes instead of a night.
Medium Prints: 2 to 6 Hours
Phone stands. Small vases, toy parts, desk bits, school pieces. Settings start to bite here.
An open angled stand at 15 percent infill can finish before lunch. Add thicker walls, a storage pocket, and supports underneath, and the same stand runs past dinner. Slice it first.
Large Prints: 8 to 24+ Hours
Helmets, props, big display models, tall school builds. More material. Many more layers. More chances for something to go wrong at hour six.
Height increases the number of layers; width, walls, infill, supports, and the number of separate features increase the path within each layer. Check both dimensions and let the slicer calculate the combined toolpath.
|
QUICK CHECK Before you slice, ask whether the model is taller than it is wide. Height drives layer count. Layer count drives the clock harder than footprint. |
15 Family 3D Print Time Estimates

Matching your project against something similar beats guessing from size. The ranges below are broad on purpose, since every printer and profile behaves a little differently.
Planning estimates, not promises.
|
# |
Project |
Typical print time |
What drives the number |
|
1 |
Custom name tag |
30 min to 1 hr |
Flat, few layers. A thick border or several names at once adds time. |
|
2 |
Keychain |
30 min to 1 hr |
Simple text prints fast. A tiny character or moving joint pushes it toward 2 hrs. |
|
3 |
Cookie cutter |
45 min to 2 hrs |
Thin walls, almost no infill. A wider outline means more travel on every layer. |
|
4 |
Small animal figurine |
1 to 4 hrs |
Fur, wings, and horns add detail. Legs and tails add supports. |
|
5 |
Chess piece |
30 min to 2 hrs |
A pawn is quick. A knight is not. A full set is a different job entirely. |
|
6 |
Fidget toy |
1 to 4 hrs |
Print-in-place joints need small gaps built layer by layer. |
|
7 |
Phone stand |
2 to 5 hrs |
Wall thickness and orientation swing this more than overall size does. |
|
8 |
Small toy car |
2 to 5 hrs |
One-piece bodies are faster. Separate wheels and axles are not. |
|
9 |
Pencil holder |
3 to 6 hrs |
Tall and thin-walled. Infill barely matters here. Height does. |
|
10 |
Decorative vase |
2 to 8 hrs |
A single continuous outer wall is fast. Thick textured walls are slow. |
|
11 |
Articulated toy |
3 to 8 hrs |
Dozens of joints, each with a gap the nozzle has to build around. |
|
12 |
Desk organizer |
4 to 10 hrs |
Compartments, thick walls, wide base. Long toolpath on every layer. |
|
13 |
STEM or science fair model |
1 to 8 hrs |
Simple gears and brackets are quick. Demonstration assemblies are not. |
|
14 |
Large school project model |
8 to 20 hrs |
Buildings and landforms. Splitting into parts makes it manageable. |
|
15 |
Cosplay helmet or large prop |
9 to 30+ hrs |
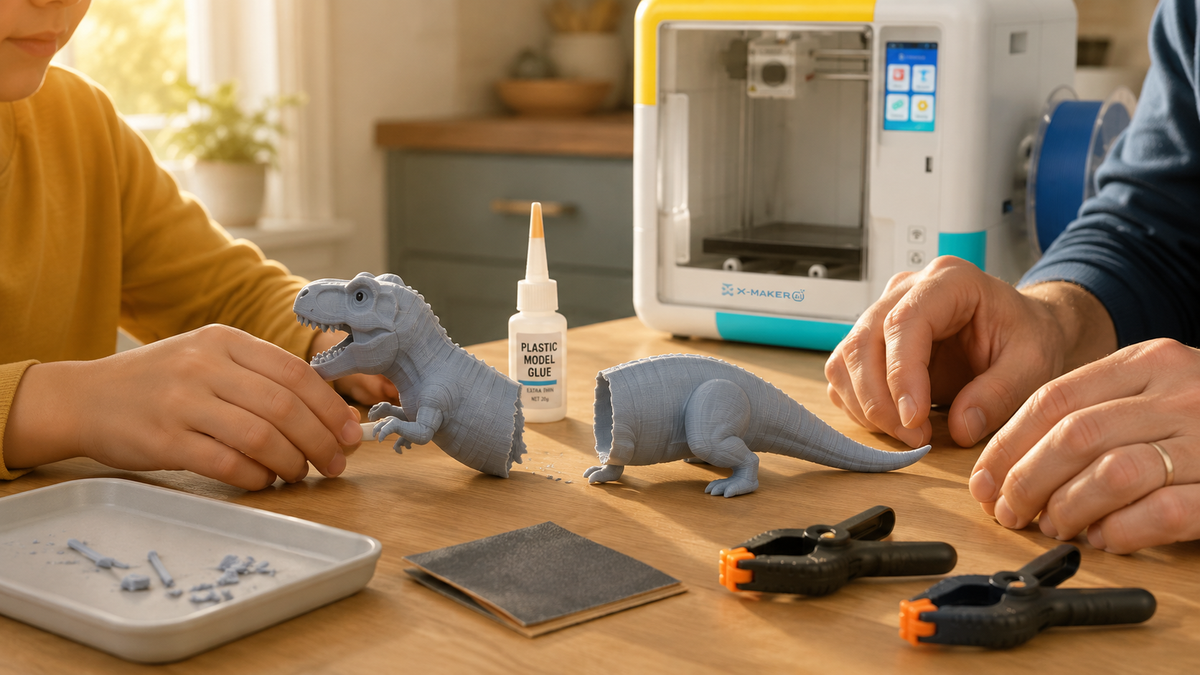
Usually printed in sections, then sanded, glued, and painted. |
The Three That Surprise People
Articulated dragons look like one object and print like forty. Every joint needs a deliberate gap, and the nozzle traces each one separately.
Chess sets are the second trap. One pawn is 30 minutes. Sixteen pieces on a single plate is most of a day, because the machine builds every layer across all of them before moving up.
Then the desk organizer. Wide, boxy, dull to watch. The per-layer toolpath is long and the wall count is high. Four hours is optimistic for the bigger ones.
What Actually Changes Your Print Time

Seven settings do most of the work. Additive manufacturing builds objects one thin layer at a time, placed exactly where the digital design file says. Every choice below adds layers, adds material, or adds movement.
|
Setting |
Faster choice |
Slower choice |
What it costs you |
|
Layer height |
0.2 to 0.3 mm |
0.1 mm or finer |
Visible layer lines at the fast end. Hours at the slow end. |
|
Infill |
10 to 15 percent |
40 percent and up |
Strength. Fine for display pieces, wrong for load-bearing parts. |
|
Supports |
None, by reorienting |
Full auto supports |
Failed overhangs if you cut them carelessly. Cleanup time if you do not. |
|
Print speed |
Higher mm/s |
Lower mm/s |
Surface finish and reliability on tall or thin models. |
|
Orientation |
Laid flat, low height |
Standing upright |
Strength along the stress axis, plus a bigger footprint. |
|
Nozzle size |
0.6 mm |
0.2 mm |
Small-feature resolution. Fine on props, wrong on jewellery. |
|
Part count |
One object |
A full plate |
A single failure can take the whole batch with it. |
Layer Height Is the Biggest Single Lever
At a fixed model height, halving layer height approximately doubles the number of layers. Elapsed time may change by a different amount because travel, cooling, acceleration, supports, and top/bottom settings still contribute; reslice to measure the effect.
Check this first. It is the setting most often left too fine.
Infill and Supports Are the Quiet Ones
Infill is the structure printed inside the model. Gonzaga’s Foley Library guide notes it usually sits between 15 and 40 percent to balance strength, material, and time. It also flags that a raft under the model significantly increases the duration.
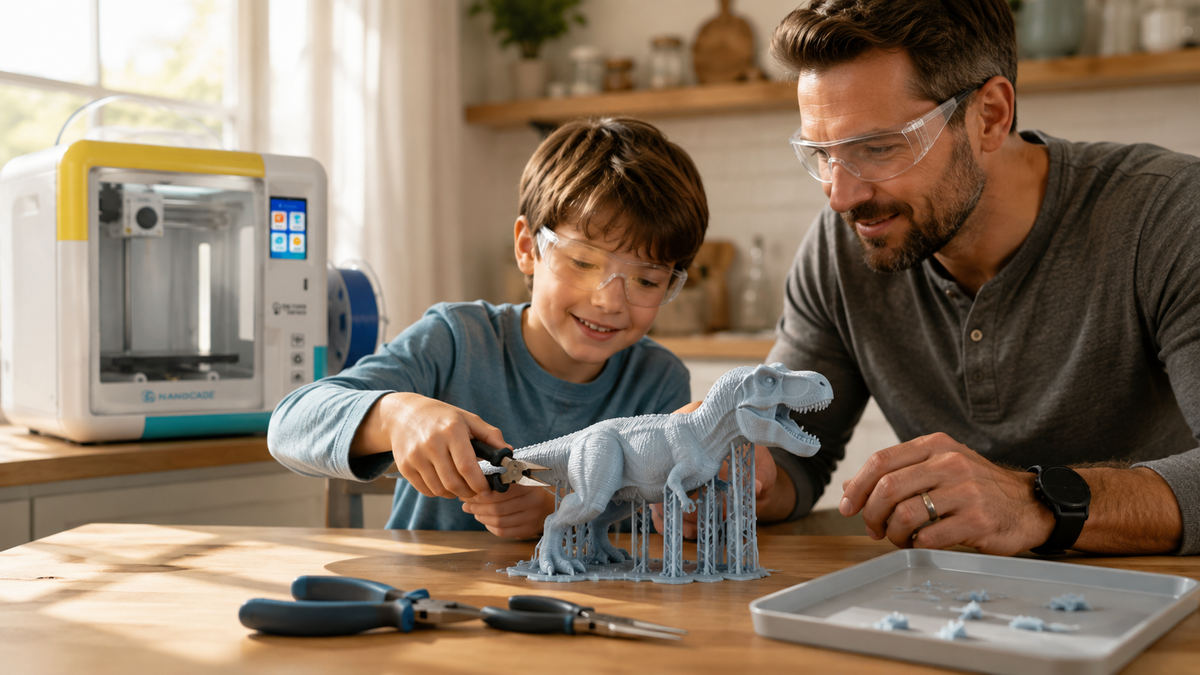
Supports do damage at both ends. Material during, cleanup after. Reorienting the model sometimes removes both.
|
WATCH OUT Do not raise infill by reflex. A display figure at 100 percent infill can take twice as long as the same figure at 15 percent, with no visible difference once it is on a shelf. |
How to Estimate Print Time Before You Start
Use the slicer. It maps the real toolpath for your model, your machine, your settings. That beats any rule of thumb.
Five steps, in order.
- Import the file and check the dimensions. Models often load at the wrong scale.
- Select the exact printer profile you will use, nozzle size included. A mismatched profile returns a number that will never happen.
- Set layer height, infill, and supports to match what the object is for.
- Slice. Read the time estimate and the filament figure together.
- Change one setting, reslice, compare. Not five settings at once.
|
FROM OUR WORKFLOW Our team slices the same model at 0.1 mm and 0.2 mm before any long job. If the extra hours do not show up on the surface, the finer setting is not earning its time. |
Print Time vs Total Project Time
The slicer times the printing. It does not time the project.
A nine-hour helmet is not finished at hour nine.
|
Stage |
Typical add-on |
Notes |
|
Setup and preheating |
5 to 15 min |
Loading filament, clearing the plate, watching the first layer go down. |
|
Printing |
The slicer estimate |
The number most people mean when they say print time. |
|
Cooling and removal |
5 to 20 min |
Pulling a warm part off early makes removal harder than waiting. |
|
Support removal and cleanup |
5 min to 2 hrs |
A simple model is quick. A detailed figure with supports in tight spots is not. |
|
Sanding, gluing, assembly |
30 min to several days |
Multi-part props and painted display pieces live here. |
|
Possible reprint |
The full job again |
The stage families forget about until a deadline is close. |
How to Cut Print Time Without Ruining the Print
Six moves. Ordered by what they save against what they cost. None of them means pushing every slider to its fastest value.
- Raise the layer height. Moving from 0.1 mm to 0.2 mm is the single biggest saving on anything tall.
- Decorative objects rarely need more than 10 to 15 percent infill. Keep it higher only where the part carries load.
- Reorient before you disable supports. A different angle often removes the overhang instead of gambling on it.
- Larger nozzle, larger prints. A 0.6 mm nozzle lays wider lines and finishes props faster. It will not hold tiny detail.
- Strip decorative detail the project does not need. Fewer small features, shorter toolpath.
- Draft settings for test parts. Check fit and scale cheaply, then print the final version properly.
Planning Long Prints Around School and Family Schedules

A 15-hour model needs a plan. A 45-minute keychain needs a slot.
Work backward from the due date, not forward from tonight.
- Print a small test section first. Catch scale and fit problems before the long run.
- Book one reprint into the schedule. A job that fails at hour five costs the whole five.
- Split large models into printable parts. Shorter jobs, easier plate fit, and a failure only costs one piece.
- Finish printing a day early. Support removal, glue, sanding, and paint all need their own time.
|
BEFORE AN OVERNIGHT RUN Long jobs are worth a second look at where the printer lives. NIOSH’s guide to safe 3D printing for schools, libraries, and makerspaces recommends enclosure and ventilation controls. Sensible advice for a home running jobs past bedtime. Follow your own machine’s operating instructions as well. |
Choosing a Printer That Fits Family Time

Print time is a scheduling problem before it is a hardware problem. Hardware sets the floor.
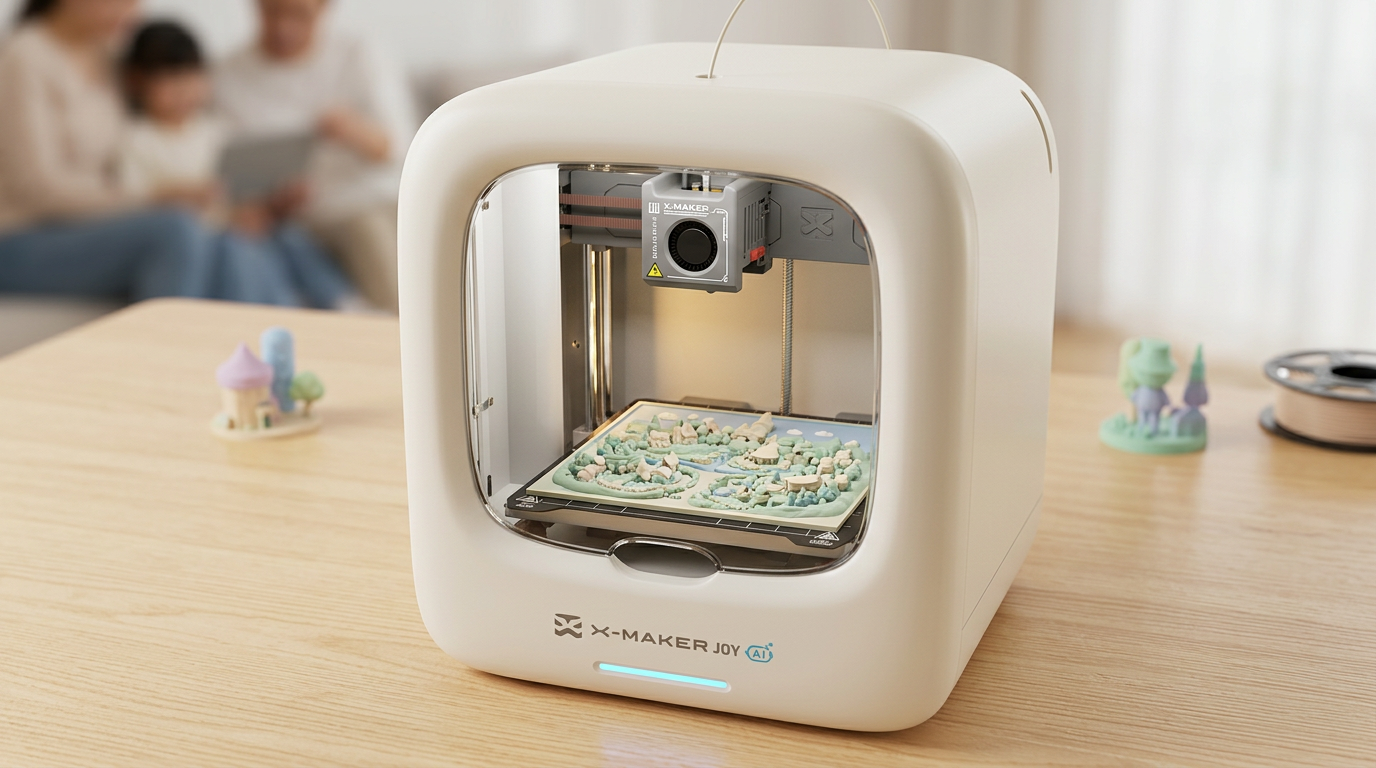
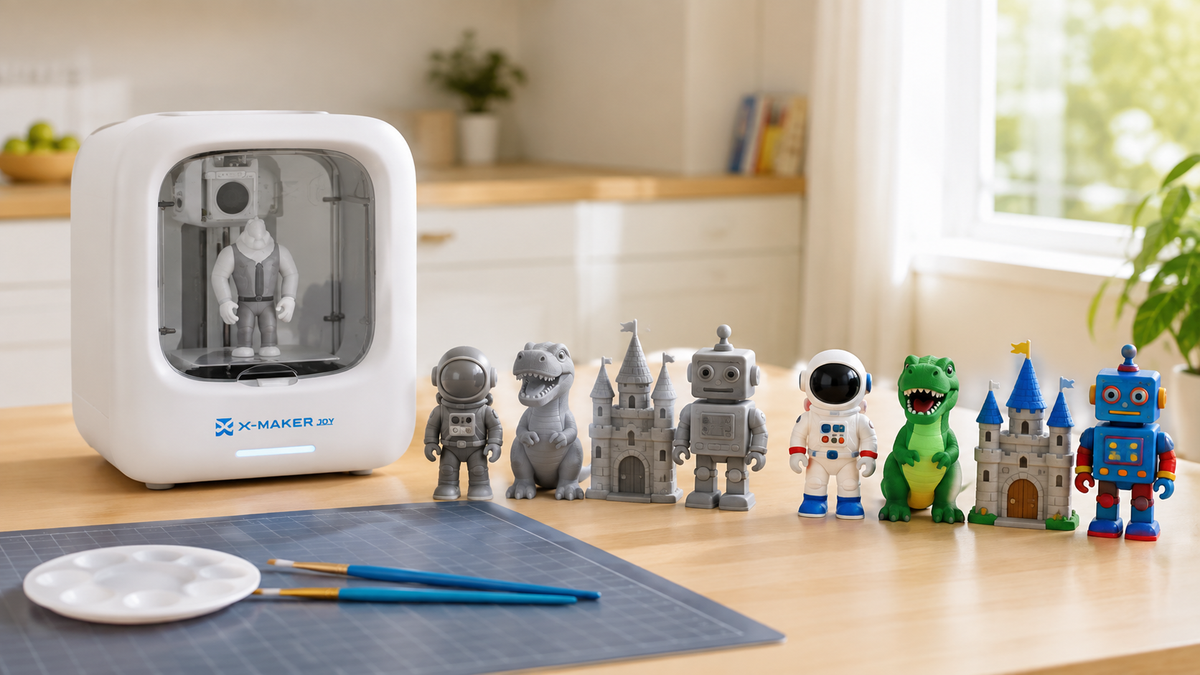
AOSEED lists model-specific speed and layer-height ranges on the current product pages, but headline speed does not predict completion time. Compare the slicer estimate for the same model and quality settings on each validated profile before judging which printer will finish sooner.
|
Feature |
X-MAKER JOY |
X-MAKER |
|
Ages |
4 to 12 |
9 to 16 |
|
Build volume |
120 x 120 x 120 mm |
150 x 150 x 150 mm |
|
Print speed |
120 to 300 mm/s |
120 to 300 mm/s |
|
Layer resolution |
50 to 300 microns |
50 to 300 microns |
|
Materials |
PLA only |
PLA and ABS, heated bed to 110°C |
|
Control |
App and one-click Wi-Fi printing |
3.5-inch touchscreen plus Wi-Fi, USB, and SD card |
|
Noise and enclosure |
Quiet, fully enclosed |
Under 50 dB, fully enclosed |
|
Best for print times |
Short toys and game pieces inside one sitting |
Taller school and STEM builds that run longer |
|
Price |
$229.00, from $339.00 |
$339.00, from $509.00 |
A smaller build area limits the maximum size of a single-piece project. For families choosing a first machine, a compact kids' 3D printer can keep projects physically manageable, but it does not guarantee an afternoon finish: a detailed, support-heavy, multi-object, or fine-layer job can still run for many hours. Check the slicer estimate before promising a completion time.
Auto levelling and one-click printing matter here too. Fewer steps, fewer restarts. A restart is the most expensive kind of print time.
|
BROWSE THE FULL RANGE OF KID-FRIENDLY 3D PRINTERS AND COMPARE BUILD SIZE, SPEED, AND AGE FIT SIDE BY SIDE. EVERY AOSEED PRINTER SHIPS FULLY ASSEMBLED WITH APP CONTROL AND A STEADILY UPDATED TOY LIBRARY, SO THERE IS ALWAYS A NEXT PROJECT WAITING. |
When to Start Small vs When to Commit to a Long Print
Start small when:
- The deadline is inside 48 hours.
- A child is running the slicer for the first time.
- Two printed parts have to fit together and the tolerance is untested.
- You changed the filament, the nozzle, or the profile since the last clean job.
Commit to the long print when:
- The design is proven, from a test section or a previous run.
- Filament on the spool comfortably covers the slicer’s material estimate.
- Before a long job, a responsible adult should confirm the first layer, material supply, ventilation/exposure controls, clear operating area, and the manufacturer’s monitoring and unattended-use requirements. A good first layer does not remove later-run risks.
- Nobody else needs the printer inside that window.
Conclusion
So, how long does a 3D print take? Under an hour for a keychain or a name tag. Two to six hours for most household and school pieces. Twenty-four hours or more for a helmet or a large display build. Height, layer thickness, infill, supports, and speed do most of the moving.
Load the model into your slicer before you plan anything else. Change one setting, reslice, and you will see what an extra two hours is buying. Usually not much.
Short projects can make a family 3D printer easier to fit into an afternoon, but print time varies by model, material, and settings. If you are considering the X-MAKER JOY, check AOSEED’s current regional product page for today’s price, verified age guidance, supervision requirements, warranty, and return terms. Use the slicer estimate for the exact model rather than assuming a child can start and finish a project in the same afternoon.
FAQs
How accurate are 3D-printer time estimates?
They are planning estimates, not guarantees. Accuracy improves when the slicer uses the correct printer, nozzle, material, acceleration, and start/end routines; warm-up, firmware behavior, pauses, and recovery steps can still change the actual time.
Can a 3D printer run for 24 hours?
Some desktop prints can last 24 hours or longer, but a long toolpath does not automatically mean unattended operation is allowed. A responsible adult should follow the exact printer manual for placement, ventilation, monitoring, material supply, fault response, and cooling.
Why did my print take longer than the slicer estimate?
Common causes include warm-up time, conservative firmware limits, minimum-layer cooling time, calibration routines, pauses, filament changes, and recovery after an interruption. Confirm the correct printer profile first, then compare estimated and actual time on a small repeatable model.
How can I estimate print time before starting?
Use the slicer with the exact printer, nozzle, and material profile. Then follow this sequence:
Import the file and confirm its units, scale, and model count.
Choose an orientation and review first-layer contact and support needs.
Set layer height, walls, infill, and supports from a validated profile.
Slice, compare estimated time and filament, then change only one setting before reslicing.
Which settings reduce 3D-print time the most?
Layer height often has the largest effect on tall models, while walls, infill, supports, orientation, nozzle choice, and model count may dominate other jobs. Use a validated profile and compare slicer estimates rather than increasing every speed value.
Do long 3D prints use a lot of electricity?
Energy use depends on the printer's actual average draw and the job duration. For an upper bound, multiply rated watts by hours and divide by 1,000; for a realistic figure, measure the complete job with a properly rated energy meter and apply your local electricity rate.
Sources
- NIST, “Additive Manufacturing FAQs”
- UNC-Chapel Hill University Libraries, “Library MakerSpace: 3D Printing”
- University of Victoria Libraries, “File Types & Settings, 3D Printing Services”
- Gonzaga University Foley Library, “The Digital Scholarship Lab: 3D Printing”
- NIOSH, “Approaches to Safe 3D Printing: A Guide for Makerspace Users, Schools, Libraries, and Small Businesses”
- U.S. Energy Information Administration, “Electricity Explained: Factors Affecting Electricity Prices”


Further reading

STEM Building Toys for Kids: Blocks, Kits and Printers Compared

Toy 3D Printer: What to Look for in a Printer That Makes Toys at Home

Personalized Gifts for Kids: Name Tags, Keepsakes and Custom Toys You Can Design