Top Tips to Prevent 3D Printer Layer Shifting
Six clean hours. Then the whole top half slides sideways, and every wall above that point sits in the wrong place.
Layer shifting is a loss of X- or Y-axis position. The direct fault is usually mechanical or motion-related, but print defects such as warped corners, nozzle blobs, curled overhangs, or failed supports can trigger it by causing a nozzle collision. Loose belts, slipping pulleys, blocked rails, aggressive speed settings, and other motion problems can also make the machine lose position.
Find the cause first. Changing five slicer settings at once tells you nothing about which one mattered.
Quick check: match the symptom to the likely cause
|
What You See |
Most Likely Cause |
First Thing to Try |
|
One clean step, then straight walls again |
A single nozzle collision or one pulley slip |
Look for scrape marks on the model at that height |
|
Repeated stair-steps up one side |
Loose belt on the affected axis |
Pluck the belt. Tighten until it feels firm, not rigid |
|
Shift appears only after several hours |
A hot stepper driver losing torque |
Clear the airflow path around the mainboard |
|
Fails at the same height on every attempt |
Warped feature, snagged cable, or bad G-code |
Re-slice, then inspect the preview at that layer |
|
The whole model leans |
A belt slipping a little on every pass |
Check tension, then the pulley grub screws |
|
The plate itself seems to have moved |
Loose clips or a wobbly table |
Reseat the build surface. Move the printer onto something solid |
What Layer Shifting Actually Is
How the Fault Looks on the Finished Part
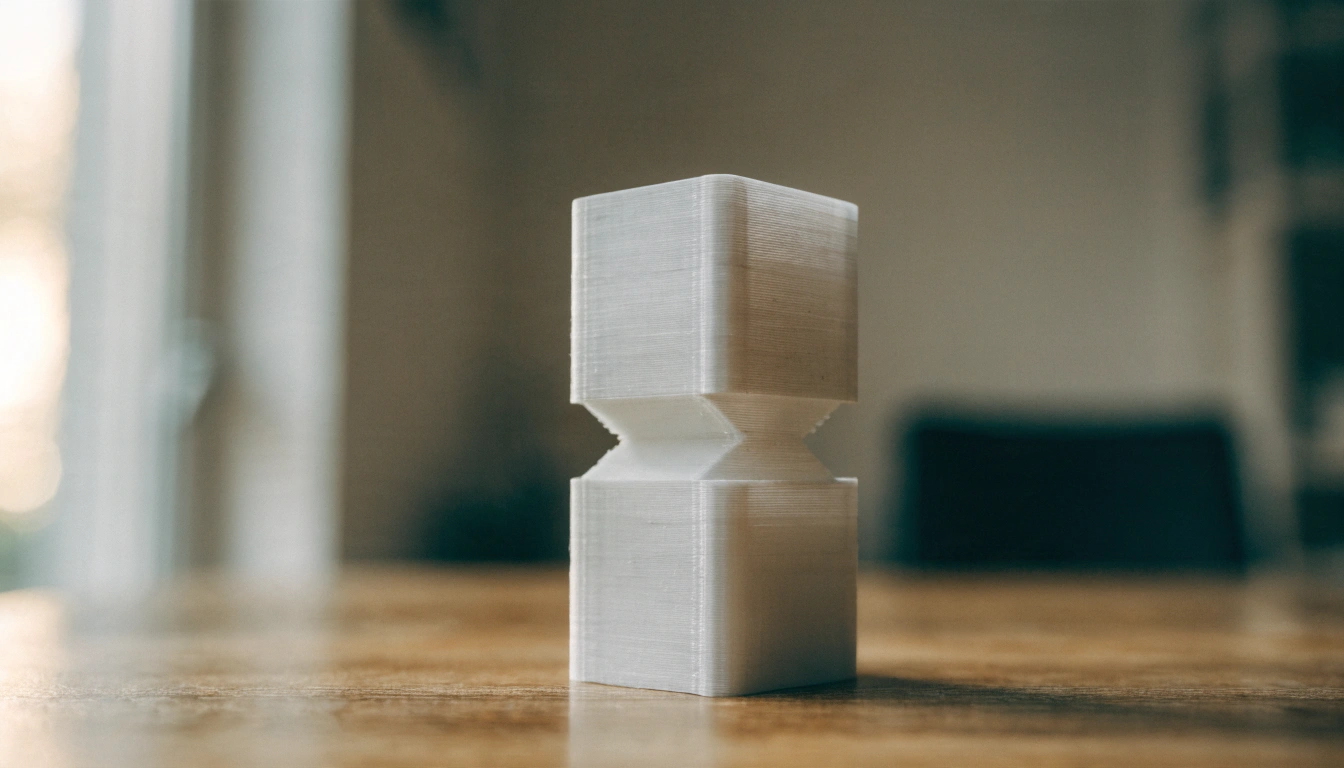
A hard horizontal step on one side of the model. Everything above it sits offset from everything below. Sometimes once. Sometimes it repeats, and the part climbs sideways in a staircase pattern that gets worse toward the top.
Holes stop lining up. Joints stop fitting. Moving parts seize. A shift of half a millimeter is enough to ruin a bracket, a gear, or a snap-fit lid, even when the surface still looks reasonable from a distance.
On most Cartesian and CoreXY FFF printers, a sideways step usually indicates lost X- or Y-axis position. Z-axis faults can appear differently, but the exact symptoms depend on the printer’s motion system. Check the manufacturer’s manual or motion layout before deciding which belt, pulley, motor, or cable path to inspect
Layer Shifting Versus Layer Separation
Two different faults. People confuse them constantly.
Shifting moves a section of the print sideways while the layers stay bonded to each other. Separation leaves the walls in the right place but opens cracks and gaps between them. One is motion. The other is heat and flow.
Check the shape of the defect before touching anything. A sideways offset points at belts, pulleys, rails, speed, and collisions. Clean splits between layers point at nozzle temperature, cooling, drafts, and damp filament. Fixing the wrong one wastes an evening.
Why a Shifted Print Rarely Recovers
Many desktop FFF printers use open-loop stepper motion. TheMarlin firmware documentation explains that in this type of system, the software sends motion commands but does not continuously verify the carriage’s exact position. If a motor loses steps, later moves can remain offset because the firmware may not detect the lost position. Printers with supported position-feedback or recovery systems can behave differently, so recovery depends on the machine’s hardware and firmware.
So every toolpath after the error is placed relative to a position that no longer exists. Nudging the axis by hand does not restore alignment. It usually leaves thin walls, blocked holes, and dimensions that measure wrong.
A decorative print with a small offset might still be fine. Functional parts are not. Reprint it after the cause is found, not before.
Find the Cause Before You Change Anything

Work Out Which Axis Moved
Leave the model facing the way it sat on the plate. Note the offset direction. Left to right points at X. Front to back points at Y.
Confirm which part moves on each axis for your machine, because layouts differ. On many open-frame printers the head handles X and the bed handles Y. On sealed CoreXY machines both belts contribute to both directions, so the physical inspection changes.
Then work that axis. Its belt, its pulley, its motor, its rails, its cable path. Ignore the rest.
Check Whether the Shift Repeats at the Same Height
Measure the height. Write it down.
A shift at random heights usually means a one-off event. A collision, a brief slip, a bump, or heat that built up over a long job. A shift at the same height every single attempt means something repeatable is waiting there. A warped feature. A cable pulling tight at that position. A run of G-code that demands a move the machine cannot make.
Open the slicer preview at that exact layer and look at what the toolpath does. Re-slice from the original model rather than reusing the same file.
Listen for Clicking, Grinding, and Collision Marks
Sound helps. A sharp click or knock during fast moves usually means a motor is losing steps. A grinding noise points at binding rails, a loose pulley, or a belt rubbing the frame.
Marks help more. Scrape marks across the top surface, knocked-over supports, lifted corners, and hard blobs of filament all point at a nozzle strike, even when the belts feel correct.
|
Before you touch anything Power off and unplug first. Washington State health guidance for classroom printers is direct on this point: motors, nozzles, heater blocks, and heated beds all become hot fast and cause burns. Cut-resistant gloves for any scraping. Let the machine cool before opening it up. |
Tighten the Belts and Pulleys First

How to Tell a Belt Is Too Loose
Press it. A loose belt sags, flaps, or gives under one finger. You may hear a snapping sound as teeth jump across the pulley.
With the printer off, move the axis slowly by hand and watch the belt. Any delay between the belt moving and the carriage following is slack you can feel. Ringing on flat walls, wobbly circles, and rough corners often show up weeks before a belt gets loose enough to cause a full shift.
Signs a Belt Is Overtightened
A high twang. The axis feels heavy and uneven by hand. Too much tension pulls motor shafts and pulleys out of line, wears bearings faster, and makes the motor work harder on every direction change.
Firm, not rigid. The carriage should still glide across the full travel without any tight spot.
Grub Screws and Pulley Alignment
Correct belt tension will not save you if the pulley spins on the shaft. One or two tiny grub screws hold it, and at least one of them should press against the flat face of the motor shaft.
Quick test. Draw a line across the pulley and shaft with a removable marker, then move the axis end to end. If the line breaks, the pulley is slipping.
Belt tension: what each state feels like
|
State |
How It Feels |
What It Does to Prints |
|
Too loose |
Sags. Flaps. Gives under light finger pressure |
Ringing, rough corners, sudden sideways offsets |
|
Correct |
Firm with a small amount of give. Axis glides evenly |
Straight walls, dimensions that hold across the part |
|
Too tight |
High-pitched twang. Axis feels heavy and uneven |
Extra motor load, faster bearing wear, missed steps at corners |
|
Worn or frayed |
Tight in one spot, loose in another |
Random shifts that come back after every retension |
Replace a belt when you can see frayed edges, missing teeth, cracks, polished patches, or a stretched section. Tightening a worn belt just moves load onto the motor.
Bring Speed, Acceleration, and Jerk Back Down

Why Fast Printing Drops Steps
Stepper motors get weaker as they spin faster. The Oriental Motor engineering reference on speed and torque curves describes the pull-out curve as the maximum torque available at any given speed, and any demand above that curve makes the motor lose synchronism. It stops keeping up. Steps go missing.
The Marlin firmware documentation says the same thing from the software side. Setting maximum feedrate too high makes the motor lose steps on fast moves. Setting acceleration too high causes vibration, noisy steppers, and skipped steps. Setting jerk too high applies too much torque on direction changes and produces ringing or dropped steps.
Y suffers most. Every direction change has to stop and reverse a large moving mass, and beds are heavy. That is why a small cube prints fine at a speed that fails on a tall model with sharp corners.
Sensible Starting Values to Test
Start by restoring the printer’s validated factory or material profile. Then change one motion setting at a time—such as print speed, travel speed, or acceleration—and record the original value before testing. Use the same small test print each time so you can tell whether that specific change reduces the shifting.
Where to start when a print keeps shifting
|
Setting |
Try This |
What It Tells You |
|
Print speed |
Cut 20 to 40 percent from your current profile |
If shifts stop, the motors were being overrun |
|
Travel speed |
Reduce separately from print speed |
Fast non-printing moves cause the hardest collisions |
|
Acceleration |
Halve it, then walk it back up |
High values shake the frame and skip steps at corners |
|
Jerk or junction deviation |
Lower in small increments |
Aggressive values snap the head into direction changes |
|
Manufacturer profile |
Load the standard one and start over |
Rules out a setting copied from another printer |
Test With One Small Print
A calibration cube. A speed tower. Something that takes twenty minutes rather than nine hours.
Hold material, temperature, layer height, and cooling constant across every test, or you will not know which change did the work. Save each profile with a clear name so you can go back to the last stable one when an experiment goes badly.
Keep the Motion System Clean and Free-Moving

Dust, Filament Scraps, and Debris
Every source of friction eats into the torque the motor has available. Enough of it and the axis falls behind.
With the machine off, check rails, rods, wheels, lead screws, and belt paths. Small pieces of filament love to wedge under a wheel or beside a pulley. Wipe smooth rods clean. Use a soft brush for tight areas rather than forcing debris into a bearing. Look underneath the printer and around the Y axis too, since scraps down there are hard to spot from above.
Lubrication Without Overdoing It
Match lubricant to hardware. Linear rails often want light machine oil. Lead screws usually want the grease the manufacturer specifies. Apply a small amount, move the axis a few times to spread it, and stop there.
Excess oil collects dust and drips onto belts, electronics, or the build surface. Keep it off V-slot wheels and off timing belts entirely. Those parts need clean dry contact to grip.
Worn Wheels and Bearings
Move each axis by hand through its full range. Resistance should feel the same at both ends. A sudden tight spot in one place explains a shift that keeps happening at one height.
Watch the wheels. A wheel that does not rotate is either too loose, blocked, or dead. Worn V-rollers develop flat spots and produce a repeating bump. Replace them rather than tightening them until they bind.
|
The five-minute pre-print check Plate seated and unable to slide. Axes moving smoothly by hand. Belts firm. No cable that goes tight at the end of travel. Nozzle clear of dried filament. Washington State guidance asks classroom instructors to run a pre-use inspection before students print, and the same habit catches most home failures before they waste a spool. |
Stop the Nozzle From Hitting the Print

First-Layer Adhesion and Warped Corners
A collision stops the carriage for a fraction of a second while the motor keeps receiving movement commands. Steps get skipped. Everything above that layer lands in the wrong place.
A model that stays stuck down cannot rise into the nozzle path. Clean the build surface. Remove oil, dust, adhesive. Check bed level and Z offset so the first layer presses down without being crushed flat. Add a brim on tall or narrow parts.
Warped corners lift above the intended toolpath and wait there for the head to arrive. Large flat parts and high-shrinkage materials cause most of it. A stable chamber temperature and no cold draft across the plate both help.
Z-Hop and Travel Speed
Z-hop lifts the nozzle slightly on travel moves so it clears curled edges, supports, and uneven top surfaces. Keep the lift small. Larger hops add print time and encourage stringing on some machines.
Slower travel around tall parts softens any accidental contact and reduces the shake that comes with sharp direction changes. Neither fixes the cause. Both buy you margin while you sort out adhesion or warping.
Nozzle Blobs and Stringing
Filament that sticks to the outside of the nozzle hardens into a lump. That lump strikes the print and shoves the carriage off position.
Clean it at a safe working temperature and follow the maker handling instructions. Never touch a hot nozzle. If fine strands keep collecting around small features, look at retraction settings, nozzle temperature, and whether the filament has picked up moisture.
Keep Motors and Drivers Cool
Heat-Related Shifts on Long Prints
Motors and drivers make heat while they work. Push the temperature far enough and a driver reduces power or shuts down until it recovers. Torque drops. Steps go missing.
Heat has a signature. Short prints finish fine. The nine-hour job shifts somewhere after hour three. If small models never fail and long ones always do, look at heat before you look at belts.
Airflow Around the Mainboard
Control-board vents need a clear path in and out. Walls, fabric, dust, and stored tools all block them. Some printers only run the board fan under certain conditions, so confirm it actually spins during a print.
Dust also unbalances fan blades and cuts airflow. Check guards and vents during routine maintenance. Power down and unplug before cleaning near electronics, and hold the blades still while you use gentle air. Replace any fan that rattles, slows, or stops at random.
When to Leave Motor Current Alone
Not first. Motor current controls how much electrical power reaches the stepper, and getting it wrong in either direction causes problems. Too little, torque drops. Too much and heat rises until parts are damaged.
Marlin’s own guidance lists better fixes ahead of electrical changes: heatsinks, active cooling, less microstepping, checking for over-tensioned belts, and checking that everything moves smoothly. Work through belts, pulleys, rails, cooling, and motion settings first. Follow the manufacturer’s instructions if you do change current, because a wrong value can damage the driver, the motor, or the board.
A Printer That Removes Most of These Failure Points

What Factory-Set Motion Takes Off the Table
Read back through the last five sections and notice how many of the fixes are jobs an adult has to do with a hex key. Belt tension. Pulley screws. Rail lubrication. Slicer acceleration values. That is normal for open-frame hobby hardware, and it is a reasonable trade for the price.
It is a poor trade for a nine-year-old. NIST lists high process variability and low part accuracy among the standing problems in additive manufacturing, with machine calibration and preventive maintenance named as a priority gap the industry has not closed. A household does not have a calibration program. It has Saturday morning.
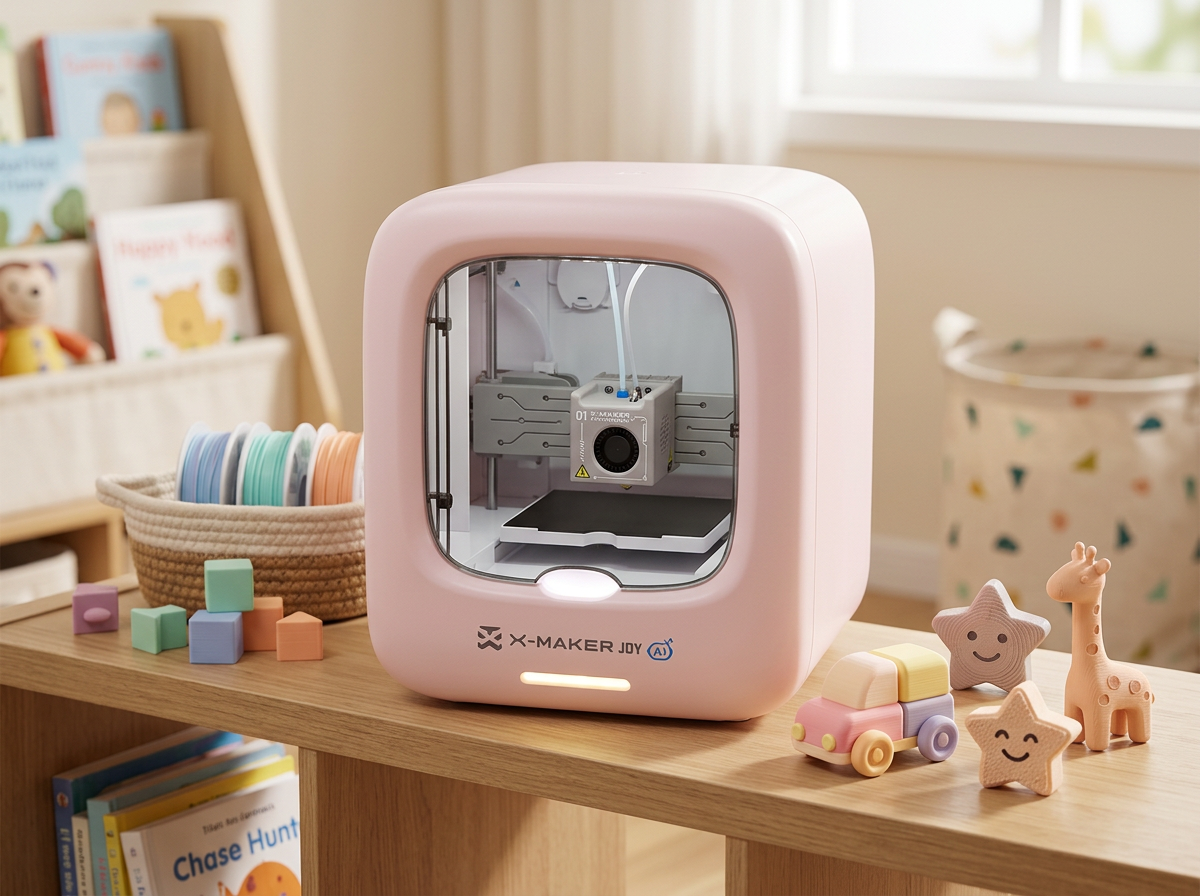
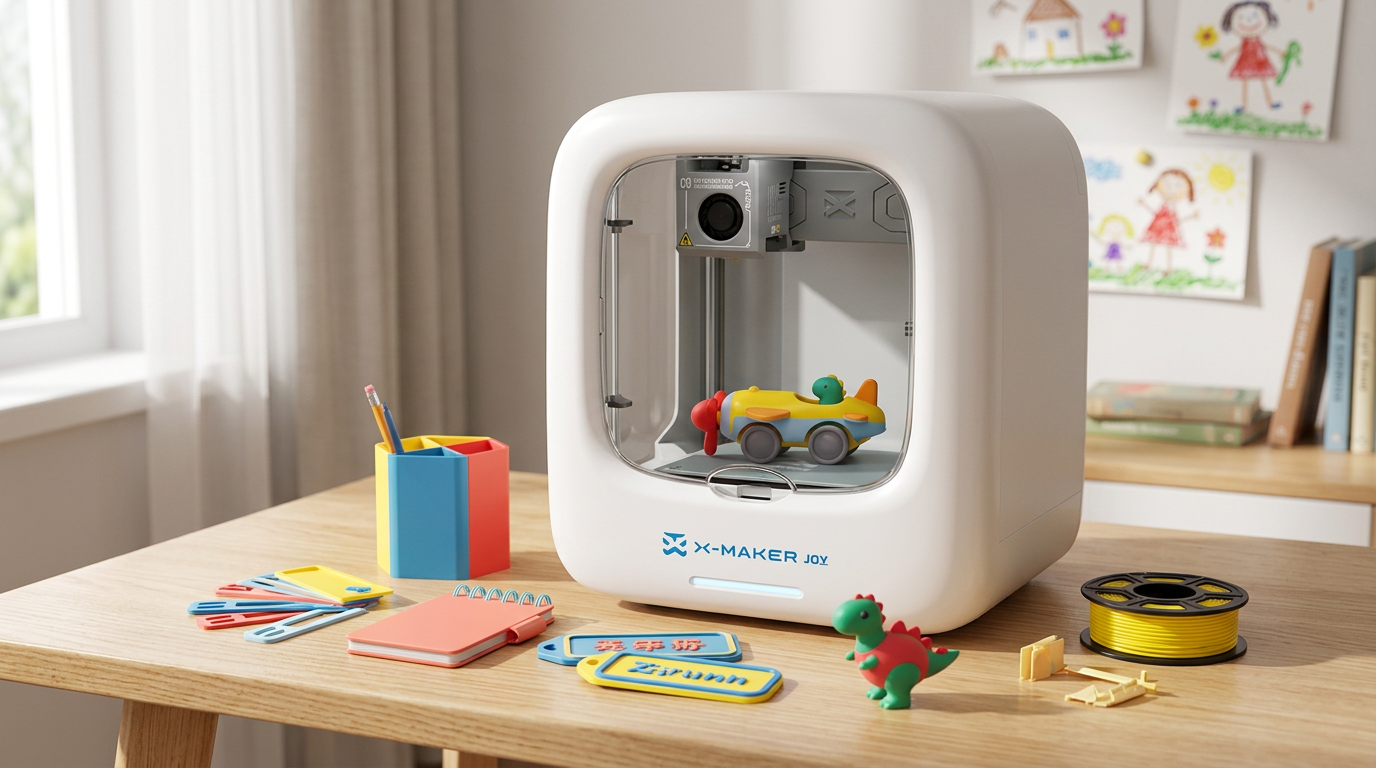
Factory-set features can reduce setup work, but an enclosure by itself does not prevent layer shifting or remove mechanical maintenance. TheAOSEED X-MAKER includes 16-point auto-leveling, a direct-drive extruder, a flexible magnetic build plate, and power-loss recovery, which can reduce routine setup and restart steps. Belts, nozzle collisions, obstructions, and other motion-system problems can still require inspection and maintenance.
|
FOR FAMILIES AND CLASSROOMS, THE FIX IS USUALLY THE MACHINE, NOT THE SETTING. EXPLORE KID-FRIENDLY 3D PRINTERS BUILT AS ONE SEALED UNIT AND SKIP THE BELT-TENSIONING EVENINGS ALTOGETHER. |
What Adults Should Still Check
Enclosed is not hands-off. NIOSH now lists homes alongside laboratories, factories, schools, and libraries as places FDM printers turn up, and names mechanical injury during machine support, maintenance, and material handling as a hazard in its additive manufacturing guidance. Washington State’s school rules go further and recommend selecting a fully enclosed printer for protection from particulate, chemical, and physical hazards.
- Keep the cover shut once a job starts. Opening it mid-print risks a bump, and school guidance treats it as a rule rather than a suggestion.
- Solid table, away from doorways and walkways. Nobody knocks the frame at hour seven.
- PLA for most family projects. It emits less than most alternatives and prints cooler.
- Adults handle the nozzle, the heater block, and the heated bed. Those stay off-limits to children.
- Thirty-second look before a long print. Plate seated, nothing loose, nozzle clean.
When to Adjust, When to Reprint, When to Rethink the Printer
Some are quick fixes. Others are the machine telling you what it is.
Adjust and carry on when:
- The shift happened once and you found the scrape mark that caused it.
- Belt tension was obviously wrong and the axis now moves cleanly end to end.
- You had raised speed or acceleration above the profile the printer shipped with.
- A cable was catching at one position and now runs free.
- Rails were gritty. They are clean and the carriage glides.
Reprint, or step back from the machine, when:
- Three separate fixes have not stopped it, and each attempt cost a spool.
- The part is functional and any offset makes it useless anyway.
- A child is doing the printing and an adult is doing all the mechanical work.
- Belts, wheels, and screws need attention every few weeks just to stay aligned.
- The printer sits unused because failed prints outnumber good ones.
That last one matters more than it sounds. A machine that needs maintenance before every project stops getting used, and an unused printer teaches nobody anything.
Conclusion

Treat layer shifting as a motion problem and it stops being mysterious. Identify the axis. Check the belt, the pulley, the rails, and the cable path on that axis alone. Then look at speed, acceleration, collisions, and heat, changing one thing at a time and testing with a small print rather than a long one.
Build a short routine and most of this disappears. Plate secure, axes smooth, belts firm, nothing snagging, nozzle clean. Five minutes before anything that will run overnight.
For families who would rather spend more time making than troubleshooting setup, model-specific features can reduce routine setup work. As checked on August 13, 2026, theAOSEED X-MAKER Single X-MAKER AI+ is listed at $339 in the U.S. store, reduced from $509, for ages 9–16. It has a 150 × 150 × 150 mm build volume and supports PLA and ABS. If printing ABS, follow the filament guidance and use suitable ventilation rather than treating the enclosure alone as emissions control. Its app and model library can help families move from one guided project to the next. See how the pieces fit together across theAOSEED family creativity range.
FAQs
Why is my 3D printer shifting layers?
Because the X or Y axis lost its correct position during a move. Loose belts, a slipping motor pulley, blocked rails, aggressive acceleration, an overheating driver, and nozzle collisions cause almost all of it. Start with direction. Left to right implicates X. Front to back implicates Y. Inspect belt tension, pulley grub screws, rollers, rails, and cables on that axis before you open the slicer. Timing narrows it further. A shift that appears after several hours points at heat, since drivers lose power as they warm. A shift at the same height on every attempt points at a collision, a snagging cable, or a problem move in the G-code. Practical tip: photograph the failed print in its original orientation so you can identify the axis after you remove it.
How do you fix layer shifting?
Find the axis that lost position, then correct the one part or setting responsible. That usually means tightening a belt or a pulley, clearing an obstruction, lowering speed, improving cooling, or stopping the nozzle from striking the model. Power off first. Move the affected axis by hand and feel for rough patches, looseness, or binding. Confirm the pulley grub screw presses against the flat side of the motor shaft, because correct belt tension counts for nothing if the pulley spins freely. If the hardware feels solid, reduce print speed, travel speed, acceleration, and jerk, then run a short test. Re-slice the model when failures keep landing at the same layer. Practical tip: change one item at a time and repeat the same calibration print after each adjustment.
How do you stop a 3D print from shifting?
Keep the motion system tight, clean, cool, and free of collisions. A stable first layer and moderate motion settings do most of the remaining work. Before printing, confirm the build plate cannot slide and the printer sits on a solid surface away from doorways. Inspect the X and Y belts for slack, wear, and poor alignment. Clean the rails so the head or bed travels smoothly across its full range. Use moderate acceleration, secure loose cables, and check for warped corners that could catch the nozzle. Long jobs also need working electronics fans, since hot stepper drivers lose torque. Practical tip: run a five-minute motion and adhesion check before starting anything that will print overnight.
How would you troubleshoot layer shifting during a print?
Pause the job, identify the shift direction, then inspect for a collision or a loose motion part. Do not start by changing several slicer values, because that hides the real cause. Look for lifted edges, broken supports, filament blobs, and scrape marks where the nozzle may have struck the model. Listen for clicking or grinding, then check whether the affected motor feels unusually hot. Examine the belt, pulley, bed clips, rollers, and cable path on the axis that moved. Record the height where the error began and check whether the model has failed there before. Keep hands clear of moving parts and wait for motion to stop. Practical tip: keep the failed model until the repair is confirmed, because its marks often reveal what the nozzle hit.
Why are my 3D print layers separating?
New filament is not bonding strongly enough to the layer beneath it. Separation is different. The walls stay in the correct horizontal position but develop cracks, gaps, or split sections. Low nozzle temperature is the usual cause, because filament cools before it fuses. Excessive part cooling, cold drafts, damp filament, low flow, a partly blocked nozzle, or a layer height the nozzle cannot support all weaken the bond as well. Check that the nozzle temperature matches the material and raise it in small steps when bonding looks poor. Confirm filament flows evenly and the nozzle is clear. Practical tip: print a small temperature tower before changing several extrusion settings at once.
What is tougher, PLA or PETG?
PETG, generally. It bends further before breaking and absorbs impact better than standard PLA. PLA is stiffer, holds sharper detail, and is easier to print, but it snaps under sudden force. Material choice does not fix layer shifting, because shifting comes from lost axis position rather than from the plastic. It does affect collisions. PLA parts curl or loosen when bed settings are wrong. PETG produces strings and nozzle buildup when temperature and retraction are poorly tuned. Both defects put plastic in the path of a moving nozzle. Either material prints cleanly once belts, pulleys, motion settings, and adhesion are correct. Practical tip: choose PLA for easy rigid prototypes and family projects, and PETG when the part needs impact resistance or flex.
What is the 45 degree rule in 3D printing?
A rough guide for deciding whether an overhang will print without support. Many FDM printers handle surfaces angled around 45 degrees from vertical, because each new layer still rests on roughly half the layer below. The real limit depends on cooling, layer height, speed, material, and the shape of the model. Push past it and the filament sags, curls, or leaves a rough edge. That matters for layer shifting because a curled overhang rises into the nozzle travel path and causes the collision that skips steps. Supports, better cooling, a slower overhang speed, or a different model orientation all reduce the risk. Practical tip: open the slicer preview near the height where a previous shift began and look for steep overhangs there.
Can a 0.4 mm nozzle print at 0.1 mm layer height?
Yes. A 0.4 mm nozzle handles a 0.1 mm layer height without difficulty, and the setting is common for models that need smooth curves and fine surface detail. The trade is time. A smaller layer height means far more layers, so the job runs much longer. Longer jobs give heat buildup, loose hardware, cable snags, and repeated collisions more opportunity to expose a layer-shifting problem that a quick print would never reveal. Thin layers fix nothing mechanical. Loose belts, slipping pulleys, and blocked rails behave exactly the same at 0.1 mm as at 0.2 mm. Practical tip: run a small 0.1 mm test print before committing to a detailed model that will run overnight.
Sources
- National Institute of Standards and Technology, “Measurement Science for Additive Manufacturing Program”
- Marlin Firmware, “Configuring Marlin”
- Oriental Motor, “Speed – Torque Curves for Stepper Motors”
- National Institute for Occupational Safety and Health, “3D Printing (Additive Manufacturing)”
- Washington State Department of Health, “3D Printers”





Further reading

3D Printed Cartesian Plane Lesson Plan: Math and Technology Integration for Grades 5 to 8

STEM Education for Kids: What It Means and How Parents Can Support It at Home

Small Gifts for Kids: Party Favors and Little Presents Kids Can Make