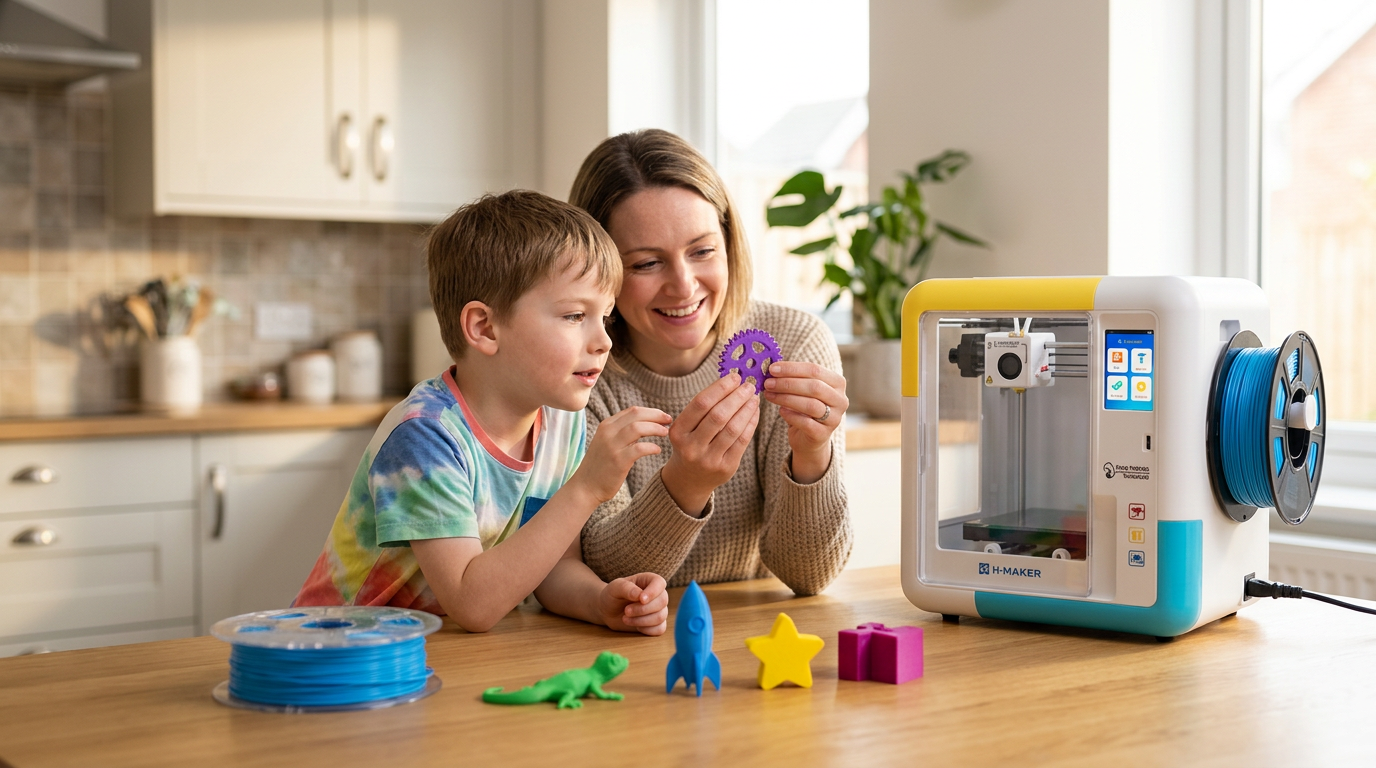
3D-Printed Toy Small Parts: A 10-Point Parent Inspection
A print can look finished and still be unsafe. The layers hold on the shelf. Then a peg snaps the first time a kid yanks it. Small parts are where this shows up most. A piece that breaks off is a piece that can end up in a mouth.
So check the toy before play. Check it again after a drop. The routine below takes a minute once you know it, and it catches what you can actually see. It will not tell you the toy meets federal testing rules. Nothing at home will. It still catches the weak layer, the burr, the loose wheel.
Quick Pick: What to Check First
Start here if you only have a minute
Four checks catch most of it. Do these first.
|
Check |
How |
Reject if |
|
Size |
Drop each loose piece through a cardboard tube from a toilet paper roll |
It falls through and a child under three is in the house |
|
Surface |
Rub a cotton pad across every face and edge |
Fibers snag, which means a burr you cannot feel |
|
Attachment |
Pull each peg, wheel, and clip the way a kid would |
It shifts, rotates, or separates under normal hand force |
|
Thin features |
Press horns, tabs, and fins with steady pressure |
The plastic whitens at the base or stays bent |
What Counts as a Small Toy Part
Detachable components
Wheels, tokens, caps, pegs, tiny tools, accessories built to come off. A kid pockets one. Or loses it under the couch. Age labels drift, too. A part sized for a nine-year-old ends up in a toddler's hand when siblings share a room. The CPSC bans certain small parts in products meant for children under three, and it requires warning labels on some toys made for older kids.
Print-in-place moving pieces
Articulated dragons, fidget toys, folding figures. They come off the bed with the joints already linked. That feels like magic. It also hides a problem. Free the joint gently. A stuck hinge snaps when forced. A loose one drops its pin.
Replacement parts and connectors
Axles, clips, tabs, latches, gears. These carry more force than their size suggests. A click is not strength. A connector that seats cleanly can still fail under play loads. Pull it. Twist it. Work it back and forth a dozen times before the toy goes back to a child.
Decorative details that break off
Horns, antennae, fingers, tails, spikes, raised lettering. Thin details survive the printer and die on the first floor drop. Here is my rule. If you can pinch it between two fingers, treat it as a detachable part. Round it or thicken it, especially for a younger kid.
Why the Inspection Matters

Choking comes first
Babies and toddlers explore with their mouths. That makes a loose piece a real risk, not a theoretical one. The American Academy of Pediatrics tells parents to keep small parts away from young children and to pick toys with parts larger than the child's mouth, advice laid out in its guide to buying safe toys. Do not lean on past behavior. Kids improvise. A child who has never mouthed a toy will do it when tired or copying a friend.
Sharp edges you cannot feel
Support removal leaves nubs and thin plastic blades. A failed first layer leaves ridges. Your fingertip misses most of them. Use a cotton pad. Snagged fibers show you exactly where to sand. CPSC toy guidance requires accessible edges on toys for kids under eight to be free of hazardous burrs and feathering.
Breakage during real play
Shelf strength is not play strength. A kid bends an arm, crashes a car, throws a figure into a bin. Tall pins and thin tabs split along layer lines first. Load the part the way play will load it. Stop when the plastic whitens, cracks, or stays bent after you let go.
Pinch points in moving joints
Two printed faces closing together can trap skin. Gears, scissor links, folding arms, sliding tracks. Work it slowly. Watch the gap. If a finger or a strand of hair could catch, redesign it. Do not just supervise harder.
The 10-Point Inspection
Run them in this order every time
Same order, every toy. Skipping around is how a check gets missed. Run it after printing. Run it after assembly. Run it again once the toy has been dropped, stepped on, or left in a hot car.
1. Size the loose pieces

Pull off everything that comes away without tools. Caps, wheels, tokens, hinge pins, magnets. Anything already wobbling. A commercial small parts test cylinder is the accurate way to screen these. A cardboard tube works at home. Rougher, but useful. Neither certifies compliance. That is fine. You want an early warning, not a lab report.
2. Hunt for sharp points
Bright light. Turn it slowly. A sharp projection is often visible from one angle only. A quick glance misses it. Check the support contact areas, seams, holes, corners. Then sand or trim anything that could scratch.
3. Look for loose filament
Strings, whiskers, blobs, strands trapped inside holes. They detach during handling. They also flag a settings problem, usually temperature or moisture. Clip them with the right tool. Wear eye protection. Collect the fragments off the floor.
4. Read the layer lines

Hold it near a lamp and turn it. Dark lines, gaps, a change in surface texture. Those mark poor layer bonding or under-extrusion. Press gently beside the suspect line. If it widens or makes a sound, reprint it. Do not sand and hope.
5. Flex the thin sections
Steady pressure on thin walls, fins, handles, decorative features. You are not trying to break it. You are finding sections that bend too easily or fail to spring back. Watch the base. Whitening means stressed plastic. Stressed plastic cracks next.
6. Pull the attachments

Grip each peg, wheel, axle, and glued-on decoration. Pull the way a child pulls. Then wiggle it side to side. Nothing should loosen or rotate. If it moves under modest force, reprint with a wider base or a different orientation.
7. Cycle the joints
Full range, several times. Listen for clicks that were not designed in. Plastic dust around the rubbing faces means it is wearing already. A joint should move without a shove. Force means a snap later.
8. Test paint and glue
Dry white cloth, firm rub. Flaking color, tacky spots, a strong smell, lifting seams. Any of those and the toy waits. No exceptions. Children's products in the US face limits on lead in paint and similar coatings, and a label alone does not prove a finished toy meets them.
9. Confirm the fit
Install it and run the toy as intended. Check for wobble, blocked features, exposed internal edges. Take it out. Put it back. A connection that only seats when forced will crack later, or damage the original toy.
10. Match it to the child
Age fit is not a birthday. It is whether this kid mouths objects, throws toys, plays unsupervised, or has a swallowing condition. The AAP recommends choosing toys for a child's developmental abilities rather than chronological age, with extra caution around small parts when swallowing risk is higher.
|
The four people skip Coatings. Internal gaps behind a clean wall. The whitening tell on thin features. Pinch clearance in joints. A toy passes a glance and fails all four. |
Choosing Materials for Small Toy Parts

Match the filament to the load
No filament is safe for every toy. What matters is the load it carries, the heat it sees, how much it flexes, and how rough the play gets.
|
Material |
Good for |
Watch for |
|
PLA |
Game pieces, display figures, light-duty models. Holds fine detail and stays dimensionally accurate |
Cracks instead of bending on thin clips. Softens in a hot car or near a heater |
|
PETG |
Wheels, larger clips, brackets, anything that gets dropped. Bends further before it breaks |
Strings while printing, so check holes and joints. Needs more clearance on sliding fits |
|
TPU |
Tires, bumpers, grips, flexible hinges. Flex reduces sharp breakage |
Small pieces still detach. Test for tearing and parts that stay stretched |
|
ABS |
Functional parts needing heat tolerance and impact resistance |
Shrinks on cooling. Emits fumes, so ventilate and keep kids out of the room |
|
Resin |
Tiny text, faces, fine detail on display pieces |
Brittle thin features. Needs washing and curing. Keep uncured resin away from children |
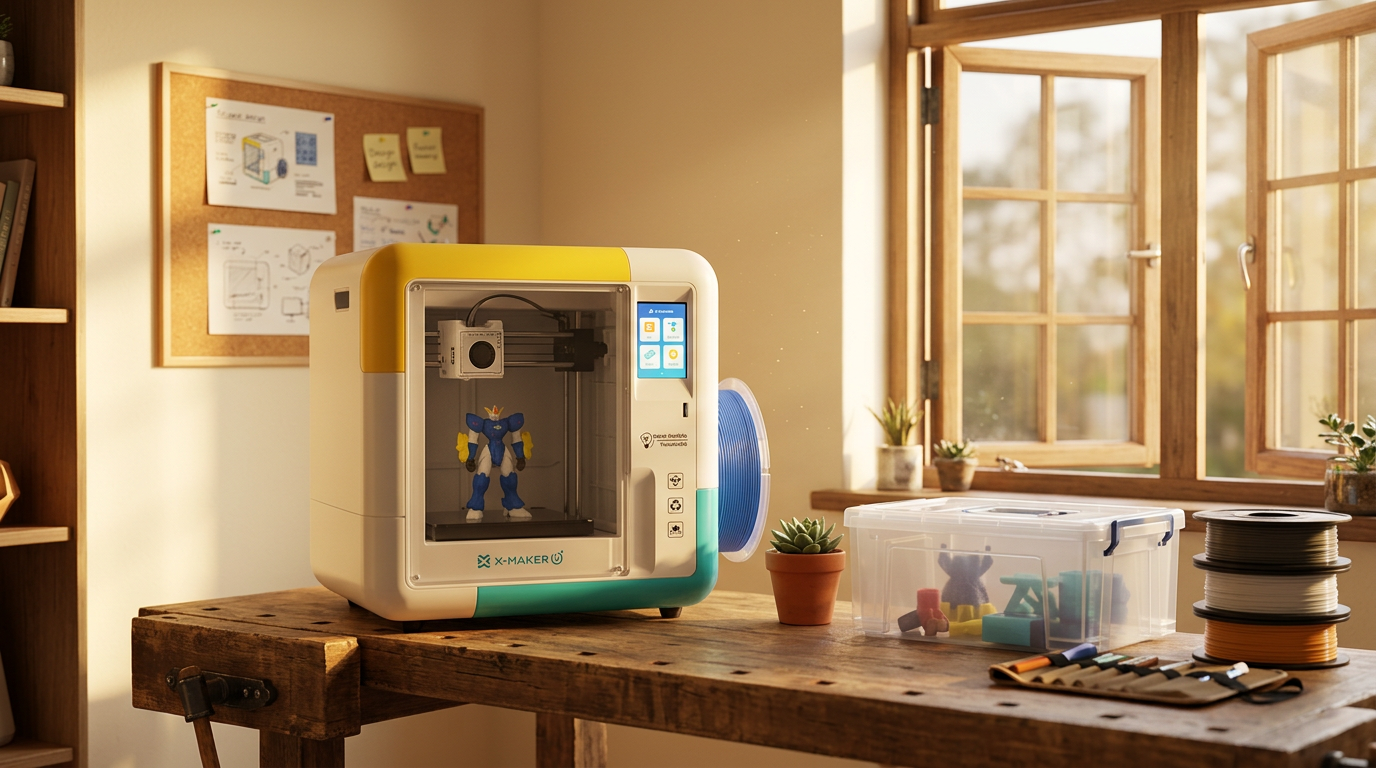
ABS is the one that changes where the printer lives. Heated filament machines release ultrafine particles and volatile compounds, and the amount shifts with material and print conditions, as measured in aerosol emission testing on FDM printers. So ventilate. Keep the machine out of bedrooms and playrooms. For younger kids the simpler answer is to skip ABS entirely and use an enclosed printer that runs PLA only, which removes the fume question and puts a physical barrier between small hands and the nozzle.
|
WHERE THE PRINTER ITSELF DOES SOME OF THE WORK A machine that only accepts PLA cannot be loaded with ABS by a curious kid. An enclosure keeps fingers off a nozzle running at 200 degrees C. Auto bed leveling removes the failed first layers that produce most burrs. None of that replaces the 10 checks, it just means fewer parts fail them. AOSEED builds 3D printers made for kids around exactly those constraints, with 8,000+ reviewed models so the starting file is not a gamble either. |
Design Changes That Prevent Loose Parts
Round the edges
Swap knife edges for fillets and curves. Rounded transitions spread stress instead of piling it on one corner. Watch handles, wings, ears, and any tool a figure holds. A point that looks harmless on screen feels sharp in a hand.
Thicken the stress points
Thin walls split near screw holes, axles, clips, hinge bases. Add material where the part bends or connects. Keep it gradual. A thick block beside a thin wall moves the failure point, it does not remove it.
Reinforce pegs and axles
A narrow peg wants a wider root. Fillets help. Small ones at the base cut the odds of a snap. For rotating parts, a captured axle beats a printed pin when the design allows, as long as it stays inaccessible and does not become a new loose piece.
Scale up for younger kids
Enlarge tokens and accessories. Merge several small decorations into one bigger shape to keep the look without the pieces. Do not scale uniformly. That leaves fragile proportions and pinch points untouched while making everything larger.
Print Settings for Stronger Small Parts
Orient around the load
FDM parts are weaker between layers than along them. Rotate the model so the main pull does not try to peel the layers apart. A peg printed upright breaks at the base. Print it flat instead. Same peg, and it holds. Orientation may add support marks, so trade strength against finishing.
Walls before infill
Small parts have almost no interior, so cranking infill does less than people expect. Perimeters do the work. Prusa's guidance on layers and perimeters states it plainly, that strength is mostly defined by perimeter count rather than infill, and UltiMaker's design notes for FFF printing makes the same point about matching feature size to wall thickness. Add two perimeters first. Then touch the infill slider.
Pick a layer height the nozzle supports
Smaller layers improve curves and tiny features. They also cost hours. And they expose calibration problems. Prusa puts the ceiling at 80 percent of nozzle diameter, so a 0.4 mm nozzle tops out near 0.32 mm. Check the sliced preview afterward. Confirm the thin walls and holes survived.
Slow the small perimeters
Tiny loops give hot plastic no time to cool before the next layer lands. Too fast and you get soft corners and leaning details. So slow them down. Print a few copies at once if cooling allows. Each one gets time to set.
Fit-test before the full toy
Print the connector alone first. Five minutes of plastic beats a three-hour reprint. Change one dimension at a time. Label every version, or you will lose track of which one fit.
|
A habit worth keeping Save the file, the material, the orientation, and the settings for every part that passes. When it breaks in eight months you reprint in minutes instead of re-solving the problem. |
Finishing Without Hiding Problems
Remove supports carefully
Look at where the support meets the model before cutting. Pull wrong and you tear a thin wall, or start a crack that cleanup will hide. Controlled cuts. Other hand backing the feature. Eye protection on.
Sand only what needs it
Start at the roughest spot. Smooth the support marks, seams, sliding faces, and the edges a kid grips. Then stop. Sand further and the fit changes. Wipe the dust off before you test again.
Coat with care
Use coatings meant for the plastic and follow the cure time. Dry to the touch is not cured. A surface can still be soft underneath. Paint fills small gaps. It hides cracks too. Repeat the pull and flex checks once the finish cures. A chipping coat creates loose fragments and exposes edges at the same time.
Repairing a Toy With a Printed Part
Find out why it broke
Look for the cause before copying the shape. Impact, a jam, a weak corner, another part drifting out of line. A straight copy repeats the failure. Every time. Strengthen the weak area only after checking that the change will not push force onto something harder to replace.
Measure the original
Hole diameters, pin spacing, wall thickness, the gap between moving faces. A caliper helps. Measure twice. Broken edges no longer show the original dimensions, so measure an undamaged matching part when there is one.
Test it without the kid in the room
Assemble and run it slowly, then add speed. Repeat the action more times than a play session would. Stop if it sheds dust, whitens, or shifts. Then recheck every internal spring, screw, and washer before closing the shell, and shake the toy to chase down new rattles.
When to Reprint and When to Walk Away

Reprint the part when
- A hole is distorted or a wall came out thinner than the model
- The connector only seats when you force it
- Warping shifted the alignment enough to change the fit
- Layers are missing, or a crack opens under gentle pressure
- The same spot has failed once, and you can name the cause
Drop the design when
- Small detachable pieces are central to how the toy works
- Fragile details keep breaking after two or three fixes
- Moving parts create a pinch point you cannot design out
- It needs constant supervision your household cannot give
- There is uncured resin, a loose magnet, or a deep fracture anywhere in it
A simpler toy with bigger parts usually delivers the same play value with fewer failure points. Swapping the model is not giving up. It is just cheaper than fixing it twice.
Conclusion

Small printed parts need more than a glance. A finished-looking piece can carry a weak layer, a support burr, a loose connector, or a thin detail that snaps the first time it hits the floor. Ten checks. One minute. Worth it. Size, surface, strings, layers, flex, attachments, joints, coatings, fit, and age.
Repeat it after printing, after assembly, after every hard landing. Federal toy rules cover small parts, sharp points, coatings, testing, and warning labels for products sold in the US, so a home check is a filter, not a certification. It still catches what you can see, which is most of what actually goes wrong.
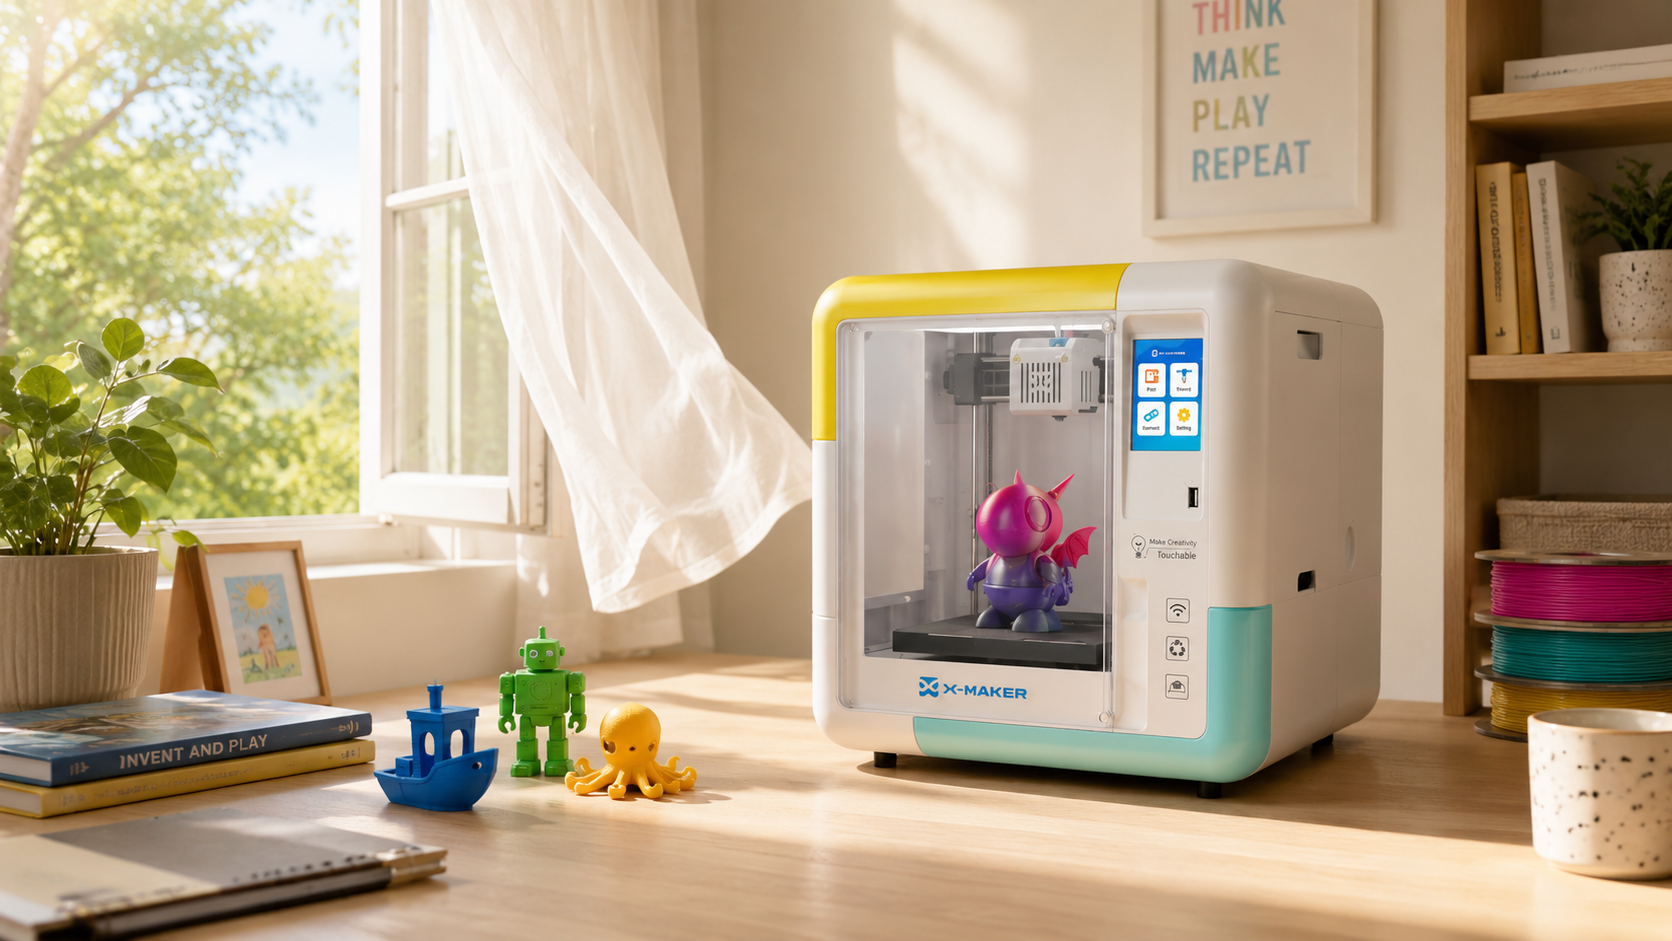
The printer shapes how often parts fail in the first place. Enclosed build area, PLA-only filament, guided setup, a reviewed model library instead of a random download. If you are choosing a first machine for a house with kids, the X-MAKER JOY sits at $259 and is built for ages 4 to 12, and the rest of the range is on theprinters built around family safety site. Print the part. Check it. Hand it over.
FAQs
How do you 3D print very small parts?
Treat the model, nozzle, layer height, speed, cooling, and orientation as one system. Check the sliced preview first. If thin walls or lettering vanish there, they will not appear in plastic either, and a smaller nozzle is the fix. Print slowly, give each layer time to cool, and run the smallest connector on its own before committing to the full model.
What are small, simple things to 3D print?
Board game tokens, cable labels, key tags, plant markers, replacement knobs, stacking shapes. Flat base, thick walls, no overhangs, no tiny joints. Small does not mean easy, though. A model with thin pins and tight holes needs more calibration than a bigger box does. Pick something that sits flat and finishes without supports.
How much does it cost to 3D print a small part?
Usually a few cents to a couple of dollars in filament. The real number includes failed attempts, electricity, and finishing supplies. Divide the spool price by its weight, then multiply by the sliced model's grams. A $25 spool holding 1,000 g works out to 2.5 cents per gram, so a 12 g part costs about 30 cents. Add the supports and one test print before comparing against a print service.
What is the smallest thing you can 3D print?
There is no single answer. It depends on the method, the nozzle or light source, the material, and your calibration. FDM is capped partly by nozzle diameter, so a very thin wall either disappears in the slicer or prints as an oversized line. Resin resolves far finer detail without making that detail strong. Print a feature-size test before you put miniature text or pins on a toy.
Can you legally sell 3D-printed items?
Generally yes for your own designs, but intellectual property, product safety, labeling, and tax rules still apply. Downloading a file grants you nothing by itself. Check the license, since NonCommercial terms rule out sales. Children's toys add duties on top, including third-party testing, certification, tracking information, and warning labels. Keep records of all of it.
What are you not allowed to 3D print?
Anything where making it breaks a law, infringes someone's rights, or produces a prohibited item. A free file can still be protected work. The U.S. Copyright Office notes that reproducing protected work without authority infringes the owner's rights, and the USPTO explains that similar branding causing buyer confusion is a trademark problem. For toys specifically, banned small parts or noncompliant coatings can make a design unlawful to market.
Is it legal to 3D print LEGO-compatible parts?
A plain compatible brick for personal use is usually fine. Selling one, or presenting it as official, is where the risk sits. LEGO is a protected brand identifier, so keep the name, logo, and packaging style out of it. Copyright can still cover minifigures, characters, and decorative features even when a basic functional shape gets thin protection. State compatibility without implying affiliation.
What is the easiest thing to 3D print and sell?
Original, low-risk items with simple geometry and short print times. Plant labels, desk organizers, cable guides, nameplates, storage dividers. A file is not a product. The item has to solve a problem, fit real dimensions, and print the same way every time. Products aimed away from young children, food contact, and electrical use raise fewer compliance questions.
Sources
- U.S. Consumer Product Safety Commission, “Small Parts Ban and Choking Hazard Labeling”
- U.S. Consumer Product Safety Commission, “Toy Safety Business Guidance”
- American Academy of Pediatrics, “How to Buy Safe Toys”
- American Academy of Pediatrics, “Toy Buying Tips for Children with Special Needs”
- PubMed, “Chemical and Physical Characterization of 3D Printer Aerosol Emissions”
- Prusa Research, “Layers and Perimeters”
- UltiMaker, “Design for FFF 3D Printing”
- Formlabs, “What Does Resolution Mean in 3D Printing?”
- U.S. Copyright Office, “What Is Copyright?”
- United States Patent and Trademark Office, “What Is a Trademark?”


Further reading

AI vs CAD for Kids: Which Design Path Fits Each Age?

AI-Generated 3D Models for Kids: 9 Printability Checks Before You Print

How to Fund a Classroom 3D Printer: Grant Budget and Proposal Checklist