

AI-Generated 3D Models for Kids: 9 Printability Checks Before You Print
 An AI-generated 3D model is ready to view long before it is ready to print. Before using filament, check nine things: a watertight mesh, connected parts, printable wall and detail thickness, a stable base, manageable overhangs, correct scale, a usable file format, enough strength for handling, and a slicer preview with no missing layers. A model can look excellent on screen and fail several of these tests.
Run the checks in order. Start with the mesh and connected geometry because no print setting can repair a broken object. Then test thickness, orientation, support demand, and scale. Finish in the slicer, where each feature must produce a continuous toolpath. Repair small mesh defects or thicken a weak feature; regenerate the model when the overall pose, balance, or topology is wrong.
This guide explains what text-to-3D and image-to-3D tools actually export, where a parent or teacher still needs to make decisions, how to prompt for printable forms, and when repair costs more time than starting again. The at-a-glance checklist takes about ten minutes on a first attempt and becomes much faster with practice.
The Nine Checks at a Glance
|
# |
Check |
What Usually Goes Wrong |
Two-Minute Fix |
|
1 |
Watertight mesh |
Hidden gaps around mouths, feet, hair or clothing |
Run the slicer repair, then re-slice and look again |
|
2 |
Floating or overlapping parts |
A horn, tooth or button sits a fraction off the body |
Merge it into the body, or delete it |
|
3 |
Wall and detail thickness |
Capes, fins and fingers vanish when sliced |
Scale up, or thicken only the weak part |
|
4 |
Stable base |
Rounded feet barely touch the plate |
Cut a flat bottom, or add a thin display base |
|
5 |
Overhangs |
Wings and chins start in mid-air |
Rotate first, then add tree supports |
|
6 |
Scale |
Model imports at 8 mm or 800 mm |
Set the real size, then recheck thin details |
|
7 |
File format |
A mesh gets used where a measured part was needed |
Match the format to the job before exporting |
|
8 |
Strength |
Thin necks and tiny pegs snap during play |
Thicken the joint, or reorient the layers |
|
9 |
Sliced preview |
Missing features and stray islands |
Step through the layers from the plate up |
Can Kids Use AI to Create 3D Models for Printing?
Yes. A child can describe an object in plain words, or hand the tool a photo, and get usable geometry back. For simple shapes the generation step is genuinely solved.
Inspection is not solved. AI is trained to make things look right on a screen. A screen has no gravity, no nozzle and no first layer, so a model can be convincing and still be completely unprintable. That is why the checks exist.
Text-to-3D and Image-to-3D Behave Differently
Text-to-3D starts with words. Something like a friendly dragon sitting on a round base. The tool interprets those words, then invents whatever it cannot see, including the underside.
Image-to-3D needs a picture. It estimates depth and proportion from what is visible, then guesses the hidden surfaces. Reference images usually give better proportions. They also leave the tool less room to invent something the child never asked for.
Neither method promises a printable result. Both still need checking.
What the Generator Actually Hands You
Most AI 3D tools return a mesh. Think of a shell. Thousands of small triangles describe the outside surface and nothing else, so a closed volume is never guaranteed.
A slicer needs that closed volume. For every layer it has to decide which side is plastic and which side is air. Give it an open shell. Then it guesses. Guesses show up as gaps, stray walls and vanished detail.
A smaller group of tools works closer to CAD and produces measured solid geometry instead. That difference matters. It gets its own section below.
Where a Parent or Teacher Still Helps

Kids can run most of this. The judgement calls go faster with an adult nearby, mainly around size, supports, and whether a fragile detail is worth printing at all. Adults load the filament. Pulling a finished model off a warm plate is also an adult job on most machines.
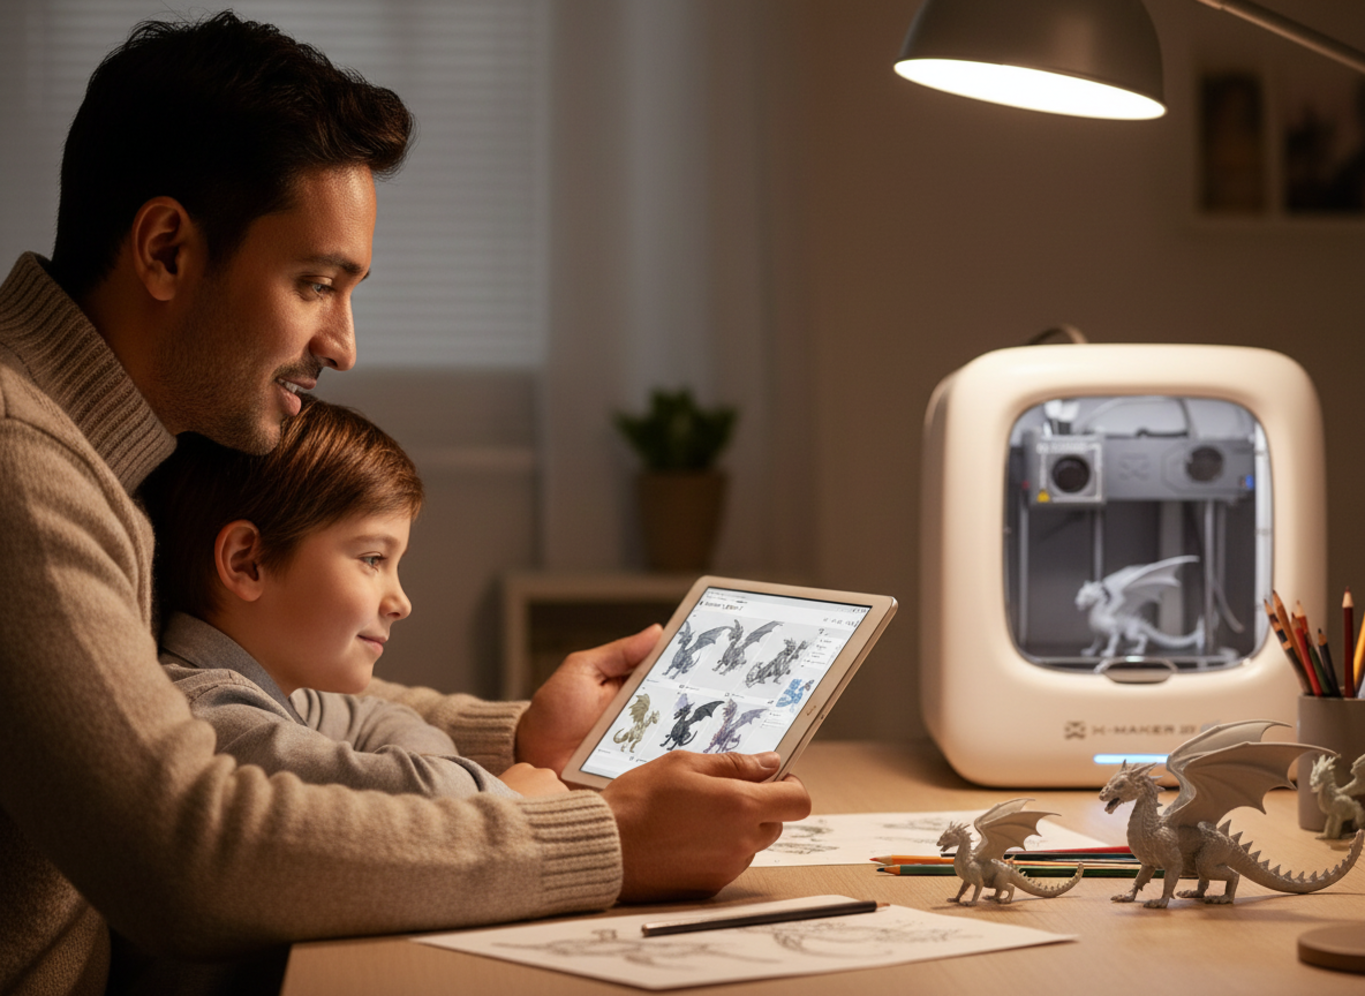
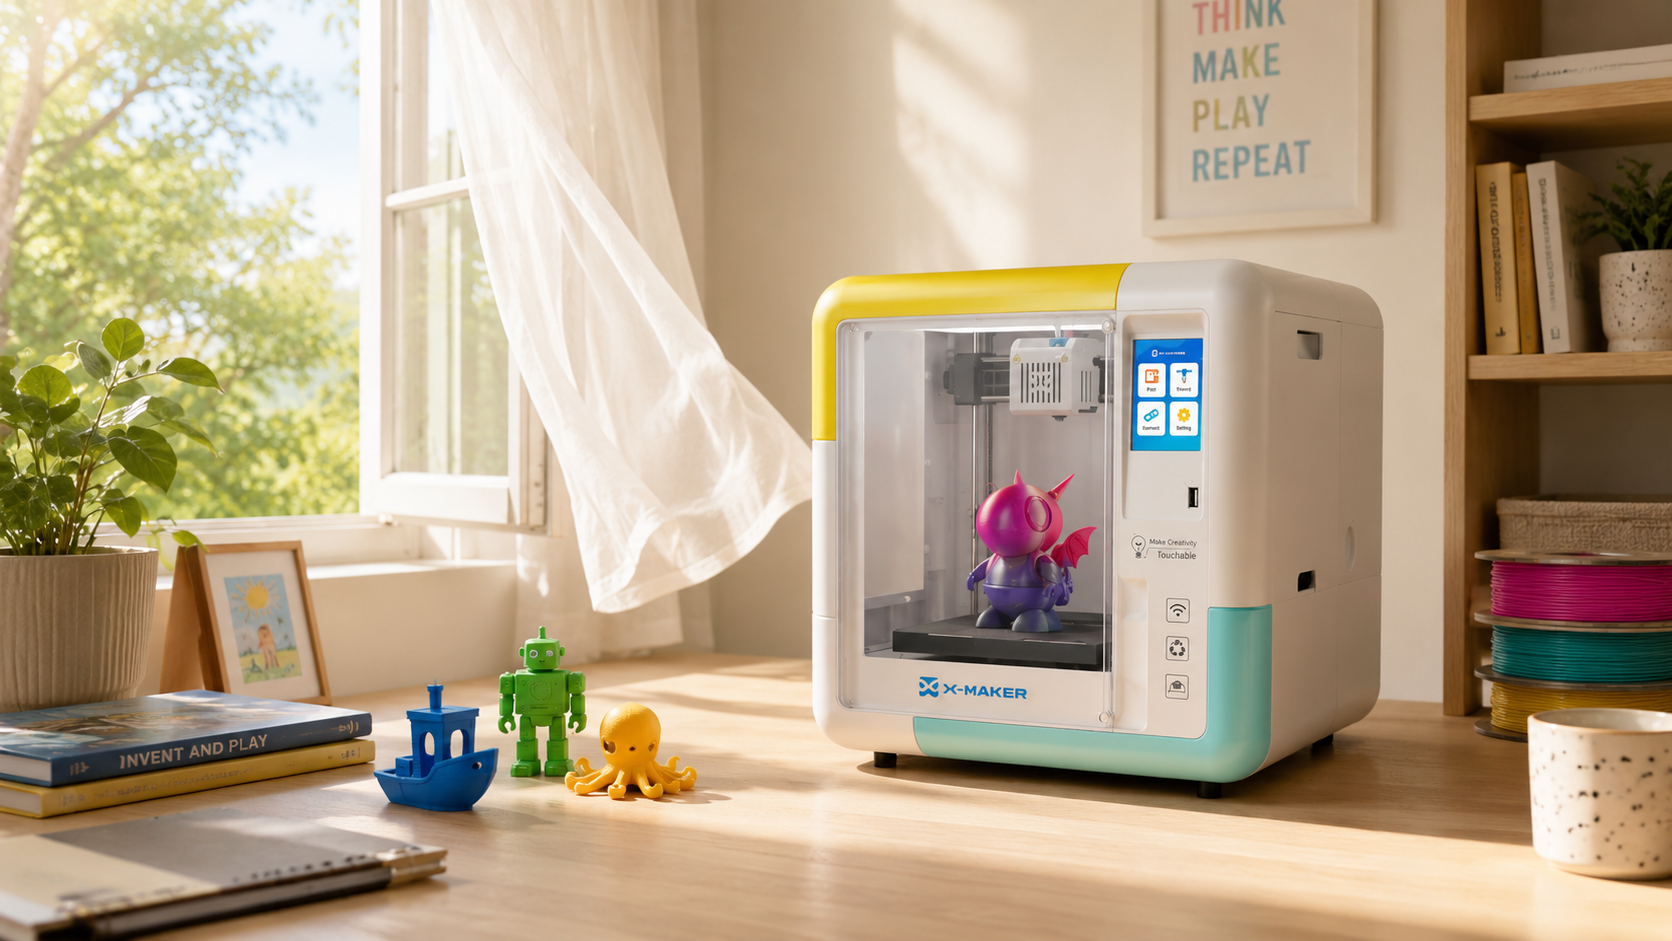
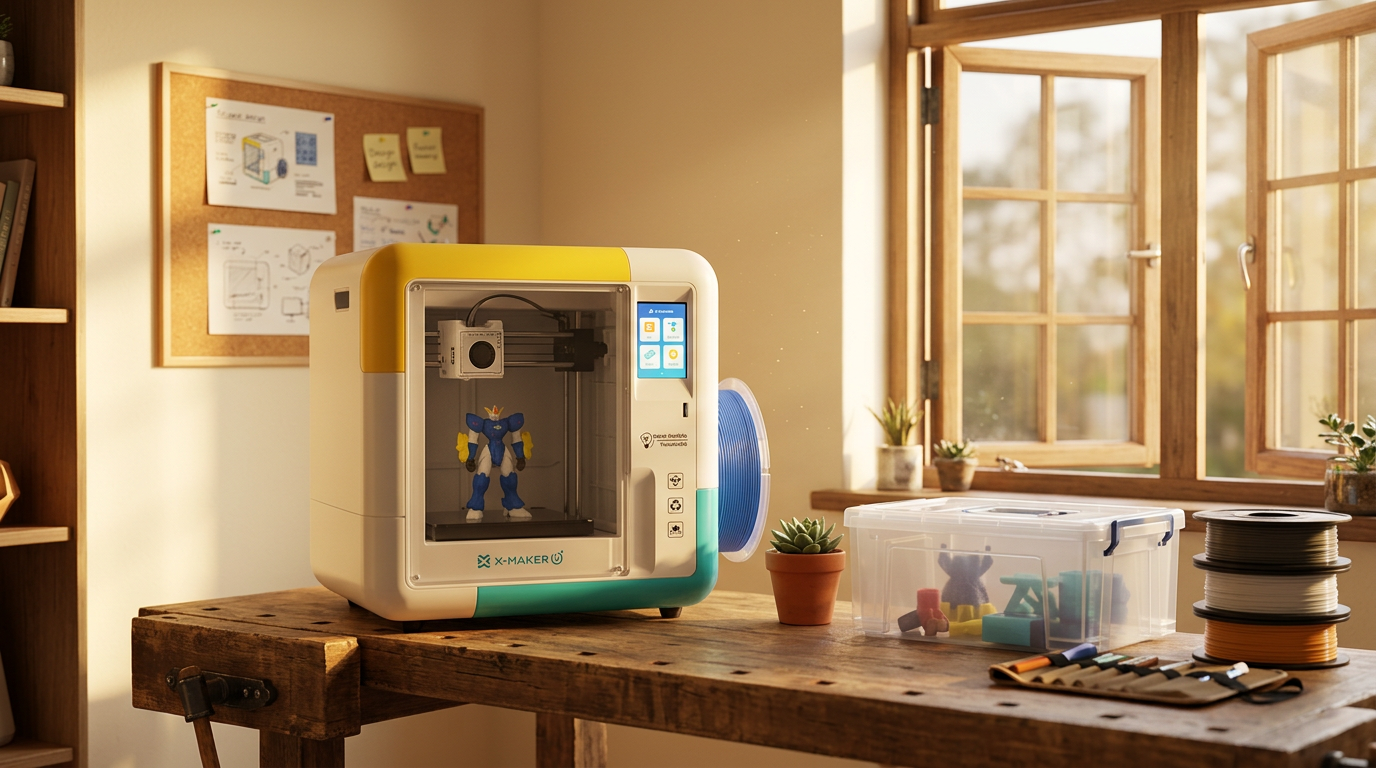
The workflow gets much shorter on hardware that already includes guided design tools and a reviewed model library. a starter printer built around guided design tools lets a child compare a generated model against a library model that is already known to print, which is the fastest way to learn what good geometry looks like. Its build area is 120 x 120 x 120 mm, so scale problems surface early. Not three hours in.
|
PARENT ROLE, KEPT SMALL Three moments, then step back. Confirm the size in millimetres. Glance at the support preview. Check that no printed piece is small enough to end up in a younger sibling’s mouth. Everything between those moments can be the child’s work. |
The Nine Printability Checks
Run them in order. Each one assumes the last one passed, and fixing scale after fixing thin walls means redoing the thin walls.
Check 1: Is the Mesh Watertight?
A printable mesh has to describe a sealed volume. Every face must join into one or more closed shapes. MIT's Center for Bits and Atoms advises authors to use closed, watertight solids and to check STL meshes for errors before processing. Holes, gaps, and reversed or stray faces can lead to slicing defects.
AI puts these gaps in predictable places. Mouths. Feet. Hair. Wherever a cape meets a shoulder. The gap can measure a fraction of a millimetre and still break the slice.
Import the file into a slicer and read whatever warnings come back, because most of them point straight at the gap. Repair is automatic in most slicers and it works on small holes. Then re-slice and look at the shape again. That step matters, because repair sometimes closes a hole by removing something the child wanted.
Non-manifold geometry is the related problem. An edge shared by too many faces, surfaces that cross through each other, or a wall carrying no thickness at all. From outside the model looks fine. The slicer disagrees.
Check 2: Are Any Parts Floating or Overlapping?
AI builds complicated objects by stacking simpler ones, and those pieces do not always join up. It happens often. An arm can pass straight through a torso instead of merging with it, and a button can hover half a millimetre off a coat.
A hovering detail gets treated as a separate object. If it starts above the plate, the printer has nothing to build it on. Some print services refuse these files outright, and Penn Libraries requires one connected body per file for exactly this reason.
Rotate the model. Look underneath. Zoom in on the small decorations, then merge the piece into the main body or delete it. For a first project, deleting the piece is nearly always the better trade.
Check 3: Are the Walls and Small Details Thick Enough?

This is where most kid-friendly models fail. It fails quietly. The wall exists in the file, and the printer simply cannot make it.
Minimum printable wall thickness and feature size are printer-specific. Use the installed nozzle, validated profile, and slicer preview instead of copying a universal number. Penn Libraries likewise advises checking whether small details remain printable at the intended scale.
Fingers, ears, horns, whiskers and antennas are the usual casualties. Then the text. A label that reads clearly at 150 mm wide turns to mush at 50 mm.
|
SCALE UP OR THICKEN, NOT BOTH Scaling the whole model fixes every thin feature at once, which is fine when the printer has room. Thickening one horn keeps the overall size and only touches the weak part. Pick whichever changes less of the design, then check the thin features again afterwards. |
Check 4: Does It Have a Flat, Stable Base?
AI does not know which way up the object will print. So characters get rounded feet and decorative models get curved bottoms, and both touch the plate across almost no area. Neither is stable.
Small patches let go. Usually about an hour in, once the model is tall enough to catch the moving nozzle. A flat cut low on the model fixes it in one step, and most slicers include a cut tool that needs no modelling skill at all.
A thin display base is the other option. It adds stability and makes the finished object easier to hold. Brims help too. Fixing the geometry still beats printing a raft under every job forever.
Check 5: How Bad Are the Overhangs?

Filament printers build upward, one layer resting on the last, so every new layer needs something underneath. AI likes dramatic poses. Dramatic poses come with geometry that has nothing underneath.
Shallow overhangs print fine. Steeper ones sag. Anything beginning in open air needs support, repositioning, or removing. Curved bellies, chins, spread wings and roof edges all deserve a second look.
Rotate before adding supports. A pose that needs scaffolding standing up sometimes needs none lying down, and every support you avoid is surface you do not have to clean up afterwards. Tree supports suit organic shapes, since they reach in with narrow contact points instead of filling whole rectangles.
|
A USEFUL STOPPING RULE If the supports look bigger than the model, stop. Penn Libraries declines prints where the support structures outweigh the design itself. At that point a simpler pose from a fresh prompt costs less time than fighting the current file. |
Check 6: Is the Scale Right?
AI output often arrives with no meaningful real-world size. The same dragon can import at 8 mm or 800 mm, and on screen it looks identical either way, because the view scales to fit.
Read the numbers. Ignore the picture. Slicers show height, width and depth on all three axes. Decide the physical size the child actually wants, then check whether the small features still make sense at that size.
Work in millimetres. A unit mismatch on export is a common cause of a model showing up absurdly large. The model also has to fit the build volume, so a job that is too tall gets scaled down or split into parts. Splitting is often better for detailed models, because shrinking everything to fit is what pushes fine features below the printable minimum.
Check 7: Is the File Format Right for the Job?
Formats are not interchangeable. The right one depends on whether the object is artistic or dimension-driven.
|
Format |
What It Stores |
Best For |
|
STL |
A surface built from triangles, nothing else |
Finished artistic shapes. The default for most slicers and most print services. |
|
OBJ |
Mesh geometry, plus material files in some cases |
Colourful on screen. A single-material printer ignores the texture anyway. |
|
3MF |
Geometry plus units, positions, colours and project settings |
Moving a whole print project between programs without losing setup. |
|
STEP |
Measured solid geometry from a CAD workflow |
Brackets, enclosures, spacers, anything that has to fit a real object. |
One practical warning. Many print services accept STL only, in millimetres, one body per file. Check that requirement before exporting rather than after.
Check 8: Will It Survive Being Played With?
A model can slice cleanly and still be too weak to hand a seven-year-old. Printability is one question. Durability is another. Kids ask the second one within about a minute of the print finishing.
Look for narrow connections carrying wide loads. A long thin neck. A tail joined at a single point, or a peg holding a wheel. Thickening that one feature changes almost nothing visually and a great deal mechanically.
Small detachable pieces deserve separate thought in a house with a toddler. Under federal rules, a small part is any object that fits entirely inside a test cylinder sized to approximate a young child’s throat, and the CPSC small parts ban covers pieces that break off during normal use as well as parts supplied loose. AI-generated horns and accessories are exactly that kind of piece. They snap off easily.
|
PRINT ORIENTATION CHANGES WHERE IT BREAKS Filament parts are weakest between layers. A neck printed standing up snaps across a layer line. The same neck printed lying down is much stronger and usually needs more support. Surface finish and strength pull in opposite directions here, so decide which one the object actually needs. |
Check 9: Does the Sliced Preview Make Sense?
The preview shows what the printer plans to do, not what the AI drew. Spend the minute. It is the most useful one in the whole process.
Step through the layers from the plate upward. Watch for features that appear from nowhere, internal walls inside something that should be solid, and small islands floating in open space. If an ear disappears in the preview, it will not exist in plastic either. That is the tell.
Read the time and material estimate while you are there. A small-looking idea sometimes wants nine hours and half a spool. Good moment to choose. Shrink the object, drop unnecessary detail, or print only the difficult section as a test.
|
TEST THE HARD PART FIRST Do not commit six hours to find out whether tiny horns work. Cut off the head, print that, and look. A failed test print costs a few grams. A failed full print costs an afternoon and the child’s patience. |
Mesh AI or CAD AI: Pick Before You Prompt
Choosing the wrong family of tool costs more time than any repair. The two solve different problems. They are not substitutes.
|
Question |
Mesh AI |
Parametric CAD AI |
|
What it outputs |
A triangle surface, exported as STL, OBJ or 3MF |
Measured solid geometry, exported as STEP |
|
Good for |
Creatures, characters, terrain, masks, decorative toys, game pieces |
Brackets, boxes, mounts, spacers, replacement parts |
|
Editing a dimension |
Painful. Changing one hole means reworking a large area of mesh |
Straightforward. A 5 mm hole stays 5 mm on purpose |
|
Typical failure |
Open shells, floating detail, paper-thin surfaces |
Over-constrained design that will not build as drawn |
|
Kid fit |
Strong. Most of what children want to make is organic |
Better with an adult, and only when a part must fit something real |
One rule saves arguments. If the object has to fit another object, dimensions win and a mesh generator is the wrong starting point. If it only has to look like something, a mesh generator is faster and easier for a child to steer.
A middle path exists. Guided design apps built for kids sit between the two, offering fixed shapes that snap together, sketch-to-model tools, and word or voice prompts that stay inside printable limits by design. The child still creates. The tool just refuses to produce geometry the printer cannot handle.
|
THE FASTEST WAY TO SKIP MOST OF THIS LIST IS TO START FROM GEOMETRY THAT WAS ALREADY CHECKED. AOSEED BUILDS KID-FRIENDLY 3D PRINTERS BUILT FOR GUIDED CREATION AROUND A REVIEWED LIBRARY OF THOUSANDS OF MODELS, GAMIFIED DESIGN APPS, AI WORD, IMAGE AND VOICE TOOLS, AND TWO BEGINNER MODELLING TOOLS. A CHILD CAN GENERATE SOMETHING NEW, THEN PRINT A KNOWN-GOOD MODEL BESIDE IT AND SEE THE DIFFERENCE. |
How to Write Prompts That Print
Most repair work is avoidable at the prompt. Say what it needs, not only how it should look.
- Ask for a flat bottom. Wording like standing on a flat round base works well enough, though you should check the result anyway, because it often comes out slightly domed.
- Ask for thick and connected. Thick legs, solid horns, and accessories joined to the body, all of which push the model away from the fragile shapes that break first.
- Skip the tiny decoration. Hundreds of scales, hairs and engraved symbols look impressive in a render and disappear in a slice.
- Choose a compact pose. Arms near the body. Seated or standing beats mid-jump with both arms out.
- Name the process. Say filament printing if the tool accepts technical direction. Resin tolerates finer detail. Filament does not.
- Ask for one connected object. Single-body output is easier to scale, repair, position and print.
When to Repair, and When to Start Over
Not every problem deserves a rescue. Decide early. Knowing which side a file falls on saves more time than anything else in this guide.
Repair the file when:
- The mesh has a few small holes and the slicer closes them cleanly.
- One feature is too thin and everything else measures fine.
- The bottom is uneven, and one flat cut low on the model solves it completely.
- The pose is fine and only the scale was wrong.
- A stray decoration can be deleted without changing what the child wanted.
Generate again when:
- Large sections of surface are missing rather than pinholed.
- Many parts intersect or float, and merging them is a project of its own.
- The pose needs support almost everywhere.
- Repair keeps deleting something the child cares about.
- You have already spent longer on repairs than the original generation took, which is the clearest signal of all.
There is a third answer, and people forget it. Print a library model tonight and revisit the AI file tomorrow. Momentum matters here. A child who has held one successful print is far more willing to work through the checks on the second one.
Conclusion

AI can start a model, but the slicer and a small test print decide whether it is ready.
Check the mesh, floating parts, thickness, base, overhangs, scale, format, durability, and layer preview before committing material or handing the object to a child.
FAQs
Can AI Produce 3D Models for Printing?
Yes, but generated geometry is a draft. Some outputs slice cleanly; others contain holes, overlapping shells, floating details, thin walls, unstable bases, or the wrong scale. Inspect the file, repair only what you understand, and run a small test before treating it as print-ready.
Can ChatGPT Make STL Files?
A language model can help describe geometry, write code for parametric tools, or guide a file-generation workflow, but an STL still needs to be produced by a compatible modelling or conversion tool. If a file is generated, open it in a mesh checker and slicer; do not assume the filename or preview proves printability.
How Can AI Be Used in 3D Modelling?
Use AI for exploration and assistance, then keep measurement and validation in the human workflow.
- Generate concept meshes from text or images.
- Suggest variations for shape, proportion, or surface detail.
- Help write parametric modelling code or repair instructions.
- Classify likely mesh problems before manual review.
- Document test results and revision ideas after printing.
How Much Does AI 3D Model Generation Cost?
It depends on the tool, export limits, commercial-use terms, credit system, and whether repair features are included. If a service is free, check whether exports are restricted or uploads are used to improve the service. For children or school accounts, review privacy and data-retention terms before uploading photos or voice prompts.
Is It Illegal to 3D Print Anything?
No single rule covers every place or object. Laws, school or library policy, intellectual-property rights, weapons restrictions, product-safety rules, and the intended use can all matter. If a design could be regulated or harmful, stop and obtain guidance from the responsible authority rather than relying on the model source or AI output.
Will AI Replace 3D Modelling?
AI will automate parts of concept generation and mesh repair, but it does not remove the need for dimensions, constraints, material choices, tolerances, slicing, testing, and revision. If the goal is a decorative draft, AI may do more of the early work; if the goal is a precise functional part, editable CAD and human verification remain central.
Sources
- MIT Center for Bits and Atoms, “Additive Manufacturing”
- Penn Libraries, “Personal 3D Printing at Education Commons”
- U.S. Consumer Product Safety Commission, “Small Parts Ban and Choking Hazard Labeling”
- National Institute of Standards and Technology, “An Additive Manufacturing Test Artifact”
- U.S. Copyright Office, “Visual Arts Registration”
- NASA, “3D Printing: Saving Weight and Space at Launch”


Further reading
AI-Generated 3D Models for Kids: 9 Printability Checks Before You Print

How to Fund a Classroom 3D Printer: Grant Budget and Proposal Checklist

Kids' 3D Design Apps and Privacy: 15 Questions Parents Should Ask


