


Beginner's Guide to STEM 3D Printers: How Kids Can Design and Print Their Own Toys
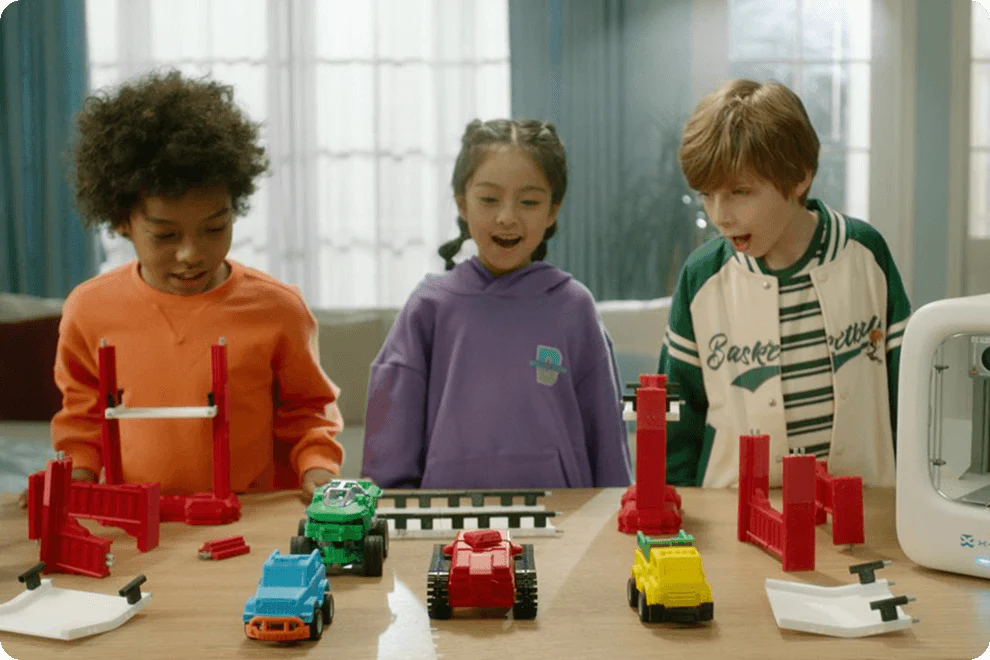
If your child loves building, drawing, or asking “how does this work?”, a kids 3D printer can turn curiosity into real-world creativity. This beginner’s guide explains what 3D printing is, how kids design and print their own toys, the setup steps parents should know, and the pros, cons, specifications, and benefits to consider—so you can choose the best 3D printer for kids with confidence.
Throughout, we’ll reference the AOSEED ecosystem—because it’s designed for children and families—while keeping guidance brand-agnostic so you can compare options. If you want to see a child-friendly printer lineup, check out:
What Is 3D Printing—In Kid-Friendly Terms?
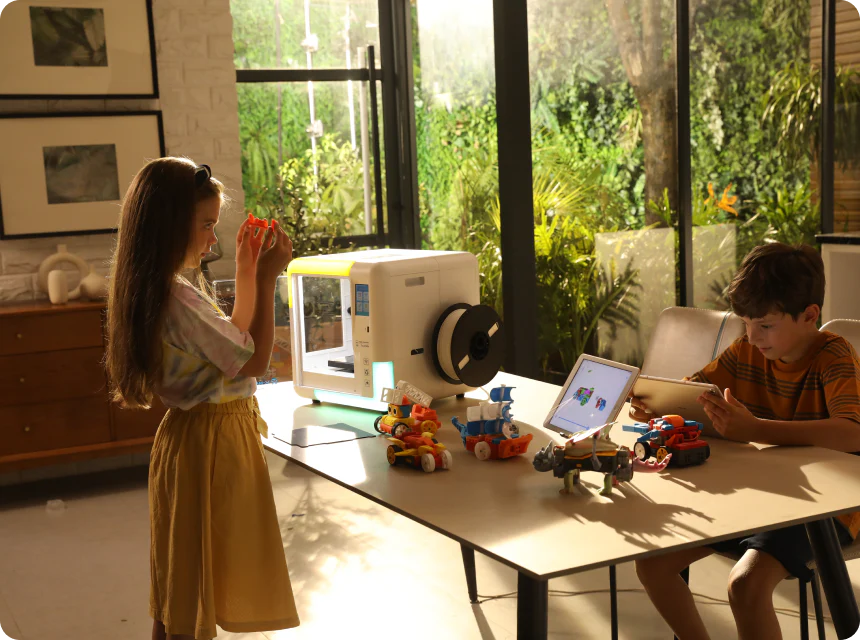
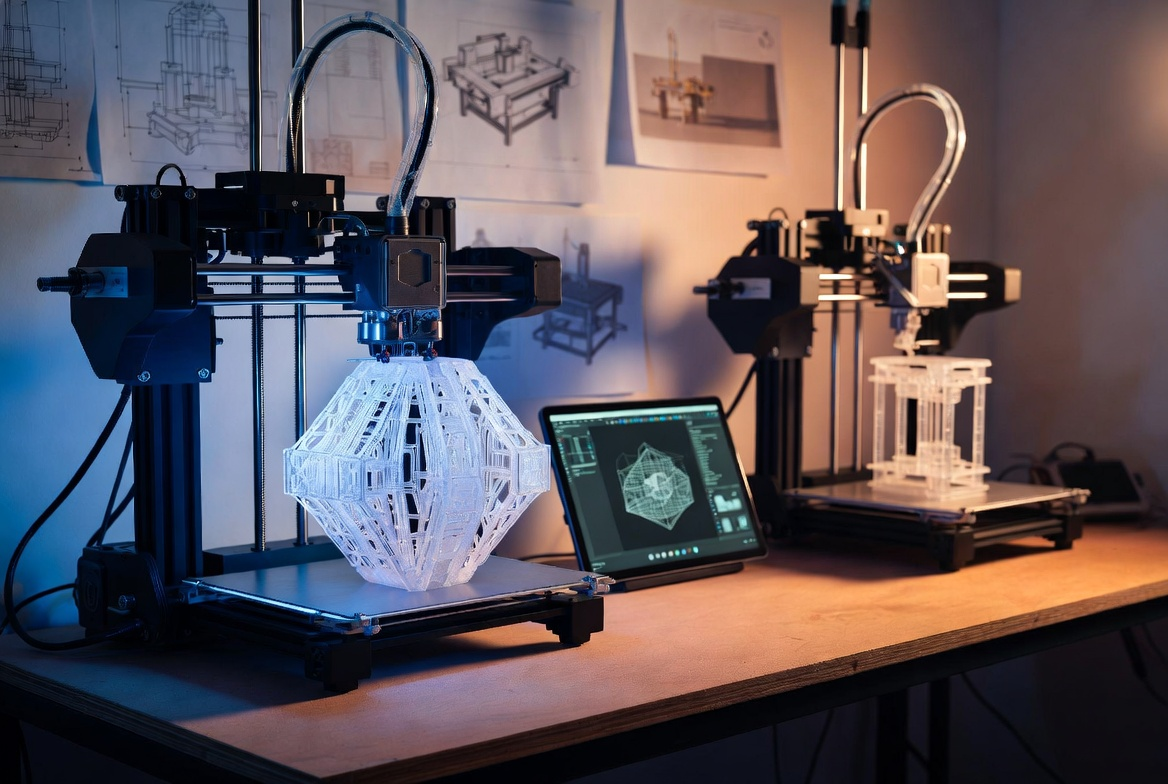
3D printing is like drawing with plastic in thin layers. The printer heats a spool of filament—most commonly PLA, a plant-based plastic that’s popular for home and school use—and deposits it layer by layer until the shape is complete. Kids choose a ready-made model or create their own in an app, press Print, and watch a toy appear over minutes to hours (depending on size and quality settings).
Key ideas kids can grasp quickly:
- Layering: The printer builds from the bottom up, one layer at a time.
- Slicing: The app “slices” a 3D shape into printable layers.
- Filament: Think of it like a long, colorful pasta strand the printer melts and redraws as a toy.
- Settings: Quality vs. speed—higher quality takes longer.
Why 3D Printing Fits STEM Learning
A kids 3D printer naturally teaches:
- Design thinking: Imagine → design → test → iterate.
- Geometry & measurement: Scale, symmetry, angles, volume.
- Problem-solving: Why did it fail? How can we fix it?
- Project ownership: “I made this!” boosts confidence and persistence.
When the process is guided by a family-friendly app and safety-first hardware, kids build lasting skills while having fun.
Ages, Readiness, and Supervision
- Ages 4–8: Choose a printer with very simple controls, pictorial interfaces, and curated models. Expect close parental supervision.
- Ages 9–12: Look for more design freedom and mild customization of print settings; supervision is still important.
- Teens: They may explore advanced features like support structures, infill tuning, and multi-part assemblies, with light oversight.
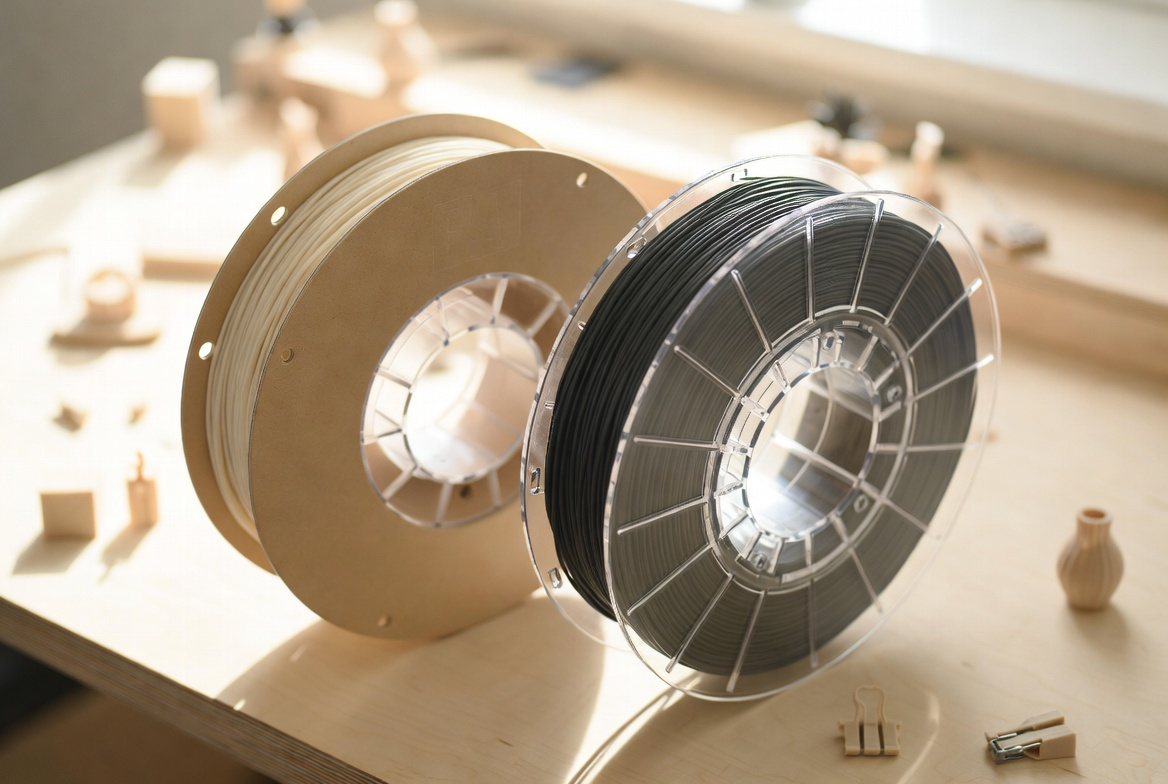
Child-safe printers typically use PLA filament, include enclosed or guarded hot parts, and provide clear on-screen or in-app guidance
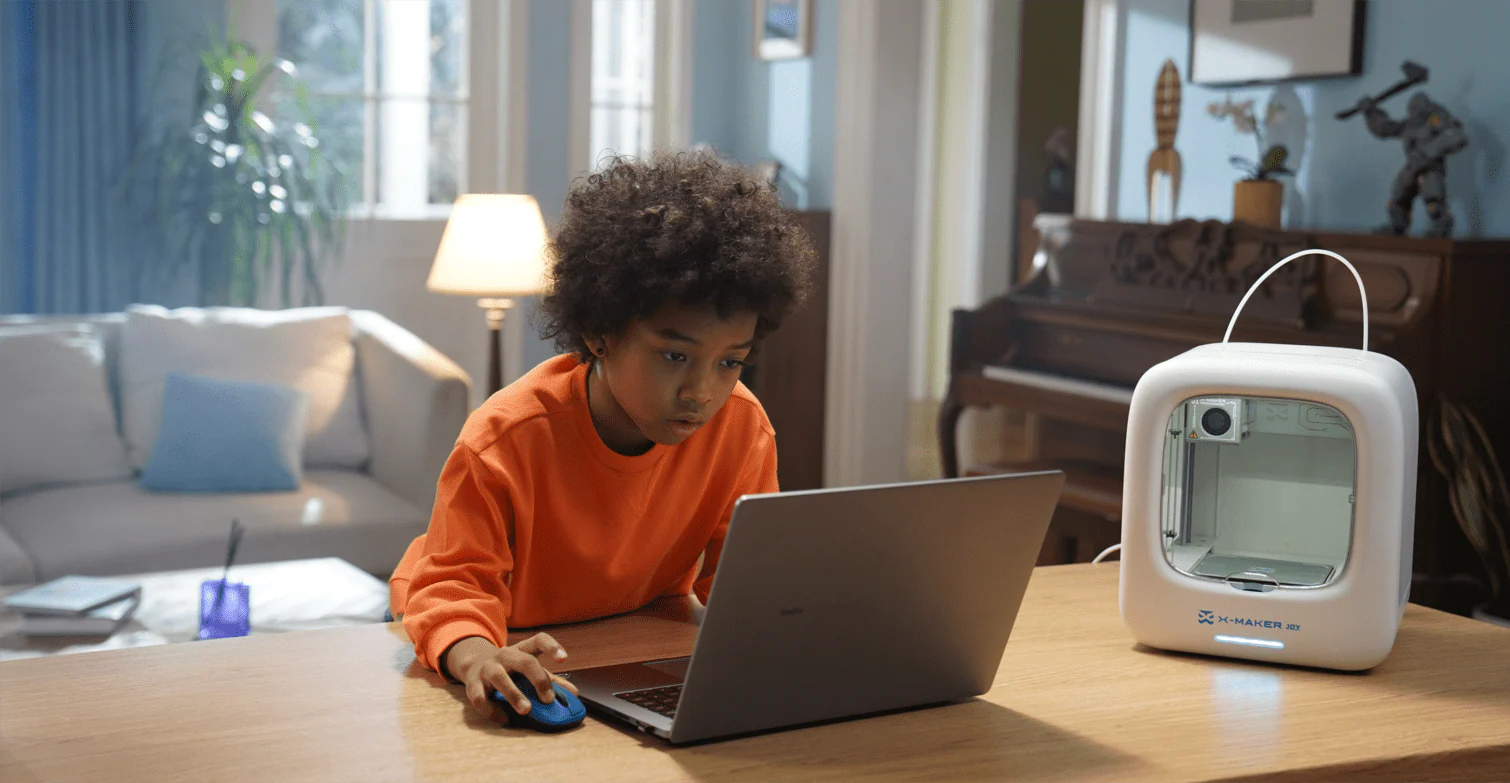
Quick Start: From Box to First Toy in 7 Steps

- Unbox & place the printer on a stable, ventilated surface away from tiny hands and pets.
- Load PLA filament following on-screen or printed instructions.
- Connect the app (Wi-Fi or cable) and ensure firmware/software are up to date.
- Pick a model from the built-in library (e.g., a car, animal, or keychain).
- Preview & slice: The app converts the model to printable layers.
- Press Print: Watch the first layer—if it sticks cleanly, you’re on track.
- Remove & celebrate: Once cool, remove the print and do a gentle victory dance.
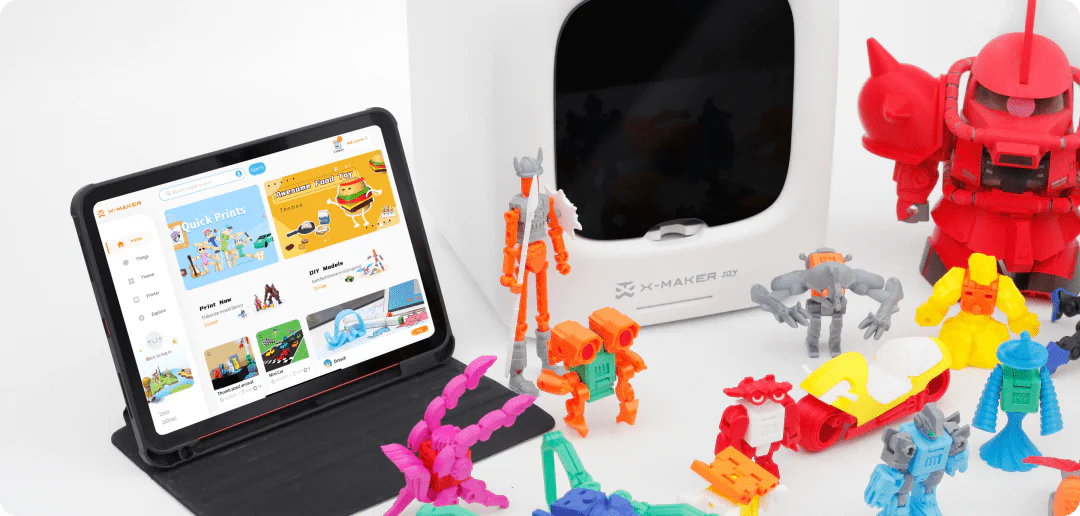
For a ready-to-go family setup, browse AOSEED X-MAKER JOY for younger kids and AOSEED X-MAKER for older makers.
Designing Toys: Three Child-Friendly Paths

-
Start with Templates
Many kid-oriented apps include pre-designed toys (cars, figures, animals). Kids can tweak colors, scale, or simple add-ons—perfect for early wins. -
Block-Style Builders (Beginner CAD)
Tools with block, shape, and snap-to-grid functions let kids combine cubes, spheres, and wedges into robots, badges, or toy accessories. It’s digital LEGO for 3D printing. -
Guided Challenges & Learning Tracks
Look for an in-app learning center or challenges that teach concepts step-by-step: symmetry today, interlocking parts tomorrow. This is ideal for homeschool or weekend projects.
Tip for parents: keep a folder of “Ready to Print” models your child loves. Save time, grow confidence.
Safety Essentials for Families
- Use PLA filament (low odor, widely recommended for home/education).
- Teach “hot parts” rules: No touching the nozzle/bed when printing or right after.
- Ventilation: Normal room ventilation is usually fine for PLA; avoid tiny, sealed spaces.
- Cable & cord safety: Secure cables to avoid entanglement.
- Supervision: Especially for younger children—treat it like an oven: wonderful results, but respect the heat.
AOSEED’s ecosystem emphasizes child-safe PLA and family-friendly guidance, which is why many parents choose it as a first printer.
Choosing the Best 3D Printer for Kids: What to Look For

- Age-appropriate interface: Big icons, simple steps, curated models for younger kids; more control for older ones.
- Reliable first layer: Auto or assisted bed leveling improves print success.
- Enclosure/guards: Help keep fingers away from hot parts.
- Filament compatibility: PLA required; optional ABS for advanced users/older kids (with proper safety and ventilation).
- App & model library: A growing library nudges kids from “print” to “design.”
- Support & warranty: Clear instructions, responsive support, and easy replacement parts.
- Noise & size: Consider where the printer will live and how loud it is during prints.
Explore AOSEED’s two age-tiered options to see how features scale:
- Younger makers: X-MAKER JOY (simple presets, kid-centric tools).
- Older kids/teens: X-MAKER (more design tools, print preview, fine-tuning).
Pros and Cons of Kids 3D Printers
Pros
- Creativity to reality: Kids see ideas become objects they can hold.
- STEM learning at home: Geometry, design, logic—built into playtime.
- Project-based learning: Great for homeschool and weekend build clubs.
- Personalized toys & gifts: Nameplates, mini figures, keychains, game pieces.
- Long-term engagement: New models and challenges keep interest alive.
Cons
- Learning curve: Early prints may fail; that’s part of the process.
- Time & patience: Quality prints take time (often 30–180 minutes+).
- Consumable costs: Filament and occasional parts (nozzles, bed sheets).
- Supervision needed: Especially for younger ages and first few weeks.
Specifications That Actually Matter (Without the Jargon)
- Build Volume: How big a toy you can print (e.g., ~120–200 mm in each dimension is typical for kids’ models).
- Layer Height: Lower numbers = finer detail (e.g., 0.12–0.28 mm common).
- Nozzle Diameter: 0.4 mm is standard; good balance of detail and speed.
- Filament Type: PLA is the family default; it’s easy, lower odor, widely available.
- Bed Leveling & Adhesion: Auto/assisted leveling and good first-layer adhesion boost success.
- Connectivity & App: Wi-Fi/cloud print from a safe interface simplifies family use.
- Safety Features: Guards/enclosures, filament sensors, runout detection, and clear status displays.
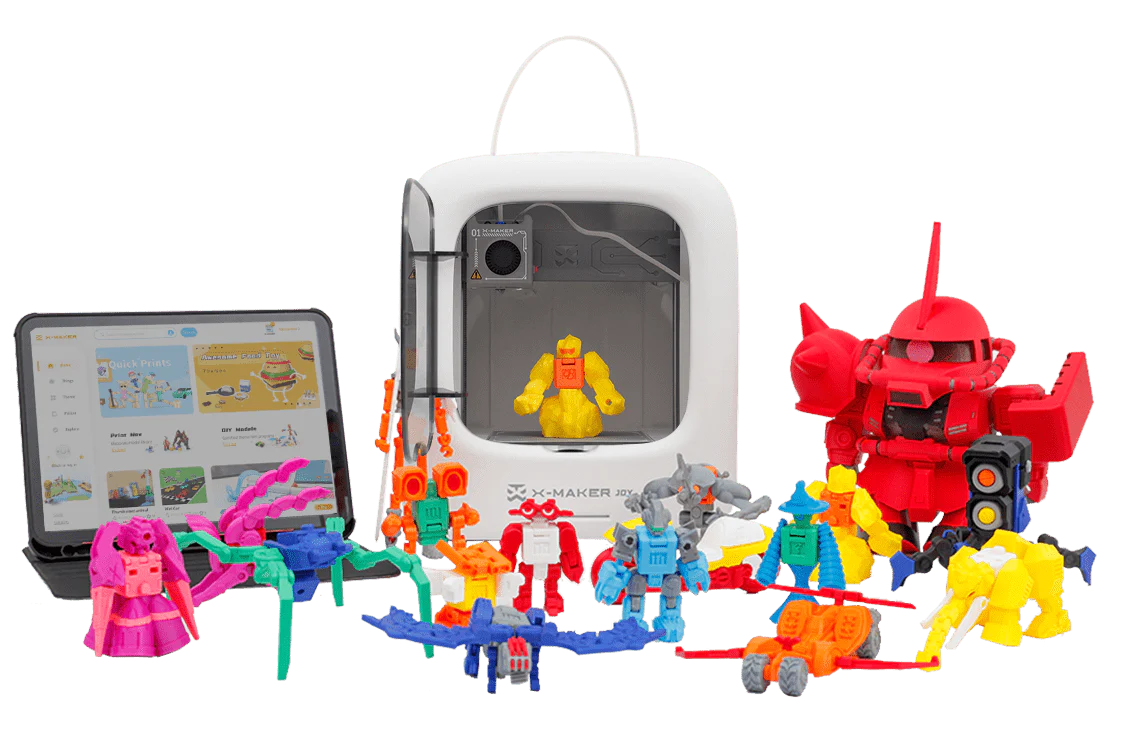
For parents comparing models, AOSEED’s X-MAKER includes a print preview screen and supports PLA/ABS (for older makers), while X-MAKER JOY prioritizes simplified presets and PLA-only safety for younger kids.
Advantages vs. Disadvantages—At a Glance
Advantages
- Inspires creativity and engineering habits early.
- Teaches resilience: test, fail, improve.
- Custom toys feel special—kids design for themselves.
- Scales with your child’s age and skill.
Disadvantages
- Requires setup, occasional calibration, and adult oversight.
- Prints can fail from time to time—expect gentle troubleshooting.
- Larger or finer prints take patience.
- Not all models are equally “kid ready”—curation helps.
Smart Parent Tips for Early Success
- Start small: Choose 30–60 minute prints for the first week.
- Celebrate “failures”: Keep a shelf of “prototypes”—part of the story!
- Make it social: Print gifts for friends or siblings; design name tags for school supplies.
- Set routines: “Design on Saturday, print on Sunday” turns it into a ritual.
- Create a making corner: Keep filament, tools, and a “Ready to Print” folder handy.
- Add themes: Cars, animals, badges, holiday ornaments—kids love series.
Simple Project Ideas Kids Love
- Personal name tag for a backpack or pencil box.
- Keychain creature with initials.
- Mini car or racer body to snap onto toy wheels.
- Chess/checkers set with custom icons.
- Room sign (e.g., “Ava’s Lab”).
- Holiday ornament designed from basic shapes.
When to Move Up a Level
If your child starts asking about stronger parts, moving joints, or finer details, it might be time to:
- Introduce infill patterns (honeycomb, grid).
- Teach supports for overhangs.
- Explore basic CAD (still kid-friendly).
- Consider a printer with more adjustable setting
Cost of Ownership—What to Expect
- Printer: Entry-level kid models are typically a few hundred dollars.
- Filament: One 1-kg spool of PLA can make dozens of small toys.
- Accessories: Replacement nozzles, stick sheets, or bed adhesive over time.
- Time: The most valuable input—prints take time, but that’s where learning happens.
Where AOSEED Fits
AOSEED offers a two-printer, one-ecosystem approach:
- X-MAKER JOY targets very young creators with super simple controls and PLA-only safety.
- X-MAKER grows with your child, adding print preview, PLA/ABS support, and deeper design tools.
Pros, Cons & “Fit Check” Summary
Best for your family if you want:
- Hands-on STEM at home, creative confidence, and a guided path from “print a template” to “design my own.”
Consider carefully if:
- You prefer instant results (3D printing rewards patience), or you cannot supervise younger children during prints.
Frequently Asked Questions
Is a kids 3D printer safe to use at home?
Yes—when you choose a child-friendly model, use PLA filament, and supervise appropriately. Treat it like a kitchen appliance with heat: incredibly useful, but respect the hot nozzle and bed. Child-oriented printers add guards/enclosures and family-friendly instructions to simplify safe use.
How long does it take to print a toy?
Small items like keychains may take 30–60 minutes; larger toys can take 2–4 hours or more. Speed vs. quality is a trade-off—faster prints show more layer lines, slower prints look smoother. Starting with shorter prints helps kids stay engaged.
What’s the best 3D printer for kids—how do I choose?
Look for age-appropriate software, reliable first-layer features, PLA compatibility, and a kid-oriented model library. Younger kids do best with preset-driven printers; older kids benefit from more control and print previews. AOSEED’s JOY (younger) and X-MAKER (older) reflect this split.
How much does filament cost and how long does it last?
A 1-kg spool of PLA typically costs modestly and can produce dozens of small toys. Track usage in your app; when prints start failing mid-job, it might be time for a fresh spool or a filament path check.
Do kids need to learn complex 3D software?
Not at first. Kid-centric apps offer templates and block-style design so children can create quickly. As they gain confidence, they can explore intro CAD and more advanced settings. The goal is to grow skills gradually without overwhelming them.
Final Thoughts
A kids 3D printer brings STEM learning to life. It turns ideas into objects, teaches design and problem-solving, and gives kids a healthy sense of “I made this.”
Start simple with curated models, celebrate the first few “perfectly imperfect” prints, and let your child’s confidence grow. When you’re ready to compare child-friendly options built for family life, explore.


You may also like
Further reading
Why “Make, Play, Share” Works Better Than Another Passive App

Family Creativity Night: A Simple Weekly Plan for Parents and Kids

Screen-Light Weekend Activities That End With Something Kids Can Hold


