3D Printer for Kids: A Parent’s Guide to Explaining 3D Printing
A 3D printer for kids can turn a simple digital design, such as a dragon, into a real plastic object built one thin layer at a time. If your child saw a printer at a friend’s house and now wants one, start with a calm and honest conversation about how it works, what it can make, and the rules for using it safely.
The basic idea is easy to explain: a 3D printer melts plastic filament and stacks it layer by layer until the design on the screen becomes a physical object. You do not need to give a long lecture. A clear discussion about the software, settings, safety rules, costs, and adult supervision can help your child understand what owning a 3D printer involves.
The software, the settings, the safety rules all sit under that one idea. This guide gives you the words for each part, grouped by how old your kid is and how ready they really are. That last part matters more than the age. A calm first conversation and a good match between the child and the machine are what turn “can we get one?” into “what do we make first?”
Quick-pick: how to pitch it, and how much to hand over, by age.
|
If your child is… |
What they can do |
Your role |
|
Under 5 |
Watch, and pick what to print. |
You run everything. Keep them clear of the hot end. |
|
5 to 8 |
Press start, choose models, simple design with help. |
Right beside them. No contact during the print. |
|
9 to 12 |
Run prints you've sliced. Design in Tinkercad. |
Check in. You confirm the bed is cool before they touch it. |
|
13 and up |
Run the printer end to end. |
Light oversight. Step in for repairs and new materials. |
Start the Conversation With Curiosity

Ask What They Already Know
Start by asking what your child thinks a 3D printer does. The answer tells you where to begin.
A kid who's seen one at school will talk about layers. A kid who saw a video might think it can print a working phone. Listen first. Correct later, gently. Two questions do most of the work: “What have you seen someone print?” and “How do you think the machine makes it?” Neither one turns the chat into a quiz.
Find Out What They Want to Make
Kids get a tool faster when it's tied to something they care about. So ask. What would they build if they could turn an idea into a real thing?
A five-year-old pictures an animal. A ten-year-old wants a phone stand, or a piece for a board game. Their answer sets up the honest part too. A printer makes a lot of plastic things. It will not make a working phone, or a safe bike helmet, at the push of one button. Saying that early keeps the excitement pointed at what the machine can actually do.
Explain 3D Printing in Kid-Friendly Terms

A Robot Hot Glue Gun
You don't need to be an engineer, and three plain comparisons cover almost everything a child needs on day one. Start with the easiest one. The printer heats a thin strand of plastic, pushes it through a small tip, and lays the soft plastic down in exact spots. It cools and gets hard a few seconds later.
The comparison isn't perfect, but it lands. Nobody moves the tip by hand. A computer file tells the machine where to go and when to squeeze out plastic.
Flat Pictures Versus Real Objects
A normal printer puts ink on flat paper. A 3D printer builds something you can pick up and turn over. Try a photo of a cookie next to a real cookie. The photo is flat. The cookie has thickness. A 3D printer is working toward the cookie.
Layers, and the Plan That Guides Them
Ask your child to imagine stacking hundreds of thin sheets of paper into a solid tower. That's the printer. Finish one layer, move up a hair, start the next. Some prints need a thousand of them.
One more thing worth saying: the machine can't guess. It only builds what the design tells it to, like a builder following a plan. The back of the object, the inside, the little details, they all have to be in the file. Slicing software is the last piece. It cuts the design into layers the printer can follow, the way you'd slice a loaf of bread before building it back up one piece at a time. Your child doesn't need to learn every setting to get this. If they can repeat one sentence back to you, you're done for now.
|
Quick check before you move on Can your child say “it stacks layers of melted plastic to build a shape from a computer file”? Then they've got the core idea. Everything after this is detail you can add whenever they ask. |
Introduce the Main Parts of a 3D Printer
Kids stay interested when they can name the pieces. Four parts do the heavy lifting. One of them is behind almost every safety rule.

|
Part |
How to describe it to a kid |
|
Filament spool |
A big roll of plastic string, like thick fishing line. The printer pulls it in and feeds it to the hot tip. PLA is the usual beginner plastic. |
|
Nozzle |
The hot tip that melts the plastic. It runs around 200°C. This is the burn risk. Treat it like a soldering iron. |
|
Print bed |
The flat plate where the object grows. It can heat to about 60°C, and it stays warm after the print stops. |
|
Controls |
A screen, buttons, or an app to start, pause, and stop the job. Find the cancel button before the first print, not during it. |
A few numbers help set expectations before you start. Keep these in mind when your kid asks how hot, how long, and how much.
|
The thing kids ask about |
The number |
|
Nozzle temperature |
Around 200°C. Hot enough to burn on a touch. |
|
Print bed temperature |
Around 60°C, and warm for a while after it stops. |
|
First-print time |
Roughly 30 minutes to 2 hours for something small. |
|
Cost of a spool of PLA |
About $20 to $25 per kilogram, good for dozens of small prints. |
|
Comfortable starting age |
Around 8 with the right printer and an adult nearby. |
|
Safest beginner material |
PLA. Plant-based, low emissions, easy to print. |
|
Best beginner tech |
FDM (melted filament), not resin. |
Adapt the Explanation to Your Child's Age
Ages 5 to 7
Same machine, different conversation. At this age, keep it short and visual. Tell them the printer follows a computer picture and stacks warm plastic until a shape shows up. Let them pick a color, or choose between two models. You run the machine, load the plastic, and take the finished part off the bed. A print that finishes fast holds their attention better than a two-hour one.
Ages 8 to 12
This is where designing starts to click. They can learn the whole flow with you nearby: put a model on the screen, compare a couple of settings, start a print you've already prepared. Give them real jobs instead of the whole thing at once. Measure an object. Check the preview. Write down what changed between two tries. You still own the hot parts.
Ages 13 and Up
Teens can take on measuring, designing, changing slicer settings, and fixing a failed print. A lot of them get pulled in by cosplay parts, robotics pieces, or something for their room. Base their independence on how they act, not their age. A teen who checks settings and asks for help when stuck is ready for more. Step back in when new materials, repairs, or anything electrical shows up.
Age Guidelines: What's Appropriate When
These are starting points, not hard rules. A careful nine-year-old can handle more than a distracted teenager, so match the tasks to the child, not the birthday. The one firm line is resin printing. It waits for the teen years because of the chemicals involved.
|
Age |
What they can do |
Supervision |
|
Under 5 |
Watch and choose what to print. Not operating the machine. |
You run everything. Never near the hot end. |
|
6 to 8 |
Press start on a print you've set up. Pick models. Simple design with help. |
Right beside them. No contact during the print. |
|
9 to 12 |
Run their own prints once you've sliced the file. Design in Tinkercad. Take out cooled parts. |
Check in now and then. You confirm the bed is cool. |
|
13 and up |
Run an FDM printer start to finish. Resin only with full safety gear. |
Light for FDM. Constant for resin. |
Set Clear 3D Printing Safety Rules

The One Rule That Does Most of the Work
For filament printing with PLA, the real hazards are few and easy to handle. NIOSH says it plainly. The main concerns are heat from hot surfaces, moving parts that can catch hair or fingers, and low-level fumes you deal with by opening a window (CDC/NIOSH guidance on safe 3D printing). One rule does most of the work.
|
Adult-only zone: the hot parts Nobody reaches into the machine while it's running, or before the bed has cooled. The nozzle hits about 200°C. The bed hits about 60°C. Both will burn on contact. A printer with a door makes this almost automatic. That's part of why enclosed machines suit younger kids and shared rooms. |
The Rules Worth Saying Out Loud
- Hot parts stay hands-off. No touching the nozzle or bed until you say they're cool. The machine can stop moving while the parts are still hot.
- If a print goes wrong, pause it. Don't reach in to fix it. Keep hands, hair, and sleeves clear of anything that moves.
- Let it cool before you pull it off. The bed is often hotter than the object, and pulling early can bend the part.
- Pick the right room. A kitchen counter or an office works. A bedroom doesn't. Keep it clear of curtains and clutter.
- Watch the small parts. Keep finished prints away from toddlers and pets. A printed toy isn't automatically safe just because it looks like one.
Why Resin Waits for the Teen Years
Resin is a different animal. It's not a first system for kids. Uncured resin is a skin and lung irritant, and it can cause a lasting reaction with repeat exposure. The cleanup uses rubbing alcohol, and the leftover waste counts as hazardous. Both the EPA and NIOSH treat it as real chemical handling. EPA's own modeling flagged 9-to-18-year-olds as a group to watch (EPA research on 3D printer emissions). Save it for a supervised teen with gloves, goggles, a mask, and a window open.
For most children, an FDM printer is the safer and more practical choice, while resin printing is better reserved for older teens under close adult supervision. The table below compares the key differences.
|
FDM (filament) |
Resin |
|
|
How it works |
Melts plastic thread and stacks it in layers. |
Hardens liquid resin with light, layer by layer. |
|
Right for kids? |
Yes, the standard choice for anyone under 13. |
No. Teens only, with full gear and an adult. |
|
Mess and cleanup |
Low. Peel the print off and you're done. |
High. Alcohol wash, curing, and careful disposal. |
|
Main risk |
Hot nozzle and bed. Burns on contact. |
Skin and lung irritant; can cause a lasting reaction. |
|
Detail level |
Good for toys, parts, and everyday prints. |
Very fine, better for tiny models and figures. |
|
IF YOU DECIDE TO BUY ONE The printer you pick decides how much of this lands on you. A budget open-frame kit usually means a parent recalibrating on the weekend before a kid ever prints. Pre-assembled enclosed machines built for ages 4 to 12, like those in the kid-friendly 3D printer lineup, arrive pre-tuned, with guided app profiles that handle most of the setup a beginner would otherwise fight. If your child is the main user, make the printer choice part of the plan, not an afterthought. |
||
Show What Kids Can Make With 3D Printing

The fastest way to lose a kid's interest is a four-hour print of something they didn't pick. Start small. Start personal.
Free model libraries mean a child can hold a finished object before they design anything at all. Then they grow into making their own. Here's where to start, roughly by what tends to work:
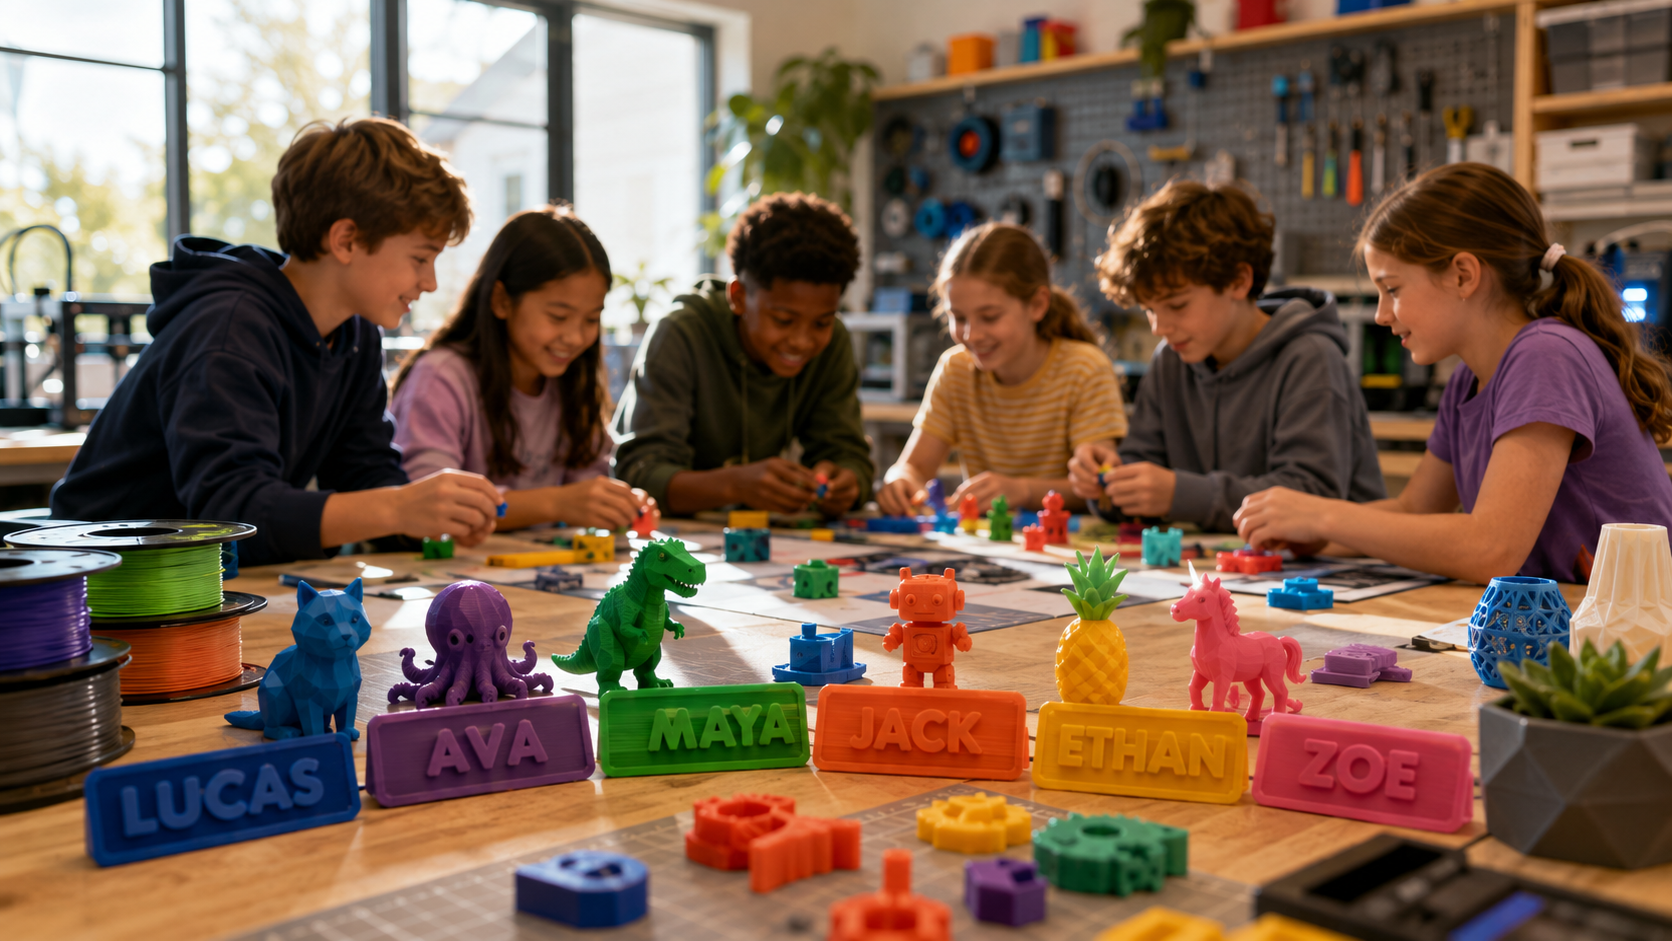
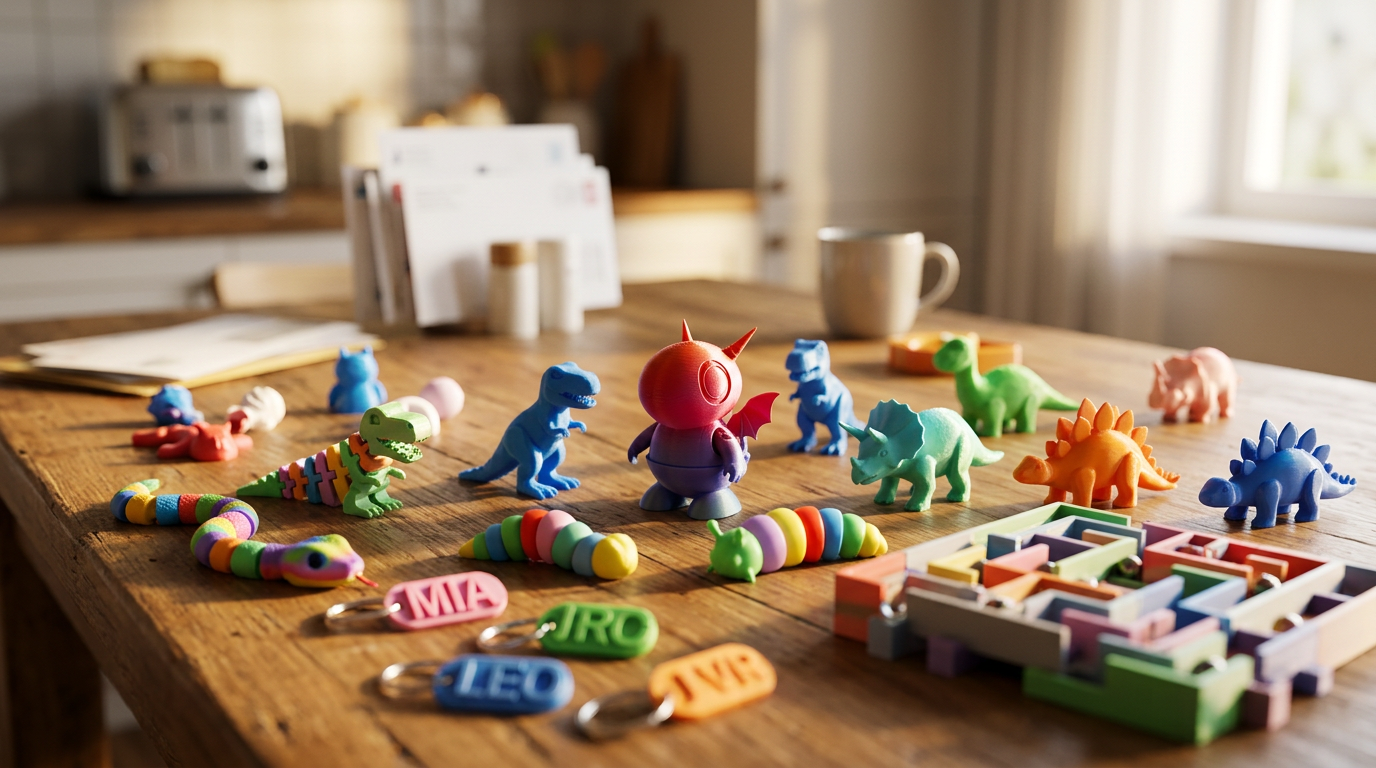
- Keychains and nameplates. Small, personal, hard to mess up. Thick letters only, thin loops snap when you pull them off.
- Toys, figures, game pieces. Animals, spinning tops, board-game parts. A nice way to compare a downloaded model with one they made.
- School and STEM models. A molecule, a landform, a bridge part. Ask them why the model helps. That keeps it about learning.
- Desk stuff. Organizers, phone stands. Real measuring, real testing. Have them measure the phone before opening the software.
If you want it mapped to age, here's a rough guide to what tends to land at each stage.
|
Age |
Good first prints |
Why it works |
|
5 to 8 |
Name keychains, cookie cutters, simple animals, print-in-place toys that come out already moving. |
Quick prints keep the magic alive. |
|
9 to 12 |
Board-game pieces, phone stands, desk organizers, a first Tinkercad nameplate. |
This is where designing, not just printing, starts to click. |
|
13 and up |
Parts that fix a real problem, cosplay props, model kits, a step up into Fusion. |
The pull shifts from novelty to making something useful. |
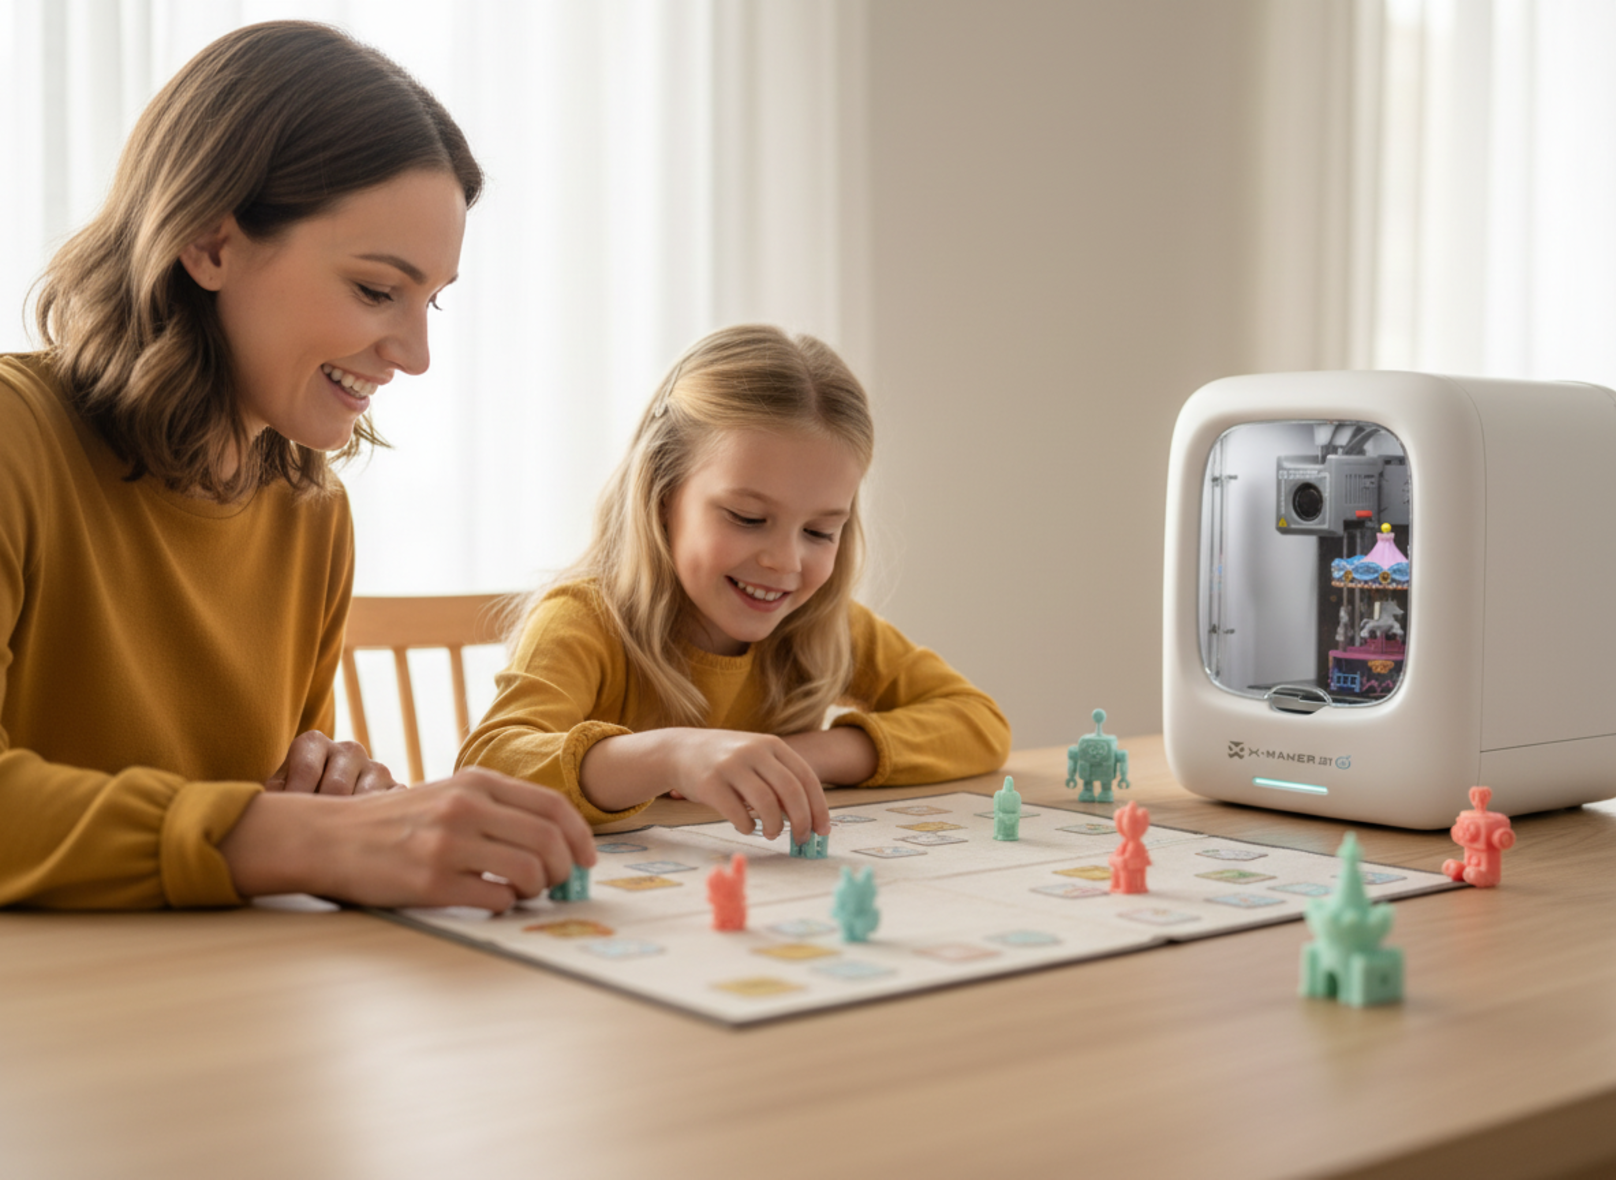
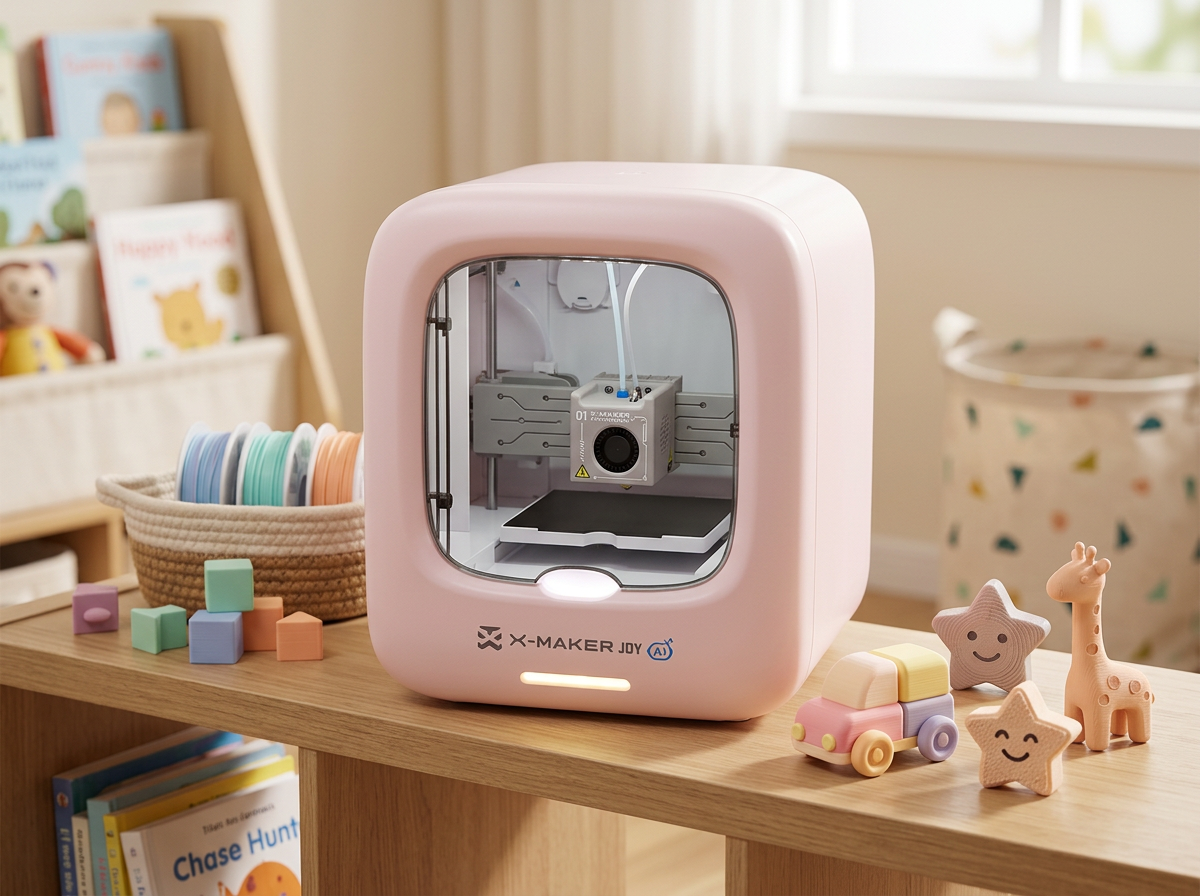
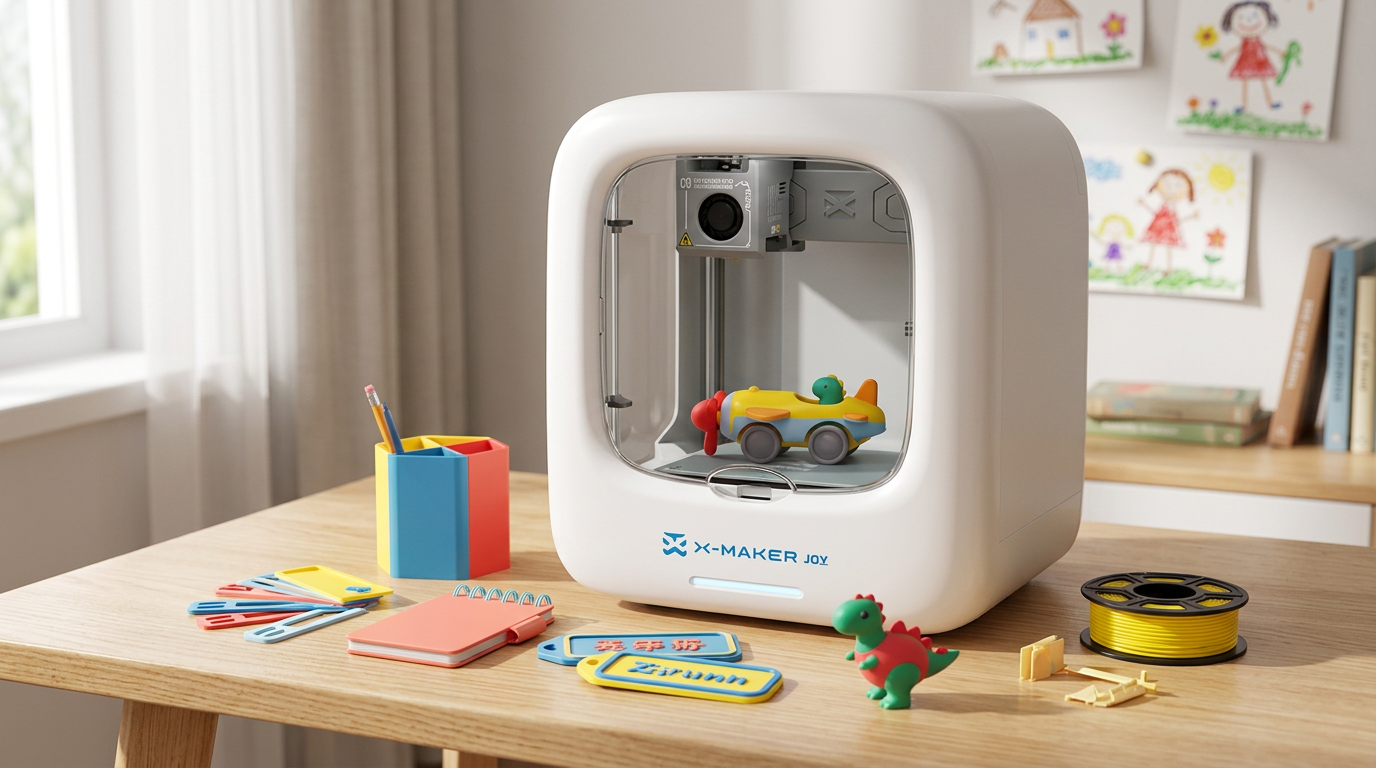
For a younger child, a guided toy-making printer for younger kids like the X-MAKER JOY keeps that first win in reach: a small catalog of ready-made models, guided edits, and an enclosed body that keeps fingers away from the heat. Start there, and let the harder projects come once the habit sticks.
Designs That Are Unsafe, Illegal, or Impractical
Talk about limits before your kid goes hunting through big model libraries. Some designs copy protected products. Some break school rules. Some just make something unsafe. The U.S. Patent and Trademark Office is clear on the first one. A file being free to download doesn't mean you're allowed to print, sell, or share it (USPTO on trademark, patent, and copyright basics). Teach one quick test. Ask what the object does, who gets hurt if it fails, and whether copying it needs permission. When the answer isn't clear, stop and look it up together. And never trust a home-printed part with brakes, helmets, electrical work, or anything holding real weight.
Walk Through the 3D Printing Process
Once your child is in, the workflow is the same every time. Most kid-friendly printers walk each step in the app, but here's the short version.
- Start with a goal. “A clip that holds these two cables” beats “something cool.” One sentence is enough.
- Sketch it on paper. Front, side, top, with rough sizes. Kids spot problems while drawing that they missed while imagining.
- Design it, or download it. Designing teaches more. Downloading gets a faster first win. Both are fine, as long as they know where the file came from.
- Prep it in the slicer. Check it sits flat, check the size, read the time estimate. Change one setting at a time, not five.
- Start it, and watch the first layers. Most failures happen at the base. Stop if the plastic balls up or peels off the bed. Don't leave a beginner's first prints alone.
- Test it, then fix it. Does it fit, stand, hold? Ask what worked before what didn't. Note one change, “make the hole 2 mm wider,” and print it again with a reason.

|
The mindset that makes it stick A failed print isn't a wasted afternoon. It's the data for the next one. Kids who learn to plan, test, and adjust get more out of a printer than kids who expect the first try to work. |
Introduce Kid-Friendly Design Tools
When your child wants to design instead of just print, three free tools cover every age. All of them run in a browser.
|
Tool |
Best for |
Why |
|
Tinkercad |
Ages 9+ |
Drag-and-drop blocks, gentle enough for a nine-year-old, with a teacher curriculum behind it. Where most kids start. |
|
BlocksCAD |
Coders |
Builds models by snapping logic blocks together. A natural bridge for kids who already like Scratch. |
|
Autodesk Fusion |
Teens |
Free for education. The proper CAD tool older students grow into for precise design. |
You don't need a printer to test the interest. Tinkercad's free design activities for kids and Autodesk's Fusion for education both run free in a browser. A library or maker space can handle the actual printing while your child figures out whether the hobby sticks.

Decide Whether a 3D Printer Is Right for Your Child
Questions to Ask Before You Buy
Interest in the process matters more than excitement about one model. So before you buy, ask how often your kid talks about designing, building, or fixing things. Then ask who in the house will actually supervise and maintain the thing.
A printer becomes a family tool, or it becomes a closet ornament. The difference is usually an adult's time, not the child's enthusiasm.
Open Frame or Enclosed?
Two hardware choices matter for kids. Enclosed or open. An enclosed printer puts a wall around the hot parts, runs quieter, and suits younger children and shared rooms. An open-frame one costs less and is fine for PLA with supervision. Auto-leveling is the other one, and it's worth paying for. It skips the fiddly setup that frustrates kids before they get to the fun part. If you're not ready to commit at all, a 3D pen or a maker-space visit is a cheaper way to find out whether your child even likes making things in three dimensions.
|
Enclosed printer |
Open-frame printer |
|
|
Safety around kids |
A wall sits between little hands and the hot end. |
Nozzle and bed are exposed. Needs closer watching. |
|
Noise |
Quieter, easier to run in a shared room. |
Louder from the open fans and motors. |
|
Cost |
Higher. |
Lower, more printer for the money. |
|
Best fit |
Younger kids, shared rooms, classrooms. |
Patient older kids and teens, with supervision. |
When to Give Your Child More Independence
Independence should track behavior, not age. Watch for the signals, and move one step at a time.
Give them more control when:
- They follow the safety rules without being reminded.
- They can stop a print on their own and know why they'd want to.
- A failed print rolls off them as data for the next try, not a meltdown.
Step back in when:
- New materials, repairs, or firmware come up, or anything electrical.
- A print keeps failing and frustration is climbing faster than problem-solving.
- They start skipping steps to rush to the result.
Before every print, the rules that don't bend:
- Hands off the hot parts until you confirm they're cool.
- Nothing runs in a bedroom or unattended on a first print.
- Small prints go up high and away from toddlers and pets.
The Benefits and Downsides, Honestly
What It Teaches
The learning is real, and it spreads across subjects. Designing a part teaches spatial reasoning and measuring. Watching a first try fail and fixing it teaches the design-test-fix loop that sits at the center of engineering. It's one of the few screen-adjacent activities that ends with a real object in a kid's hand. That's exactly why it holds attention where a worksheet doesn't.
|
What they do |
What it builds |
Where it shows up |
|
Design a part from scratch |
Spatial reasoning, measuring |
Math and geometry |
|
Fix a print that failed |
The design-test-fix loop |
Engineering and problem-solving |
|
Wait out a long print |
Patience |
Real life |
|
Set up the slicer |
Cause and effect |
Science |
The Real Downsides
It costs something too. Prints can run for hours and fail near the end. Printers make noise, need cleaning and the odd replacement part, and throw off plastic waste from supports and test pieces. Say all of that up front. A kid who expects the occasional failed print handles it far better than one who thought every print would work.
Conclusion
Talking to your kids about 3D printing works best when the conversation starts with what they want to make. Not with how the machine works. Explain that a design on a screen guides a printer laying plastic down one thin layer at a time, then hand over responsibility in stages that fit your child's age and how well they follow instructions.
Set the safety rules before the first print, not after. Hands stay off the hot parts until you say they're cool. Print in a shared room with a window nearby, and keep the small finished pieces away from toddlers and pets. NIOSH lays out the same short list, heat, moving parts, and low-level fumes, and none of it is hard to manage once the rules are in place (CDC/NIOSH guidance on safe 3D printing). Resin waits for the teen years.
And you don't have to buy anything on day one. Free software, a library printer, or a maker-space session all let a child test the interest before any money changes hands. If it sticks, an easy enclosed printer keeps the early frustration low and the first wins quick.
The goal was never a perfect object on the first try. It's a kid who learns to plan, measure, test, and fix. That's where AOSEED's family-friendly 3D printing platform aims: a guided workflow that keeps the setup out of the way so the making stays front and center.
Pre-assembled enclosed machines built for ages 4 to 12, like the $299 AOSEED X-MAKER JOY, ship with over 1,500 ready-to-print models and handle most setup through the app before it ever reaches your child. Start small, start personal, and let the printer do the fiddly part.
FAQs
How do you explain 3D printing to kids?
Call it a robot hot glue gun. It melts plastic thread and stacks it in layers to build a shape from a computer design. Show them a printed object and point out the tiny lines up the side. Honestly, letting them watch the first few layers form does more than any explanation you could give.
Should a 12-year-old have a 3D printer?
Yes, with supervision. A responsible 12-year-old can design simple models, slice files, start prints, and take out cooled parts. You still handle repairs, blocked nozzles, and new materials. Try a library or maker-space session first, so you know they enjoy the whole process and not just the finished toys.
What age is appropriate for 3D printing?
Kids can start learning in early elementary school, but running a printer takes more maturity. Ages 5 to 7 mostly watch and choose. Ages 8 to 12 can design and run supervised prints. Teens can manage most of it. Match each task to how they behave, not to a birthday.
Is a 3D printer appropriate for a 7-year-old?
It can be, as long as you run the machine and control who touches the hot parts. A seven-year-old can pick a model, choose a color, and draw simple shapes with help. Start with a short print like a name tag, so they see the whole thing without a long wait.
Why would a kid want a 3D printer?
Because it turns an idea on a screen into something they can hold. Toys, game pieces, organizers, school models. The deeper pull is control. They choose the shape and size, then change it when the first version flops. Ask what they'd design, and you'll get a sense of whether the interest will last.
Is a 3D printer a good gift for kids?
For a kid who likes making, measuring, or solving little problems, yes. It's a poor pick if they just want one popular toy with zero effort. And it makes work for you too, setup, supervision, upkeep. A beginner-friendly printer with auto-leveling keeps early frustration down.
Is anything illegal to 3D print?
Yes. Some prints break copyright, trademark, or safety laws, and a downloadable file doesn't mean you're allowed to print or sell it. Weapons, counterfeit goods, and protected designs are the obvious ones. Teach kids to ask an adult before printing anything that copies a brand or could be used as a safety part.
What are the downsides of 3D printing?
Cost, long print times, failed jobs, upkeep, noise, and plastic waste. Kids get frustrated when a model runs for hours and dies near the end, and there's real software and troubleshooting to learn. Starting at a library or maker space lets you test the hobby before spending money on it.
Sources
- CDC / NIOSH, “Safe 3D Printing”
- CDC / NIOSH, “3D Printing Safety in Schools and Libraries”
- U.S. Environmental Protection Agency, “Researchers Continue to Study Emissions from 3D Printers”
- U.S. Consumer Product Safety Commission, “Small Parts for Toys and Children's Products”
- U.S. Patent and Trademark Office, “Trademark, Patent, and Copyright Basics”
- Autodesk Tinkercad, “Learn: Designs and Lessons”
- Autodesk, “Fusion for Education”


Further reading
3D Printed Cartesian Plane Lesson Plan: Math and Technology Integration for Grades 5 to 8
STEM Education for Kids: What It Means and How Parents Can Support It at Home
Small Gifts for Kids: Party Favors and Little Presents Kids Can Make