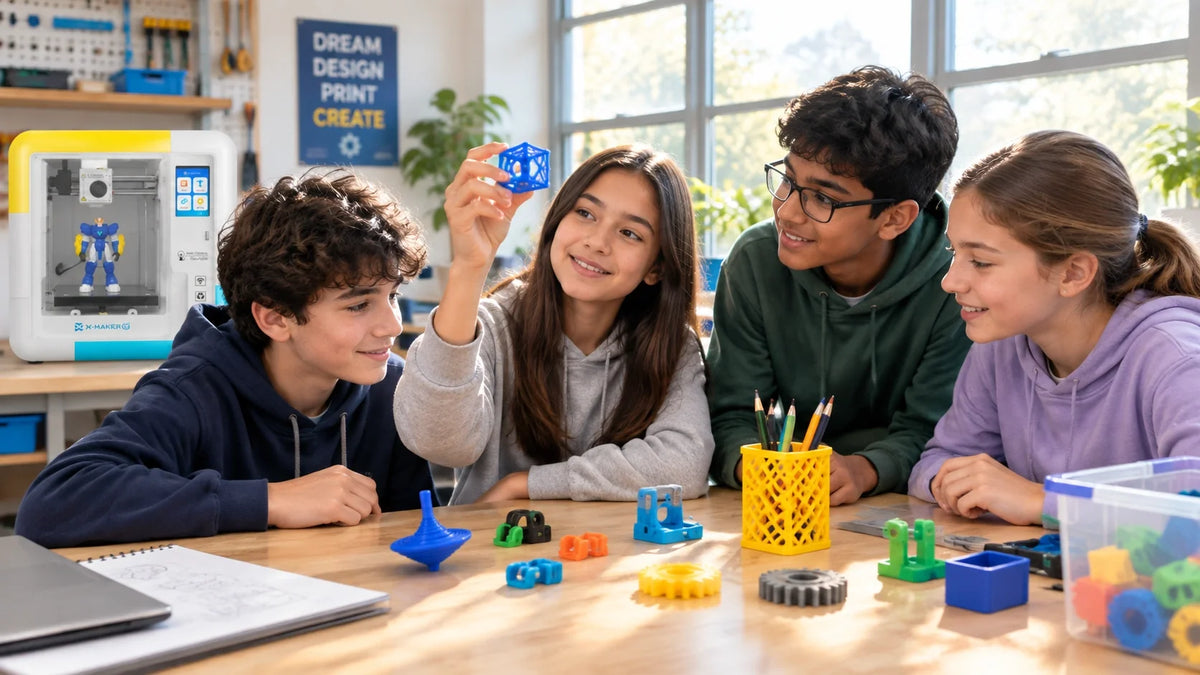
Toy 3D Printer: What to Look for in a Printer That Makes Toys at Home
A toy 3D printer turns a digital model into a real toy on your desk. Figures, puzzles, game pieces, small cars. You print them layer by layer from a spool of plastic filament.
Picking the machine is the hard part. A printer can make great models and still frustrate a beginner, leave hot parts within reach of small hands, or refuse the materials your projects need. So look past the words “for kids” on the box. Setup, software, safety, build size, and running costs decide whether the printer still gets used after the first month.
Quick Pick: Start Here Based on Your Home
|
If this sounds like your home |
Prioritize |
Good starting point |
|
Child aged 4 to 8, first printer, parent nearby |
Fully enclosed frame, an app with ready models, one tap printing |
A printer built for kids with a guided app |
|
Child aged 9 to 12 who wants to customize |
Simple design tools, a mid size build area, clear error messages |
A kids’ printer with built in design modules |
|
Teen who wants CAD and bigger builds |
Larger build volume, more material options, slicer control |
A STEM oriented kids’ printer or a general beginner machine |
|
Family not sure the hobby will stick |
Low total cost, a steady model library, a return window |
A printer with weekly model updates and a 30 day return policy |
What Is a Toy 3D Printer?
It is a desktop 3D printer used mainly to make toys, figures, puzzles, and small models. Some machines are designed for children from the start. Others are ordinary beginner printers that families happen to use for toy making.
Almost all of them use fused deposition modeling, or FDM. The printer melts thermoplastic filament and lays it down in thin layers until the object is complete.
How It Turns a File Into a Toy
 1. Model. You start with a 3D file, either downloaded from a library or designed yourself.
2. Slice. Software cuts the model into layers and writes the path the nozzle will follow.
3. Print. The nozzle heats the filament and draws each layer on the build plate.
4. Finish. Some toys come off ready to play. Others need supports removed or parts snapped together.
Printers Made for Kids vs. General Beginner Printers
“Toy 3D printer” is a use case, not a separate technology. The real split is between machines that hide the technical steps and machines that hand you every setting.
|
|
Printer made for kids |
General beginner printer |
|
Software |
App with ready models and simple edits |
Full slicer with dozens of settings |
|
First print |
Pick a model, tap print |
Import, slice, check settings, then print |
|
Frame |
Often fully enclosed |
Often open frame |
|
Materials |
Usually PLA, sometimes more |
Wider range, including flexible filament |
|
Best for |
Younger kids and first time families |
Older teens and adults who want control |
Think about who will actually press print. A six year old working beside a parent needs a guided app. A fourteen year old learning CAD may outgrow one within a year.
What to Look for in a Toy 3D Printer
Start with the features that remove repeated setup work. Then compare size, materials, noise, and upkeep.
|
Feature |
Why it matters for toys |
What to check before buying |
|
Automatic bed leveling |
A bad first layer ruins the whole print |
Is leveling fully automatic, or does it still need manual tweaks? |
|
App or software |
Decides how much a child can do alone |
Can a child go from model to print without touching slicer settings? |
|
Enclosure |
Keeps hands away from the hot nozzle and moving belts |
Is the print chamber fully closed while it runs? |
|
Build volume |
Sets the largest toy you can print in one piece |
Width x depth x height, listed in mm |
|
Filament support |
Decides toughness and flexibility of toys |
Which materials does the maker officially list? |
|
Noise |
Prints run for hours in shared rooms |
Is a decibel figure published? |
|
Parts and support |
Nozzles and plates wear out |
Are spare parts sold on the brand’s own store? |
Setup and Automatic Leveling
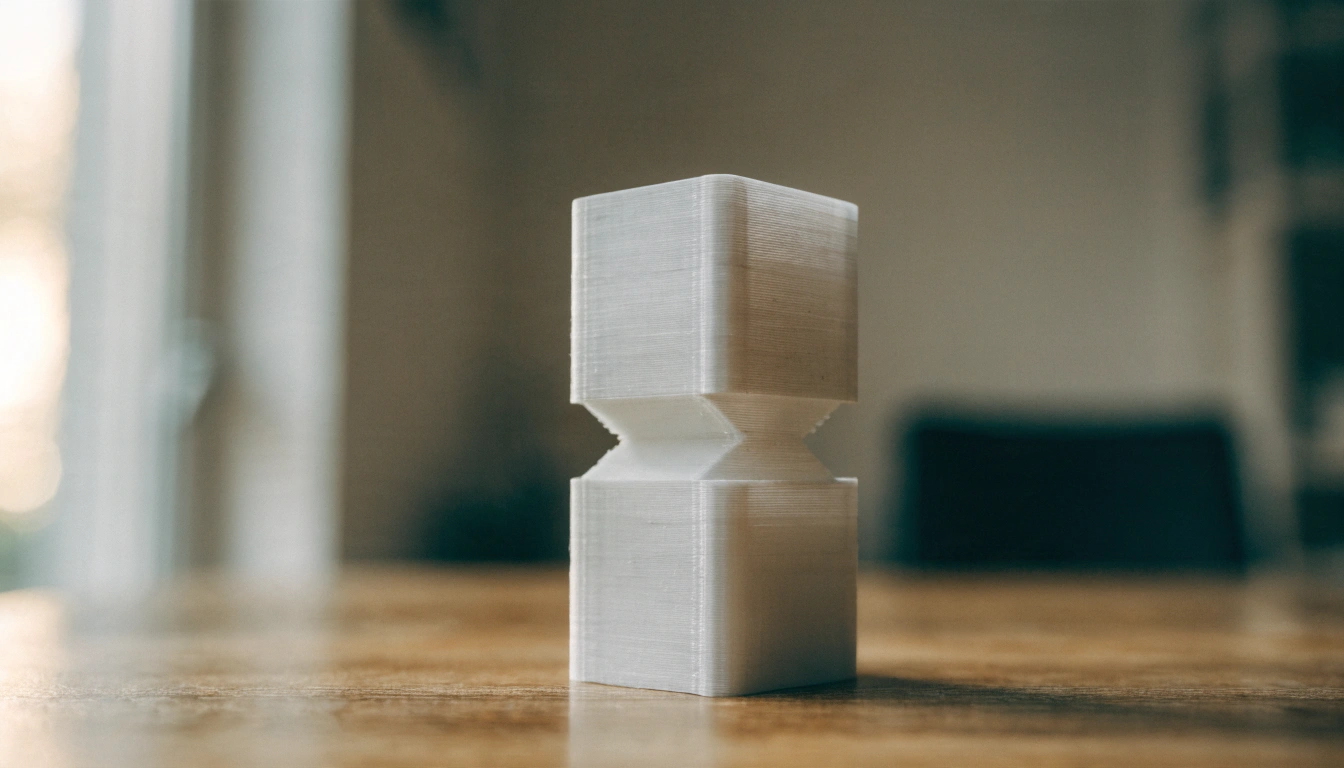
The first layer has to sit at exactly the right height above the plate. Too high and the plastic will not stick. Too low and it gets squashed.
Older printers made you adjust that gap by hand before every session. Automatic leveling measures the plate and corrects for it. For a family printer, that one feature saves more frustration than any speed upgrade.
Software a Child Can Actually Use
Good hardware becomes hard work when the software is confusing. Before buying, check how a model gets from a tablet or phone to the printer.
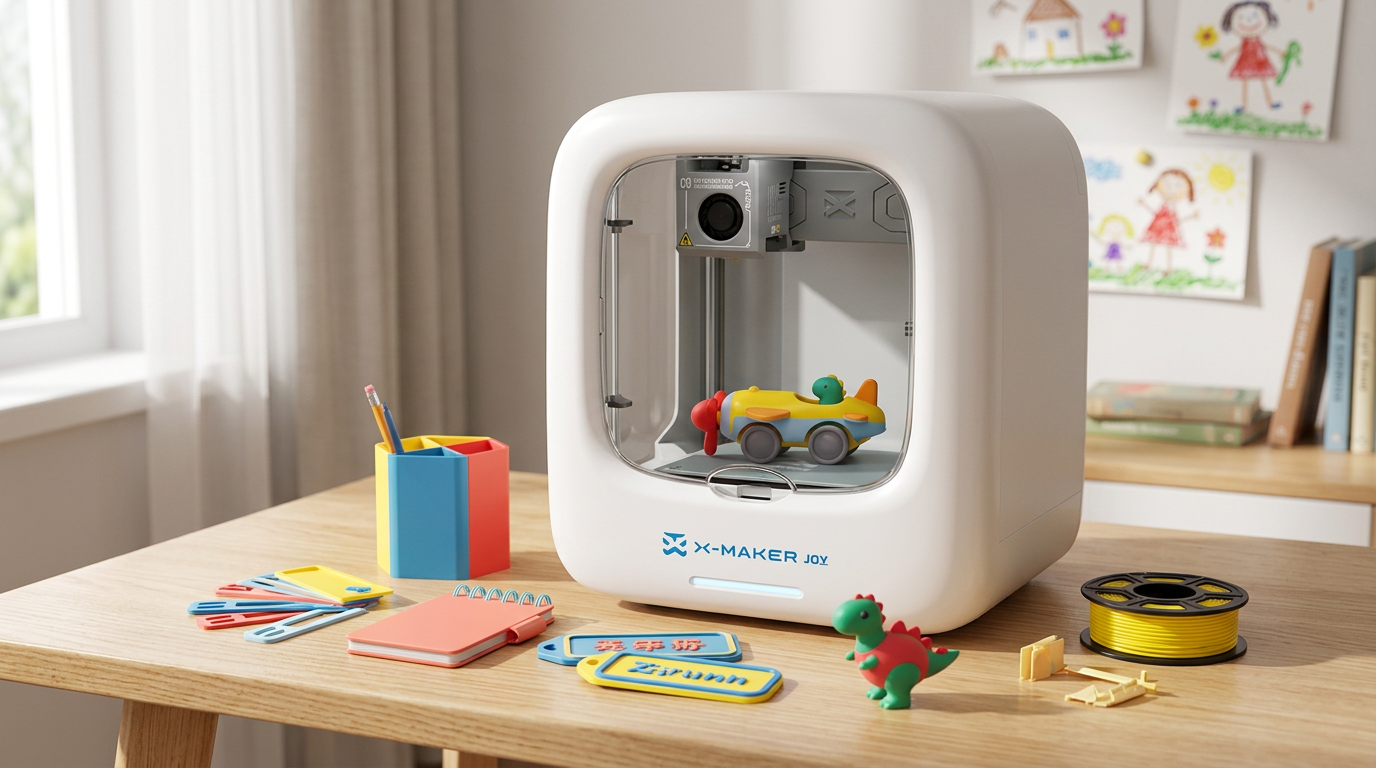
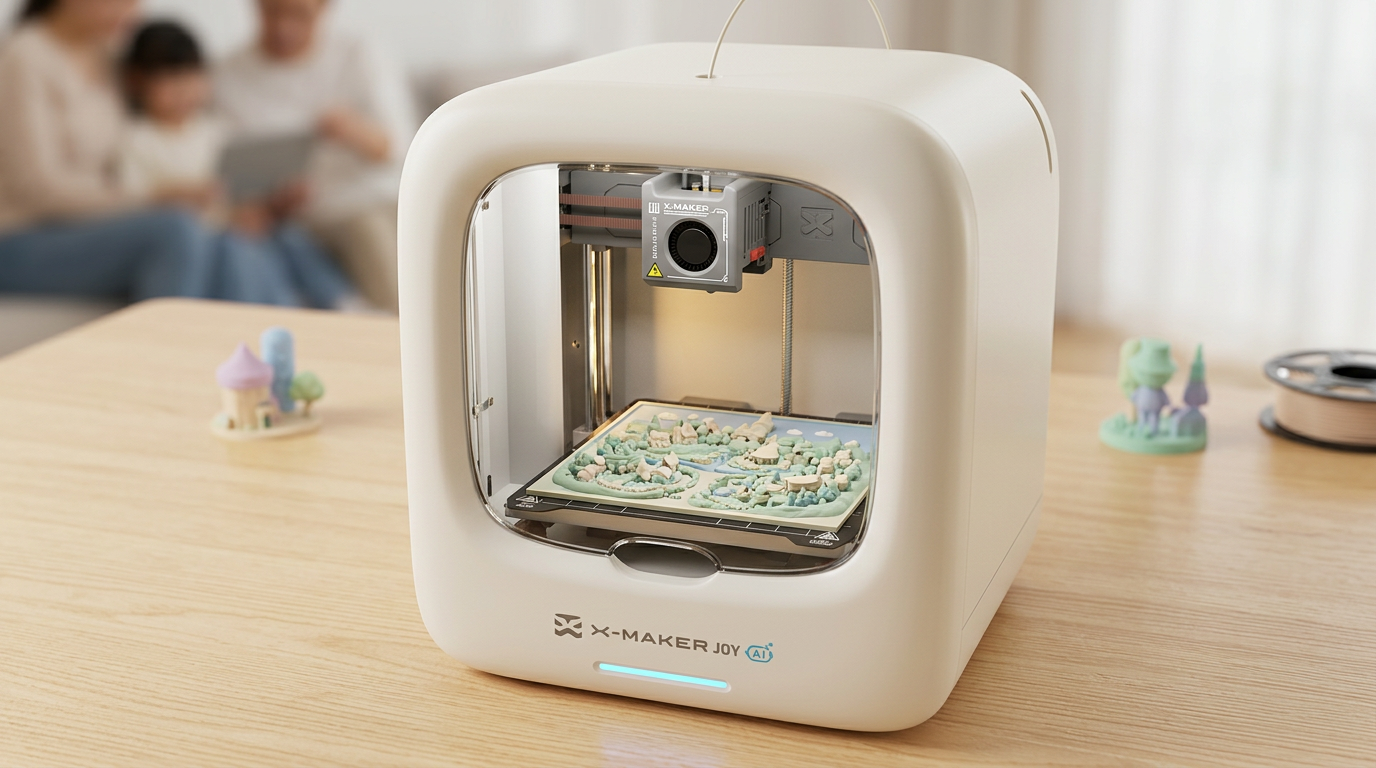
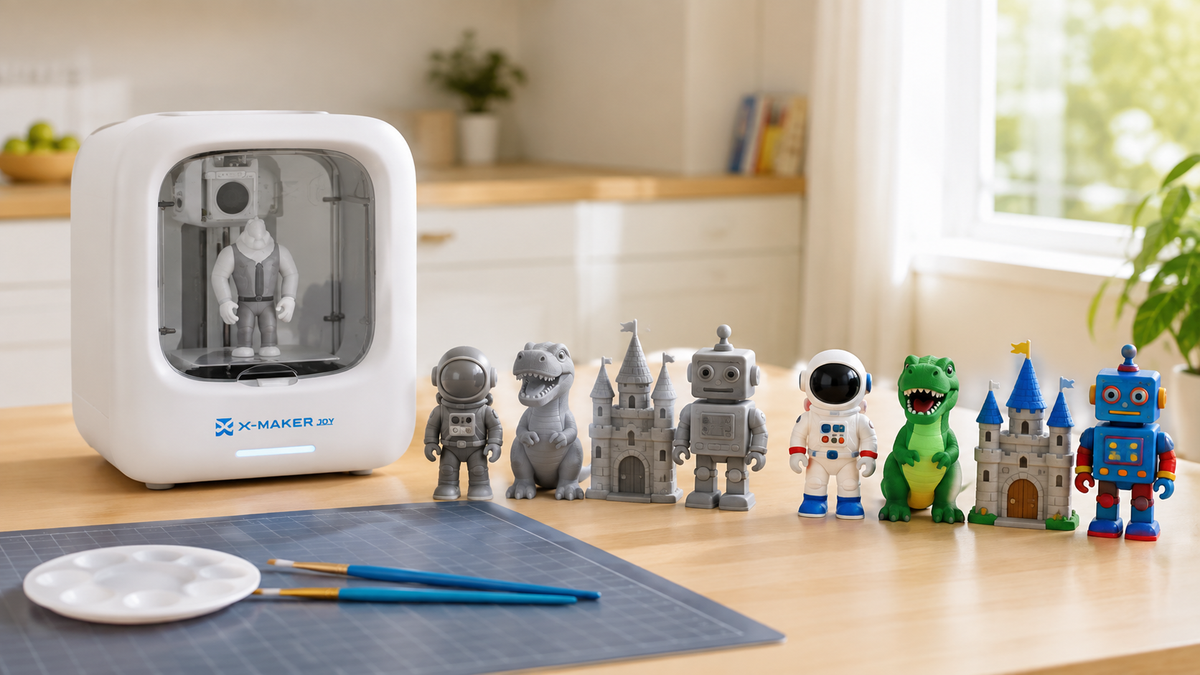
Apps built for kids replace most slicer settings with a model library and simple edit tools. A starter toy-making 3D printer such as the AOSEED X-MAKER JOY runs through the AOSEED app over Wi-Fi. Kids browse thousands of ready models, make small changes in guided design modules, and send the job with one tap. The parent steps in for setup and filament, not every click.
|
ℹ Try this before you buy Ask your child to pick three toys they would print first. If the app you are considering has all three, or something close, the first week will go smoothly. |
Build Volume: How Big Your Toys Can Get
Build volume is the largest box the printer can fill in one job. A compact 120 mm cube handles figures, fidget toys, game pieces, and small vehicles. A 150 mm cube adds room for bigger models and playset parts.
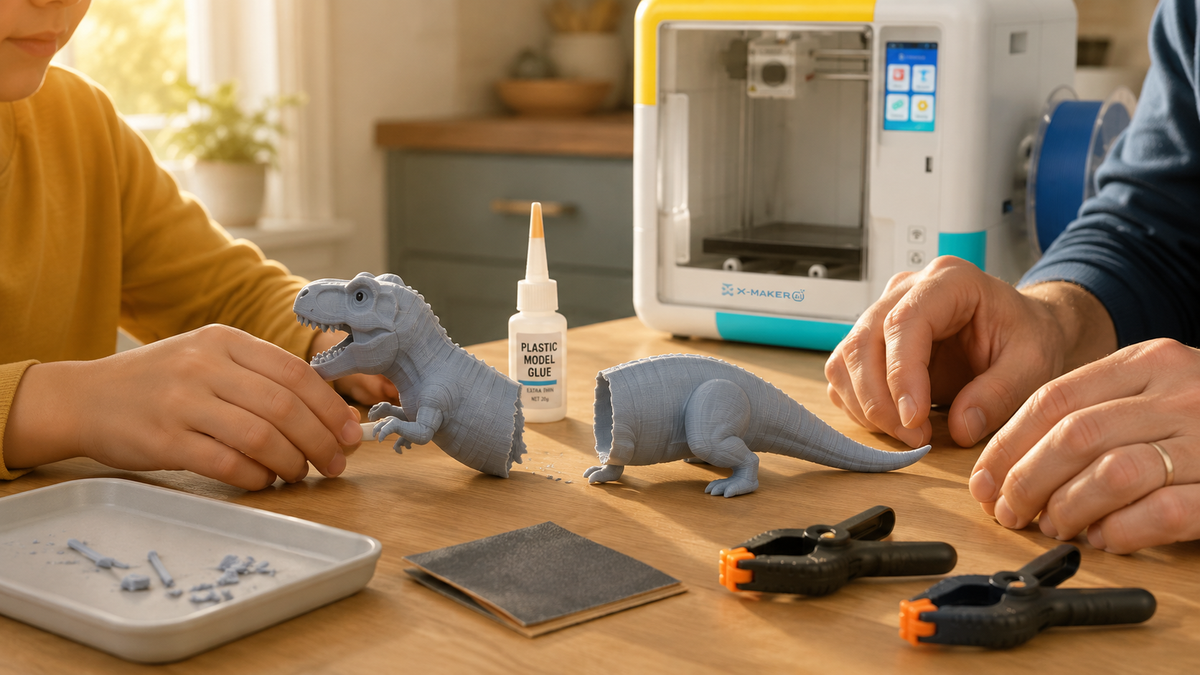
Large helmets or dollhouse pieces can be split into sections and glued. So bigger is not automatically better. A smaller machine is easier to place in a kitchen or bedroom and may cover nearly every project your child wants.
Print Quality, Speed, and Noise
Faces, text, gears, and snap fit joints need a printer that places plastic accurately. Look for a stated precision figure. A 0.05 mm rating means fine layers are possible for detailed pieces.
Advertised top speed says less than you think. Real print time depends on the model, supports, and quality settings. A printer that finishes reliably at a moderate speed beats a fast one that fails halfway.
Noise matters if the printer lives in a shared room. A published decibel figure, such as under 50 dB, tells you it can run while the family talks nearby.
Filament Support
Most toy projects work well in PLA. It prints at manageable temperatures and comes in every color. If you expect tougher parts later, check whether the printer also lists ABS or PETG. Go by what the manufacturer officially supports, not by the maximum nozzle temperature on the spec sheet.
Maintenance and Replacement Parts
Every printer needs some upkeep. Nozzles clog, build plates wear, and belts need a wipe now and then. Before you buy, confirm that the brand sells spare nozzles and plates directly, and that support is easy to reach. A warranty of at least one year gives you room to learn the machine without worry.
Safety Features That Matter Around Kids
 A 3D printer is a machine with a hot nozzle, a heated plate, and moving parts. It is not a push button toy. A CPSC review of 3D printing hazards flags burns and chemical exposure during printing, plus choking hazards in printed products.
Enclosed Print Area
An enclosure puts walls and a clear door between your child and the moving print head. Kids can watch the toy grow without reaching in.
It is a barrier, not a babysitter. The printer still needs a stable spot, and the house rule should be simple. Nobody opens the door until the print is done and the machine has cooled.
Hot Parts and Cooldown
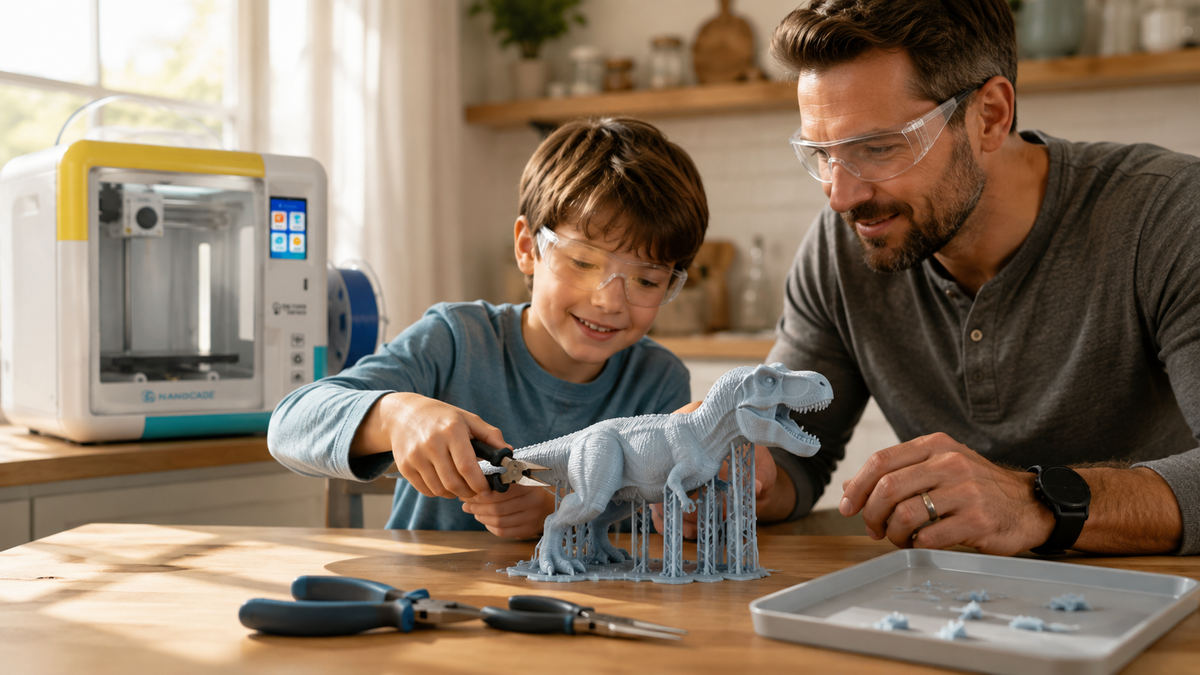
The nozzle runs hot enough to burn skin. Turning the power off does not make it safe to touch right away. Teach children to wait, and let an adult remove finished prints until the child has shown they follow the routine.
Ventilation and Air Quality
Melting plastic releases ultrafine particles and volatile organic compounds. EPA research on 3D printer emissions found that different filaments release different amounts, and that children may take in more particles relative to their size.
Ventilation reduces exposure. The NIOSH study of printer emissions in an office describes local exhaust and filtration as practical controls. At home, that means a room with airflow, not a closed closet, and PLA as the default material.
Supervision by Age
How much a child does depends on age and temperament more than enthusiasm. The CPSC toy safety guidance for families says to match toys to a child’s age and abilities. The same logic works for the printer.
|
Age |
Child can do |
Parent handles |
|
4 to 6 |
Pick models and colors, watch through the window |
All machine handling, filament, removing prints |
|
7 to 9 |
Simple edits in the app, start a print with a parent present |
Support removal, cutters, troubleshooting |
|
10 to 12 |
Guided design modules, load filament with help |
Cooldown checks, maintenance |
|
13 and up |
CAD, slicer settings, basic upkeep |
Spot checks, ventilation, material choice |
|
⚠ Keep failed prints out of mouths Filament scraps, supports, and broken pieces are small and sometimes sharp. Clear them from the printing area after every session, especially if a toddler lives in the house. |
Best Filaments for Making Toys
Pick the material by what the toy has to do. A display figure and a car tire face very different forces.
|
Material |
Best toy uses |
Difficulty |
Watch for |
|
PLA |
Figures, puzzles, game pieces, educational models |
Easy |
Thin parts can snap; softens in a hot car |
|
PETG |
Pieces handled often, larger play parts |
Moderate |
Stringing until the profile is tuned |
|
TPU |
Tires, bumpers, bendable parts |
Harder |
Slow to print; not every extruder feeds it |
|
ABS |
Tough functional parts |
Harder |
Warping, higher heat, more ventilation needed |
For a first printer, PLA covers most projects. Keep the original spool label. It tells you the exact material and brand if you later need temperature or storage details.
Where AOSEED Fits in a Family Toy Workflow
AOSEED builds printers around the whole path from idea to play: app, model library, design modules, and add on kits. Here is how the two printers compare on the live product pages.
|
Spec |
X-MAKER JOY |
X-MAKER |
|
Recommended age |
4 to 12 |
9 to 16 |
|
Build volume |
120 x 120 x 120 mm |
150 x 150 x 150 mm |
|
Max print speed |
Up to 300 mm/s |
Up to 300 mm/s |
|
Precision |
0.05 mm |
0.05 mm |
|
Filament |
PLA |
PLA and ABS |
|
Frame |
Fully enclosed chamber |
Compact frame with camera |
|
Controls |
AOSEED app over Wi-Fi |
App plus smart touchscreen |
|
Built in design tools |
16 mini design modules plus 2 premium modules |
15+ in app design games |
|
Noise |
Quiet, compact design |
Under 50 dB |
|
Price (Sept 2026) |
$239 (regular $339) |
$359 (regular $509) |
|
Warranty and returns |
1 year warranty, 30 day return |
1 year warranty, 30 day return |
|
WHY PARENTS CHOOSE AOSEED FOR TOY MAKING Both printers pair with a weekly updated library of thousands of models, so there is always a next project. Creation kits such as X-Auto, X-Racer, X-Music, and X-Fun turn printed parts into cars, racers, music boxes, and moving toys. Your child designs, prints, and then plays. If you are deciding between models, compare kids' 3D printers by age, project size, and how much help your child needs. |
Toys You Can Make at Home
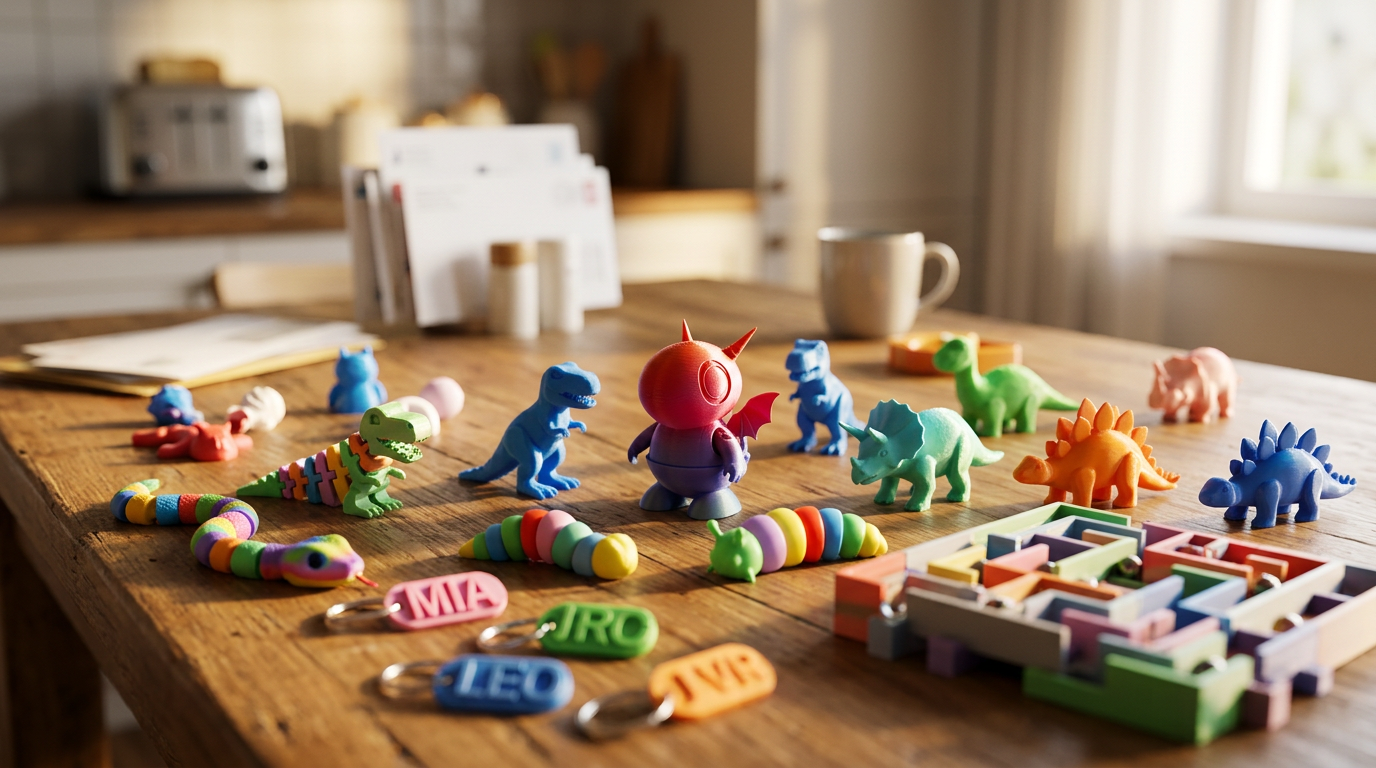
 The same printer can make a poseable dragon on Saturday and a math model for school on Monday. Start with small designs that need few or no supports.
|
Toy type |
Why it works |
Skill level |
Watch for |
|
Articulated animals |
Joints print already connected |
Beginner |
Joints fuse if calibration is off |
|
Fidget toys |
Small, quick, low filament use |
Beginner |
Clearances too tight or too loose |
|
Puzzles and brain teasers |
Odd shapes are easy to print |
Beginner to intermediate |
Pieces that stick together |
|
Toy cars and racers |
Separate wheels and axles to redesign |
Intermediate |
Axle strength depends on print direction |
|
Building blocks |
Open ended play and stacking |
Beginner |
Small pieces around kids under 3 |
|
Chess and game pieces |
Replace lost tokens |
Beginner |
Licensing if you plan to sell |
|
Educational models |
Gears, bridges, and geometry |
Intermediate |
Design changes take a few tries |
|
Name toys and keychains |
Personal and giftable |
Beginner |
Letters too thin to print cleanly |
The best projects keep going after they leave the plate. A car gets a new wheel design. A puzzle becomes a challenge for a sibling. That cycle of print, play, and redesign is where the learning happens.
How to Make Your First Toy in 5 Steps
 1. Choose a model. Download a proven design or pick one from the printer’s library. Read the notes for recommended material and orientation.
2. Prepare the job. In a kids’ app this is a tap. In a slicer, start from the manufacturer’s default profile and preview the layers.
3. Load the right filament. Match the material to the toy and the printer. PLA is the safe first choice.
4. Watch the first layer. Most failures show up in the first few minutes. If the plastic lifts or tangles, stop the print and fix it.
5. Cool, remove, and inspect. Let the machine cool. An adult removes supports with cutters, then checks for sharp edges, cracks, and loose parts.
Write down the settings that worked. The next print on the same spool will go faster.
How to Make 3D Printed Toys Safer for Kids
A print that looks finished is not automatically safe to play with. Store bought toys for children 12 and under go through federal testing. A home print has not. Treat every new toy to a quick check before it goes to a child.
• Small parts. Under U.S. rules, toys for children under 3 cannot contain small parts that fit inside the test cylinder. Keep wheels, eyes, pins, and tokens away from toddlers, including a younger sibling.
• Sharp edges and points. Support scars and thin spikes can be sharp. CPSC toy requirements for edges and points apply to commercial toys for kids under 8, and they are a good standard for your own prints.
• Moving joints. Test hinges and wheels before handing a toy over. White stress marks or split layers mean the part may snap.
• Wear over time. Check favorite toys again after heavy play. Retire broken pieces instead of gluing them back again and again.
• Special uses. Do not assume a printed toy is fine for chewing, food contact, or bath play unless the whole setup is designed for it.
What It Costs to Print Toys at Home
The printer is the big upfront cost. Filament and wear parts are the ongoing ones. Small toys use only a few grams of plastic, so the cost per toy stays low once the machine is paid for.
|
Cost item |
What drives it |
How to keep it low |
|
Printer |
Build size, enclosure, automation, bundled app |
Buy for the projects you will really make |
|
Filament |
Model weight, supports, failed prints |
Check the slicer or app estimate before printing |
|
Model files |
Free libraries vs. paid designer files |
Start with the library bundled with your printer |
|
Wear parts |
Nozzles, build plates, hot end parts |
Confirm spare parts are sold by the brand |
|
Electricity |
Long or frequent prints |
Small; batch short prints together |
Is it cheaper than buying toys? Not for one or two basic items. Printing pays off when toys are custom, hard to find, replacement parts, or something your child wants to redesign again and again.
Is a Toy 3D Printer Worth It for Your Family?
 It is worth it when your family wants to make things, not just collect them. It asks for more effort than a normal toy. Prints fail, filament needs loading, and someone has to learn the app.
|
When a toy 3D printer makes sense • Your child builds, draws, designs, or asks how things are made • A parent is willing to learn alongside them for the first few weeks • You can list at least ten projects your child wants to print • You want one tool for toys, school models, gifts, and repairs |
When a simpler option is enough • Your child wants two or three specific finished toys • Nobody at home has time to troubleshoot a failed print • A school, library, or makerspace already offers printer time • A 3D pen would satisfy the urge to make something by hand |
Conclusion
The right toy 3D printer is not the one with the longest spec sheet. For home use, easy setup, automatic leveling, a clear app, a fully enclosed print area, and spare parts you can actually buy matter more than top speed.
Match the machine to the person who will use it. Younger kids do best with a guided app and close adult help. Older kids and teens get more from design tools and a bigger build area. Then check every finished toy for small parts, sharp edges, and weak joints before play.
If you want a guided start, the AOSEED X-MAKER JOY costs $239 and is built for ages 4 to 12, with a fully enclosed chamber and one tap printing. Older kids ready for bigger builds can step up to the X-MAKER at $359. See how the app, library, and kits work together on AOSEED's family 3D printing platform.
FAQs
Which 3D Printer Is Best for Toys?
The best 3D printer for toys is the one that matches the user’s age, experience, and the projects they want to make. For most families that means automatic bed leveling, simple app control, reliable PLA printing, and an enclosed print area.
A printer made for kids trades advanced settings for a guided app and a ready model library, which makes the first weeks much easier. A general beginner printer gives more control over materials and slicer settings but asks the user to learn more before the first good print. Neither removes the need for supervision around hot parts.
Practical tip: Choose around the toys your child will print most often, not the machine with the most features listed.
How Much Does a 3D Toy Printer Cost?
Printers sold for kids and beginners usually cost a few hundred dollars. At the time of writing, the AOSEED X-MAKER JOY lists at $239 and the X-MAKER at $359 on the AOSEED store.
The printer is only part of the budget. Plan for filament, a spare nozzle or build plate, and possibly paid model files. Multicolor accessories raise the cost further. Compare what comes in each box, because a cheaper printer can cost more once you add missing basics.
Practical tip: Set a first year budget that includes the printer, three or four spools of filament, and one set of spare parts.
Can a 3D Printer Print Toys?
Yes. A desktop FDM printer can make figures, articulated animals, puzzles, fidget toys, cars, building blocks, chess pieces, and educational models.
The printer needs a digital model first. You can download one or design your own, then an app or slicer turns it into instructions. Some toys print in one piece with moving joints. Others print as parts that snap together. Build volume sets the largest single piece, though big toys can be printed in sections and assembled.
Practical tip: Start with a small PLA toy that needs no supports, so you learn the full workflow on a short, low risk print.
Is It Safe to 3D Print Toys?
It can be, if both the printing and the finished toy get proper attention. A home print has not gone through the testing required for commercial children’s toys, so it should not be assumed safe by default.
During printing, the risks are hot parts, moving parts, and emissions. EPA research shows that melting filament releases ultrafine particles and VOCs, and NIOSH points to ventilation as a key control. After printing, the risks are small parts, sharp edges, and pieces that break during play.
Practical tip: Print in a ventilated room with PLA, keep the enclosure closed while it runs, and inspect every toy before a child plays with it.
How Much Does It Cost to Make a 3D Printed Toy?
The material cost for a small toy is usually low, because figures and game pieces use only a few grams of filament. Large articulated models or multi part sets use much more.
Your app or slicer estimates filament weight before you print. Multiply that by your cost per gram for a rough figure. Add a margin for supports, test pieces, and the occasional failed print. Electricity adds a little on long jobs. The printer itself is the real cost, so value grows with how often you use it.
Practical tip: Check the filament estimate before any large print, and shrink the model slightly if it only needs to fit in a small hand.
Is It Worth Buying a 3D Printer for Kids?
It is worth it for a child who likes to design, build, and test ideas. The value comes from the child choosing, changing, and eventually designing models, not from the printer acting as a toy dispenser.
It does ask for patience. Prints take time, some fail, and someone has to learn filament handling and basic troubleshooting. Younger children also need an adult for the hot and sharp steps. A steady library of new models helps keep interest going after the first few weeks, which is where many gadgets end up forgotten.
Practical tip: Before you buy, have your child list ten things they want to print. If the list runs out at two, a printer can wait.
Can a 7-Year-Old Use a 3D Printer?
A seven year old can take part in 3D printing, but should not run the machine alone. The nozzle and plate get hot, and removing supports involves sharp tools.
At this age, a child can choose models, pick colors, make simple edits in a kids’ app, and watch the print through an enclosed window. A parent handles filament loading, print removal, and any fixes. CPSC guidance on matching toys to a child’s age and abilities applies here too. Independence should grow with skill, not with excitement.
Practical tip: Treat it as a parent and child project for the first few months, and hand over one new step at a time.
Is 3D Printing Hard to Learn?
Basic 3D printing is much easier than it was a few years ago. Automatic leveling and guided apps let beginners print a ready model on the first day.
The learning curve shows up when something goes wrong. Over time you will learn about first layer adhesion, supports, print direction, and how different filaments behave. Designing your own models is a separate skill that takes longer. You do not need all of it at once. Proven models and default profiles let you learn one step at a time.


Further reading

STEM Building Toys for Kids: Blocks, Kits and Printers Compared
Toy 3D Printer: What to Look for in a Printer That Makes Toys at Home

Personalized Gifts for Kids: Name Tags, Keepsakes and Custom Toys You Can Design