


Turn Your Child’s Drawings into Playable Toys with a STEM 3D Printer
Every parent has seen it—a child proudly holding up a crayon drawing of a wild robot, spaceship, or unicorn. What if you could turn that drawing into a real, playable toy?
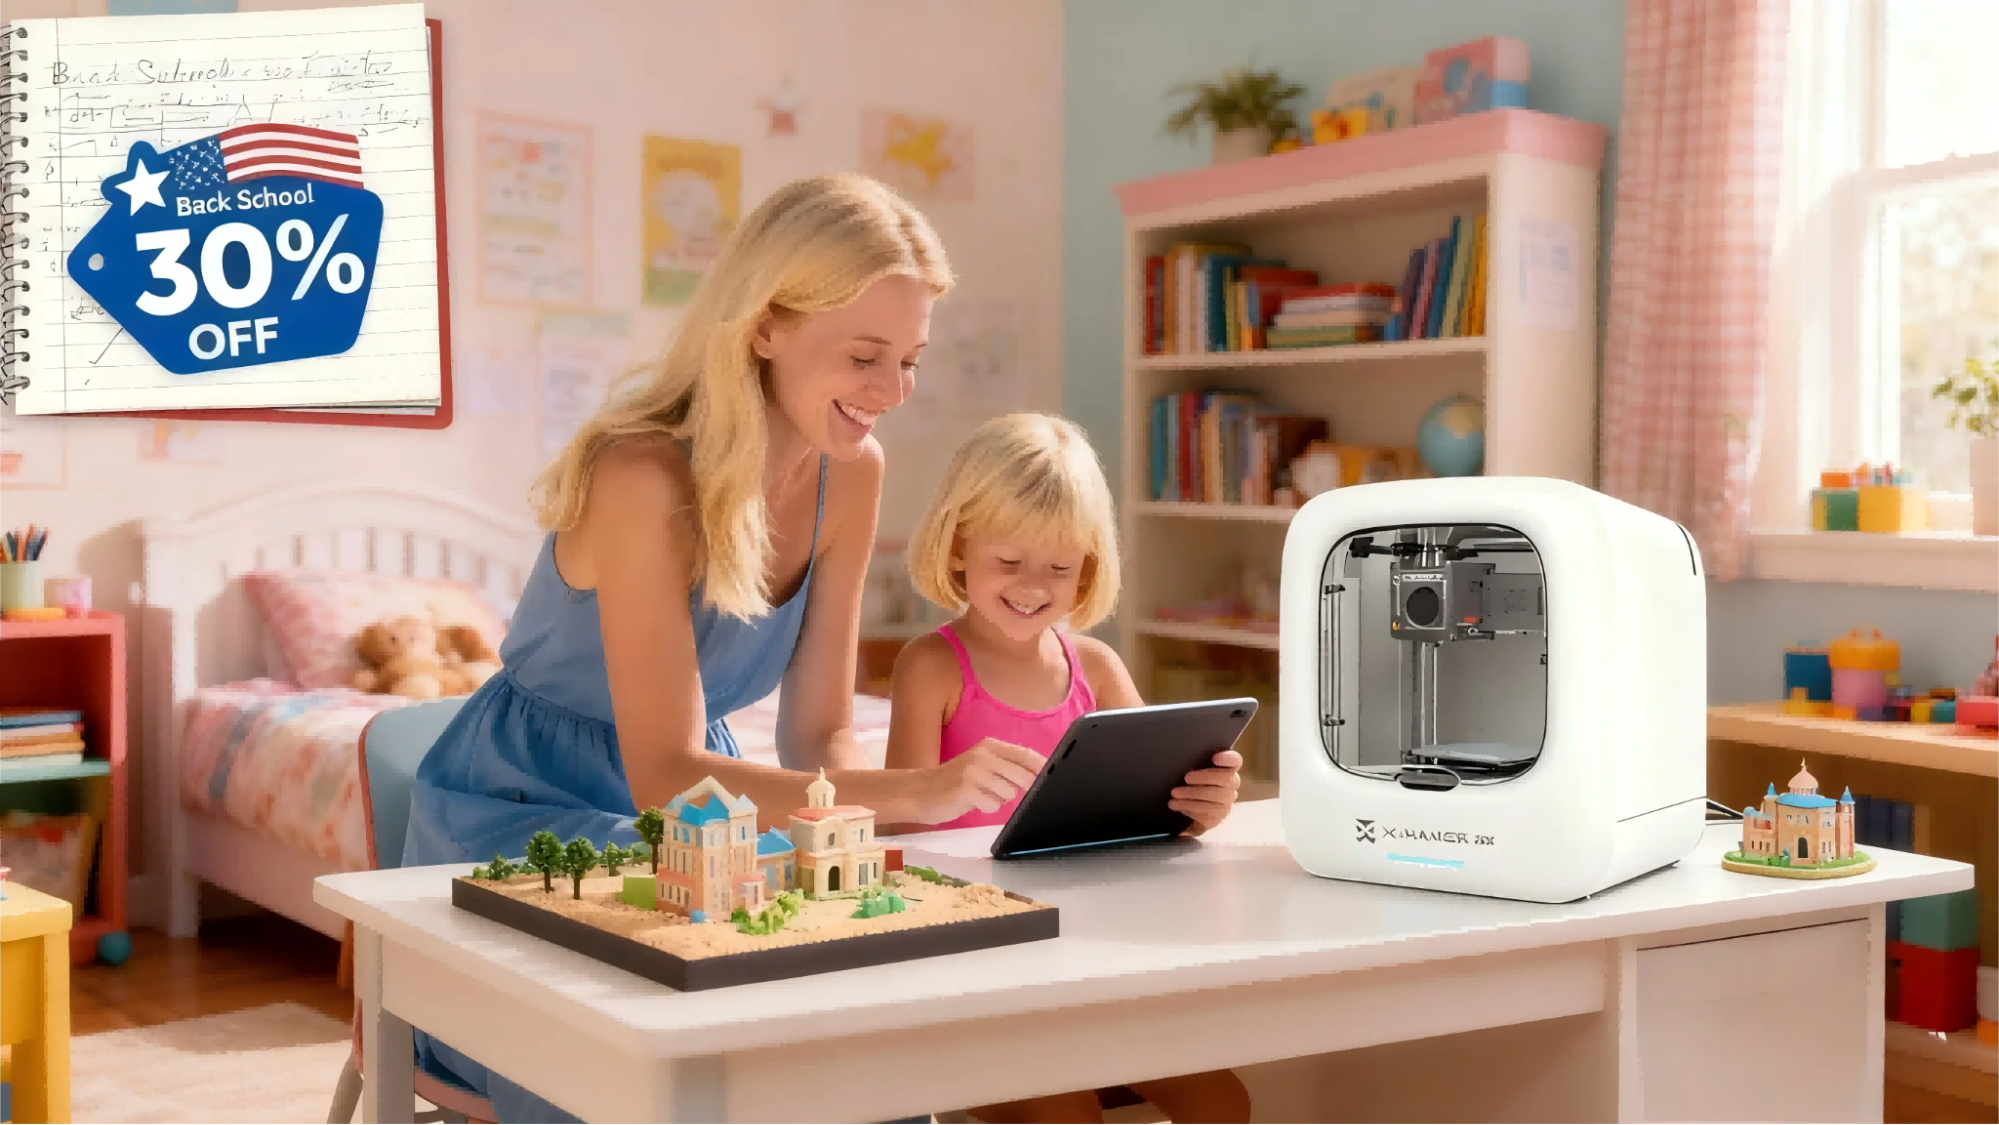
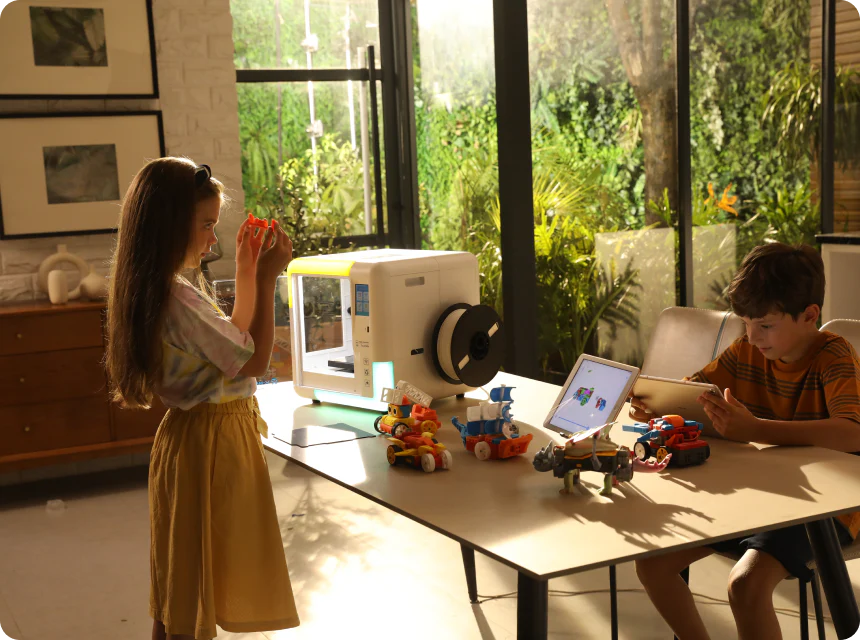
Thanks to modern technology, that dream is now possible with a 3D printer for toys. Using a kids 3D printer, families can bring imagination to life—creating customized, tangible versions of their child’s designs in just a few hours.
In this guide, we’ll walk you through how the process works, the benefits of turning 2D art into 3D creations, what tools to use, and why this hands-on activity is one of the most powerful ways to inspire creativity and STEM learning at home.
From Imagination to Reality: What a 3D Printer for Toys Can Do
A 3D printer for toys is a small, family-friendly machine that builds objects layer by layer using a safe plastic filament (usually PLA, made from cornstarch).
For kids, it’s magic in motion. They draw a character, scan or recreate it in an app, and watch it come to life in 3D form—right before their eyes.
This process is fun, educational, and empowering. It connects drawing, digital modeling, and engineering in one creative loop that kids never forget.
Why Transforming Drawings into Toys Boosts Creativity
Turnin drawings into toys isn’t just entertaining—it builds essential developmental skills:
-
Creative Confidence: Kids realize their ideas can exist in the real world.
-
Problem-Solving: They learn cause and effect—how design affects structure.
-
Fine Motor & Spatial Skills: Visualizing how flat drawings become 3D objects sharpens understanding.
- STEM Learning: Concepts like geometry, layering, and materials become second nature.
- Emotional Connection: Kids treasure toys they designed themselves far more than store-bought ones.
Step-by-Step: Turning Drawings into 3D Printed Toys

You don’t need to be an engineer or artist to make this work. With the right kid-friendly 3D printer and app, the process is surprisingly simple.
1. Start with a Drawing
Encourage your child to sketch their favorite animal, superhero, robot, or character. Keep lines bold and shapes simple—think coloring-book style.
2. Digitize the Drawing
Use a smartphone or tablet to photograph or scan the picture. Many apps (like AOSEED’s X-MAKER App) allow you to import or trace drawings directly into the 3D workspace.
3. Turn It Into 3D
With guided templates and “extrude” tools, kids can add depth to flat shapes. The app helps smooth edges and adjust height or proportions.
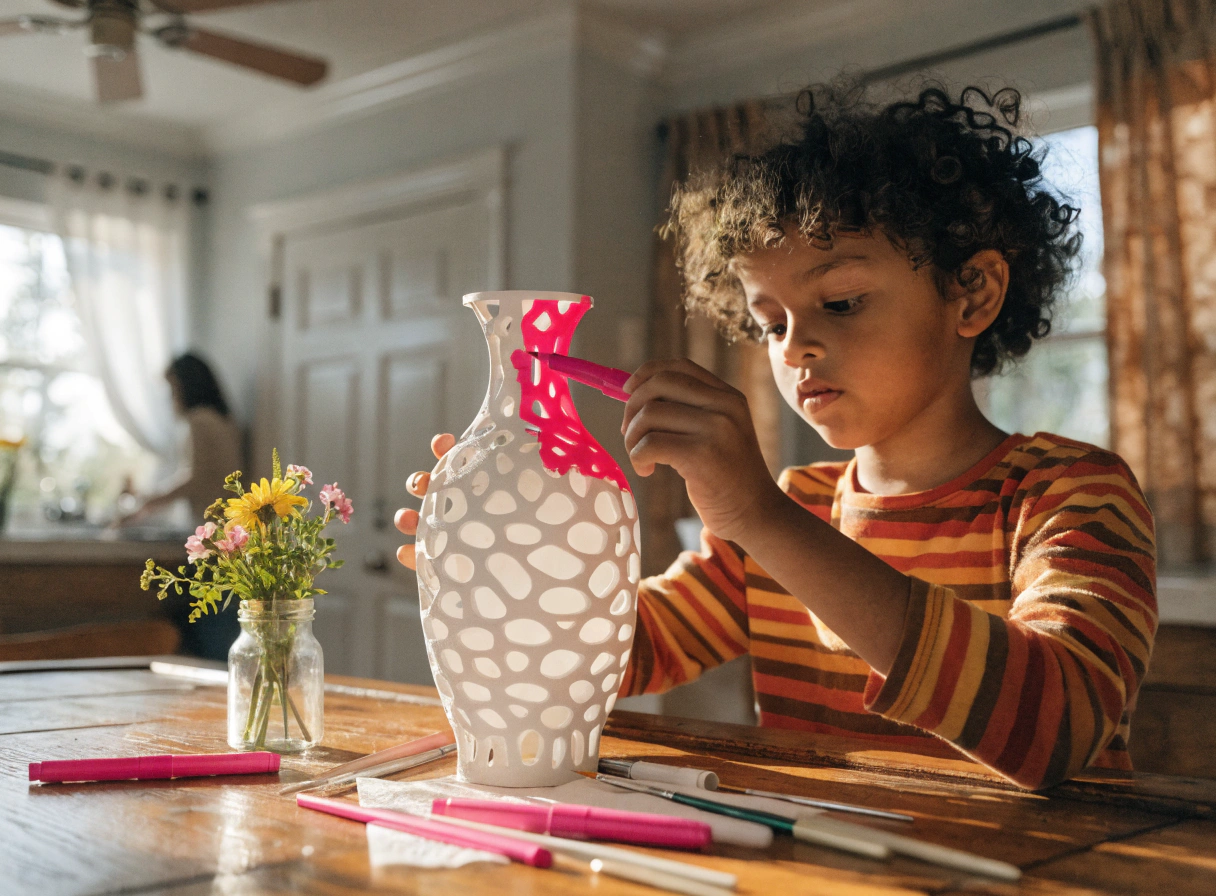
4. Add Color & Details
Choose colors, add textures, or layer parts. This stage teaches kids about material thickness, stability, and aesthetics.
5. Print & Play!
Once your model is ready, connect to your printer and let it build. Watching the design emerge layer by layer is mesmerizing—and deeply rewarding.
In an hour or two, your child’s once-flat doodle becomes a real toy they can hold, decorate, or play with.
Best Practices for Parents
If this is your family’s first foray into 3D printing, a few guidelines will make the experience smoother and more enjoyable.
- Start simple. Choose basic designs first—like animals or vehicles—before moving to multi-part prints.
- Celebrate imperfection. The first few prints may be bumpy or uneven. Treat them as fun “prototypes.”
- Teach design thinking. Ask your child, “Why do you think this leg didn’t print evenly?” or “How could we make the base stronger?”
-
Encourage ownership. Let kids lead the design and color decisions—it strengthens creative independence.
Display success. Create a “design shelf” at home where finished prints live proudly.
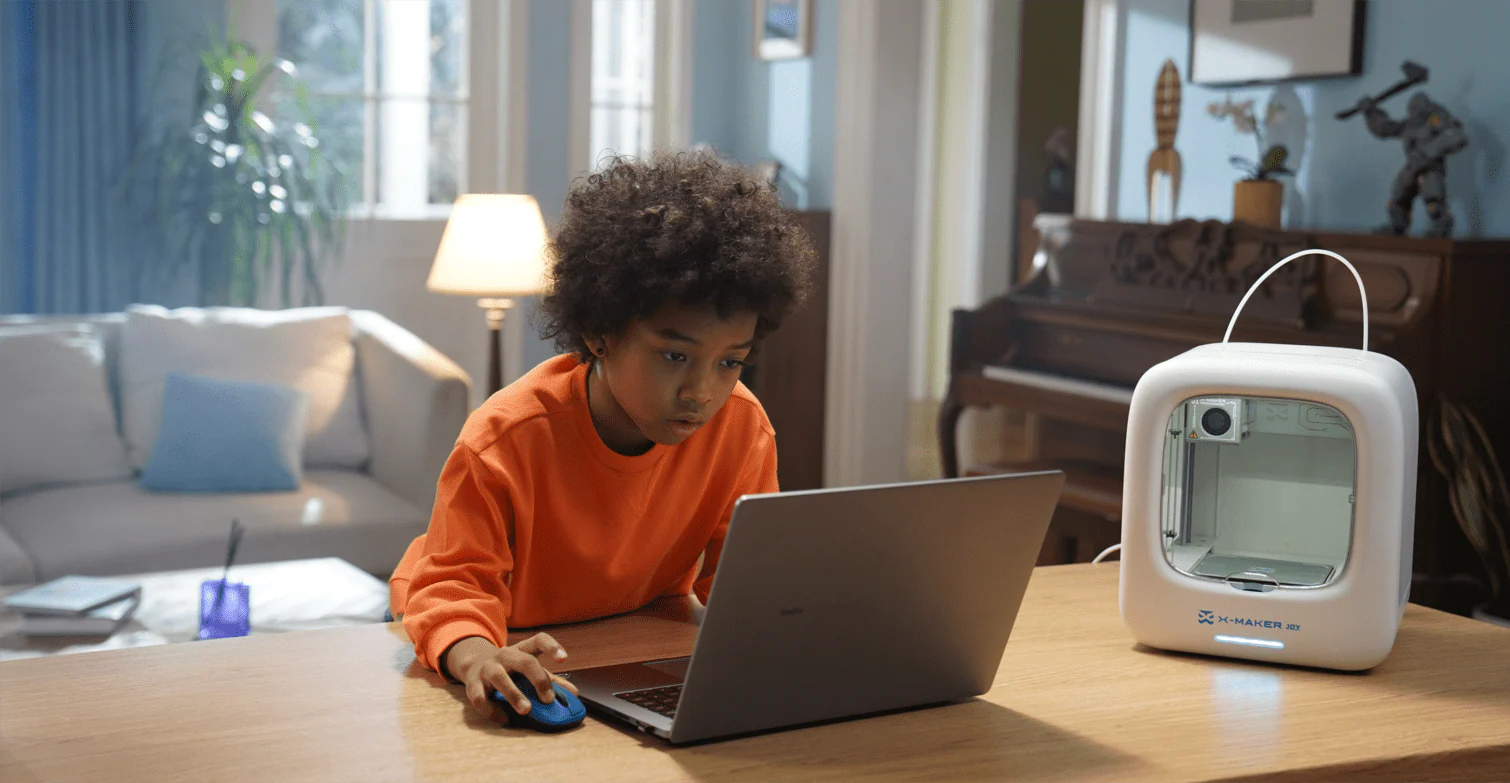
Why a Kids 3D Printer Is the Perfect STEM Tool

Beyond creativity, a kids 3D printer teaches practical life skills in the most fun way possible.
Real STEM Learning in Action
Each print introduces children to:
- Science: How materials melt and harden.
- Technology: Understanding machines and software.
- Engineering: Designing structures that function.
- Math: Measuring scale and symmetry.
Encourages Focus and Patience
3D printing isn’t instant—it requires setup, waiting, and iteration. This helps kids practice patience, perseverance, and attention to detail.
Builds Future-Ready Skills
The same design principles learned through 3D printing apply to fields like robotics, architecture, and digital art. Your child gains early exposure to real-world creativity.
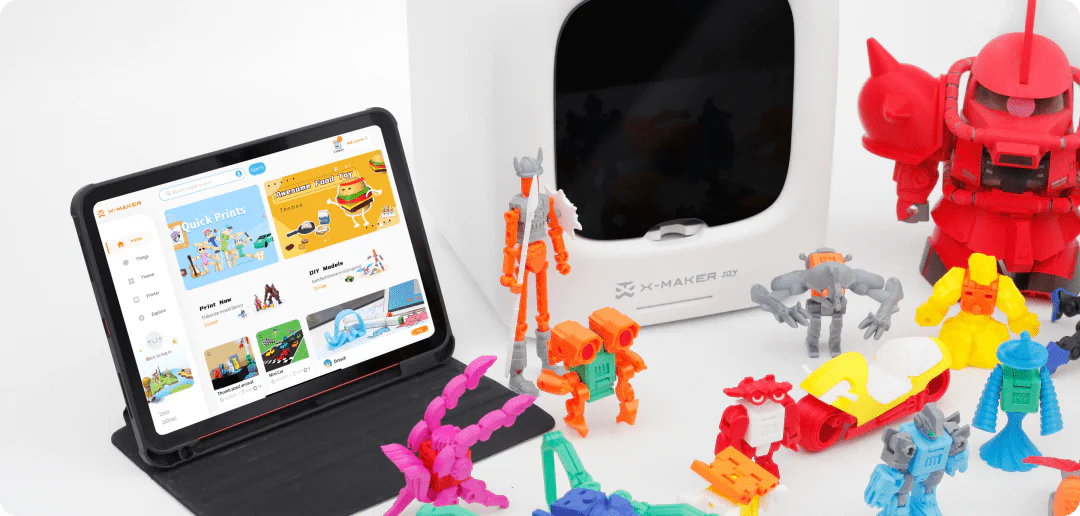
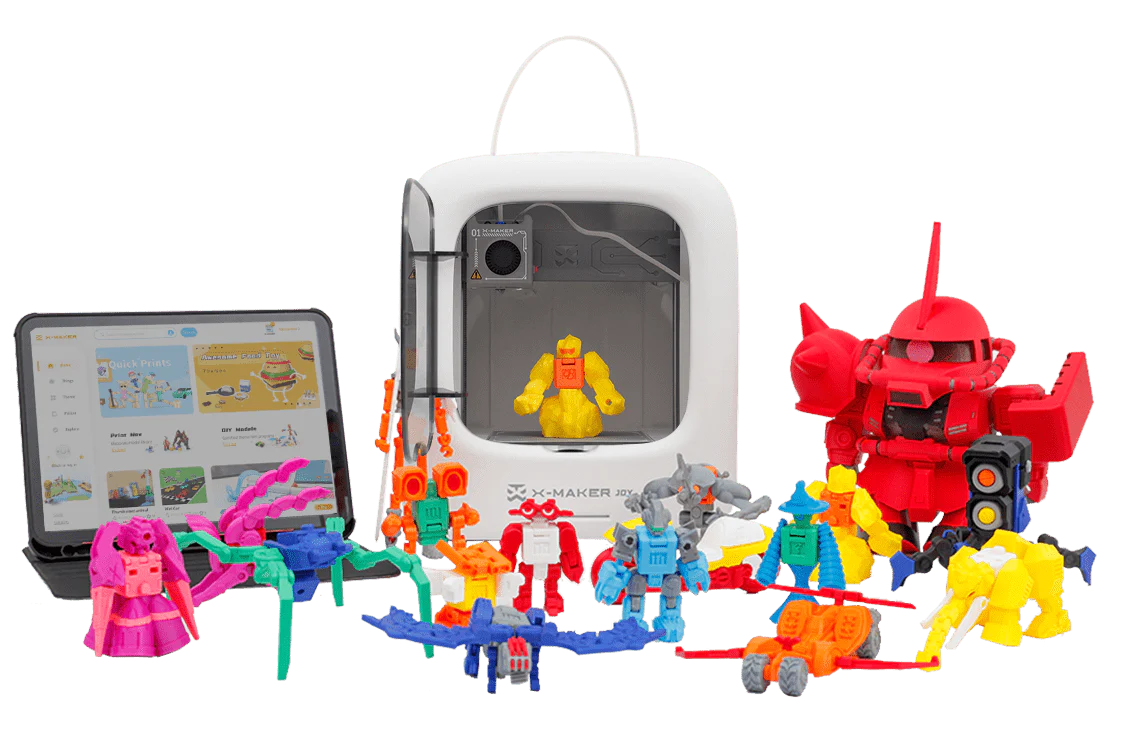
AOSEED: The Kid-Friendly Way to Start 3D Printing
AOSEED is one of the few companies building a complete child-safe 3D printing ecosystem—perfect for families and schools.
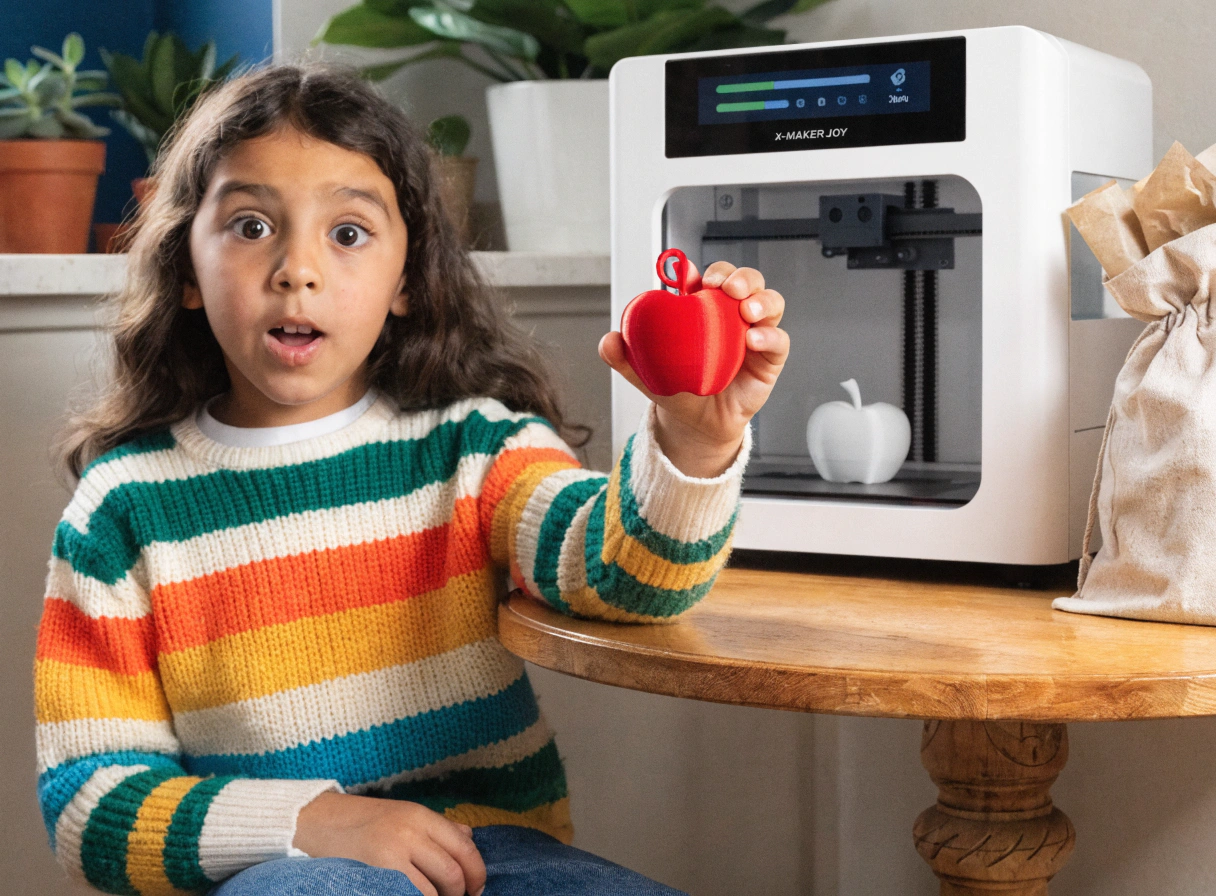
AOSEED X-MAKER JOY (Ages 4–9)
- Designed for beginners.
- Uses only PLA (non-toxic, biodegradable).
- Simple app with preloaded templates and one-click print.
- Enclosed build for safety and quiet operation.
AOSEED X-MAKER (Ages 9–16)
- Adds more creative control for older kids.
- Supports PLA & ABS filaments.
- Offers print preview and advanced customization.
- Perfect for design projects or STEM classrooms.
Both printers integrate with the AOSEED App, where children can choose models, trace drawings, and follow guided challenges.
Ideas: Turn These Drawings into 3D Toys

Need inspiration? Here are fun ways kids can transform their artwork into physical toys:
- Superhero Characters: Draw and print your child’s own action figure.
- Fantasy Animals: A dragon-cat hybrid? Why not! Let imagination lead.
- Personal Keychains or Badges: Add names, initials, or logos.
- Toy Cars or Robots: Kids can print bodies, wheels, or accessories.
- Holiday Ornaments: Turn seasonal art into family keepsakes.
- Mini Board Game Pieces: Replace pawns with unique 3D versions.
The process builds storytelling too—kids love making backstories for their custom toys.
Advantages and Disadvantages
Advantages
- Encourages creativity, innovation, and STEM learning.
- Provides productive screen time and meaningful play.
- Fosters confidence by turning ideas into real objects.
- Promotes bonding between parent and child.
- Develops patience and focus.
Disadvantages
- Initial prints may fail while learning.
- Supervision required for younger users.
- Prints take time (1–3 hours on average).
- Requires regular filament refills.
Still, most families agree: the joy of seeing a child hold their own invention far outweighs the learning curve.
Safety and Maintenance Tips
When printing with kids:
- Always use PLA filament, which is non-toxic and low odor.
- Keep the printer on a flat, ventilated surface.
- Teach “hot part” awareness—don’t touch during or right after printing.
- Store filaments in a dry box.
- Encourage gentle removal of finished prints.
AOSEED printers are enclosed and quiet—making them ideal for bedrooms, classrooms, and family workspaces.
Comparing AOSEED with Other Kids 3D Printers
|
Feature |
AOSEED X-MAKER JOY |
AOSEED X-MAKER |
Other Brands |
|
Age Group |
4–9 |
9–16 |
10+ (varies) |
|
App Integration |
Guided AOSEED App |
Full AOSEED App |
Often separate software |
|
Safety Design |
Enclosed & child-safe |
Enclosed |
Open frames |
|
Supported Materials |
PLA |
PLA / ABS |
PLA only (usually) |
|
Ease of Use |
One-click |
Advanced settings available |
Mixed |
|
Education Focus |
STEM + Art |
STEM + Engineering |
Varies |
AOSEED’s all-in-one ecosystem makes it easier for kids to learn safely and grow their skills over time, without complicated setup or technical frustration.
Frequently Asked Questions
1. How does a 3D printer turn drawings into toys?
After scanning or tracing a drawing, kids use modeling software (like the AOSEED App) to give it depth and shape. The 3D printer then builds it layer by layer using melted filament—creating a solid toy from their imagination.
2. Is it safe for kids to use 3D printers?
Yes, with child-friendly models like AOSEED JOY and X-MAKER. They’re enclosed, quiet, and use PLA, a non-toxic, biodegradable filament.
3. How long does it take to print a toy?
Small toys may take 45–90 minutes, while larger ones can take up to 3–4 hours. The process teaches patience and planning.
4. What can my child create besides toys?
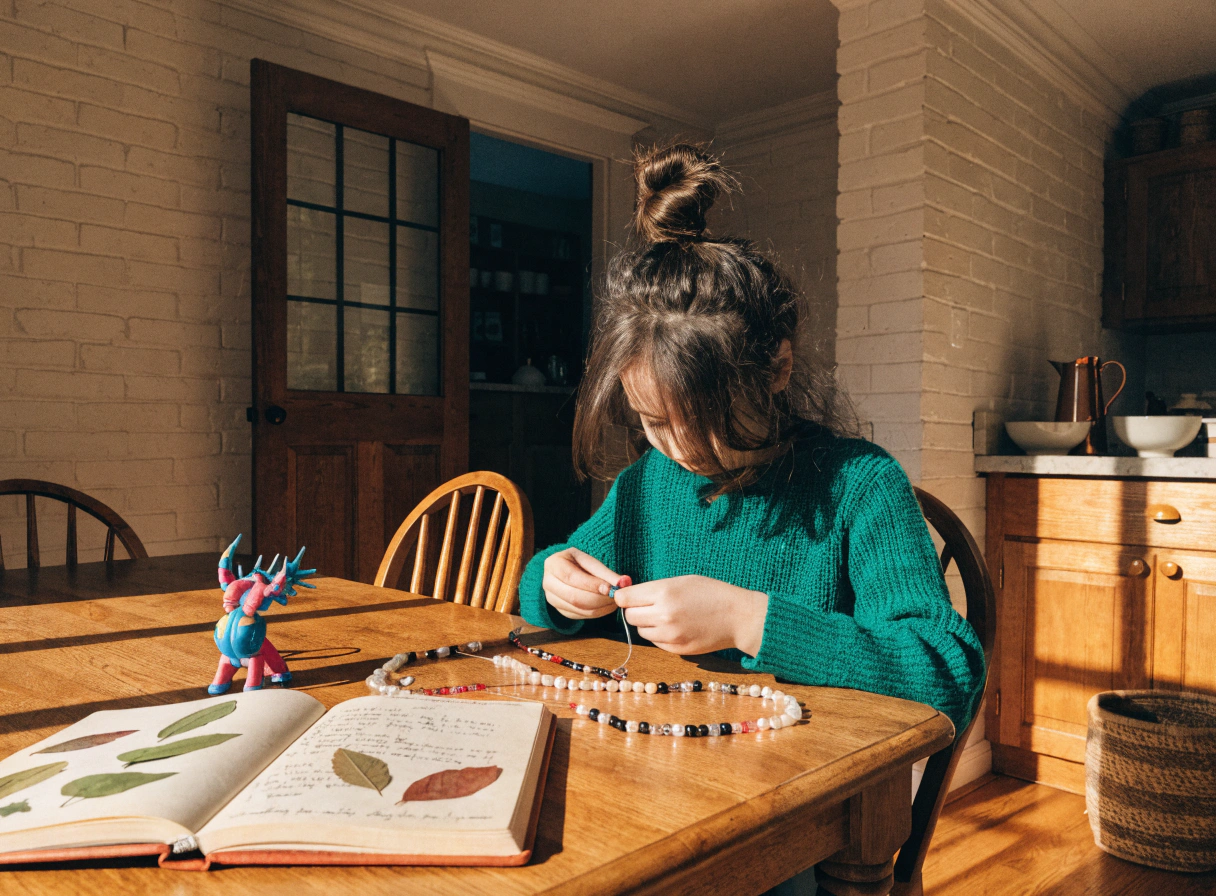
Kids can make name tags, jewelry, keychains, model cars, animals, board game pieces, and even gifts for family and friends.
5. Do kids need to know 3D design software first?
No. AOSEED’s apps provide easy templates and step-by-step tutorials, so beginners can start printing in minutes.
Final Thoughts
A 3D printer for toys turns your child’s imagination into something tangible—and priceless. It’s a bridge between art and engineering, creativity and STEM learning, fun and focus.
By transforming simple drawings into real toys, you give your child the tools to invent, explore, and express themselves in new ways.


You may also like
X-MAKER JOY:AI-Powered ToyMaker 3D Printer for Kids
AOSEED X-MAKER: Kid-Friendly AI-Powered 3D Printing Revolution
Further reading

How to Turn Passive Screen Time Into a Make-and-Play Routine

Visual Project Plan for Kids: Make Creative Time Predictable

Routine Activities for Kids: Simple 3D Printing Projects


