

How to Turn an Image into a 3D Model (2026 Complete Guide)
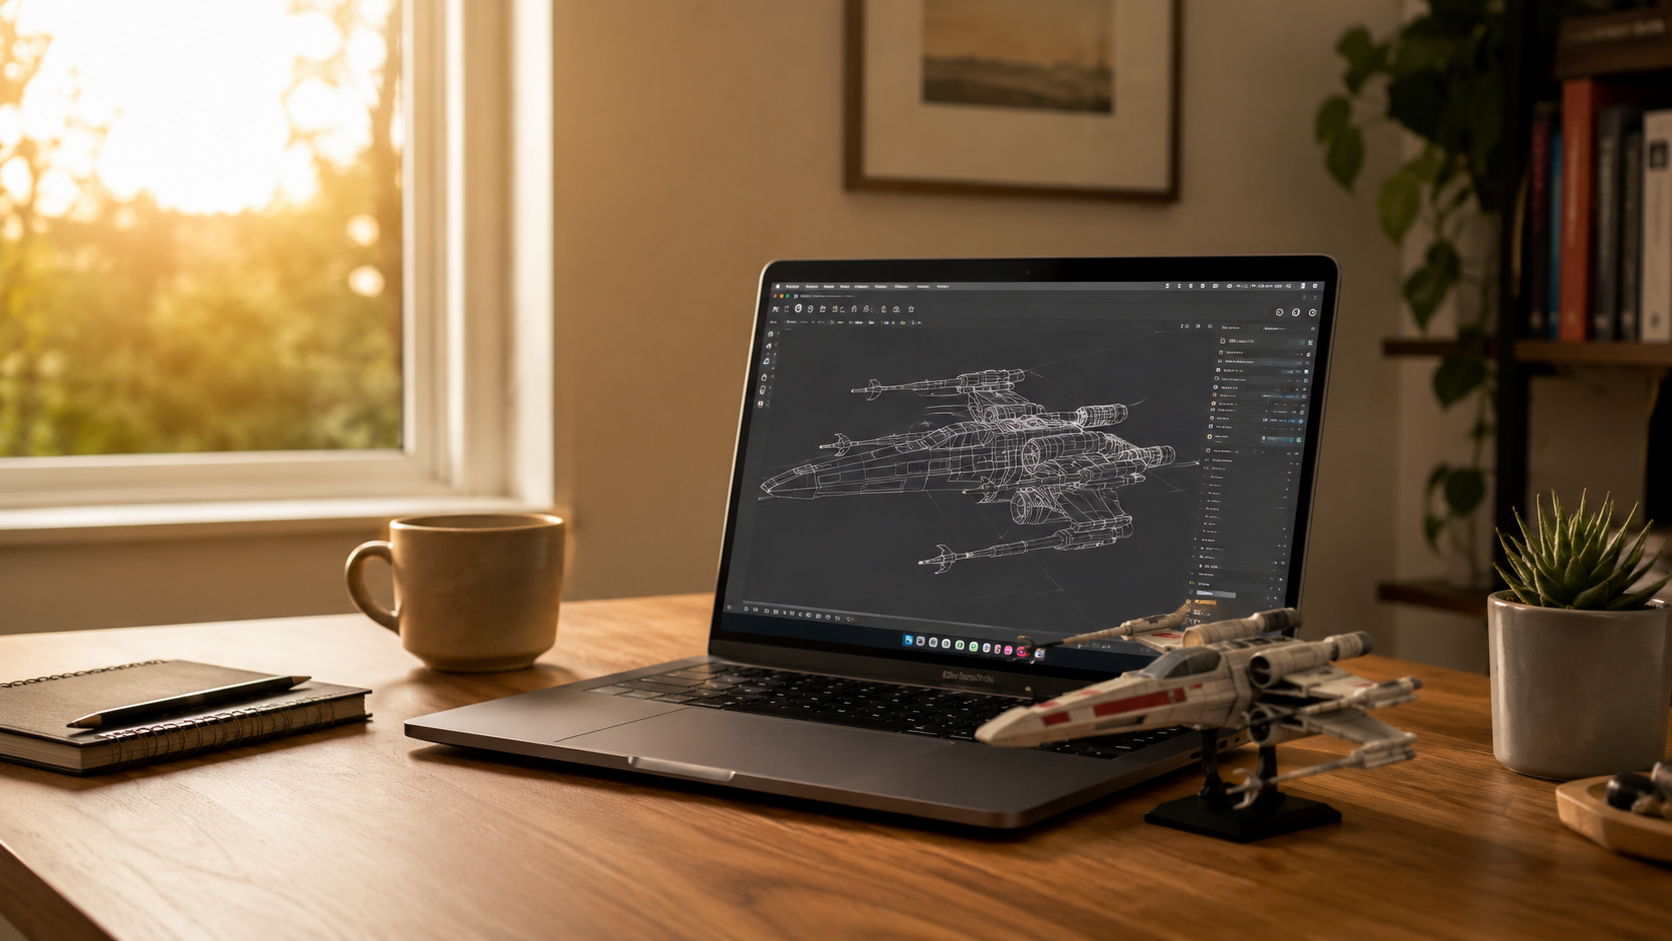
You have one photo and you want a three-dimensional object. That is normal now. The gap between a flat picture and a rotatable, printable mesh closed fast between 2023 and 2026.
Quality still varies wildly. A blurry snapshot pushed through the wrong tool returns a lumpy shell with an invented back. A clean photo through a suitable tool returns something you can print, embed in a page, or drop into a game engine.
Five methods exist. Each trades speed against accuracy in a different way. Choose by outcome. Not the marketing page.
Image-to-3D model tools do not all create the same type of output. AI image-to-3D generators, photogrammetry, depth maps, manual modeling, and NeRF methods each produce different levels of geometry, texture, accuracy, and editability.
|
Method |
Best for |
Typical time |
Resulting 3D model type |
|
AI image-to-3D generator |
Concepts, props, and decorative prints |
Seconds to a few minutes |
Generated textured mesh with estimated or predicted hidden surfaces |
|
Photogrammetry |
Real objects that can be photographed from many angles |
20 to 100 photos plus processing |
Detailed surface mesh with photographic texture |
|
Depth map |
Lithophanes, relief art, terrain, and coins |
Minutes |
Shallow 2.5D relief rather than a complete object |
|
Manual modeling |
Parts that need exact dimensions or a reliable fit |
Hours to weeks |
Editable geometry with clean topology |
|
NeRF or Gaussian splatting |
Virtual tours, scene capture, and digital archives |
Capture and training time |
Photorealistic scene representation, not usually a print-ready editable mesh |
How Image-to-3D Conversion Actually Works
What a flat photo actually stores

A photograph records width, height and color. Depth is not in the file.
Your eye infers it anyway, from shading, overlap, perspective and familiarity. Conversion software does the same job with math instead of intuition. It reads outlines and surface gradients, estimates a distance for each region, then places points in three-dimensional space. Those points connect into edges. The edges close into triangles.
That triangle skin is the mesh. Everything depends on it.
How the software invents the back
One front-facing photo shows you one side. The rest is guessed.
It is an educated guess. These models trained on very large libraries of three-dimensional objects, so they have a good sense of what the back of a chair or the underside of a shoe usually looks like. Plausible is not correct. A generated chair can have a perfectly sensible back that does not match the chair you photographed.
Multi-view input closes it. Feed three or four angles and the system works from evidence across most of the surface instead of priors.
Full models versus 2.5D reliefs
Two very different outputs both get called 3D.
A full model has geometry all the way around. Rotate it and every side exists. A 2.5D relief has depth pushed out of a mostly flat plane, like a coin or a carved panel. Reliefs are excellent for lithophanes and wall art. They cannot substitute for a complete object.
Decide before you start.
|
TIP Rotate every draft. A model that looks right head-on can be badly wrong from behind, and the front view is the one every tool shows you first. |
Five Methods, and When Each One Wins
AI image-to-3D, for speed
Upload, wait, download. This is the fastest route and it works from a single picture.
Speed keeps improving. Microsoft Research reports that TRELLIS.2, an open-source four-billion-parameter image-to-3D model, generates textured assets in roughly three seconds at 512³ resolution and about sixty seconds at 1536³ on an H100 GPU. It also handles open surfaces, non-manifold geometry and enclosed internal structures, which older approaches struggled with.
Good for concepts, game props, stylized figures and decorative prints. Weak on exact replicas.
Photogrammetry, for real objects

Photogrammetry does not guess. It finds the same visual features across many overlapping photographs, works out where the camera was for each frame, and reconstructs the surface from that.
You walk around the object. Twenty to a hundred frames is normal. It is slower. It is also honest.
Cultural heritage teams depend on it. The Smithsonian Institution’s 3D digitization program publishes artifacts that students can rotate, zoom and scale on screen, including objects too fragile to handle. The cost is physical access, patience and controlled light.
Depth maps, for reliefs and lithophanes
A depth map stores distance as brightness. Light and dark tell the software what rises and what sinks.
Apply it to a subdivided plane and the plane deforms. You get a relief.
This is the correct method for lithophanes, embossed logos, portrait panels, terrain and coins. It is the wrong method for anything that needs a back or a measurable side.
Manual modeling, for exact control
Someone builds the geometry by hand and uses the image only as reference. Free suites make this route accessible if not quick.
It is slow. It is also unmatched when dimensions have to be right.
Replacement parts belong here. So do brackets, enclosures and anything that must fit an assembly that already exists.
NeRF and Gaussian splatting, for scenes
These reconstruct how a subject looks from new viewpoints rather than producing clean editable geometry.
The results startle people. A splat resembles a three-dimensional photograph assembled from thousands of small elements.
Strong for virtual tours, site records and archives. Not a mesh, so not a natural fit for slicing or CAD work.
|
Compare on |
AI generation |
Photogrammetry |
Manual modeling |
|
Input needed |
One image |
20 to 100 overlapping photos |
Reference image plus skill |
|
Hidden surfaces |
Predicted |
Captured |
Authored |
|
Dimensional accuracy |
Approximate |
Good with a scale reference |
Exact |
|
Cleanup expected |
Usually significant |
Moderate, mostly background removal |
Minimal |
|
Fails on |
Chrome, glass, hair, asymmetry |
Featureless or reflective surfaces |
Nothing, given time |
How to Prepare a Photo That Converts Well
One subject, plain background

Crowded frames wreck detection. The software has to decide where your object ends and the sofa begins, and it will sometimes decide wrong.
Give it one object. A plain wall, a sheet, or a piece of paper behind it does the job.
Leave a small margin so thin features do not touch the frame edge. Background removal tools help, though you should check the cut-out around handles, straps and antennae before generating anything.
Angle, light and resolution
A three-quarter view beats a straight-on shot. It shows the front and one side, which hands the model real depth cues instead of a silhouette.
Light it softly. Window light on an overcast day is close to ideal. Hard shadows get baked into the texture and then travel with the model permanently.
Aim for at least 1024 pixels on the short side. More is better. Refine modes reward it. Keep distance and zoom consistent if you are shooting several angles.
Subjects that resist conversion
Some things are hard.
Image-to-3D conversion is often less reliable with reflective, transparent, hairy, thin, or highly symmetrical subjects because the software may struggle to detect stable surface detail and depth. If the model appears incomplete, distorted, or mirrored, use the “Common Problems and How to Fix Them” section below to identify the cause and choose a practical workaround.
Workarounds exist. Matte scanning spray where the object can take it, a dark matte background for reflective items, several views for asymmetry, and hand modeling for anything mechanical.
|
WATCH OUT Reflective and transparent objects are the most common cause of a failed generation. Test one before you build a batch workflow around glassware or polished metal. |
Step by Step: From Photo to Finished Mesh
Upload the cleanest version of your image
Use the original file. Not a screenshot of it, and not a copy that has been through compression twice.
Confirm the platform isolated the right subject before you press generate. An error here contaminates everything downstream. Fix it now.
Start in the cheap mode
Most platforms offer a fast preview and a slower refine pass. Start cheap.
Preview answers the only question that matters at this stage: are the silhouette and the proportions right? Spending refine credits on a photo that was never going to work is the fastest way to burn a free tier.
Rotate the draft before you texture it

The untextured model appears. Turn it. Check the back, the underside, every opening, and anything thin.
Look for fused parts, closed holes that should be open, and stray floating pieces.
If the shape is wrong, swap the photo now. Texturing a bad mesh just gives you a bad mesh in color.
Repair the mesh, then the texture
Two different problems, two different fixes.
Geometry first. Close unintended holes, recalculate normals so faces point outward, delete floating islands, and reduce polygon count when the mesh is denser than the visible detail justifies.
Texture second. If the shape is right and only the surface looks wrong, retexture rather than regenerate. Same mesh, lower cost, faster turnaround.
Keep the original download untouched and work on a copy. Aggressive repairs are hard to undo.
Set real-world scale and export
Generated models usually arrive with arbitrary units. Decide a real dimension, enter it, and apply the scale before you export.
Check all three. Not only the height. A figure that reads as 120 mm high might be 4 mm across at the ankle.
Which 3D File Format Should You Export?
STL and 3MF for printing
STL is the default. It describes an outer surface as triangles and carries almost nothing else. The Library of Congress format description for STL notes that the format has no standard way to store color or other appearance data, and that a single STL file can define only one object rather than a scene.
It also does not guarantee your mesh is closed. That check is yours.
3MF was designed later, specifically for additive manufacturing. It can carry color, materials and build data alongside geometry, which makes it the better pick whenever your editor and your slicer both support it.
GLB and glTF for web, AR and real time
glTF is a delivery format rather than an authoring format. The Khronos Group glTF 2.0 specification describes it as built for efficient transmission and fast loading of 3D scenes, with the GLB container packing the JSON scene description and all binary data into one file.
Its units are meters. Worth remembering when a model imports at the scale of a building.
Use GLB for product viewers, browser embeds and most real-time work. It travels well.
FBX, OBJ and USDZ
FBX moves rigs and animation between production tools. Use it when a game engine or animation package expects it, and test scale, axis direction and material links on import.
OBJ is the compatibility choice. Geometry sits in the OBJ file while material references live in a separate MTL file next to the texture images, so keep all three together.
USDZ is Apple’s AR format. Apple documents Quick Look displaying USDZ objects in built-in apps including Safari, Messages, Mail and Notes on iPhone, iPad and Apple Vision Pro, which is why it is the format to hand someone who just wants to see the thing in their room.
|
Format |
Use it for |
Carries textures |
Watch for |
|
STL |
Single-color 3D printing |
No |
No unit information, no scene data |
|
3MF |
Color and multi-material printing |
Yes |
Editor and slicer must both support it |
|
GLB / glTF |
Web viewers, AR, real-time engines |
Yes, bundled |
Units are meters |
|
FBX |
Game and animation pipelines |
Yes |
Scale and axis direction on import |
|
OBJ |
Broad editing compatibility |
Via separate MTL |
Keep OBJ, MTL and images together |
|
USDZ |
Apple AR Quick Look |
Yes |
Test real-world scale on device |
Getting a Printable Model Out of an AI Mesh
Make it watertight before you slice
A slicer needs to know what is inside the object and what is outside. Open edges break it.
Run a manifold check. Repair open boundaries, overlapping shells and internal faces that should not be there.
Do not let an automatic repair close every gap it finds. Some of those gaps are meant to be holes.
Check wall thickness at final size
Thin features are the usual failure point. Fingers, antennae, tails, thin plates.
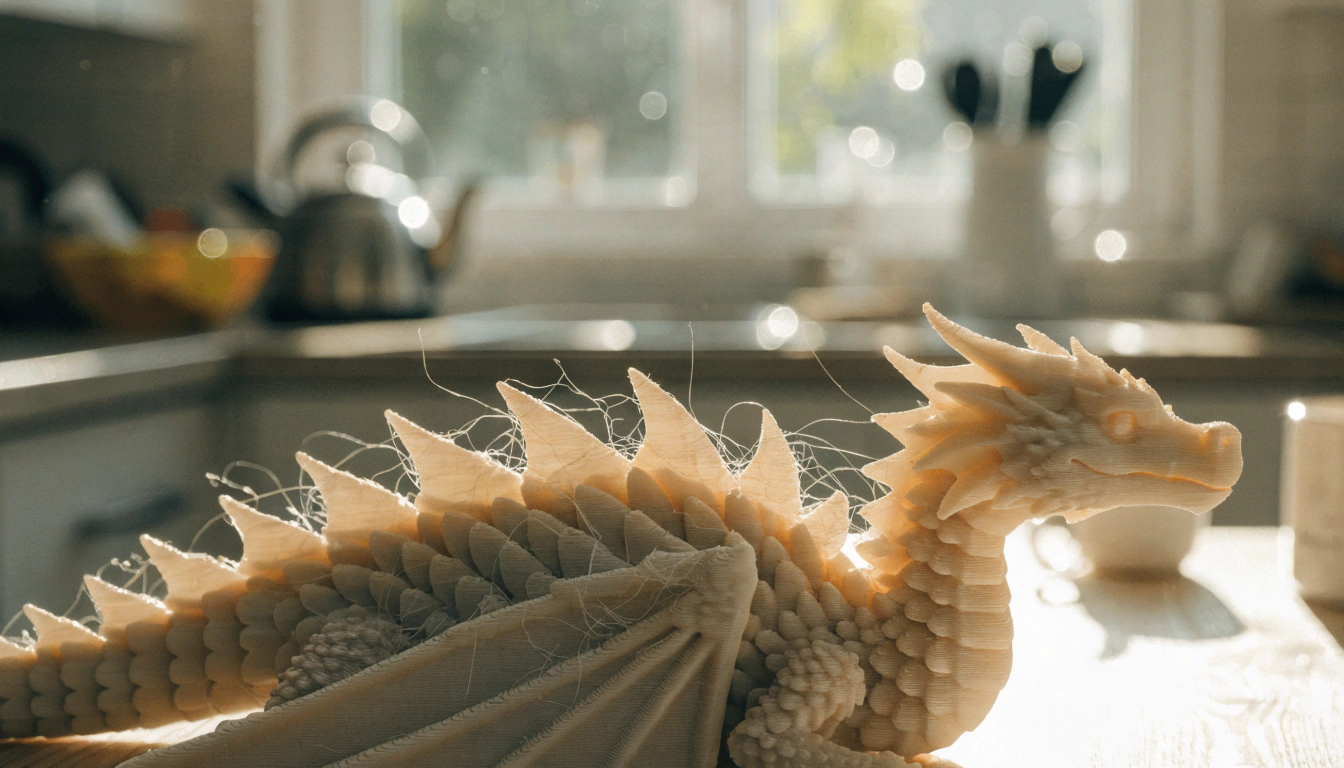
Measure them at the size you will actually print, not at whatever size the viewer happens to show. A wall that looks fine on a monitor can fall below nozzle width once you scale the model down to 60 mm.
Thicken the fragile parts. Then slice and walk the layer preview from the bottom up before you commit filament.
Where families and classrooms usually start

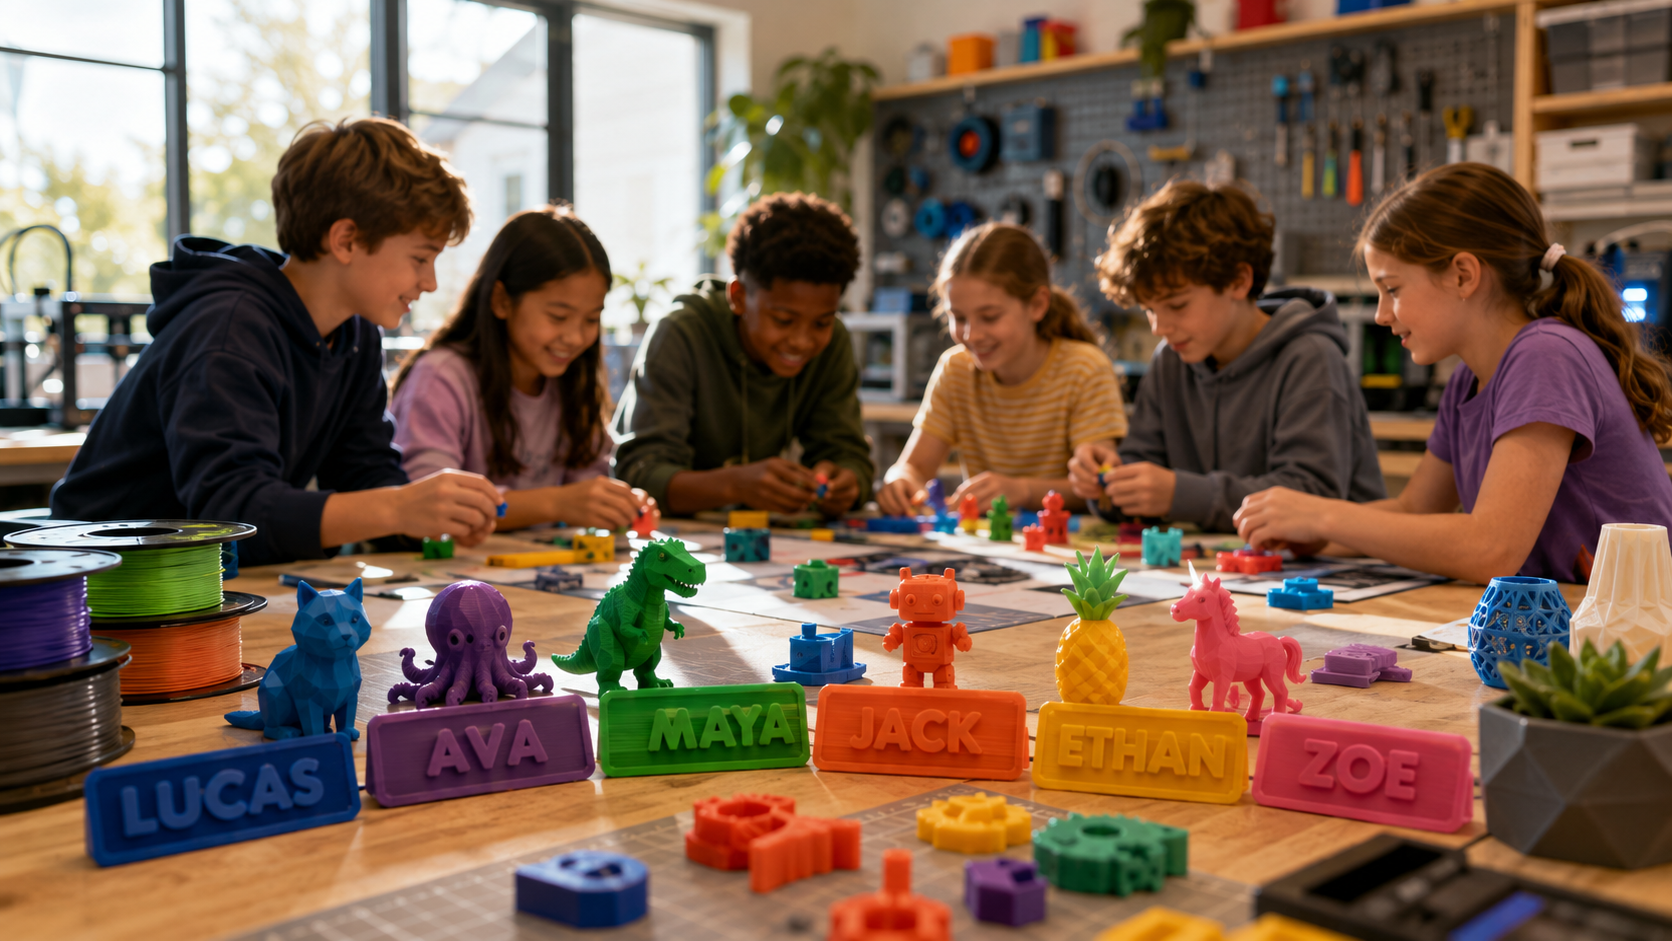
Most people reading a guide like this want one object they can hold. Not a production pipeline.
That is a different problem from the one studio tutorials solve, and the bottleneck is rarely the mesh. It is having a printer a nine-year-old can operate without an adult driving every step.
AOSEED built the X-MAKER around that gap. Its app includes AI Word and Image Design, so a printer that turns words and photos into printable models is the same device that prints them. The build area is fully enclosed. The motor runs under 50 dB, which matters in a shared room. Printing starts from a 3.5-inch touchscreen or a one-click wireless send, and 16-point auto-leveling removes the manual calibration step that ends most beginner attempts. Adult supervision is recommended for the first sessions, then the child can run it.
None of that removes the need to check a mesh. It removes the need to fight the hardware while you learn.
Common Problems and How to Fix Them

The back looks wrong
Expected. A front photo contains no rear information, so the tool produced a likely shape rather than the real one.
Add a rear view if the platform accepts multiple images. Otherwise edit the back by hand, or switch to photogrammetry when you have the physical object.
Thin parts are missing or broken
They fell below the generator’s useful detail level, or the remesh step disconnected them.
Shoot again with stronger contrast behind the thin features. Then rebuild them with curves or cylinders during cleanup, because a generator will not reliably recover them on a second pass.
The texture carries shadows and reflections
Whatever shadow sat on the object when you photographed it is now painted onto the surface. Moving the virtual light will not move it.
Reshoot with diffused light. Or repaint the affected area, or retexture with a short prompt that describes the real material.
The exported model has the wrong scale
Different programs read the same file with different unit assumptions, and generated models rarely carry reliable units to begin with.
Set one known dimension before export, apply the scale, then re-measure after import. Measure twice. Do this even when the number looked right on the way out.
|
WHERE THIS FITS: AOSEED HANDLES THE PRINTING HALF OF THE WORKFLOW Converting a photo is one step. Holding the result is the other. AOSEED’s kid-friendly 3D printers are built so the printing half never becomes the hard part for a household or a classroom, with enclosed build areas, guided apps and a model library that keeps giving families a next project. |
When to Use Which Method
Choose AI generation when
- You have one reference image and no access to the physical object.
- The object does not exist yet, or is a drawing or concept.
- Speed matters more than dimensional accuracy.
- The result will be viewed mainly from the front, or printed as decoration.
- You are testing whether an idea is worth more work.
Choose photogrammetry or manual modeling when
- The model has to match a real object closely on every side.
- A measurement has to be correct, as with a replacement part.
- Important detail sits on surfaces a single photo cannot see.
- The asset will be rigged, animated, or inspected up close.
- You are archiving something, and a predicted surface would misrepresent it.
Conclusion
What to do next

Pick the method from the outcome, not the other way round. AI generation for speed and concepts. Photogrammetry when the real object matters. Depth maps for reliefs. Hand modeling when a measurement has to be right.
Then prepare properly. One clear subject, soft light, a three-quarter angle. Rotate every draft. Repair before you export. Set scale before you leave the editor.
If the goal is a printed object sitting on a table in a home or a classroom, a family 3D printing setup built around guided design shortens the distance between a file and a finished thing. The AOSEED X-MAKER is listed at $369 for the AI+ set, with the standard X-MAKER at $359, and it ships with the design apps, model library and touchscreen workflow that let a child keep going after the first print instead of stopping there.
FAQs
How do I turn my picture into a 3D model?
Upload the picture to an AI image-to-3D tool, generate a draft, inspect it from every angle, then export in the format your next program needs. One clear subject on a plain background gives the easiest start.
The software reads the visible outline, shading and perspective, estimates depth, and predicts the surfaces your camera never saw. Those predicted areas are where errors hide. A front-facing shot leaves the back, the underside and any hidden connections entirely to inference, which is why a model can look correct in the thumbnail and wrong the moment you rotate it.
Practical tip: start with a three-quarter photo rather than a straight-on one. It shows the front and one side, so the tool has real depth cues to work from.
Can ChatGPT create a 3D model?
It can help design one, and in some sessions it can produce a file directly, though that depends on which tools the session has available.
The dependable route is code. Ask for a parametric script, run it in the matching program, then export. This works well for geometric objects with defined measurements: boxes, brackets, spacers, organizers, stands, signs and simple gears. Organic shapes are a different story. Faces, animals, clothing and sculpted forms usually need a dedicated image-to-3D generator or hands-on modeling. Treat any generated design as a draft and check dimensions, clearances, wall thickness and hole placement against the real project.
Practical tip: supply exact measurements and ask for adjustable parameters at the top of the script. You can then change one number instead of rebuilding the model.
Can AI generate 3D models from images?
Yes. Current systems produce a textured mesh from a single photo, an illustration, a sketch, or a small set of reference images, and the output can include geometry, UV mapping, textures and physically based material data.
Single-image systems predict everything the camera did not capture, which makes them fast and makes their hidden surfaces unreliable. Multi-view input reduces the guesswork by showing the subject from more directions. Research has pushed both fidelity and speed hard, with open four-billion-parameter models now producing high-resolution PBR assets in under a minute on capable hardware. Generated meshes still need inspection, since thin parts, faces and reflective surfaces often require regeneration or repair.
Practical tip: run the same photo through two different generators. They interpret hidden geometry differently, and one will usually need less cleanup.
Is there a free image to 3D model program?
Yes, although free means different things depending on where the cost lands.
Open-source options run locally and cost nothing in credits, but they ask for installation work, storage and a capable GPU. Free photogrammetry software exists for multi-photo reconstruction. Blender is free and open source, and while it is not a one-click converter, it handles the part most people underestimate: mesh repair, retopology, UV fixes, scale and export. Commercial platforms usually offer trial credits, with higher resolution, queue priority, private generations and commercial rights behind a paid tier. Read the license before you use a free output in paid client work.
Practical tip: generate a free draft in the cloud, then finish it in Blender. That pairing covers most projects without a subscription.
Which AI 3D model generator is the best?
No single tool wins every category, so the honest answer depends on your object and your workflow.
Rank by what you actually need: browser access, hidden-surface quality, clean topology, texture fidelity, export formats, print readiness, or local control. Hosted platforms are easier to start with and cover generation, texturing and export in one interface. Open and local models give technical users more control at the cost of setup and hardware. The same photo can produce noticeably different proportions and topology across systems, so feature lists will not predict a winner for you. Compare exported files rather than promotional renders.
Practical tip: the best tool is whichever one needs the least cleanup for the kind of object you make repeatedly.
Can I use my phone to make a 3D model?
Yes. A phone covers both routes: AI generation from a single photo, and guided photogrammetry capture of a real object.
For AI generation, take one clear picture and upload it through a mobile browser or app. For scanning, a capture app walks you around the subject and shows which angles you have covered, which prevents the most common failure of missing a whole section. Some phones and tablets include depth or LiDAR sensors that also support room and space capture. Camera quality is rarely the limiting factor. Motion blur, changing exposure, harsh shadows and skipped angles cause far more failed captures than the lens does.
Practical tip: lock focus and exposure before you start circling the object, and move slowly. Consistent brightness between frames matters more than megapixels.
Can ChatGPT actually make STL files?
Sometimes directly, more often indirectly. It depends on whether the session has code execution and file generation available.
The reliable path is to have it write a parametric script, then run that script yourself and export the result. STL stores a model’s outer surface as triangles and carries no textures, no rich materials and no dependable unit information, so anything produced this way still needs scaling and a mesh check. That is true of hand-built STL files too. Mechanical parts deserve extra caution, because a model can look correct on screen and still fit badly or fail under load.
Practical tip: open every generated STL in a slicer and walk the layer preview from the bottom up before you start the print. Missing walls and sealed holes show up there first.
What is the easiest program to make 3D models?
For turning a photo you already have into a quick visual model, a browser-based AI generator is easiest. For capturing a real object you can walk around, a phone photogrammetry app is easier still.
Block-based tools suit basic geometric designs, and CAD software suits measured parts. Blender gives far more control and takes considerably longer to learn. Hosted platforms lower the starting effort because processing happens remotely, so there is nothing to install. Judge ease across the whole job rather than the first button. A tool that generates in twenty seconds stops being easy when the mesh arrives full of holes, or when it cannot export the format you need.
Practical tip: run one simple object all the way through, from upload to final export, before you commit a large project to any platform.
Sources
- Library of Congress, “STL (STereoLithography) File Format Family”
- The Khronos Group, “glTF 2.0 Specification”
- Apple Developer, “Augmented Reality Quick Look”
- Smithsonian Institution 3D Digitization, “Educator Tools”
- Microsoft Research, “TRELLIS.2: Native and Compact Structured Latents for 3D Generation”



Further reading

Thanksgiving STEM Activities for Kids: Table Projects and Simple Engineering Challenges

Halloween STEM Activities for Kids: Spooky Builds That Teach Real Science

STEM Crafts for Kids: Build, Decorate and Test



