


3D-Printed Geometry Solids: 36 Models and Classroom Activities
3D-printed geometry solids give students something a worksheet cannot: objects they can hold, count, measure, rotate, section, sort, and compare. A useful starter set is the cube, rectangular prism, triangular prism, pyramid, cylinder, cone, and sphere. Those seven cover faces, edges, vertices, curved surfaces, volume, surface area, and the difference between shapes that roll, slide, stack, or taper.
Do not print all 36 models simply to fill a shelf. Choose the mathematical question first, then print the smallest group that lets students test it. A prism and matching pyramid support volume comparison. Split solids reveal cross-sections. The five Platonic solids make Euler's formula and symmetry visible. A Mobius strip introduces topology with one marker line.
This guide organizes 36 classroom models by concept and difficulty, matches them to grade bands, and adds ten ready-to-run activities. It also covers watertight meshes, thin features, overhangs, scale, classroom print settings, batch planning, and the failures that make measurements unreliable. Start with the quick-pick table, then move to the model family that matches the lesson.
|
KEY TAKEAWAYS Six shapes and one task beat a shelf of untouched prints. A cube is the safest first print. A sphere is the hardest of the basic set. Most classroom models want 15 to 20 percent infill, a flat face on the plate, and no supports. A watertight mesh and a printable wall thickness matter more than model complexity. One 150 mm bed holds six 25 mm solids, which covers a whole class in groups. |
THE 36 MODELS AT A GLANCE
|
Group |
Models |
Teaches |
Print Difficulty |
|
Basic solids |
1 to 7 |
Identification, curved versus flat, first volume work |
Easy, except the sphere |
|
Prisms and pyramids |
8 to 14 |
Feature-count patterns, prism versus pyramid |
Easy |
|
Platonic solids |
15 to 17 |
Regularity, symmetry, Euler counting |
Moderate |
|
Curved and modified |
18 to 23 |
Cross-sections, composite solids, wall thickness |
Moderate |
|
Advanced polyhedra |
24 to 30 |
Classification, truncation, space filling |
Moderate |
|
Math art and fractals |
31 to 36 |
Topology, recursion, periodic surfaces |
Hard |
QUICK PICK: WHERE TO START
|
If you need |
Print these |
Why this set |
|
A first set for shape recognition |
Cube, sphere, cone, cylinder, square pyramid, rectangular prism |
Mixes flat faces with curved surfaces, and mixes shapes that roll with shapes that stack. |
|
A faces, edges and vertices unit |
Cube, tetrahedron, pentagonal prism, hexagonal prism, dodecahedron |
Feature counts climb in a pattern students can predict before they count. |
|
A surface area and volume unit |
Cube, cylinder, cone, hemisphere, frustum, hollow cylinder |
Every shape has a formula students already have, plus a measurable printed version. |
|
One print to test a new printer |
A 40 mm cube |
Flat base, vertical walls, no supports. Any dimensional error shows up immediately. |
|
A high school extension |
Truncated octahedron, Mobius strip, Menger sponge, gyroid |
Moves the conversation to symmetry, topology, recursion and periodic surfaces. |
|
A whole-class set on one build plate |
Six 25 mm solids, one per group |
Fits a 150 mm bed with room to spare, and finishes inside a single lesson block. |
What Are 3D-Printed Geometry Solids?
They are physical models of three-dimensional mathematical shapes, made on a 3D printer. Length, width and height are all measurable with an ordinary school ruler. Nothing is implied. A drawing implies the third dimension. A print has it.
The range is wide. Cubes and cylinders sit at one end. Gyroids and fractals sit at the other. OpenStax calls these objects geometric solids. Volume is the space inside. Surface area covers the outside. That is the vocabulary most US classrooms already use (OpenStax, Prealgebra 2e).
2D Shapes Versus 3D Solids
A 2D shape has length and width. Squares, triangles and circles belong here. Add a third direction and the shape gains depth, so that a square becomes the face of a cube while a circle becomes the base of a cylinder or a cone. Students can walk around a printed solid instead of looking at one fixed view of it.
Faces, Edges and Vertices
Faces are the flat surfaces. An edge is the line where two faces meet, and a vertex is the corner where several edges come together. A cube has 6 faces, 12 edges and 8 vertices. A student holding one can check every number without trusting the textbook.
Curved solids need different words. A sphere has one continuous curved surface. No flat faces. No straight edges. No vertices at all.
Regular Versus Irregular Solids
A regular polyhedron has matching regular polygon faces, with the same number meeting at each vertex. Only five exist. An irregular solid mixes face shapes, edge lengths and angles freely. Print one of each. Side by side, the distinction lands immediately.
|
CLASSROOM TIP Print the same shape twice at different sizes and keep them together. Students who can hold a 25 mm cube and a 50 mm cube stop guessing that doubling a length doubles the volume. |
Models 1 to 7: The Basic Solids

These seven are the shapes most students meet first. They forgive mistakes. Most sit on a broad flat face, so no support material is needed.
|
# |
Model |
Structure |
Print Behaviour |
|
1 |
Cube |
6 square faces, 12 equal edges, 8 vertices, all right angles |
The easiest solid to print. Flat base, vertical walls, no overhangs. |
|
2 |
Rectangular prism |
6 rectangular faces, 12 edges, 8 vertices. A cube is the special case. |
Broad base gives strong bed contact. Good for caliper practice. |
|
3 |
Triangular prism |
5 faces, 9 edges, 6 vertices. Two triangular bases, three side faces. |
Lay a rectangular side on the plate for stability. |
|
4 |
Cylinder |
Two parallel circular bases joined by one curved surface |
Stands cleanly on a circular base. No supports needed. |
|
5 |
Cone |
One circular base, one curved surface narrowing to an apex |
Prints upright. A very sharp tip shows the limit of layer height. |
|
6 |
Sphere |
One continuous curved surface. No faces, edges or vertices. |
Hardest of the seven. The lower surface overhangs badly. Split it in half. |
|
7 |
Square pyramid |
5 faces, 8 edges, 5 vertices. Square base, four triangles. |
Base down, apex up. Walls narrow inward, so no support is needed. |
Pair the cone with a cylinder of matching radius and height. Ask which holds more. Then let them check. The three-to-one volume relationship convinces far better when the answer arrives by hand.
Models 8 to 14: Prisms and Pyramids That Build a Rule

Change the base polygon and the whole solid changes with it. Line up four prisms. The pattern becomes obvious to almost everyone in the room within a minute or two. Students can predict the next set of counts before printing anything.
|
# |
Model |
Faces |
Edges |
Vertices |
Note |
|
8 |
Pentagonal prism |
7 |
15 |
10 |
First model where students can guess instead of count. |
|
9 |
Hexagonal prism |
8 |
18 |
12 |
Easy to find in the real world. Ask them to. |
|
10 |
Octagonal prism |
10 |
24 |
16 |
Keep the diameter generous so eight sides stay distinct. |
|
11 |
Pentagonal pyramid |
6 |
10 |
6 |
Pair with model 8 to separate prism from pyramid. |
|
12 |
Hexagonal pyramid |
7 |
12 |
7 |
Each extra base side adds one triangular face. |
|
13 |
Octagonal pyramid |
9 |
16 |
9 |
Thicken the apex or it will not survive the term. |
|
14 |
Tetrahedron |
4 |
6 |
4 |
Four triangles. Also a Platonic solid when all faces are equilateral. |
|
CLASSROOM TIP Give one group a pentagonal prism and another a pentagonal pyramid. Same base, very different solid. Ask each group to write its own definition of prism and pyramid, then trade and argue. |
Models 15 to 17: Completing the Platonic Solids

There are exactly five regular solids. The tetrahedron and cube already appear above, so three prints finish the set. MathWorld records the face counts as 4, 6, 8, 12 and 20 across the tetrahedron, cube, octahedron, dodecahedron and icosahedron (Wolfram MathWorld).
|
# |
Model |
Structure |
Teaching Use |
Orientation |
|
15 |
Octahedron |
8 triangular faces, 12 edges, 6 vertices |
Symmetry and duals. Looks like two square pyramids joined. |
Lower half narrows to a point. Split it or add support. |
|
16 |
Dodecahedron |
12 pentagonal faces, 30 edges, 20 vertices |
Best model in the set for Euler counting. |
Rest it on a flat face, never on a vertex. |
|
17 |
Icosahedron |
20 triangular faces, 30 edges, 12 vertices |
Rotational symmetry, and the pair relationship with model 16. |
Face down for a stable first layer. |
The dodecahedron earns its print time. Twenty vertices is enough that students stop counting on their fingers and start hunting a shortcut. That is when Euler stops being decorative.
Models 18 to 23: Curved and Modified Solids

These push past prisms and polyhedra. Curved surfaces, cut solids and composite forms each behave differently on a printer, and working out why is part of the lesson rather than a distraction from it.
|
# |
Model |
What It Adds |
Print Behaviour |
|
18 |
Hemisphere |
Half a sphere. One flat circular base, one curved surface. |
Flat side down prints far more cleanly than a full sphere. |
|
19 |
Torus |
A ring surface. Introduces major and minor radius. |
The curved underside may need support, depending on proportions. |
|
20 |
Ellipsoid |
A sphere stretched along one or more axes. |
Like a sphere, it often prints better split into sections. |
|
21 |
Capsule |
A cylinder with a hemisphere at each end. A composite solid. |
Print vertically or split it lengthwise to cut overhangs. |
|
22 |
Frustum |
A cone or pyramid with the top cut off parallel to the base. |
Larger base on the plate. One of the safest prints here. |
|
23 |
Hollow cylinder |
Outer surface, inner bore, and a measurable wall thickness. |
Teaches that visible geometry still needs printable thickness. |
Model 23 does double duty. Students measure outside diameter, inside diameter and wall thickness. They also meet a harder idea. A wall can exist in the file and still vanish in the slicer.
Models 24 to 30: Advanced Polyhedra

Mixed face types and truncations sit here. These are classification models. Naming alone will not do. They reward applied rules. Recall alone falls short.
|
# |
Model |
Faces |
Edges |
Vertices |
Why Print It |
|
24 |
Cuboctahedron |
14 |
24 |
12 |
8 triangles and 6 squares in one symmetric solid. |
|
25 |
Rhombic dodecahedron |
12 |
24 |
14 |
Twelve rhombi, not pentagons. Copies pack in space. |
|
26 |
Truncated cube |
14 |
36 |
24 |
Cut the eight corners off a cube and count what changed. |
|
27 |
Truncated octahedron |
14 |
36 |
24 |
Hexagons and squares. A space-filling form. |
|
28 |
Truncated tetrahedron |
8 |
18 |
12 |
Clearest example of vertices becoming new faces. |
|
29 |
Triangular antiprism |
8 |
18 |
12 |
Structurally a regular octahedron, described a different way. |
|
30 |
Tetradecagonal prism |
16 |
42 |
28 |
Fourteen-sided base. Tests the prism rule at scale. |
|
WATCH OUT Models 25 and 27 both tile space. Print six or more copies before the lesson, or the packing activity ends in a shrug. One copy proves nothing. |
Models 31 to 36: Fractals, Surfaces and Math Art

Not every advanced model is a conventional solid. These six bring in topology, recursion and algorithmic design. They also fail more often than anything else in this guide, so check the layer preview before committing filament.
|
# |
Model |
Mathematical Idea |
Print Warning |
|
31 |
Mobius strip |
One continuous side, one boundary edge |
Give the strip real thickness. A zero-thickness surface cannot print. |
|
32 |
Klein bottle |
A surface that self-intersects in 3D space |
Looping geometry usually needs supports and careful orientation. |
|
33 |
Menger sponge |
A 3D fractal built by removing cubes |
Stop iterating before features drop below your nozzle width. |
|
34 |
Sierpinski tetrahedron |
Self-similarity across scales |
Two or three stages print well. High detail versions do not. |
|
35 |
Gyroid |
A repeating periodic surface with no flat faces |
Print large with thick walls or the pattern reads as noise. |
|
36 |
Voronoi form |
Space divided by proximity to seed points |
Thin struts snap. Thicken them for classroom handling. |
The Mobius strip is the cheapest win here. Hand a student a marker. Ask for a line down the middle without lifting the pen. They arrive back at the start, on what looked like the other side.
Matching Models to Grade Level

Notice comes first. The right model depends on what students are meant to see. Younger learners want differences they can feel. Older students go further, into truncated solids, fractals and abstract surfaces.
|
Level |
Models |
Focus |
Format That Works Best |
|
Elementary |
1 to 7, plus 8 and 14 |
Identify, describe, sort. Roll, stack or slide. |
Large, simple, colour-coded by family. |
|
Middle school |
1 to 17, plus 22 and 23 |
Measure, calculate, test relationships between counts. |
Open-frame versions expose hidden edges. |
|
High school |
24 to 36 |
Symmetry, transformation, topology, recursion, modelling. |
Larger prints, thicker features, student-designed variants. |
One note on hardware. A geometry set is a batch job. Bed area therefore matters more than headline speed, and a quiet printer can sit in the room during a lesson instead of down the corridor.
|
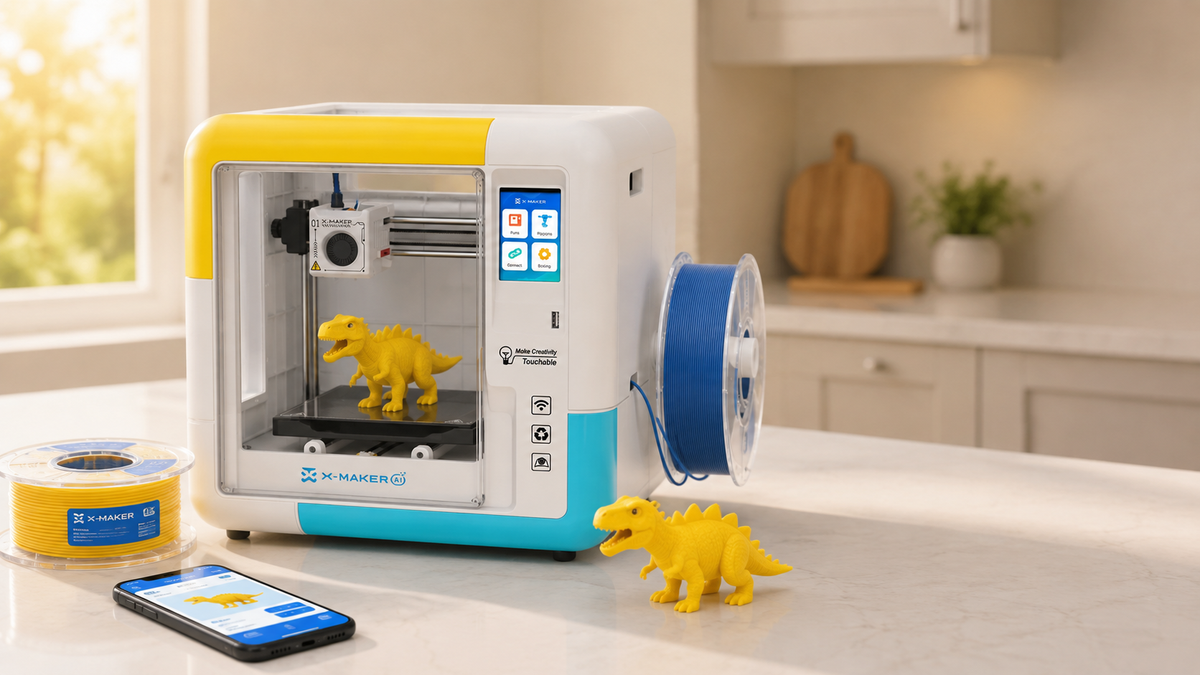
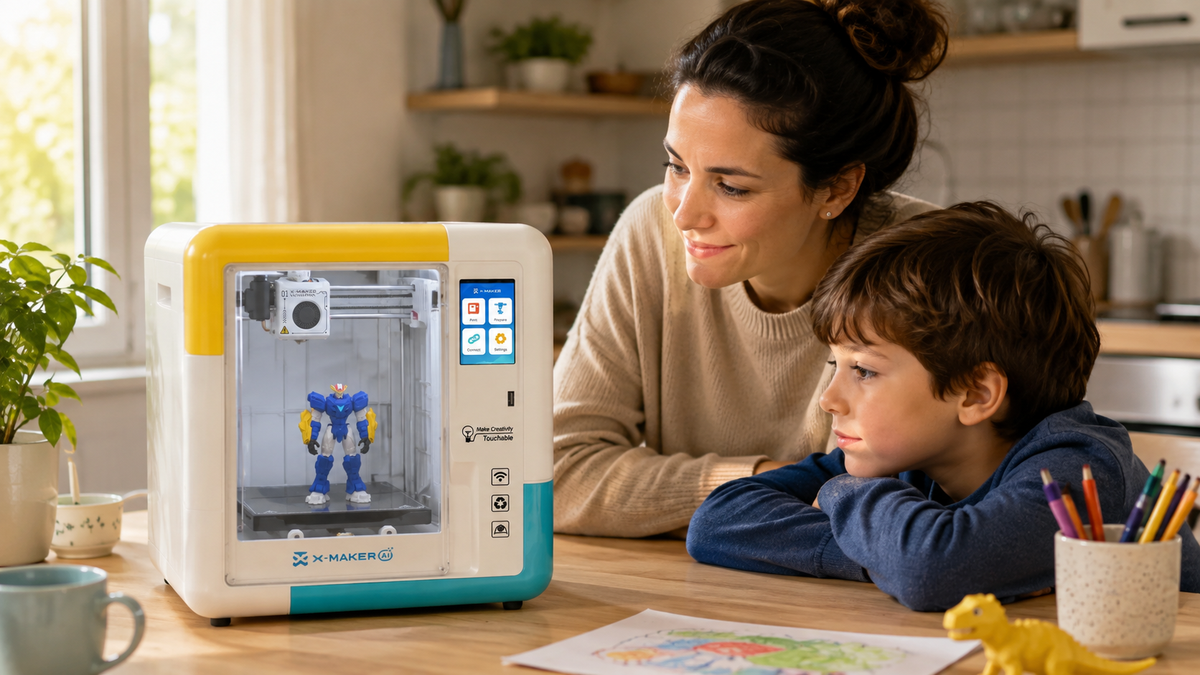
AOSEED BUILDS PRINTERS AROUND GUIDED CREATION, WITH AN ENCLOSED PRINT AREA, ONE-TOUCH PRINTING, AND A MODEL LIBRARY THAT GIVES A CLASS SOMEWHERE TO START. FAMILIES AND TEACHERS CAN COMPARE KIDS 3D PRINTERS BY AGE AND EASE OF USE BEFORE COMMITTING TO A GEOMETRY SET. |
Ten Activities That Make a Printed Solid Useful

A shape on a shelf teaches nothing. A shape with a task attached does. Every activity below reuses models already in the set, so nothing new has to be printed.
ACTIVITY MAP
|
Activity |
Models Needed |
Level |
|
1. Sort by property |
Any mixed set of 6 or more |
Elementary |
|
2. Count faces, edges, vertices |
Cube, tetrahedron, prisms, dodecahedron |
Elementary to middle |
|
3. Compare prism with pyramid |
One matched pair, same base |
Elementary to middle |
|
4. Measure and calculate volume |
Cube, prism, cylinder, cone |
Middle |
|
5. Compare surface area |
Two shapes of similar size |
Middle |
|
6. Match nets to solids |
Cube, prism, pyramid, tetrahedron |
Middle |
|
7. Explore cross-sections |
Split models: cylinder, cone, sphere |
Middle |
|
8. Test Euler formula |
Four or more convex polyhedra |
Middle to high |
|
9. Investigate symmetry |
Dodecahedron, icosahedron, truncated solids |
High |
|
10. Design a new solid in CAD |
Student-designed print |
High |
1. Sort by Property
Hand over a mixed set. Ask for categories. Curved or flat. Rolls or slides. Has an apex or does not. Then make each group defend its rule.
2. Count Faces, Edges and Vertices
Pick a polyhedron. Record all three numbers. Small stickers mark what is already counted, which stops the double counting that ruins the exercise. Then compare totals across shapes.
3. Compare a Prism With a Pyramid
Same base polygon, one of each. Students compare face counts. They then note which side edges stay parallel and which converge.
4. Measure and Calculate Volume
Rulers or calipers first. Then the formula. Compare the measured result against the CAD dimensions. The gap is real. It is also worth discussing because accuracy and uncertainty remain open questions in additive manufacturing, well beyond the classroom (NIST). A published dataset of printed features, measured against a reference model, shows the same effect at the research scale (NIH PMC).
5. Calculate and Compare Surface Area
Two shapes, similar size, different geometry. Calculate surface area for each. Then predict. Which one uses more filament at identical wall settings? Slice both and check.
6. Match 2D Nets to 3D Solids
Lay printed nets beside finished solids. Students match net to shape. Cubes and prisms work well, and so do pyramids, tetrahedra and dodecahedra once the class has the idea.
7. Explore Cross-Sections
Use models that split. Predict first. A cylinder gives a circle or a rectangle, depending on the cut. A cone gives several.
8. Test Euler Formula
Count faces, vertices and edges across several convex polyhedra. Record it in one table. Then push harder. Does the relationship hold for the truncated solids?
9. Investigate Symmetry
Find planes and rotational patterns in the printed set. Rotate a real dodecahedron. Hidden symmetries appear.
10. Design a New Solid in CAD
Students modify an existing shape or build one from primitives. Print it. Compare against the design. Then name one change for version two.
|
EDITORIAL NOTE Activities 4 and 8 produce data. Keep the class results in one shared sheet across the year. By the third print run students are comparing their own measurements against last term, which is a better argument for precision than any lecture. |
Preparing Geometry Files So They Actually Print
A mathematically correct shape is not automatically printable. Five checks catch most problems. Run them before any filament moves.
Make the Mesh Watertight
The surface must form a closed volume so the slicer knows what is inside. Open edges, overlapping surfaces and stray internal faces can cause missing layers. MIT guidance explains that non-manifold models can produce inconsistent layers, holes, or other errors, and that minimum printable wall thickness depends on the process and printer (MIT Center for Bits and Atoms). Mesh repair tools can identify many of these faults before slicing.
Check Thin Features Before Slicing
Sharp points, narrow rods, small text and thin Voronoi cells go first. Preview every layer, because a feature that is missing from the toolpath will also be missing from the finished object. That check matters most on fractals.
Watch Overhangs and Bridges
Each layer needs material beneath it. Spheres, toruses and looping surfaces are the usual trouble. Rotate or split the model instead of reaching straight for support settings. That often removes supports entirely, and less support means less cleanup.
Use Enough Polygons for Curves
STL files approximate curves with flat triangles. Too few and a sphere looks faceted. Too many and the file bloats for nothing. Match mesh resolution to the size you plan to print.
Scale the Model to the Build Volume
Every printer has a hard limit. Check yours first. A 150 by 150 by 150 mm bed fits six 25 mm solids in one job. That covers a whole class working in groups. For teachers batching sets, a STEM 3D printer sized for classroom geometry sets is worth checking against your group size before you commit to a print schedule. Check the sliced estimate before starting a full run, because filament use climbs faster than students expect.
|
WATCH OUT Millimetres and inches are the most expensive mistake in this list. A file imported in the wrong units can arrive 25 times too large or too small. Read the displayed dimensions before slicing, every time. |
Print Settings for Classroom Geometry Sets
Teaching models need neither miniature settings nor engineering strength. They need three things. Clear surfaces, sane print times, and enough durability for thirty pairs of hands.
|
Setting |
Suggested Approach |
When to Change It |
|
Layer height |
Standard height for flat-faced solids |
Go finer only for spheres, curved surfaces or engraved labels. |
|
Infill |
Around 15 to 20 percent for most teaching models |
Raise it when students compare mass or run strength tests. |
|
Walls |
Add perimeters rather than filling the interior |
Open-frame models need attention, because the struts are the structure. |
|
Supports |
None for prisms and pyramids on a flat base |
Add for spheres, toruses and looping surfaces. Check access first. |
|
Orientation |
Largest flat face on the plate |
Keep it consistent across any set used for measurement. |
|
Solid or hollow |
Hollow is fine for most lessons |
Print denser when the activity is about weight or failure. |
|
Material |
PLA for general classroom use |
Move to a tougher material only for parts under load. |
SOLID, HOLLOW OR OPEN-FRAME
|
Build Style |
Best For |
Trade-off |
|
Solid or high infill |
Mass comparison, strength tests, drop tests |
Slowest, and uses the most filament. |
|
Hollow shell |
Identification, sorting, surface-area work |
Light, so it reads as flimsy to some students. |
|
Open-frame |
Counting edges and vertices, coordinate work |
Struts must be thick enough to survive handling. |
Common Problems and What Causes Them
Geometry prints fail in a few predictable ways. Read the symptom first. That usually saves the second attempt, sometimes the third.
|
Symptom |
Likely Cause |
Fix |
|
Sections missing from the sliced preview |
Non-manifold or open mesh |
Run a mesh check and repair before slicing again. |
|
Weak or incomplete thin features |
Walls below the printable minimum |
Thicken struts and labels until the toolpath is continuous. |
|
A sphere or cylinder looks polygonal |
Too few facets in the exported mesh |
Re-export at finer mesh resolution. Do not overshoot. |
|
Drooping or collapsed undersides |
Unsupported overhang |
Rotate, split, or add targeted supports. |
|
Corners lifting off the plate |
First layer losing bed contact |
Check bed prep and first-layer settings. A brim helps. |
|
Support stuck inside the model |
Enclosed or hollow geometry |
Inspect the preview, then rotate or redesign for access. |
|
Model arrives at the wrong size |
Unit mismatch between CAD and slicer |
Verify displayed dimensions. Print one test model first. |
Reject warped copies from any measurement set. A base that does not sit flat makes every later reading unreliable, and students tend to spot it before the teacher does.
When to Print a Full Set, and When to Print One Shape
Both work. The choice depends on three things. The lesson, the group size, and how much printer time you actually have this week.
Print a full set when
- Students need to sort, classify or compare across shape families.
- The activity depends on multiple copies, such as space-filling or packing tests.
- Several groups work in parallel and each needs the same object in hand.
- The set will be reused across grade levels, from recognition through to volume and CAD.
- You have a bed large enough to batch six or more solids per job.
Print one shape when
- You are calibrating a new printer or testing a new filament. A cube answers this fastest.
- The lesson turns on a single property, such as tracing a Mobius strip.
- A student designed it, and the point is their design rather than the shape family.
- The model is fragile or slow, like a high-iteration fractal, and one good copy beats four failures.
Conclusion

Printed solids are most useful when each model supports a clear learning task rather than simply adding another shape to a set.
Start with the smallest group that matches the lesson, test printability, and expand only when students need a broader comparison of faces, edges, vertices, volume, surface area, nets, or symmetry.
FAQs
What Are the Main Types of 3D Shapes?
There is no universal list of seven. Elementary lessons often group solids as cubes, rectangular prisms, other prisms, pyramids, cylinders, cones, and spheres. Later courses add polyhedra, solids of revolution, composite solids, and curved surfaces. Use the categories required by the curriculum rather than treating one list as complete.
What Shapes Can Be 3D Printed?
Most solids can be printed if the digital model is closed, the features are thick enough, the scale fits the printer, and overhangs can be supported or reoriented. If a shape has floating parts, zero-thickness surfaces, or details smaller than the printer can resolve, revise it before slicing.
What Are Ten Examples of 3D Shapes?
- Cube
- Rectangular prism
- Triangular prism
- Square pyramid
- Tetrahedron
- Cylinder
- Cone
- Sphere
- Dodecahedron
- Torus
What Is a 3D Geometric Shape?
A 3D geometric shape occupies space and can be described with measurements such as length, width, height, radius, surface area, and volume. Polyhedra have flat polygonal faces; other solids may include curved surfaces. A printed model makes those properties available for counting, measuring, sectioning, and comparison.
What Is the Easiest 3D Shape to Print?
A cube or low rectangular prism is usually the simplest starting point because it has a flat base, vertical walls, and no unsupported overhangs. If the lesson needs a curved solid, a cylinder printed upright is often easier than a sphere, which has a small contact area and increasing overhangs.
What Are Five Basic 3D Solids?
A common introductory set uses five familiar solids, although curricula may classify them differently.
- Cube or rectangular prism
- Pyramid
- Cylinder
- Cone
- Sphere
Sources
- OpenStax, “Solve Geometry Applications: Volume and Surface Area”
- Wolfram MathWorld, “Platonic Solid”
- National Institute of Standards and Technology, “Study of Accuracy of Parts Produced Using Additive Manufacturing”
- National Library of Medicine, PMC, “Uncertainty Quantification in Dimensions Dataset of Additive Manufactured NIST Standard Test Artifact”
- MIT Center for Bits and Atoms, “Additive Manufacturing”


Further reading

Space Gifts for Kids: Rockets, Planets and Models to Build

Useful Gifts for Kids They Will Actually Use, Including Things They Can Print

Engineering Gifts for Kids: Toys and Kits That Teach How Things Work


