

From Special Interest to Maker Project: 13 Autism-Friendly Ways to Start
Autism special interest activities become manageable maker projects when a family chooses one detail the maker already cares about, turns it into one buildable question, and ends the first session with a small visible result. A train interest might become one station sign. A dinosaur interest might become one labeled habitat corner. A weather interest might become one rain-gauge housing. The project should expand choice, not make the interest more acceptable to other people.
This guide is written for autistic and neurodivergent families, while the process can work for any child with a sustained interest. It uses a strength-based family activity lens: the maker chooses the subject and meaningful design decisions; the adult supplies time, materials, safety boundaries, and help that has been requested.
This is not a treatment plan. Making can support participation, shared time, and creative practice, but it is not presented here as therapy, a way to change autism, or a substitute for individualized professional advice. Sensory preferences, communication styles, energy, and support needs vary from person to person and from day to day.
What are autism special interest activities? They are activities built around a topic, object, system, movement, collection, story world, or recurring question that has strong personal meaning for an autistic person. The interest may last for years or change quickly. A useful family activity follows the maker's language and choices; it does not use the interest as a reward, diagnosis, or behavior-correction tool.
Direct answer: Start with the part of the interest that keeps returning. Ask what the maker wants to make, change, organize, or test. Choose a physical, digital, or mixed format. Define a finish that fits one session. Build a rough version, test one question, and let the maker decide whether to revise, pause, save, share, or stop.
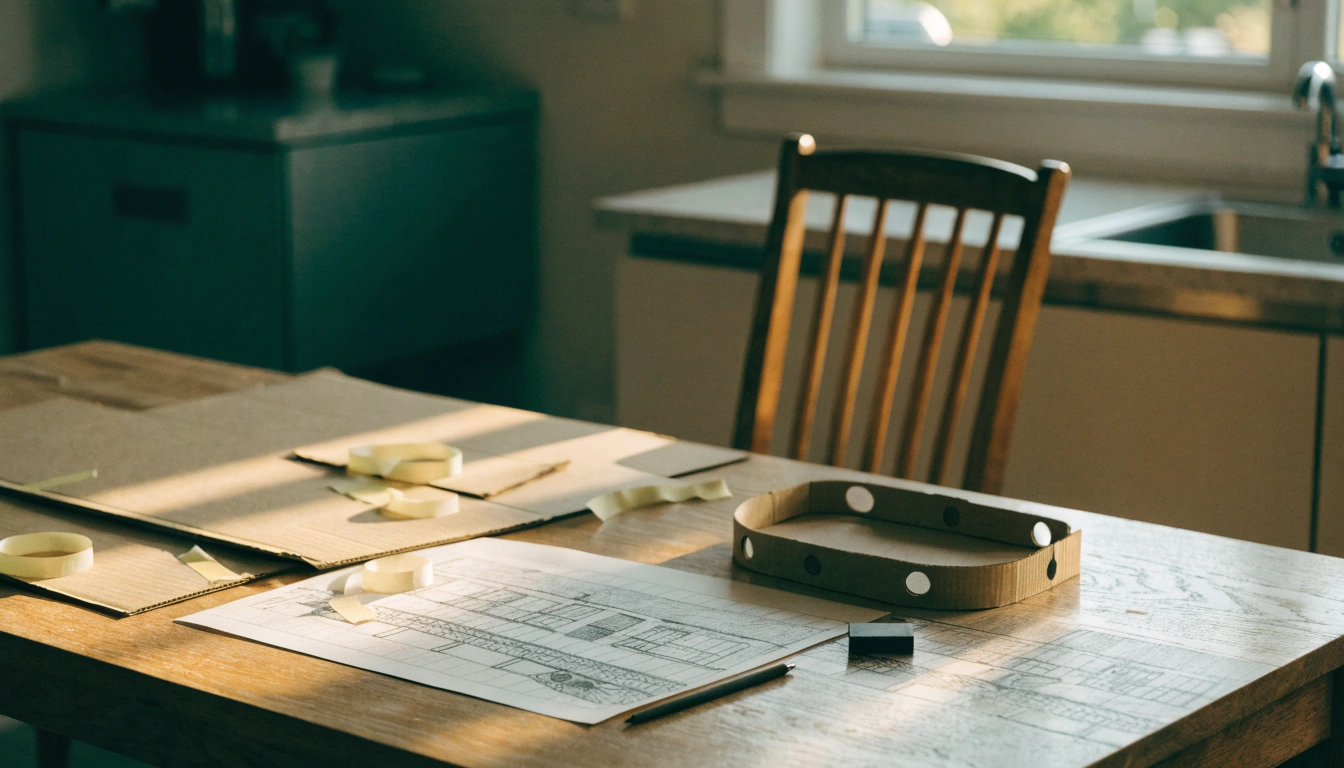
Choose Today's Starting Route
Choose the route that matches today's energy and preferred way of working. The same interest can use a different route next time.
|
Route |
Start here |
First-session finish |
|
Digital |
Draw one object, make one map layer, animate one movement, or model one simple shape |
Save one named file and one screenshot |
|
Hands-on |
Use cardboard, paper, clay, blocks, fabric, or household containers |
Complete one base, sign, joint, or test piece |
|
Collect / organize |
Sort existing items, facts, images, or observations into one useful system |
Label three groups or make one reference card |
10 Autism Special Interest Activity Ideas to Start Small
Use these as starting patterns, not prescriptions. Keep the subject the maker chooses, shrink the first version until one question can be answered, and leave room to change the format.
|
Interest clue |
Small first project |
One possible next version |
|
Dinosaurs |
Sort figures and make three labels |
Build one habitat corner |
|
Train routes |
Make one station sign or route marker |
Add a connector or timetable holder |
|
Planets |
Arrange a planet-size comparison |
Make a hanging scale model |
|
Weather |
Label one rain-gauge housing |
Compare two mounting positions |
|
Insects |
Make one observation card |
Test an adult-approved viewing container |
|
Maps |
Trace one familiar route |
Turn one landmark into a raised tile |
|
Music or sounds |
Record and label three sounds |
Build a visual sound map |
|
Story worlds |
Sketch one original prop or accessory |
Test a paper or cardboard version |
|
Machines |
Test one hinge, wheel, or gear connection |
Revise the part after one motion test |
|
Collections |
Design three labels or dividers |
Create a modular display section |
The Four-Phase Project Loop
The structure is deliberately non-linear: enter at the phase that solves today's barrier, then return to the maker for the next decision. A family with a clear idea may begin in Phase 2. A half-built project may begin in Phase 4.
|
Phase |
Core question |
Steps |
Exit signal |
|
1. Follow the interest |
What matters to the maker right now? |
1-4 |
One maker-chosen purpose, format, and workable scope |
|
2. Make it startable |
What would make the first session easy to enter? |
5-8 |
One small outcome and visible next action |
|
3. Protect capacity |
What sensory, energy, or planning demand can we reduce? |
9-11 |
A workable setup and restart plan |
|
4. Learn from version one |
What did the test reveal, and what does the maker want next? |
12-13 |
One observation and one maker-chosen decision |
The 13 steps at a glance
|
# |
Action |
Clear finish |
|
1 |
Notice the detail that keeps returning |
Write one exact phrase or question |
|
2 |
Ask what the maker wants to make, change, organize, or test |
Choose one purpose |
|
3 |
Choose physical, digital, or mixed |
Pick one format for version one |
|
4 |
Match the project to current skills and energy |
Remove one unnecessary demand |
|
5 |
Name one small outcome |
State what will exist today |
|
6 |
Prototype with materials already available |
Gather only the first-step materials |
|
7 |
Build a visual project plan |
Show idea, build, test, and change |
|
8 |
Break the build into short steps |
Choose the next action only |
|
9 |
Set up a low-stress workspace |
Remove the main sensory barrier |
|
10 |
Use prompts that earn their place |
Keep one helpful cue |
|
11 |
Plan the pause and restart |
Write a restart note |
|
12 |
Build a quick first version |
Test the main function |
|
13 |
Test, adjust, and let the maker choose what is next |
Record one observation and one decision |
Why Special Interests Can Make Strong Maker Projects
A special interest can carry detailed knowledge, sustained curiosity, and personal meaning into a project. A 2018 study of autistic adults found associations between special-interest engagement and aspects of subjective wellbeing, including leisure and social contact. The study involved adults and does not prove that any specific project will produce the same outcome for a child. It supports treating interests as meaningful, not as material adults automatically own or redirect.
Interest-driven making also has a relevant educational foundation. The IDEAS autism-inclusion maker study used open-ended projects, checklists, visual templates, and iterative design in middle-school clubs. Students could build around existing interests, but the researchers caution that participants self-selected, used speech, and were academically on grade level. The results should not be generalized to every autistic child or home.
Special Interests Can Take Many Forms
A special interest may be a topic, object, place, activity, system, story world, sound, movement, collection, or recurring question with strong personal meaning. Some last for years; others narrow, widen, disappear, or return. The maker may prefer focused interest, passion, favorite topic, hobby, or another term. Use their language and do not require the interest to look unusual before it counts.
What It Means to Move From Special Interest to Maker Project
A maker project turns an idea into something that can be built, tested, organized, performed, or demonstrated. It can be a cardboard habitat, a coded animation, a sound map, a costume detail, a labeled collection, a 3D model, or a new rule set for a game. A craft becomes maker-led when the person keeps meaningful control over purpose, format, appearance, function, or the next revision.
Three-question check: Did the maker choose the subject? Does at least one design decision belong to them? Can the first version fail without ending the project? Three yes answers create a maker project rather than an adult-owned assignment.
Four Illustrative Interest-to-Project Pathways
These are design examples, not documented family case studies. They show the level of specificity a useful first project needs. For publication evidence, replace or supplement at least one pathway with a consented, de-identified real sequence photographed by AOSEED or a participating family.

Illustrative pathways: interest clue → sketch and materials → first version → one revision. These are not real-family case studies.
|
Interest clue |
First project |
Test one question |
Possible version two |
|
Dinosaur facts and sorting |
One cardboard habitat with three labels |
Can the maker place and read each label? |
Change label size or add one movable feature |
|
Train routes and station details |
One platform sign or route marker |
Does it stand and fit the chosen scale? |
Add a connector, timetable holder, or tactile symbol |
|
Planet sizes and orbits |
One hanging planet-size comparison |
Can the order and spacing be recognized? |
Change scale, color key, or suspension method |
|
Original fantasy creature |
One original wearable or figure accessory |
Does it attach comfortably and stay in place? |
Revise the shape after a fit test |
Phase 1: Follow the Interest
Outcome: one maker-chosen purpose and one format for version one. Do not shop for materials or choose a printer until this phase produces a real project need.
1. Start with the detail that keeps returning
Large interests become startable when one recurring detail is treated as a clue rather than a distraction.
What to do: Listen for the exact fact, object, sound, scene, route, species, rule, or problem the maker brings up repeatedly. Write their wording before translating it into adult language.
Example: A space-focused maker keeps drawing mission patches. Begin with one original patch shape, not an entire spacecraft.
Low-energy version: Write the repeated phrase on a note. No materials or project decision are required yet.
Sensory option: Let the maker speak, type, draw, point, sort images, or show an example. Do not turn every conversation about the interest into planning.
Clear finish: One interest detail is written or pictured in the maker's preferred form.
2. Ask what they want to make, change, organize, or test
Purpose matters more than the medium. The question should open choices without becoming a quiz.
What to do: Ask one invitation: What would you like to make about this? Is there something youwant to change, organize, compare, or see work? Offer two or three routes if open questions create too many options.
Example: An insect interest could become a model, a backyard identification card, a safer observation container, or a photo map. The maker chooses the purpose.
Low-energy version: Use a four-choice card with icons for make, change, organize, test, plus something else and not today.
Sensory option: Allow wait time and nonspoken answers. Do not require eye contact, a complete sentence, or proof of expertise.
Clear finish: The maker chooses one purpose or explicitly chooses not to start today.
3. Choose a physical, digital, or mixed project
The best format is the one the maker can enter today, not the one that looks most educational to an adult.
What to do: Choose one format for version one. Physical projects use materials that can be held or moved. Digital projects use drawing, music, animation, code, mapping, or 3D modeling. Mixed projects move between the two.
Example: A digital creature drawing can stay digital, become a printed card, or become one simple 3D accessory. Each route is a valid maker project.
Low-energy version: Start in the familiar tool. A screenshot, paper sketch, voice note, or sorted photo folder can be the whole first session.
Sensory option: Choose the route with the tolerable screen brightness, sound, texture, smell, and cleanup. Do not introduce a new material and new software in the same session unless requested.
Clear finish: One format is selected for version one; other formats remain optional future routes.

Collecting and organizing can be a complete maker entry route before any new object is built.
4. Match the project to current skills and energy
A good first project adds one manageable challenge instead of six new demands at once.
What to do: List the tasks hidden inside the idea: finding materials, drawing, measuring, cutting, software, wiring, printing, waiting, cleanup, and troubleshooting. Keep the familiar tasks and reduce the rest.
Example: A moving robot can begin as a cardboard body or one motor test. Movement, code, decoration, and sound can wait for later versions.
Low-energy version: Choose the smallest step that preserves the maker's idea. The adult can prepare a file, hold a piece, or handle a hot or sharp tool after asking.
Sensory option: Schedule high-focus or noisy steps at a better time of day. Offer seated work, a quieter tool, or an alternate material with the maker's agreement.
Clear finish: One unnecessary demand is removed from the first version.
Phase 2: Make the First Session Startable
Outcome: a first session with one small visible finish, familiar materials, an editable visual plan, and a next action that can be started without another planning meeting.
The project may not be the barrier. Starting can require clearing a surface, finding tools, choosing among ten ideas, and deciding what happens first. Reduce that starting stack before asking for more effort.
5. Name one small outcome
A visible finish protects the first session from becoming an attempt to complete the whole interest.
What to do: Describe what will exist when today's session ends. Use a noun and a condition: one labeled base, one saved model, one tested joint, one three-card rule set.
Example: By the end, we will have one cardboard platform that stands by itself is clearer than we will work on the train project.
Low-energy version: The outcome can be a decision, sketch, file name, material test, or photo. Building is not required every time.
Sensory option: Offer a shorter finish before fatigue arrives. A pause is valid even if the planned finish changes.
Clear finish: The maker can point to, open, or describe one thing that exists now and did not exist at the start.
6. Prototype with materials already available
Cheap, familiar materials lower the cost of changing the plan.
What to do: Check cardboard, paper, reusable containers, tape, string, blocks, fabric scraps, and safe clay before buying specialized tools. Let the project create the shopping list, not the other way around.
Example: A cereal-box platform can answer the fit question before a final part is cut or 3D printed.
Low-energy version: Gather only the materials for the first step and place the rest out of sight but within adult reach.
Sensory option: Offer alternatives for sticky, rough, noisy, strongly scented, or messy materials. Adults retain control of hot, sharp, powered, and chemical tools.
Clear finish: The first-step materials fit on one tray or one clear area of the table.
7. Build a visual project plan
A visual plan stores the sequence outside the maker's head and makes stopping easier.
What to do: Show four stages: idea, build, test, change. Use a sketch, photos, objects, sticky notes, or a checklist. Let the maker cross out, move, or replace steps as the project teaches them something new.
Example: A dinosaur habitat plan can show base, cave, water area, and one label without specifying the finished appearance.
Low-energy version: Use only four boxes and fill the first two. Blank later boxes can remain genuinely undecided.
Sensory option: Choose readable contrast, preferred symbols, and a location that does not add visual clutter. A pilot study of home visual supports emphasizes individualization and family involvement rather than one universal format.
Clear finish: The next stage is visible and the maker knows how a completed stage will be marked.

A useful visual plan is editable. It holds the next action without dictating the final design.

Category-level example: sorting and planning can lead to one small cardboard habitat. This is an illustrative project, not a documented AOSEED customer result.
Evidence note: a 2023 pilot study of individualized home visual supports involved 29 families and reported improved parent access, knowledge, and confidence. It was a small, nonrandomized pilot delivered with trained support, so this article uses visual plans as an optional organizational tool, not a guaranteed intervention outcome.
8. Break the build into short, observable steps
A hands-on project for an autistic child should not hide a mountain of actions inside one instruction such as make the castle.
What to do: Write actions that can be seen: draw the front wall, choose three materials, build the base, attach one feature, test whether it moves, choose one change. Reveal only as many steps as the maker wants to see.
Example: A marble run begins with one sloped section and one catch cup, not every ramp and decoration.
Low-energy version: Put only the next action on a card. Keep later steps in an adult note or a covered stack.
Sensory option: Use preferred text size, symbols, photos, or physical examples. Avoid a long checklist if the list itself creates pressure.
Clear finish: One next action can be started without another planning conversation.
Phase 3: Protect Capacity and the Right to Pause
Outcome: the main sensory or executive-function barrier is reduced, supports remain optional, and the project can pause without losing the thread.
Autistic people's abilities and needs vary and can change over time, as the World Health Organization's autism overview states. Ask about the current setup rather than assuming that a preference is permanent or shared by every autistic person.
9. Set up a low-stress maker space
Treat light, sound, smell, temperature, touch, seating, visual clutter, and waiting as adjustable project conditions.
What to do: Ask which input is most likely to block participation today. Change one thing first: clear the table, use a quieter room, angle a lamp, add a parts tray, change material, or create a nearby pause place.
Example: For a tactile-avoidant maker, replace sticky glue with clips or tape for the first test. For someone who plans by seeing everything, use controlled open trays instead of hiding supplies.
Low-energy version: Prepare one comfortable seat and the three current-step items. The maker can inspect the setup without beginning the project.
Sensory option: Never reduce sensory input by covering safety warnings, blocking ventilation, disabling required alerts, or removing adult supervision around hot or sharp tools.
Clear finish: The maker confirms the space is workable or names one more change before starting.

A low-stress setup keeps the current step visible and the rest organized without assuming everyone prefers an empty table.
10. Use prompts and examples that earn their place
Supports should make the task more legible, not make the project feel adult-owned.
What to do: Use one checklist, example joint, rough model, 30-second demonstration, or screenshot when it answers a specific uncertainty. Say clearly that it is a reference, not a target to copy.
Example: Show two ways a wheel can attach, then let the maker choose either, combine them, or invent another method.
Low-energy version: Use a two-word prompt such as test fit or save file rather than a full instruction sequence.
Sensory option: Offer prompts through the maker's preferred communication mode and allow processing time. Remove a prompt when it stops helping.
Clear finish: The maker can identify the next action while one meaningful design choice remains open.
11. Plan the pause and the restart
A predictable pause prevents an unfinished project from becoming an unexplained failure.
What to do: Before starting, agree on a pause signal: a timer, finishing one step, moving a card, or saying or showing stop. Store loose parts, save digital files, and write the next action in plain language.
Example: A restart note might say: The motor worked, but the wheel rubbed. Next: test the smaller wheel.
Low-energy version: Take one photo and put all parts in one labeled container. No cleanup decision beyond that is needed.
Sensory option: A pause space should be available without requiring the maker to leave the project forever. Avoid sudden countdown sounds if they are disruptive.
Clear finish: The project can be resumed without reconstructing what happened last time.
Phase 4: Learn From Version One
Outcome: one real test answers one question. The maker chooses whether to revise, repair, save, share privately, repurpose, or stop.
12. Build a quick first version
Version one exists to answer a question, not to prove talent or produce a display-ready object.
What to do: Use materials or settings that change easily. Test the main function before adding decoration. Name the object test one or draft one so revision is part of the plan from the beginning.
Example: A marble run only needs one slope, one join, and one catch area to reveal whether the marble completes the route.
Low-energy version: Build a paper template, screen sketch, block mock-up, or one printed test piece instead of the complete object.
Sensory option: Choose tolerable materials and a test duration that ends before sensory or energy costs outweigh the information gained.
Clear finish: One question has a real answer: it fits, stands, turns, connects, displays, or needs a named change.

Test one function before decorating. Visible tape and pencil marks are evidence of a useful first version, not defects.
13. Test one question, adjust, and decide what is next
The maker owns the interpretation and the next decision whenever safety allows.
What to do: Test one question at a time. Ask what worked, what surprised them, and what they would change first. Wait before explaining a failure, and ask before repairing it.
Example: Test whether the bridge holds weight before discussing shelf appearance. A repair, rebuild, different material, saved pause, or deliberate stop are all valid next decisions.
Low-energy version: Record one observation without requiring a revision: wheel turns; label too small; stop here.
Sensory option: Offer time to think and a way to answer without speaking. Do not turn sharing, praise, or a public reveal into the price of finishing.
Clear finish: One observation and one maker-chosen decision are saved with the project.
Do not fix it without asking: A crooked wall or broken connection may be a problem the maker wants to understand alone. An uninvited repair removes information and can make the next version harder to reproduce. Adults should intervene immediately only for safety, then explain what changed.
Tool Decision: Print It or Use a Simpler Material?
Use the cheapest, most changeable method that can answer the next question. A printer earns its place only when repeatability, custom geometry, fit, or digital-to-physical iteration matters to the maker's project.
|
Project need |
Try first |
Consider 3D printing when |
|
Shape and scale |
Paper template, cardboard, clay, or blocks |
The maker needs a repeatable custom shape or scale model |
|
Fit and connection |
Tape, clips, or a rough spacer |
A connector, replacement part, hinge, wheel, or holder must fit a measured object |
|
Game or collection |
Handwritten token, divider, or label |
Several matching pieces or revised sizes are useful |
|
One-off decoration |
Paper, paint, fabric, or found objects |
Printing adds a function the simpler material cannot provide |
AOSEED X-MAKER JOY as an optional digital-to-physical tool
A 3D printer is optional. Cardboard, paper, clay, blocks, sewing, code, and digital drawing may fit the interest better. Consider printing when the maker repeatedly wants custom parts, scale models, game pieces, connectors, labels, or revised objects that are difficult to make by hand. The printer should serve the project rather than becoming a required second hobby.

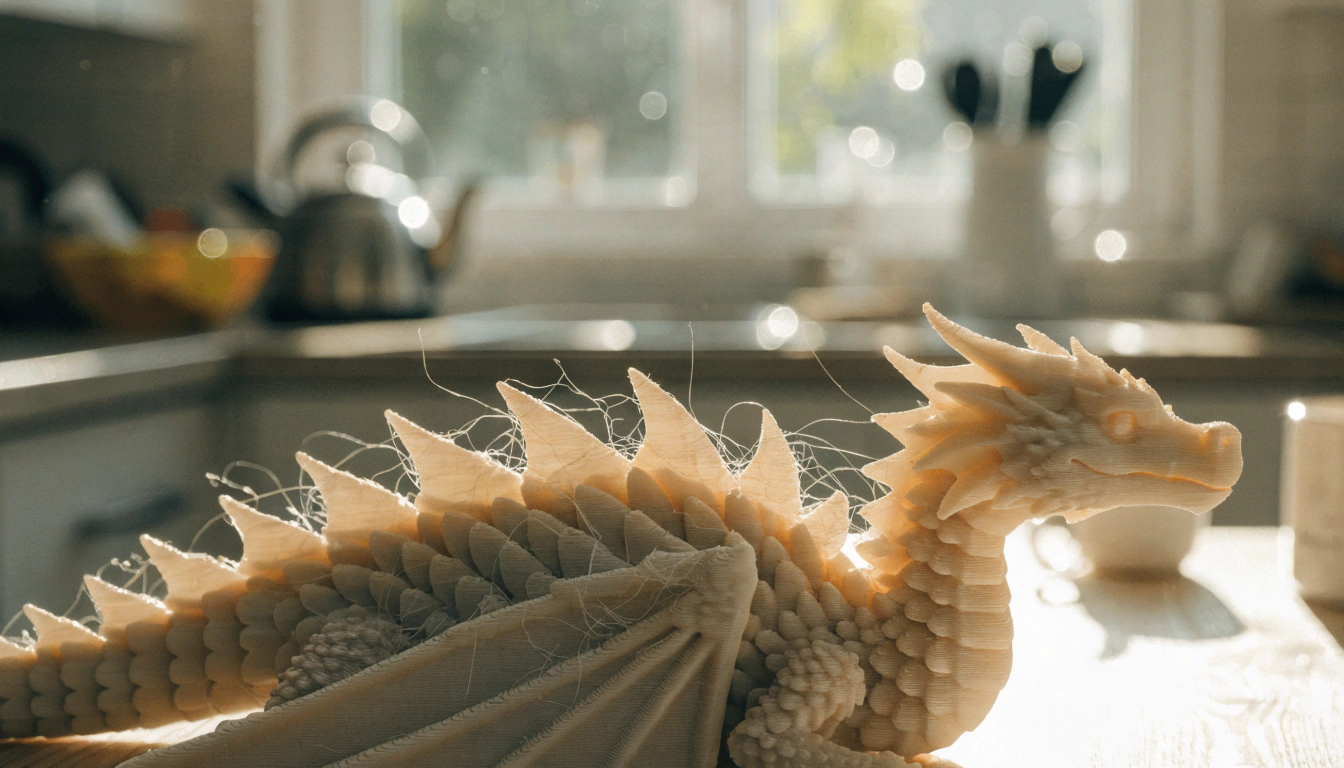
AOSEED product-led visual: a digital design can become one small physical test piece. Interface and model availability should be checked before publication.
The live AOSEED X-MAKER JOY product page lists a 120 × 120 × 120 mm build volume, PLA-only printing, Wi-Fi/app controls, a fully enclosed design, and a tool-free quick-swap nozzle system. Those documented specifications can support a guided family workflow, but they do not make the activity therapeutic, independent, silent, or suitable for every sensory profile. Adults should handle setup, filament and nozzle service, room placement and ventilation, hot parts, supervision, and emergency decisions.

AOSEED product-led visual. Use it only where the article explains a real digital-to-physical project need; do not present it as therapy or a sensory guarantee.
A printer may fit when the maker wants repeatable digital-to-physical iteration and the household can maintain supervision and an appropriate room setup. It may not fit when one-off household materials already answer the question, printing sound or waiting is disruptive, or the required adult support is unavailable. Compare the kids' 3D printer collection only after the project need is clear, and review the 3D printing safety guide for kids before the first print.
Support Without Taking Over
Adults hold the safety role; the maker keeps design ownership. Heat, blades, powered tools, online accounts, purchases, and hazardous materials remain adult responsibilities. Subject, purpose, shape, color, level of detail, and the next safe change should remain with the maker.
Offer bounded choices: Two real options plus something else and not today can reduce decision load without steering toward an adult's preferred project.
Ask before helping: Use Do you want a hint, a demonstration, hands-on help, or time? rather than reaching into the work.
Adjust support by task: A person may work independently in design software and still want help measuring fabric or changing a printer nozzle.
Do not remove help as a test: Move from doing to demonstrating to reminding to standing back only with the maker's agreement.
If the Interest, Energy, or Project Changes
Interests can fade, return, widen, or narrow. Motivation can change before the interest does. Ask whether the maker wants to pause, simplify, save, dismantle, repurpose, or stop. Do not require a polished object before a new interest is allowed.
Save the useful trail: Keep sketches, photos, measurements, supply notes, and files together with one restart note.
Name files for the future: Dragon-wing-test-2 is more useful than Newfile-final-latest.
Ask before dismantling: The object may still matter even if active building has stopped.
Treat stopping as a decision: Complete for now can be an accurate project status, not a euphemism for failure.
Privacy and Sharing: The Maker Chooses the Audience
Sharing is optional. The maker can show the complete object, share only a close-up, use initials, describe the process without an image, keep it inside the family, or share nothing. Autistic children deserve privacy; the Autistic Self Advocacy Network's parent guide explicitly centers autistic perspectives and warns against treating autism as something to overcome.
Do not trade privacy for UGC: Do not post a child's diagnosis, full name, face, school, location, therapy information, daily schedule, account name, or highly identifying interest details to promote a product or earn engagement. Ask permission for each audience and each post. Permission to show a relative is not permission to publish online.
If a child cannot give informed agreement for public sharing, keep the project private or use a de-identified object-only image. Remove location metadata, avoid school uniforms and recognizable rooms, and do not attach a medical or behavior story to the work. A project can matter without becoming content.
Conclusion
Strong autism special interest activities begin with one repeated detail, one maker-chosen purpose, and one finish that fits today's energy. Going from a special interest to a maker project works best when the adult reduces starting friction and maintains safety boundaries, while the maker retains ownership of the subject, format, revisions, privacy, and the decision to stop.
The project does not need to become a lesson, a career plan, a social performance, or a finished display. A sorted collection, a saved sketch, a cardboard test, a short animation, an original game piece, or a half-built model can all be complete for now. The valuable next step is one the maker can take without losing sight of why the interest mattered in the first place.
Practical FAQs
What if the special interest changes before the project is finished?
Let the maker pause, save, simplify, repurpose, or stop. Preserve a photo, file, parts box, and one restart note if they want the option to return. Do not require completion before a new interest is allowed. The planning, testing, and decisions already made still count as making.
How small should the first maker project be?
Small enough to produce one visible result in the available session. That may be a sketch, one labeled base, one working joint, one saved digital model, or one material test. If the first version needs several new tools, several software skills, and a long cleanup, remove demands until one question can be answered today.
What if a child does not want to share the project?
Do not share it. Building for oneself is a complete outcome. Offer private options only if the maker wants them: show one trusted person, photograph the object without a face or name, use initials, or keep the project entirely offline. Never disclose diagnosis, school, location, or therapy details to add a story to the work.
How can we reduce sensory load during a maker activity?
Ask which input is hardest today, then change one condition: light, sound, smell, touch, temperature, clutter, seating, or waiting. Put only current-step materials on the table and keep a pause place nearby. Do not block ventilation, hide safety warnings, disable required alerts, or reduce adult supervision to make the setup feel calmer.
When should a family pause the project?
Pause when the maker asks, the agreed stopping point arrives, energy drops, sensory load rises, frustration stops producing useful information, or adult supervision is no longer available. Store the next action with the project. A planned pause protects ownership and makes returning easier; it is not a failed session.
Does a child need an autism diagnosis to use this process?
No. The process is an inclusive activity design: follow the person's interest, reduce starting demands, offer sensory and communication choices, define a small finish, and protect ownership. Families can use it with any maker. Do not infer or disclose a diagnosis because a child has a deep interest or prefers structured support.
Sources
- Grove et al., Special Interests and Subjective Wellbeing in Autistic Adults, Autism Research (2018)
- Martin et al., Promoting Science, Technology, and Engineering Self-Efficacy and Knowledge for All With an Autism Inclusion Maker Program, Frontiers in Education (2020)
- Johnston et al., Piloting a Home Visual Support Intervention With Families of Autistic Children and Children With Related Needs Aged 0–12 (2023)
- World Health Organization, Autism fact sheet
- National Autistic Society, A personal perspective: How special interests can help autistic students thrive
- Autistic Self Advocacy Network, Start Here: a guide for parents of autistic kids
- AOSEED, X-MAKER JOY official product page





Further reading

Thanksgiving STEM Activities for Kids: Table Projects and Simple Engineering Challenges

Halloween STEM Activities for Kids: Spooky Builds That Teach Real Science

STEM Crafts for Kids: Build, Decorate and Test



