


Why Guided 3D Modeling Is Better Than a Blank CAD Screen for Kids
Set a kid in front of Blender and watch what happens. Not the smoothie kind — the 3D software. Forty-seven buttons on the left panel, a viewport that spins the wrong direction when you scroll, no hint of what you're supposed to touch first. Most kids give up before they've drawn a single shape. Not because they can't. Because the screen gives them nothing to hold onto.
That's the real problem with blank CAD tools for beginners. They assume the user already understands 3D design — what a mesh is, why there are three viewport panels at once, what "extrude" does and why you'd want to. Kids don't know any of that. And here's the thing: they shouldn't have to know any of it just to make their first object.
Guided 3D design platforms flip the experience. Instead of "here are all the tools — good luck," the first screen says something specific: here's what you're making today. A keychain. A toy car. A name tag with a ring at the top. Finishable in one sitting. No adult supervising the mouse the whole time.
This guide is for parents and teachers sorting through which approach actually holds a kid's attention past the first try — and which tools are worth the setup time.
|
Quick take before we get into it: For most kids under 12, start with a guided platform — Tinkercad, Makers Empire, or a design app that connects to a physical printer. Open CAD like Blender or Fusion 360 is powerful and completely free. It's also built for people who already know what they want to make. Kids mostly don't, yet. |
What Guided 3D Modeling Means for Kids As A Biginners

"Guided" gets stretched to mean a lot of things. In this context it means something specific: before the child touches any tool, the software has already told them what they're doing today.
Tinkercad uses drag-and-drop block building — pull a shape from a sidebar, drop it on the work plane, resize it by dragging a handle. No coordinates. No command line. Makers Empire uses mission-based challenges — a child gets a specific design task, a limited set of tools relevant to that task, and a clear endpoint. Template-based apps let kids start from a half-built object and personalise it — less intimidating than a blank canvas, still genuinely their work.
What all of them share: the child shows up knowing what success looks like. That matters more than the software's feature list. Without a visible finish line, younger kids don't push harder — they switch off.
The physical payoff changes things too. Some guided platforms connect directly to 3D printers. A kid designs a toy boat, sends it to the printer, and holds it an hour later. That loop — make a thing, hold the thing — is what keeps them coming back.
|
What "guided" isn't: Dumbed down. A lot of kids make genuinely clever, structurally tricky objects inside guided platforms. The constraint is the entry point — not the ceiling. |
Why Blank CAD Screens Can Frustrate Young Beginners

Professional 3D software was built for professionals. Not a criticism — just a fact with consequences. The interface doesn't explain itself because the assumption is that users arrive with context. They know what the toolbar does. They've used a 3D viewport before.
Kids arrive with none of that. So they stare. Then they click something random. Then the object disappears or flips upside down or somehow multiplies. Then an adult takes the mouse. The child watches. The session ends, and the child's main takeaway is that 3D modeling is not for them.
Fine motor control is a real obstacle for younger users, too. Spinning an object smoothly in 3D space takes coordination that many kids under ten are still building. Teachers running school 3D printing programs report the same thing consistently: students spend more time wrestling with the camera than actually designing anything. That's not user error. That's a tool mismatch.
The vocabulary is its own wall. Extrusion. Boolean union. Mesh density. Parametric constraint. These are not terms that map to anything a child has done before. Guided platforms replace all of it with action verbs that feel physical: stretch this. Cut a hole here. Glue these two shapes together.
The worst outcome isn't the frustration. It's the conclusion the kid draws from it. They don't think "this software has a steep learning curve." They think "I'm not a 3D design person." And that belief tends to stick.
|
One thing to watch for: If a child goes quiet within the first ten minutes of a CAD session and starts deferring to you for every click — the software is probably too open-ended. That's a tool-fit problem, not a kid problem. |
Guided 3D Modeling vs Blank CAD: What Actually Differs
The skills being taught are the same: spatial reasoning, shape manipulation, iterative design. What's different is the order things show up — and what happens in the first ten minutes of the first session.
|
Dimension |
Guided Platforms |
Open CAD Software |
|
First screen |
A task, template, or beginner prompt |
Empty grid, no instructions |
|
Tool exposure |
Gradual — one concept at a time |
All tools visible immediately |
|
Language |
Visual: stretch, cut, combine |
Technical: extrude, Boolean, mesh |
|
Time to first win |
5–15 minutes in session one |
Hours to days depending on tutorials |
|
Adult support needed |
Setup + occasional check-ins |
Active involvement often required early |
|
Best age fit |
Ages 5–12 as primary users |
Teens and adults with design exposure |
|
Creative ceiling |
High within the platform |
Near-unlimited once basics are mastered |
Why Attention Span Is Part of This Conversation
Kids under ten typically hold focused attention on a single task for fifteen to twenty minutes before motivation dips. Guided platforms are designed around that window. Open CAD software doesn't know or care about session length. It was built for professionals who return to a model across hours and days. Those are different users with different rhythms, and the mismatch shows up immediately with younger learners.
So Why Does Open CAD Exist in This Conversation at All?
Depth. Once a teenager learns Blender's shortcut system or Fusion 360's parametric constraints, they can do things no guided platform touches — animation, physical simulation, export formats for actual manufacturing. Guided tools are not training wheels. They are the right vehicle for a specific road. When the road changes, the vehicle changes.
Best Guided 3D Modeling Tools for Kids and Beginners
Six platforms worth knowing about, with honest notes on who they actually work for.
Tinkercad — The One Most Teachers Start With, For Good Reason
Tinkercad is browser-based and free. No installation. The interface is a sidebar of shapes — cubes, cylinders, spheres, text blocks — and a flat work plane where they land when you drag them. Create a hole by dragging a "hole" shape into another shape and grouping them. That's most of the system. Most 8-year-olds figure out the basics in under twenty minutes without a tutorial.
The reason Tinkercad comes up in every beginner guide is that it genuinely earns the recommendation. Feedback is instant. Because it exports to STL, anything a kid designs can go straight to a 3D printer the same day.
Works best for: Ages 6–11. First-time families. Anyone who wants a proven, low-friction starting point.
Makers Empire — The One Built for Classrooms
Makers Empire runs on missions. A child gets a design challenge — not a blank canvas — and a set of tools that fit the task. Finish the mission, unlock more tools. The structure is borrowed directly from how good games work.
Teachers use it because it integrates curriculum tracking, lesson planning, and progress reporting. For classroom use, that administrative layer matters.
Works best for: K-8 classrooms, STEAM programmes, kids who need direction to stay engaged.
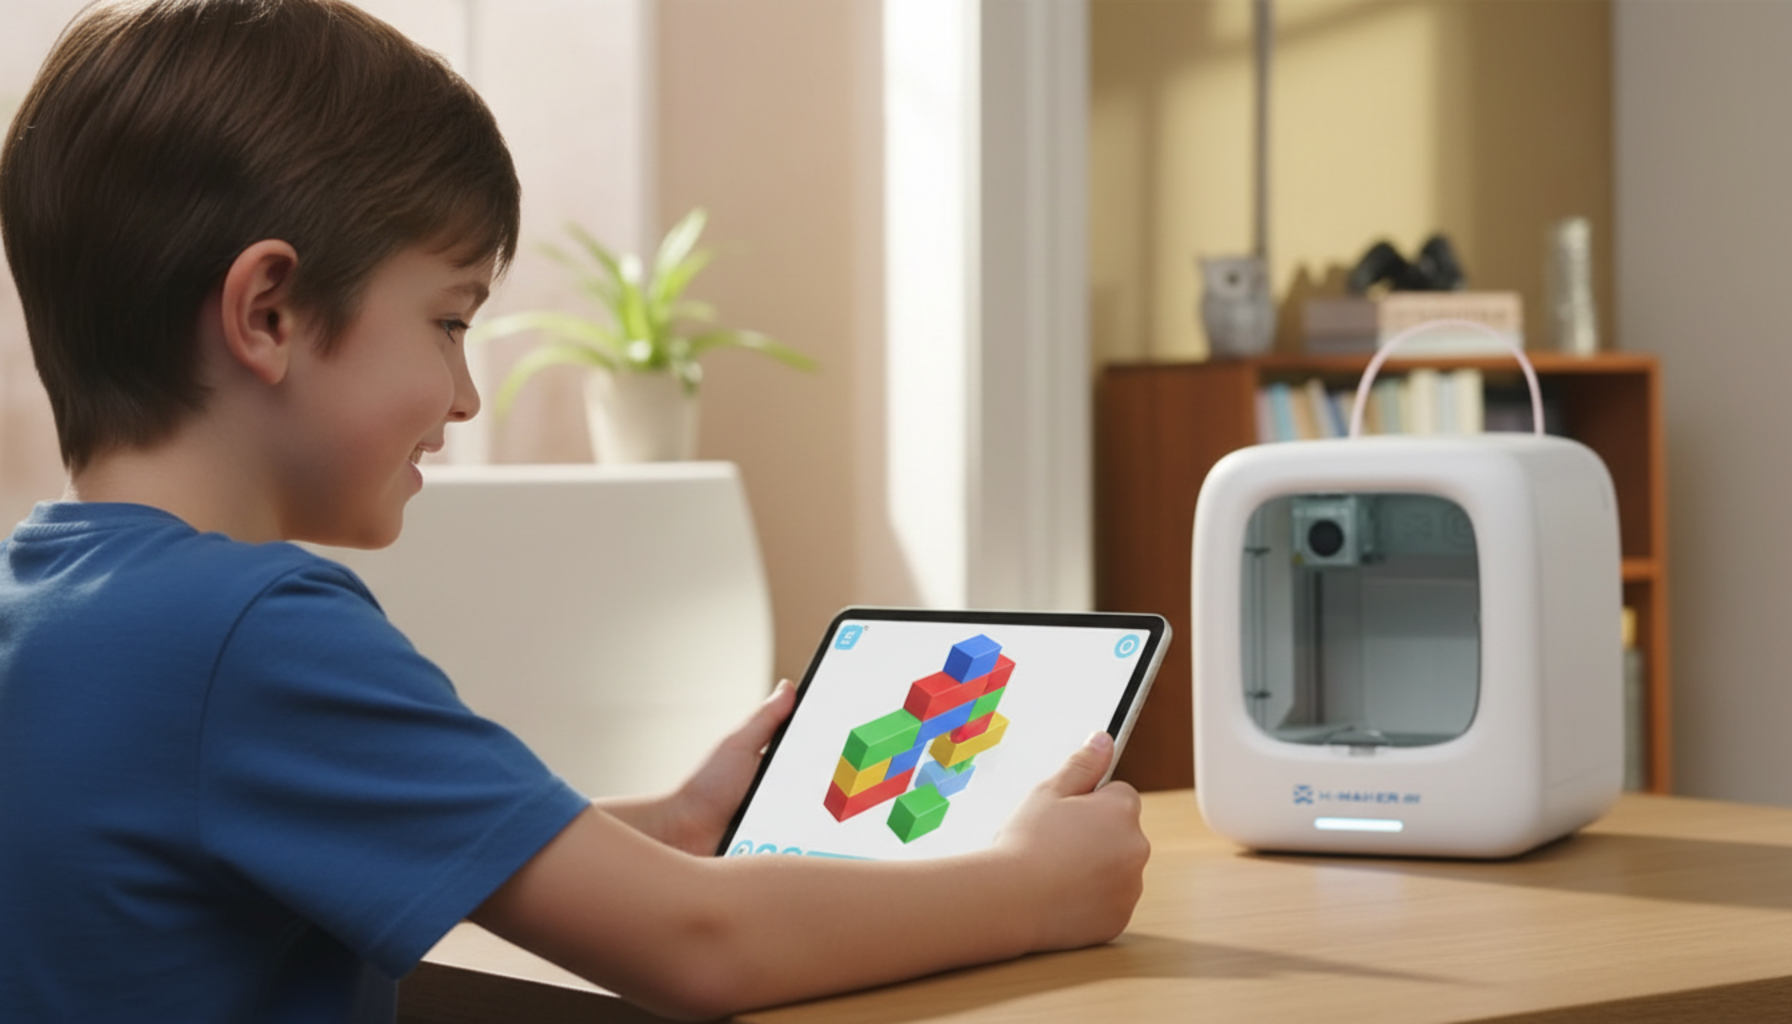
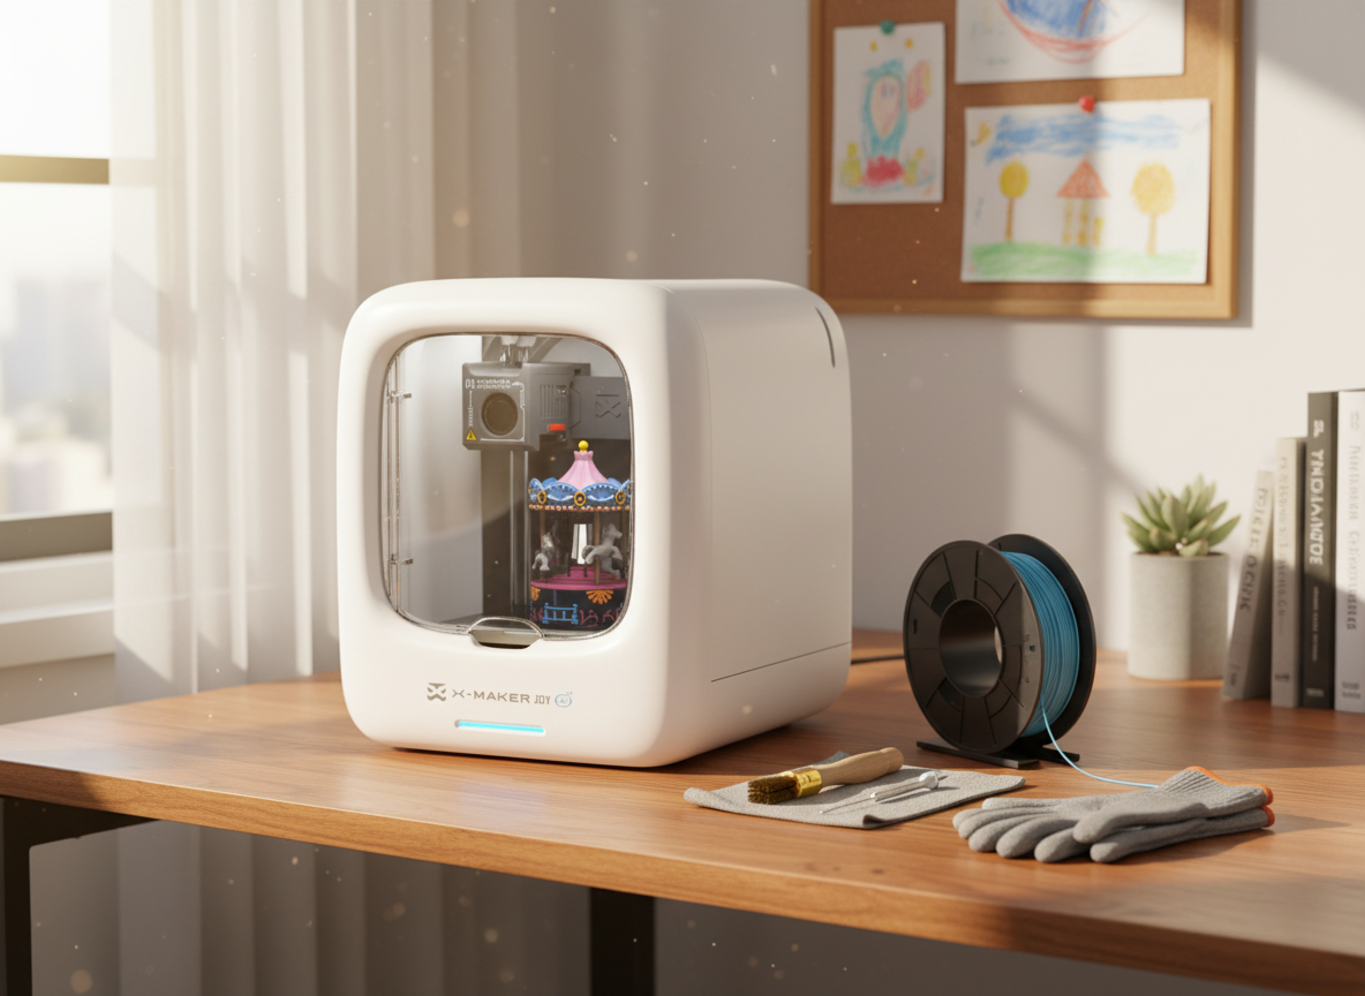
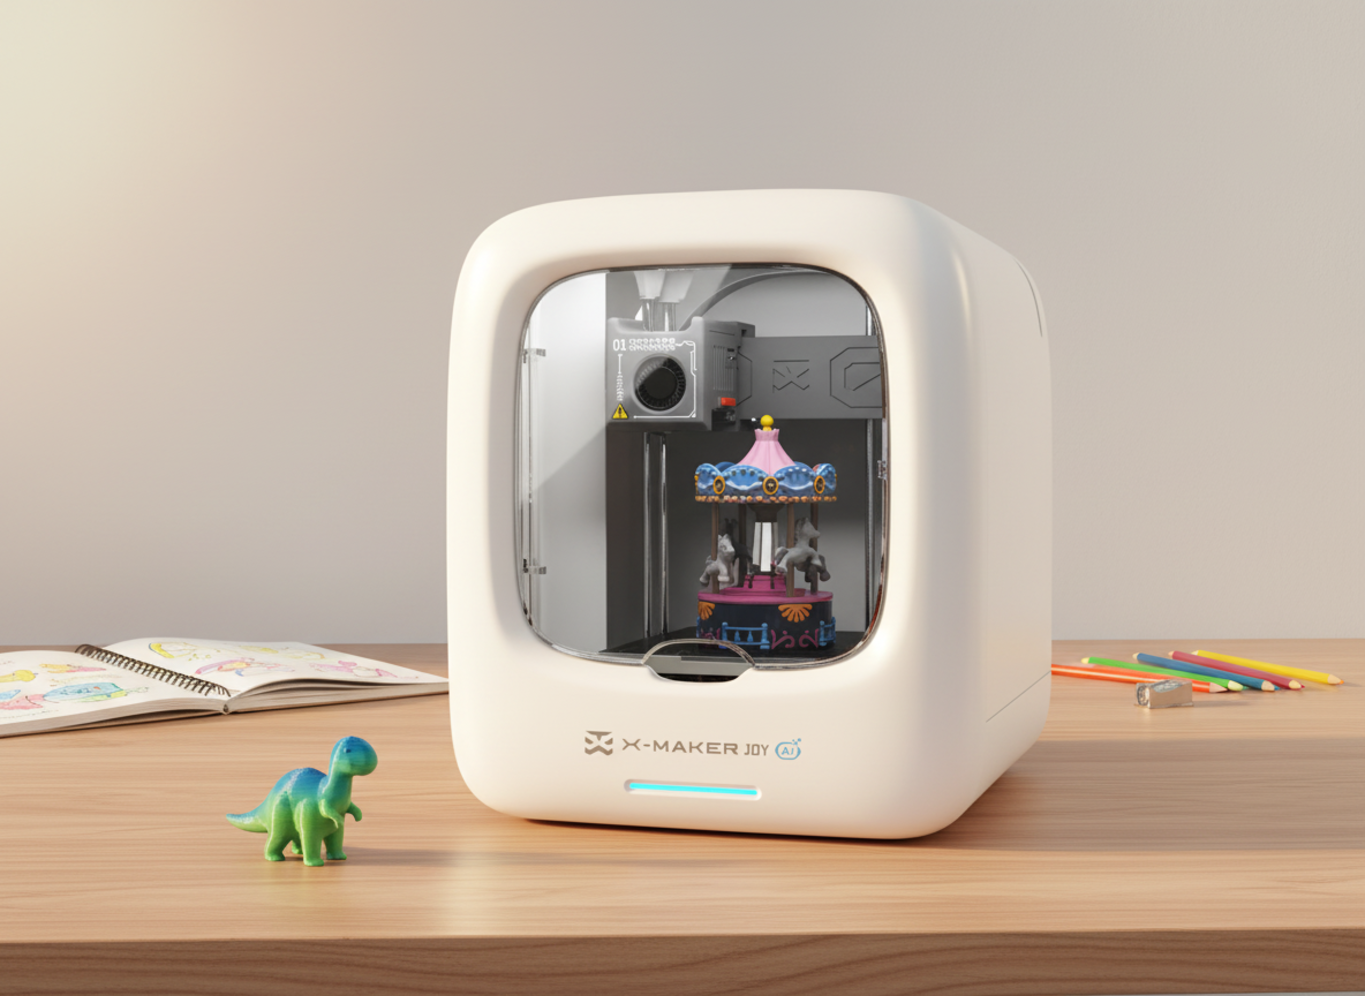
AOSEED App — The One That Connects Design to an Actual Physical Toy

Most guided design apps stay on screen. The guided 3D design app for kids from AOSEED does something different: it closes the loop. Design in the app, send to the printer, hold the toy. Not a screenshot of a toy. An actual toy.
The app is split into three creation modes. The Toy Library is a weekly-updated catalogue of ready-made models — cars, robots, carousels, characters — that kids can customize. The themed mini apps work like creative mini-games that end with a printable file. For kids ready to go further, beginner-friendly 3D design tools let them build from shapes with more control.
The AI features — AI MiniMe, AI Doodle — generate a starting design from a sketch or a description. The child arrives at the design stage with something already on screen. For kids who get stuck at "what should I even make?", that push matters.
|
Why print matters: Guided 3D modeling apps become far more engaging when children can hold the finished result. A printed keychain or toy car made by the child is what turns a one-session activity into a regular creative habit. |
Paired with the easy starter toy-making printer for younger creators, the whole thing runs like this: the child designs in the app, the parent loads the filament, the child holds the finished toy forty minutes later. The family-friendly 3D creativity platform behind these products was built so the creative work belongs to the child — not the adult managing the software.
Works best for: Families with or considering a home 3D printer. Kids ages 4–12. Anyone who wants the design experience to end with something physical.
BlocksCAD — For Kids Who Also Want to Learn to Code
BlocksCAD teaches 3D design through visual programming. Drag a "rotate" block, connect it to a "cylinder" block, set the angle — watch the shape update in real time. The transition to text-based coding or advanced CAD later is noticeably smoother for kids who've spent time here.
Works best for: Ages 10–14, code-curious kids, STEAM learners, robotics-adjacent households.
3D Slash — For the Minecraft Generation
3D Slash uses hammers, drills, and trowels to add and remove material — which is exactly how Minecraft works, and exactly why kids who play it tend to pick up 3D Slash with almost no instruction.
Works best for: Ages 7–12, Minecraft-familiar kids, design-for-fun projects.
SketchUp Free — The Sensible Next Step Before Professional Tools
SketchUp Free runs in a browser at no cost. Its push-pull system — draw a flat shape, pull it into three dimensions — is intuitive enough that most older kids understand it in one session. For a child who's outgrown Tinkercad's limits and wants more control before committing to Blender, it's a reasonable bridge.
Works best for: Ages 11+, spatial thinkers, kids interested in architecture or engineering.
Best Age-by-Age Starting Path For Beginners 3D Modeling

Age recommendations in 3D modeling guides tend to be optimistic. The ranges below reflect what actually works consistently — not what the most advanced child in the age group can handle.
|
At a glance: Ages 5–7 → touch-first tablet apps | Ages 8–10 → Tinkercad, purpose-driven projects | Ages 11–13 → BlocksCAD, SketchUp, measurement basics | Teens → Blender, Fusion 360, open CAD with a goal |
Ages 5–7: Touch First, Precision Later
The fine motor control for a mouse-based interface isn't fully there yet. Tablet apps with large touch-friendly targets reduce the friction significantly. At this age, the point isn't accuracy — it's finishing something. A lopsided animal made of five shapes that the child can name and describe is a successful first project. Twenty minutes is enough.
Ages 8–10: Projects With a Reason Behind Them
This is where Tinkercad works well. Kids in this range can follow multi-step instructions independently, sustain a design goal through a 20-minute session, and start making deliberate decisions. Give them a real reason to design: a gift for a sibling, a replacement piece for a board game they own, a custom hook for their bedroom wall.
This is also when the design-to-print loop gets motivating. A child who designs a stand and then tests whether their actual phone sits in it has just done engineering thinking — tolerance, iteration, functional testing — without anyone using those words.
Ages 11–13: Introduce Measurement and Logic
Older kids can start working with real dimensions, understand why a shape has to be a specific size to connect with another part, and sit through longer sessions. BlocksCAD works here for code-curious learners. SketchUp works for spatial thinkers. Tinkercad is still fine for fast projects.
Teens: Open Tools, With a Goal in Mind
Teenagers who've built spatial reasoning through guided platforms arrive at Blender, Fusion 360, or advanced SketchUp in a different position than beginners who start cold. The learning curve is still steep. But it reads as expanding a skill — which makes the difference between someone who sticks with it and someone who quits in week two.
Easy First 3D Modeling Projects for Kids

The bar for a good first project is low on purpose. Finish something. Anything. Here are five that reliably work:
Name Keychain — 15 to 20 Minutes
Three steps. Type the name using the text tool. Add a flat backing shape. Punch a hole near one end for the ring. Kids learn text-to-shape conversion, object resizing, and hole placement all in one go. Prints in under an hour. Personal, fast, and immediately usable.
Simple House — 30 to 45 Minutes
A box for the walls. A wedge or pyramid for the roof. Smaller boxes subtracted for windows and doors. The project teaches kids to think about which shape serves which purpose. It also has a clear, obvious finish point — four walls, a roof, a door. Done.
LEGO-Style Brick — 20 to 25 Minutes
To make a brick that connects with a real LEGO piece, the dimensions have to be right. Stud height. Stud spacing. Wall thickness. A brick that prints 0.5mm too wide and won't snap onto a real LEGO is one of the most effective precision lessons there is — because the test is immediate and physical.
Cartoon Robot — 45 to 60 Minutes
Box for the torso. Box or sphere for the head. Cylinders for the arms and legs. That's most of it. A kid can build a recognisable robot from six to eight shapes. The natural second step — a different antenna, wider legs, a new mouth — teaches iteration without framing it as a lesson.
Phone Stand — 30 to 40 Minutes
This one has a built-in pass/fail test: does the phone actually stay upright? A kid who prints a stand and finds the phone falls backward has just hit a real design problem. Most fix it the next session — one project contains a full design-test-iterate loop.
How Parents and Teachers Can Support Without Taking Over
The most common mistake adults make in early 3D design sessions: solving the problem before the child has had a chance to try. A kid struggling to rotate a shape isn't failing — they're about to learn something. The adult who grabs the mouse saves thirty seconds and removes the learning moment the software just created for free.
More useful roles for parents: choose the software, open a starter project, name the goal ("today we're making a name tag"), then step back. When help is asked for, try a question first — "what do you think would happen if you dragged that handle?" The answer is often the lesson they needed.
For teachers: demonstrate one technique, give three minutes to try it, move on. Don't wait for everyone to succeed. Repetition across sessions builds the skill.
|
Safety note for 3D printing: Adults should supervise hot printer parts, moving components, and filament loading. The American Academy of Pediatrics recommends active adult supervision around heated equipment for younger children. The split that works: child designs, adult manages the machine, both watch the print together. |
When Kids Are Ready to Move Beyond Guided Tools
The signal isn't age. It's behaviour. A child who starts doing things the platform never showed them — stacking shapes in unexpected ways, asking why they can't change a specific dimension, getting frustrated that the tool won't do what they can picture — has outgrown the current constraints. That's a good problem.
Patience is the second thing to watch for. Open CAD means longer sessions, more troubleshooting, and spending time with a model that looks completely wrong before it looks right. Kids who can sit with that for two or three sessions are ready for tools that reward it.
The transition doesn't have to be clean. Using Tinkercad for fast projects while learning Blender for bigger ones isn't inconsistent — it's practical. Exploring kid-friendly 3D printers that support more demanding design output makes a lot more sense when the design foundation is already solid.
Conclusion
Guided 3D modeling isn't a simpler version of real 3D design. It's a smarter starting point. Less vocabulary upfront, a visible goal on screen from session one, a way to reach a finished object without adult intervention at every step.
Blank CAD tools have their place. That place is just not in front of a child who has never designed in 3D before. A child who spends their first session fighting a viewport they can't control is not learning 3D design — they're learning that 3D design is not for them.
Small start. Finished object. Print it if possible. Come back next week and make the next thing. That loop does more for long-term skill building than any amount of tutorial-watching.
|
The one thing worth repeating: The child who finishes a wobbly robot in session one is ahead of the child who watched three tutorial videos and made nothing. Finishing is the skill. Everything else comes after. |
FAQs
What is a 3D modeling app for kids?
Depends on what you're trying to do. For pure browser-based 3D design with nothing to install, Tinkercad is the most proven starting point — free, drag-and-drop, works on Chromebooks, and most kids aged 6 and up get the basics within one session. If you own a 3D printer or are considering one, the guided 3D design app for kids from AOSEED does something Tinkercad doesn't: it connects the design directly to a print job. The child designs in the app, the printer runs, they hold the toy. Other solid options include Makers Empire for classroom learning, BlocksCAD for code-curious kids, and 3D Slash for kids who'd rather carve than construct.
How to learn 3D modeling as a beginner?
For kids just starting 3D modeling, short sessions with one clear goal work better than long tutorials with no direction. Pick a guided platform — Tinkercad is the easiest starting point — open a beginner challenge, and choose a simple first project, such as a name keychain, small animal, or pencil holder. Plan to finish in about 20 minutes so the child gets a quick win. A completed project teaches more about resizing, alignment, and object combining than an hour of tutorial-watching. The learning curve feels easier when the first few projects are small, playful, and printable.
What are good free 3D modeling apps?
Tinkercad — free, browser-based, works well for beginners and kids. Blender — free, professional-grade, steep learning curve, better for teens. SketchUp Free — good for architectural and spatial projects. BlocksCAD — free for core features, great for kids who also want coding exposure. Start free, stay free until interest is established.
Can I 3D model for free?
Yes. Tinkercad, Blender, BlocksCAD, and SketchUp Free all let you design, export, and print without spending anything on software. Browser-based tools require no download — just a login on any device. Most export to STL for 3D printing. The only reason to pay for software is if the child has specific needs the free tier doesn't cover.
Is 3D modeling difficult to learn?
With the right starting tool, not particularly. The difficulty most people run into comes from starting with software that assumes prior experience, or choosing a first project too ambitious to finish. Guided platforms eliminate the first problem by replacing technical vocabulary with visual drag-and-drop interactions. A child who finishes a name keychain in session one has already crossed the most discouraging part of the learning curve.
Can ChatGPT do 3D modeling?
Not directly — it can't open a 3D editor, build geometry, or produce a printable STL file. What it can do is help with the surrounding work: brainstorming project ideas, explaining why a design isn't working, generating code that tools like BlocksCAD can use to create shapes. AI tools are most useful as a creative prompt generator or a patient explainer — not as a replacement for time in actual design software.
Is there a free AI to create 3D models?
A few exist with free tiers. The limitation is consistency: AI-generated models are often not print-ready. Surfaces can be irregular, wall thicknesses too thin, proportions off from what was described. Cleanup in a separate tool is usually needed. Treat AI generation as a rough starting point — "here's a shape in the right direction, now edit it" — rather than a finished design.
Should a 7 year old have a 3D printer?
A 7-year-old can get a lot out of 3D printing, with the right setup. The design side is child-appropriate: tablet apps with guided workflows are built for that age group. The printer hardware is different. Hot nozzles, moving components, filament loading — those are adult tasks. The American Academy of Pediatrics recommends active adult supervision around heated equipment for children this age. The setup that works: child designs in the app, adult manages the machine, both watch the print run.
Sources
- Autodesk Tinkercad — browser-based 3D design for beginners and kids
- Makers Empire — K-8 guided 3D design with STEAM curriculum integration
- Blender Foundation — free professional 3D modeling, animation, and rendering
- SketchUp — push-pull 3D design for architecture and spatial modeling


You may also like
X-MAKER JOY:AI-Powered ToyMaker 3D Printer for Kids
AOSEED X-MAKER: Kid-Friendly AI-Powered 3D Printing Revolution
Further reading

Printable STEM Challenges for Grades 4-6 Using 3D Printing

Small Group 3D Printing Activity With One Printer

Elementary STEM 3D Printing: Simple Projects Teachers Can Actually Run


