


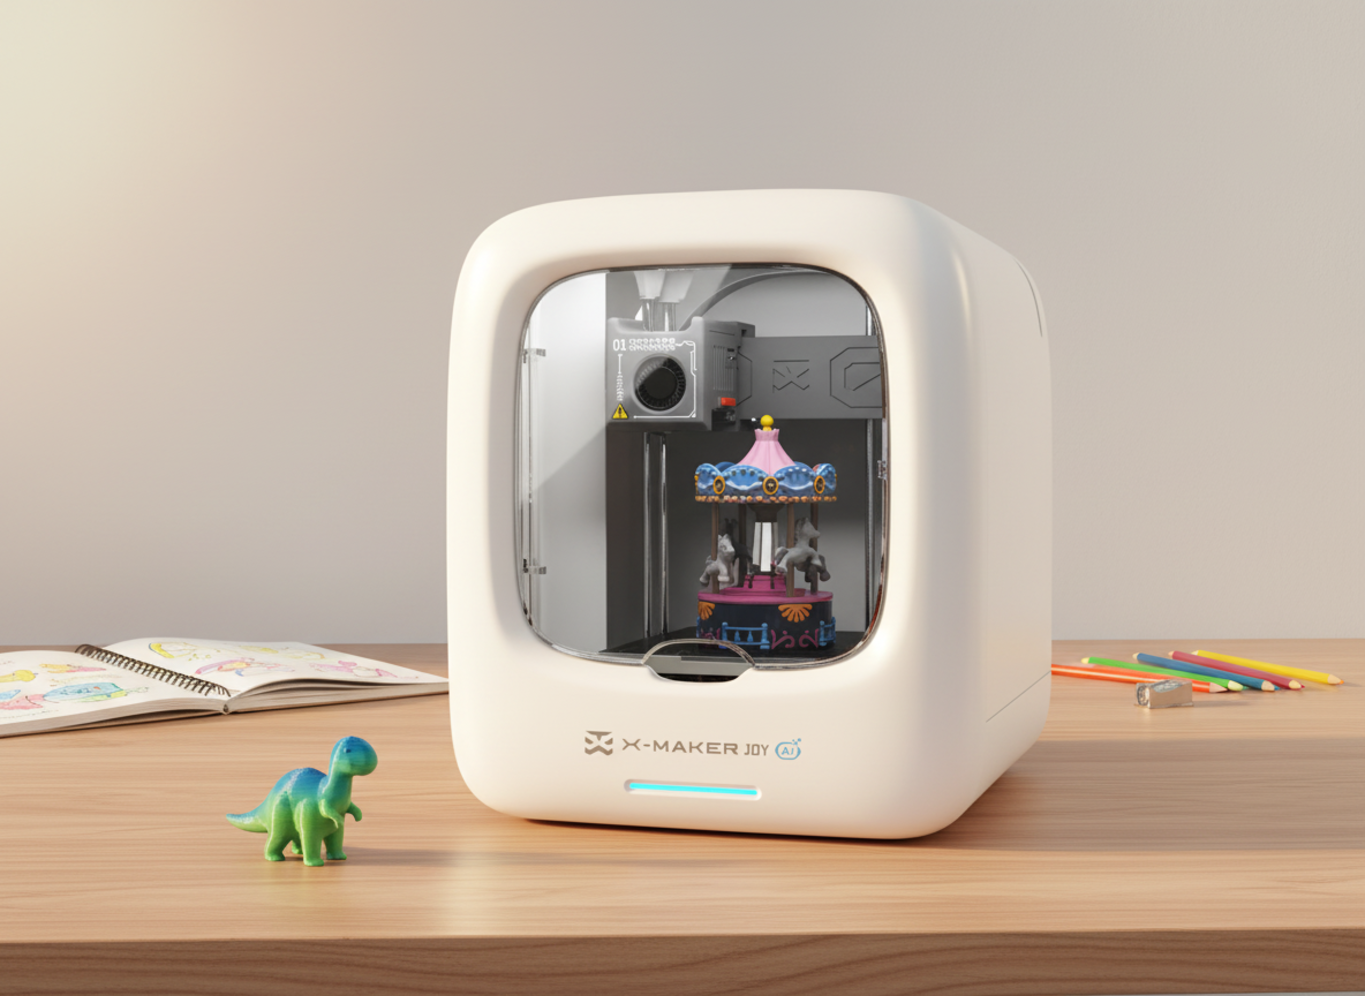
Printable STEM Challenges for Grades 4-6 Using 3D Printing
These printable STEM challenges turn 3D printing into real engineering by adding a problem, rules, testing, and redesign instead of stopping at a finished souvenir.Print a dinosaur and you've made a souvenir. Add three words — “must stand on three legs” — and you've started engineering. That's the line between craft and STEM, and printable challenges live right on it.
A printable STEM challenge fits on one page. Problem, rules, test, time limit. Sketch. Print. Fail. Redesign. The cycle is short on purpose.
This guide walks through what counts as printable STEM challenges for grades 4–6, the gear teachers need, five ready-to-run 3D printing STEM activities, and a simple way to grade kids’ thinking instead of their luck.
What Makes a 3D Printing Activity a Real STEM Challenge?
The Constraint Is the Lesson
Watch what happens when you tell a class of fifth graders “print whatever you want.” Twenty-three of them download the same dinosaur. The 24th picks a TARDIS. Nobody learned anything except how to click Print.
Now add a constraint. “Your dinosaur has to hold a stack of 50 pennies on its back.” Suddenly there's tension. Kids argue about leg width. Someone Googles “strongest 3D print pattern.” Another kid wants to scrap the dinosaur entirely and print a turtle because turtles are flatter. That argument is the lesson.
Strip the constraint out and you're just running the printer. Add one, and you're running engineering.

|
QUICK CHECK — A 3D PRINTING ACTIVITY COUNTS AS A REAL STEM CHALLENGE WHEN IT HAS: • A clear problem to solve, not “make this object” • Limits on size, weight, time, or material • A measurable test the whole class agrees on • Room for more than one right answer |
STEM Challenge vs. Simple Craft
Crafts produce 24 copies. Challenges produce 24 different answers. That's the entire difference.
Team A's bridge holds 80 coins and weighs 28 grams. Team B's bridge holds 35 coins and weighs 9. Who wins? Depends on the constraint you wrote on the card. The kids will argue about it either way, which is exactly the point.
“Print a dinosaur” is craft. “Print a dinosaur under 8 cm that stands without support material” is engineering. The constraint drags geometry, weight, and slicer settings into the conversation — because suddenly all three of them matter.
The Plan, Build, Test, Improve Cycle
Sketch. Predict. Print. Test. Redesign. Five steps, only one of them is fun to film. The other four are where the learning lives.
The redesign round is the first thing to get cut when class runs short. Don't cut it. A first print that worked on luck teaches less than a second print that fixed a known weak point. Start the challenge a day early if you have to. The TeachEngineering NGSS-aligned activity plans back this up — engagement spikes when students get stuck and have to talk through the stuck moment.
Veteran teacher tip: when a print fails, don't fix it for them. Let them stare at it. The stare is the lesson.
Why 3D Printing Fits Grades 4-6 STEM Learning
Grades 4-6 are the perfect window. Younger kids want to play with what they make but can't handle multi-step planning. Older kids can plan but lose patience for the “let's draw it first” stage. Grades 4-6 do both, and they're the only age group that does.
A 30-45 minute print gives them physical feedback before they lose interest. Sketch in the first ten minutes, slice in the next ten, hold a real object before the bell. Try doing that with a worksheet.
Skills Students Practice
One challenge. Several skills. Same class period.
|
Skill |
Where it shows up |
|
Measurement & scaling |
Sizing a model to fit a 12 × 12 cm footprint |
|
Force & balance testing |
Loading a bridge or trying to tip an organizer |
|
Iterative problem solving |
Redesigning after a failed print |
|
Data recording |
Trial numbers, weights, times — numbers, not adjectives |
|
Spatial reasoning |
Watching the slicer build it up layer by layer |
What's not on the table: arguing with a teammate. That happens whether you plan for it or not, and it might be the most valuable thing happening in the room.
Best Classroom and Homeschool Uses
Short challenges (under 45 minutes): warm-ups, sub plans, end-of-quarter Fridays. Longer ones (two periods): science fair prep, end-of-unit projects, robotics clubs. Stretch projects (a week or two): cross-curricular work that fixes something real in the classroom.
Homeschool families have it easiest. Print a stack of challenge cards once, file them by difficulty, and pull one off the shelf every other Friday. Schools and clubs comparing options can browse beginner 3D printers for families by age band and feature set.
Printable STEM Challenge Setup
For printable STEM challenges, you only need one good card per challenge. Skip the curriculum binder and give students a clear problem, rules, success test, and time limit.
Each card answers four questions before kids touch the printer. What's the problem? What are the rules? What counts as success? How long do we have? Print them on cardstock, laminate them, and by November you've built a reusable library.
Reflection lives on the back. A sketch box, a prediction line, a “what would you change next time” space. That's the worksheet. Resist the urge to add more.
|
COMMON FIRST-SESSION MISTAKES (AND HOW TO AVOID THEM) • Picking a 90-minute print for a 45-minute class. Pick smaller. Always. • Skipping the sketch step “to save time.” The sketch saves three failed prints. • No constraint on the card. Without one, the activity drifts into craft. • Grading the print, not the process. Print quality is luck. Reflection is skill. • Letting one kid run the slicer for the whole group. Rotate roles every session. |
Materials Checklist
The whole kit fits on one shelf. If yours doesn't, you've added too much:
- PLA-compatible 3D printer (enclosed, auto-leveling — save yourself the headache)
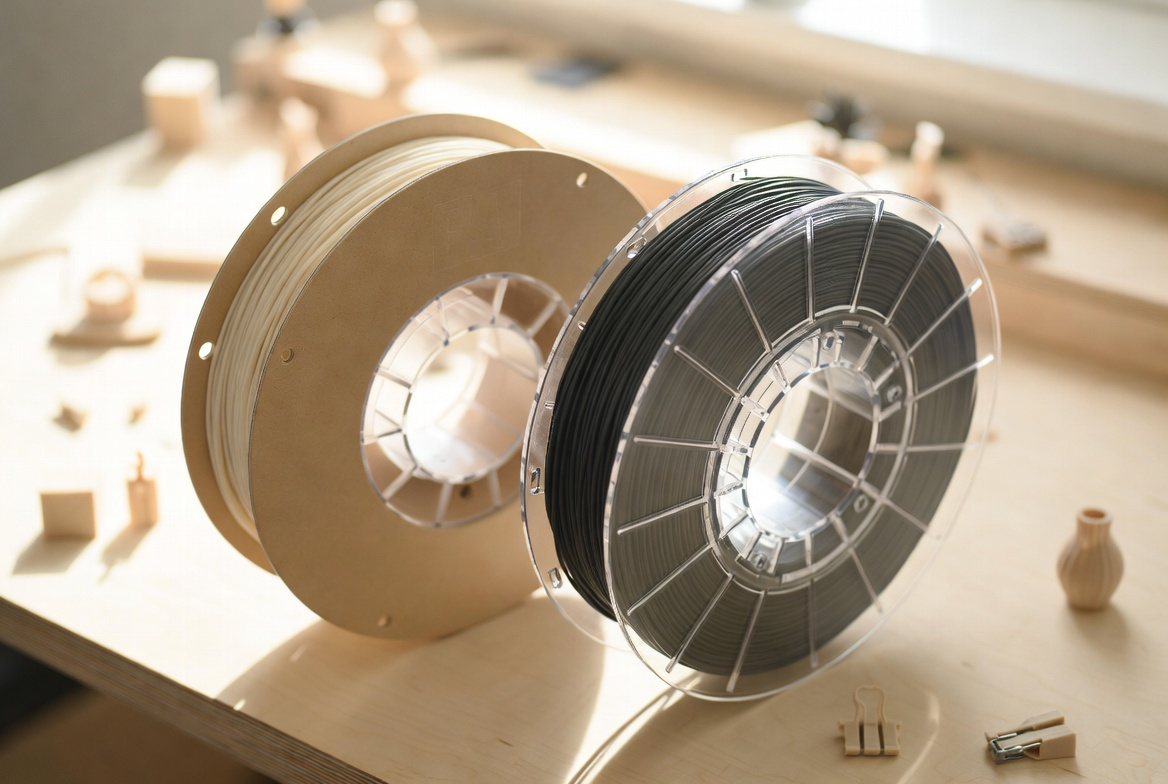
- One or two rolls of PLA filament per class ($20-25 a roll, lasts grade 4-6 use about a month)
- Rulers, measuring tape, a kitchen scale that reads to 0.1g
- Coins or small weights for load tests (pennies work, but quarters stack better)
- Cardboard, craft sticks, masking tape for hybrid builds
- Printable challenge cards — one per group
- Student reflection sheets — one per student
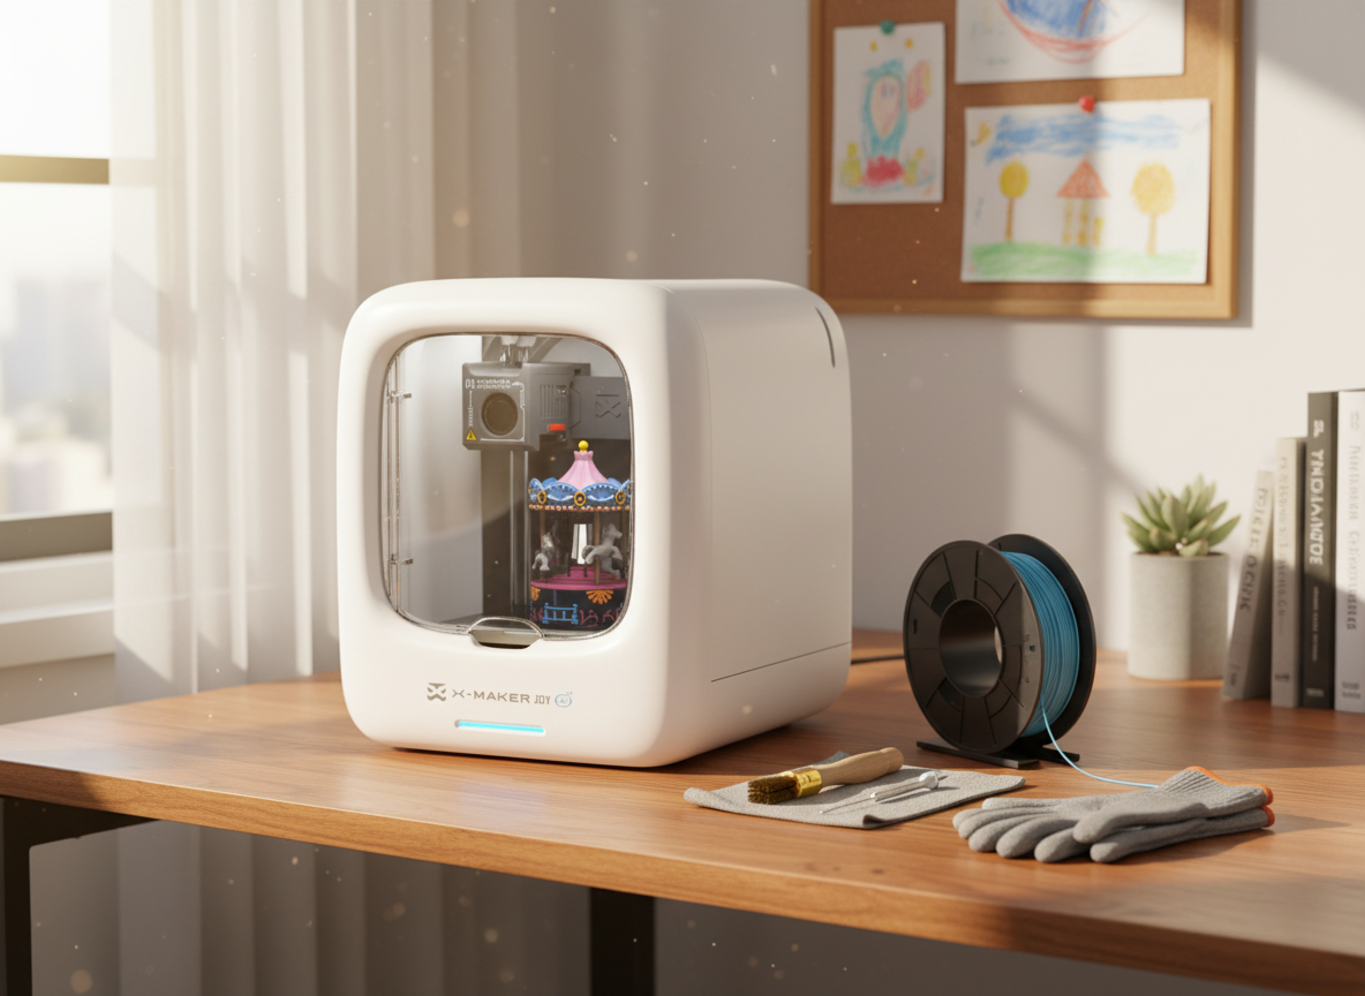
PLA prints cool, barely smells, and forgives a lot. That's why most beginner classroom printers default to it. For younger groups in K-3, a guided toy-making printer for younger kids simplifies the workflow further — touch screen, one-press printing, and a built-in model library that skips the design-from-scratch step. Smart purchase if you're just starting out.

|
HOT PARTS — ADULT-ONLY ZONE PLA prints at 200°C. The nozzle stays hot for about ten minutes after the print finishes. Kids design and run the controls; adults handle filament loading, stuck prints, and anything hot. Free design tools like Tinkercad run in any browser, so the design stage stays away from the hot end entirely. |

Time and Group Size
Two to four students per group. That's the rule.
Pairs work great for first-timers — both kids get hands-on time. Fours work better once the workflow is established: one student takes notes, one runs the slicer, two handle physical testing. Five or more? Someone's always on their phone. Skip it.
|
Activity type |
Time block |
Format |
|
Warm-up challenge |
30-45 min |
One period, no redesign |
|
Standard challenge |
2 periods |
One print + one redesign round |
|
Science fair project |
1-2 weeks |
Multiple trials with data |
If prints run long, drop to smaller models and 15% infill. A working test print at 8 cm beats a failed perfect print at 12 cm. Every single time.
Student Recording Pages
Recording is where kids start sounding like engineers instead of art students. The page needs four things:
- A sketch with at least one measurement on it
- A one-sentence prediction (“I think it'll hold 30 coins.”)
- Trial data — print one, print two, print three
- A redesign reason in plain English
“What failed first?” beats “What did you learn?” every time. Specific failure points lead to specific fixes; vague prompts get vague answers. When students need a reference, the AOSEED Learning Center has step-by-step project guides for the most common project types.
Five Printable STEM Challenges for Grades 4-6
These 3D printing STEM activities for grades 4–6 turn each print into a hands-on engineering test, not just a finished classroom object.
Quick-Pick
Skim the table, pick one, hand out the cards:
|
Challenge |
Print time |
Difficulty |
Best for |
Test |
|
Bridge weight test |
30-40 min |
Beginner |
First session |
Coin stack |
|
Desk organizer |
35-45 min |
Beginner |
Real classroom fix |
Tip test |
|
Snap-together toy |
20-30 min |
Intermediate |
Tolerance practice |
Tower stability |
|
Robot wheel/grabber |
20-30 min |
Intermediate |
Robotics clubs |
Task success rate |
|
Science fair test object |
3 × 30 min |
Intermediate |
Data-driven project |
Controlled comparison |
Build a Bridge That Holds Weight
Goal. Print a bridge that spans 10 cm and holds the most coins before it gives up.
Rules. 15 grams of filament max. No support structures. Has to rest on two flat surfaces.
Test. Stack coins one at a time until it bends. Write down the number.
Triangle supports beat flat slabs almost every time. That's not coincidence — it's how real bridges work. The fun part is round two: “Now do it again, but cut the weight in half.” That's when engineering kicks in.
Design a Desk Organizer
Goal. Print an organizer that holds pencils, sticky notes, and a small ruler.
Rules. Fits inside a 12 × 12 cm footprint. Three compartments minimum.
Test. Load it up. Tap the side. Try to tip it.
Tall organizers tip. Tiny compartments don't fit pencils. Most groups land on “wider base, shallower walls” by round two — nobody had to tell them. That self-discovery is the entire point.
Create a 3D Printed Building Toy
Goal. Design connecting pieces that snap together into a tower at least 15 cm tall.
Rules. Three different shapes maximum. Pieces have to connect without glue.
Test. Build the tower. Pick it up. Does it hold together?
A 0.2 mm tolerance difference is the gap between “snaps in” and “falls off.” Bring digital calipers if you have them. If you don't, expect some “why won't this fit” tantrums. Worth it.
Make a Robot Challenge Part
Goal. Print a wheel, grabber, or arm attachment that helps a small robot complete a task.
Rules. Part must fit a standard servo or motor shaft. Max print time 30 minutes.
Test. Mount it. Run the robot through the task three times. Record the success rate.

Robot wheels are the easiest entry point. A guided STEM 3D printer for older kids and tweens handles this kind of project well — enclosed build chamber, a model library with robot parts pre-sorted by skill level, and an app that lets students tweak a starter file before slicing. Kids learn fast that traction lives in the tread pattern, not the wheel size. A 4 cm wheel with deep ridges beats a 6 cm smooth one on carpet. Counterintuitive. Still true.
Design a Science Fair Test Object
Goal. Print three identical objects with one variable changed (infill, wall thickness, or shape).
Rules. One variable only. Everything else stays the same.
Test. Run a comparison — weight load, drop test, or airflow.
The cleanest path to a science fair entry. The print is the experiment. The data writes itself.
Adding Real-World Problem Solving
Random challenges produce random prints. Real problems produce real engineering. That's the whole shift.
The fastest way to lose a class is to pick a challenge that feels invented for school. The fastest way to keep them is to point at something they already complain about — the phone that slides off the desk, the bookshelf that wobbles, the pet bowl that slides on tile. Kids have opinions about those things. Channel them.
|
WHY FAMILIAR PROBLEMS WORK Familiar problems lead to better design ideas and better conversations during the reflection round. Random challenges get random prints. The classroom problems that produce the strongest student work are the ones students could imagine fixing at home. |
Add a Clear Problem

One sentence. That's the whole problem statement.
“Print a tool that holds three textbooks upright without leaning.” “Print a clip that keeps a binder closed inside a backpack.” Those sentences carry the goal, the user, and the use case. If you can't fit it in one sentence, the problem is too vague.
Match the problem to the age group. Grades 4-6 do best with school, home, pets, sports, and transportation. Mars colonies and asteroid mining? Some kids love that stuff. Most need a problem they can touch. The NASA STEM Engagement team publishes student-facing design challenges that work as templates if you want a real-world frame already written.
Set Rules and Limits
Engineering is constraints. A filament cap, a size box, a time window — each one forces a trade-off.
Without limits, a team wins by printing the biggest object. With limits, they win by printing the smartest one. That's the whole shift right there.
Fair testing depends on fair rules. A bridge using 30 grams shouldn't compete against one using 8. Either match the constraint or split the comparison into two leagues — the kids will smell unfairness from across the room.
Test With Measurable Results
“It looks strong” is not a test. “It held 47 coins” is.
Pick the number before the challenge starts. 50 coins, 60 seconds, 30 mm of deflection. Whatever it is, write it on the card and live by it.
Three trials beat one. The same bridge tested three times rarely gives the same number, and the spread is the conversation. Why did trial two hold more than trial three? Because the plastic has memory. Because the coins landed differently. Because the desk vibrated. Pick one and defend it. That's science.
Grading STEM Challenge Work
The print isn't the grade. The thinking is.
A student whose second print holds twice the weight of their first has learned more than one whose first print worked on luck. Grade the trajectory, not the destination.
A simple three-part rubric covers most challenges. The categories line up with the NGSS engineering design framework — define, develop, optimize.

|
Section |
What you're grading |
Weight |
|
Planning |
Sketch, prediction, measurements |
30% |
|
Testing |
Data quality, number of trials |
30% |
|
Reflection |
What failed, what changed, why |
40% |
Reflection carries the most weight because that's where engineering actually lives.
Design and Planning
Check the sketch for two things. Did the student commit to a shape? Did they include at least one measurement? Both yes — planning happened. Both no — they walked up to the printer cold. Two different kids, two different feedback notes.
Predictions matter too. A kid who writes “30 coins” and records 22 has built a habit that runs through every science class for the next decade. That habit is the win.
Testing and Data
Numbers, not adjectives. “47 coins on trial one, 52 on trial two” is data. “It worked really well” is something a five-year-old says.
Failed tests count. “Snapped at coin 19” tells you exactly where the structural weakness lives. “It broke” tells you nothing.
Reflection and Improvement
Three prompts work in almost any reflection: What failed first? What did you change? Did the change help?
Honest answers to those three show whether a student is thinking like an engineer or just stacking prints. The strongest student work usually includes a real redesign. A bridge that failed at 19 coins on trial one and held 52 on trial two — after a thicker deck and a third support — is a clean engineering story.
Grade that. Hard.
Conclusion
A printable STEM challenge for grades 4-6 should leave students with three things. Something to test. Something to measure. Something to redesign. The 3D printer turns a sketch into a real object in under an hour — that's the engine that drives the whole cycle.
Match the problem to the age group. Set the rules clearly. Let the kids fail safely. That's where the actual learning lives.
AOSEED's family creativity platform runs in over 5,000 schools and homeschool families on exactly this rhythm — a guided app, a model library that updates every week, and a Learning Center that walks through setup without a manual. A guided STEM 3D printer for older kids and tweens earns its shelf space on the tenth print, not the first. The tenth is when the routine clicks, the questions get sharper, and the printer stops being a novelty.

|
THE ONE-CHALLENGE MINDSET The best printable STEM challenge isn't the one with the most rules. It's the one students want to try again. |
FAQs
What are good STEM projects for 3D printing?
These work as printable STEM challenges and 3D printing science fair projects for grades 4–6 because each one includes a goal, a limit, and a result students can test. Bridges that hold coins, desk organizers, robot wheels, snap-together towers, and science fair test objects. Each one needs a goal, a constraint, and a measurable test. Skip any of those three and you're back to craft.
What's a good 3D printing experiment for grades 4-6?
Print three identical objects with one variable changed — infill, wall thickness, or shape — then test them against the same load. Same printer, same room, same spool.
What is a good 3D printing science fair project?
A measurable question paired with three trials per condition. “Which infill produces the strongest bridge?” beats “Are 3D printed bridges strong?” by a mile.
What is a robot challenge STEM activity?
Students design and print a part — a wheel, a grabber, an arm — that helps a robot complete a fixed task. The chassis stays the same. Only the printed part changes.
Can students make 3D printed building toys?
Yes. Snap blocks, ball-joint sets, and connector pieces are popular grade 4-6 challenges. They fit together without glue once the tolerances are dialed in.
Are 3D printing kits good for kids?
Yes — with adult supervision for anything hot. Enclosed printers with PLA, simple software, and a built-in model library work best for grades 4-6.
How long do 3D printing STEM challenges take?
30-45 minutes for a single challenge with no redesign. Two class periods if you include a redesign round, which is where most of the learning lives.
What supplies do I need for printable STEM challenges?
A PLA-compatible printer, one or two rolls of PLA, rulers, a kitchen scale, masking tape, printable challenge cards. Add coins or small weights for testing.
Sources
- TeachEngineering, NGSS-aligned three-day 3D printing classroom activity, developed by the Boston University Research Experience for Teachers (RET) program,
- NGSS Lead States, authors of the Next Generation Science Standards K-12 engineering design framework (define, develop, optimize), (2012)
- NASA Office of STEM Engagement, federal student-facing design-challenge program and engineering project resource library for K-12 educators and learners, NASA Headquarters, Washington, D.C.
- Autodesk Tinkercad, free browser-based 3D modeling and electronics design tool, Autodesk, Inc., San Francisco, California
- Science Buddies, nonprofit K-12 STEM project library and science fair resource hub, with built-in scientific method walkthroughs, California


You may also like
Further reading
Printable STEM Challenges for Grades 4-6 Using 3D Printing

Small Group 3D Printing Activity With One Printer

Elementary STEM 3D Printing: Simple Projects Teachers Can Actually Run


