Follow-Along 3D Printing Project: Make a Simple Toy
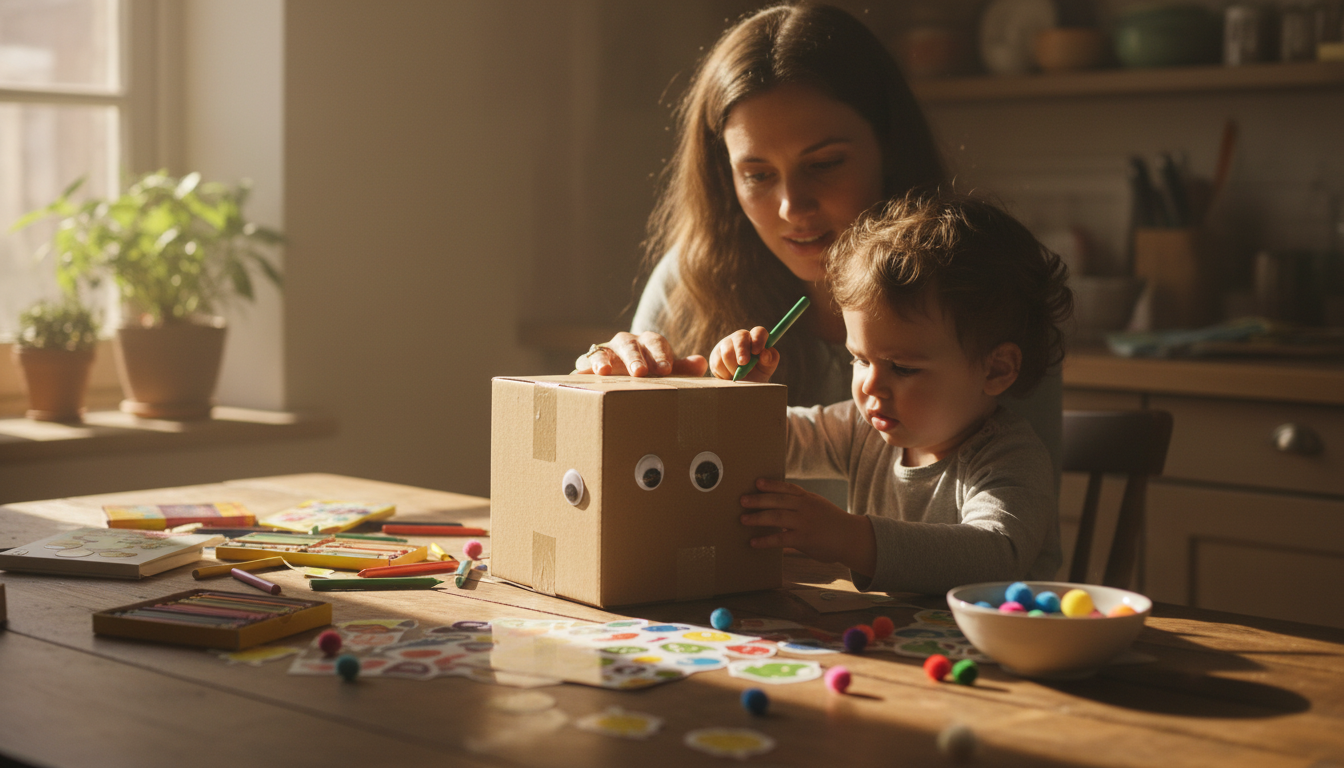
Most beginner 3D printer guides explain how the technology works, then stop. You end up with theory but no finished object. A follow-along project closes that gap. Pick a model. Prepare it. Print it. Finish it. All in one session.
This guide walks through a beginner-friendly printing process, from the downloaded file to a toy in your hand, with beginner settings, a model checklist, and quick fixes that prevent most first-print failures.
Why This Follow-Along Project Works

The Loop That Builds Real Skill
Most home printers get used twice, then sit. The reason isn't the machine — it's the missing structure. One short project from start to finish teaches more than three hours of tutorial videos.
Each step in a print run carries a small lesson. The first layer teaches bed leveling. Slicing teaches trade-offs. Cleanup teaches patience. By the end of one toy, every part of the workflow has run through your hands once.
What You Learn Without a Lesson
You don't need to memorize anything. The mistakes do the teaching. A curled corner explains bed adhesion. Stringing between parts teaches retraction. A snapped support arm shows you the overhang limit.
That's why a small toy beats a big project for a first print. Mistakes happen faster, cost less, and stay easier to diagnose.
The Real Cost of a First Print
PLA runs $20–$25 per kilogram. A small toy uses 15–30 grams — roughly $0.30 to $0.75 in material. Electricity adds $0.03–$0.15 per hour. Most first prints cost under $2 to run, even with a failure or two.
That's the entry price for a skill that scales to bigger projects later.
Choose the Right Toy to Print
Start With a Win, Not a Challenge
For a first print, choose 3D models for beginners that finish in two to three hours, print without supports, and work on standard settings. Simple toys, fidget cubes, and small figurines are cool things to 3D print for your first 3D print because they give a fast win without a long troubleshooting session.

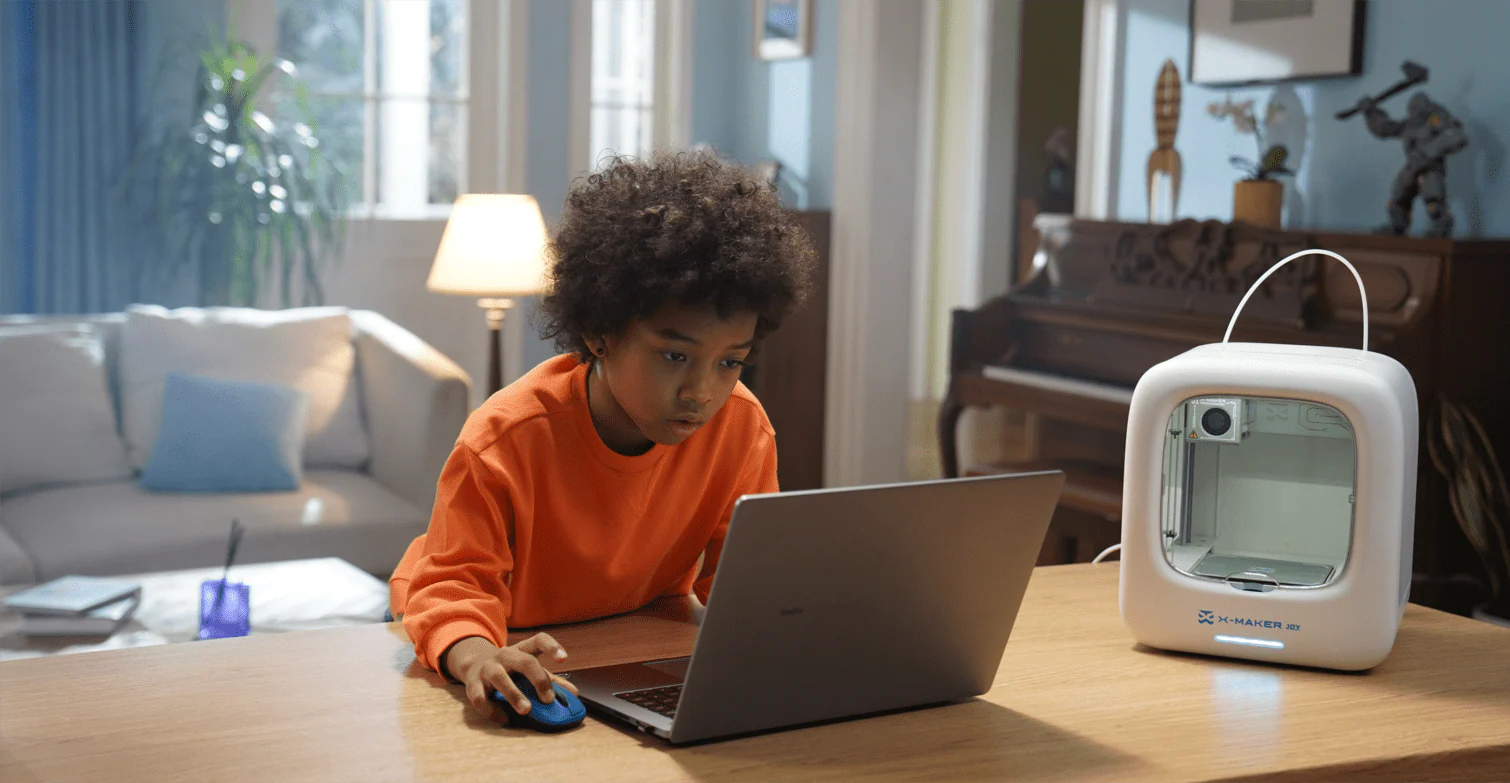
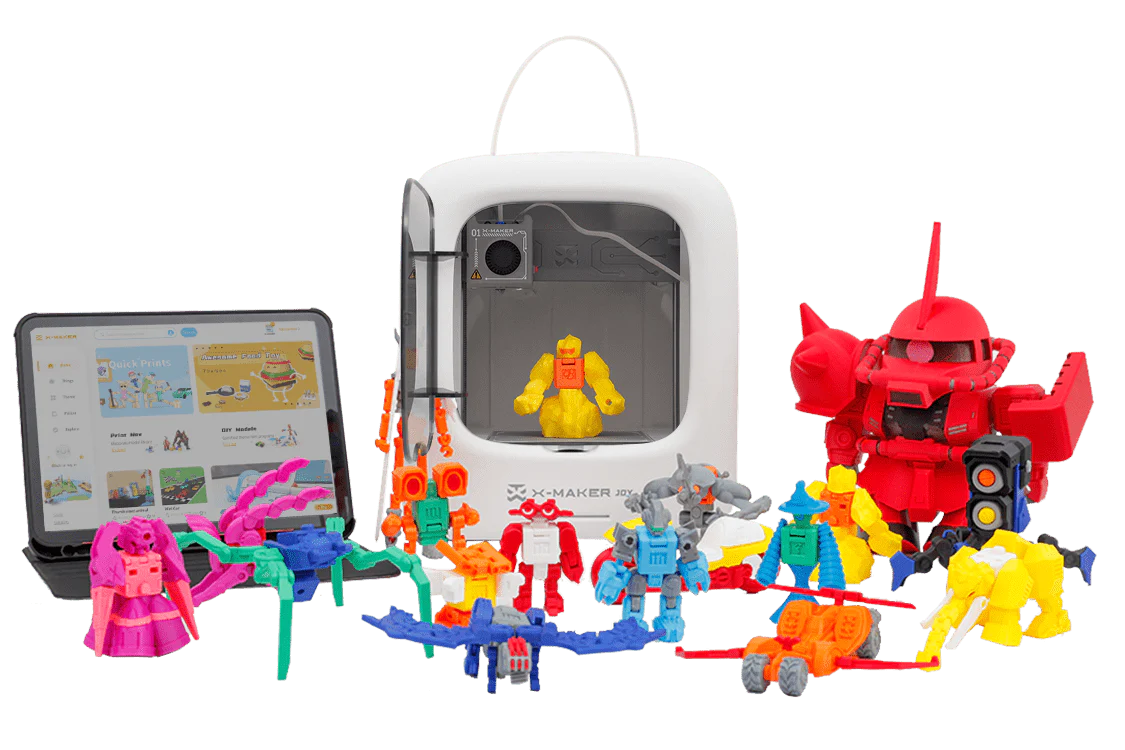
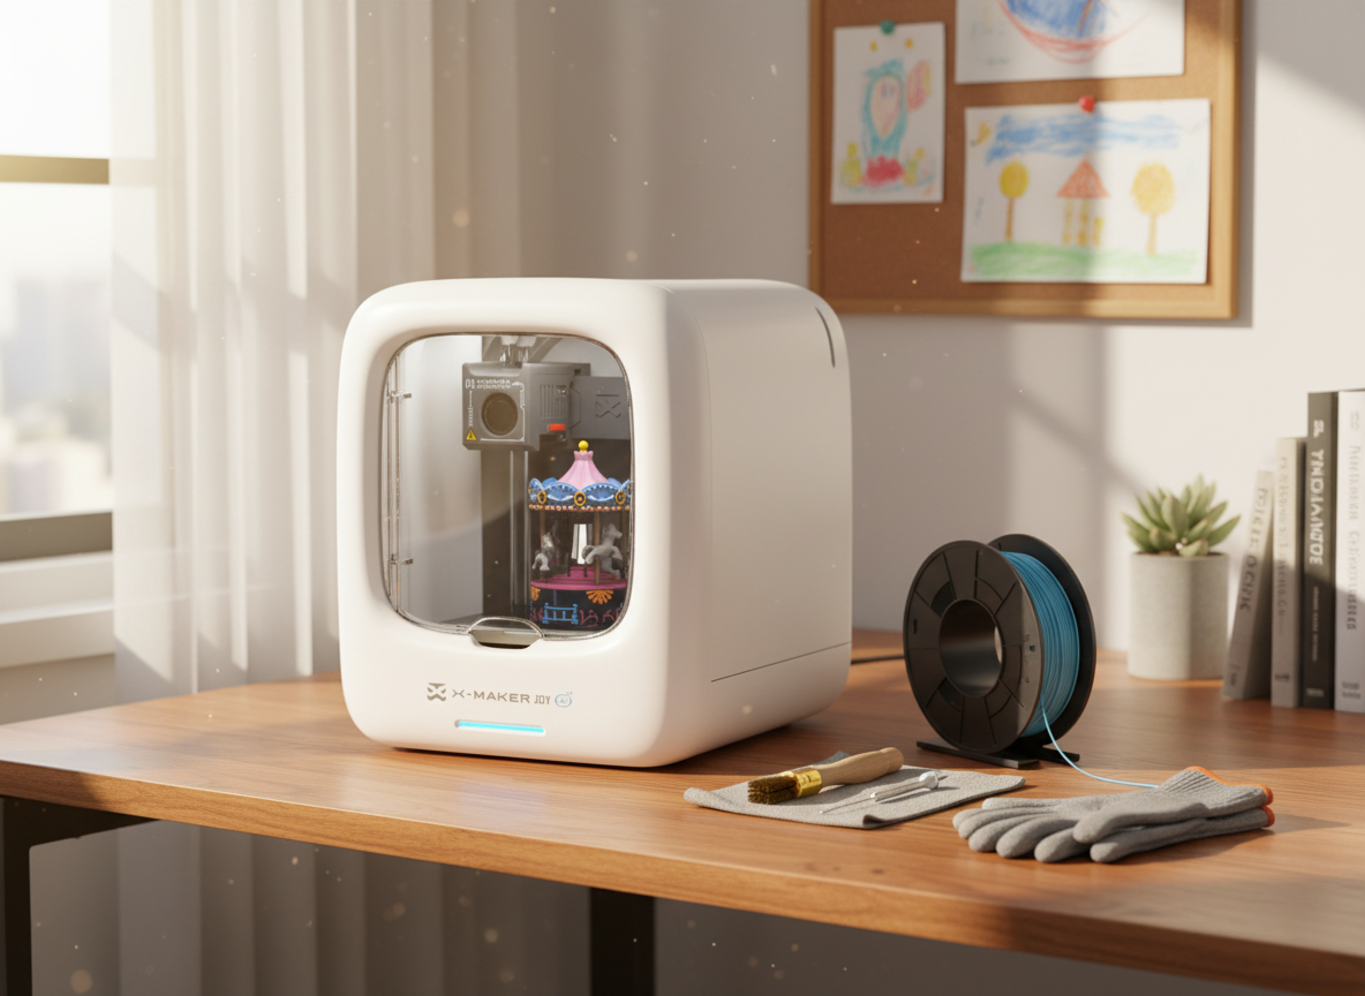
For families with younger kids, an easy first printer for younger kids like the AOSEED X-MAKER JOY handles model selection and slicing inside one guided app. The child picks a toy from the built-in library, and the printer takes care of the rest.
Why Articulated Toys Beat Detailed Figures
Models with moving parts hold attention longer than static figures. A print-in-place dragon comes off the bed already articulated — no assembly, no instructions, instant payoff. A spinning top spins. A fidget cube clicks.
Look for designs tagged 'print in place' or 'no supports' on community libraries like Printables. They give the cleanest first-print results.
Match the Model to Your Skill Level
Complexity should follow how many prints you've finished, not your age. Here's a quick reference:
|
Skill Level |
Best Models |
Avoid |
|
First print |
Spinning tops, simple figurines, 3D Benchy |
Anything with overhangs above 45° |
|
2–5 prints |
Articulated animals, puzzle cubes, fidget toys |
Multi-part assemblies, walls under 1 mm |
|
5+ prints |
Gear sets, chess sets, modular vehicles |
Tiny pins, tight tolerances |
|
10+ prints |
Print-in-place mechanisms, scaled models |
(no real limit at this point) |
|
SMALL PARTS — CHECK BEFORE PRINTING For children under 3, any part smaller than 1.25 inches is a choking hazard. The CPSC toy safety guidelines (cpsc.gov) apply to 3D printed items exactly as they do to any manufactured toy. Check part dimensions in the slicer before printing for young children. |
Set Up Before the First Print
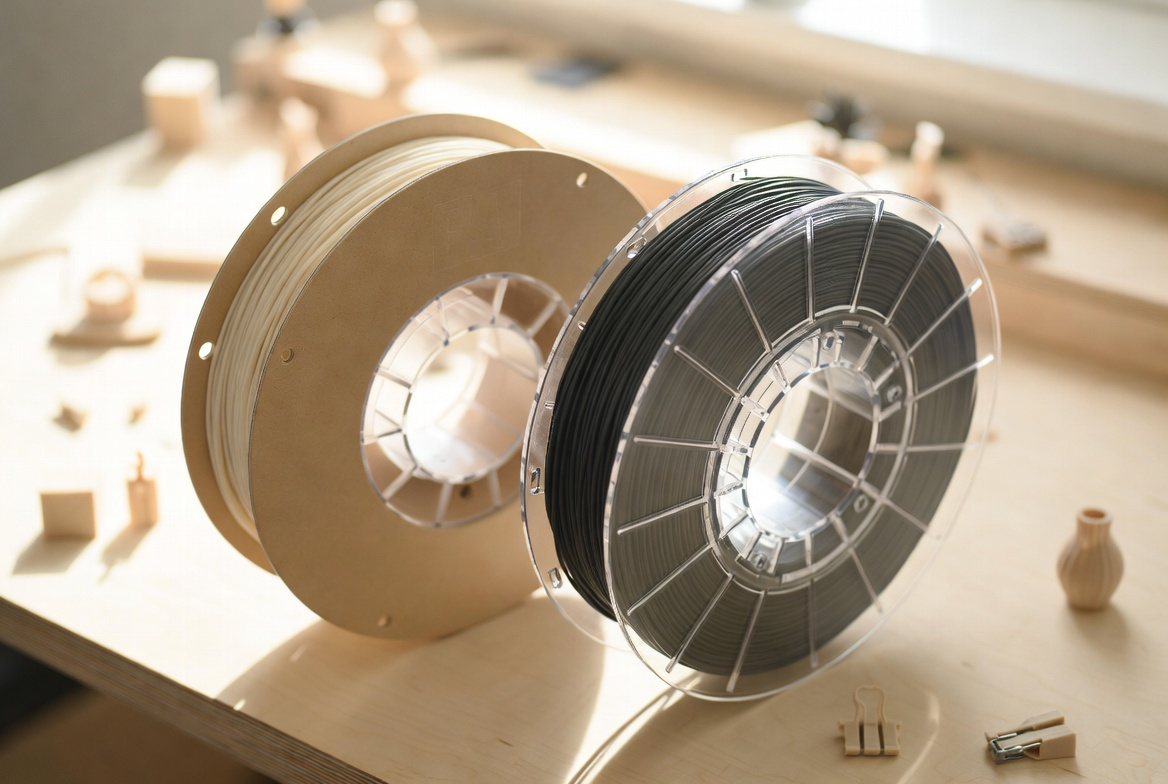
The Right Filament for Beginners
PLA handles 90% of beginner prints without issues. Other options exist for specific needs:
|
Filament |
Best For |
Difficulty |
|
PLA |
Figurines, puzzles, display models, first prints |
Beginner |
|
PETG |
Active-play toys, vehicles, multi-color builds |
Intermediate |
|
TPU |
Bendable toys, fidget items, squeezable figures |
Intermediate |
|
ABS |
Outdoor parts (enclosed printer with filter only) |
Advanced |
For a first toy, stick with PLA. Less warping, no fumes, simple temperature range.
Two Settings That Decide Everything
Layer height and infill. That's most of it.
0.2 mm layer height balances detail and speed for most toy prints. Infill at 15–20% covers display models. Bump it to 30–40% for anything that gets handled. Print speed at 40–60 mm/s produces cleaner curves than default settings on most beginner machines.
Adjust one setting per failed print. Changing five at once makes it impossible to know what fixed the problem.
Workspace and Safety Basics
Flat, stable, dedicated table. Not a folding desk. Not a wheeled cart unless it locks. A printer table that moves when someone walks past is the wrong table.
PLA prints at 190–220°C. The hotend stays hot for ten minutes after the screen reads idle. Children stay out of the build area during and after printing. Adults handle filament loading, stuck prints, and nozzle cleaning — every time.

Schools and families comparing enclosed machines can browse easy-to-use 3D printers for kids sorted by age band and enclosure type.
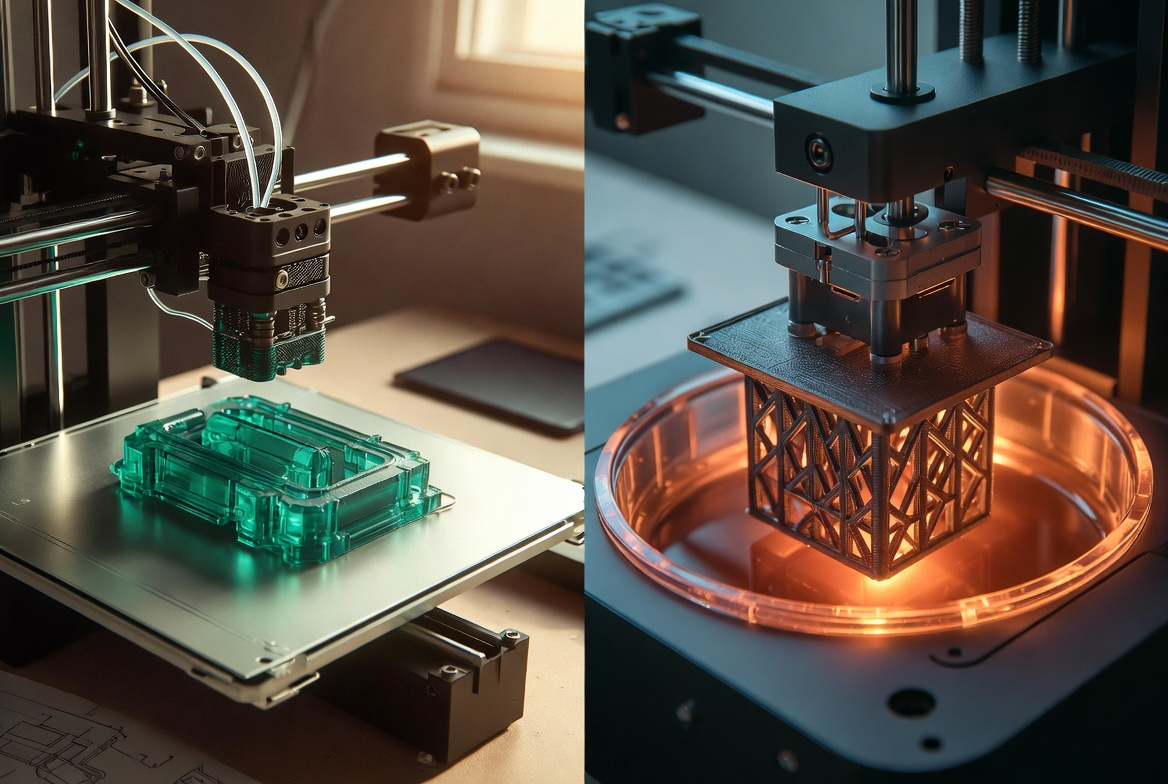
The Step-by-Step Print Process
This beginner-friendly 3D printing process helps kids move from slicer software to a home 3D printer without guessing which setting to change first.
Step 1 — Prepare the File
Open the model in your slicer. Check three things before slicing:
- Size — most beginner toys print well between 60–120 mm tall
- Orientation — largest flat surface on the print bed
- Walls — should be above 1.2 mm for clean printing on a 0.4 mm nozzle
Then check the 45° rule. Most FDM printers handle overhangs up to about 45° cleanly. Steeper angles droop because melted plastic loses support underneath. Rotate the model in the slicer if needed.
The step-by-step project guides in the AOSEED Learning Center walk through these checks per model type.
Step 2 — Print and Watch the First Layer

Load the filament with the nozzle heated to around 200°C. Start the print. Stay near the printer for the first three to five minutes.
The first layer decides the print. Good first layers look smooth and slightly squished onto the bed. Bad signs: gaps between lines, curling corners, lines that drag instead of bond. Any of those means stop, re-level, and restart.
After layer five, the print is usually safe. You can step away — but don't go far on a first print.
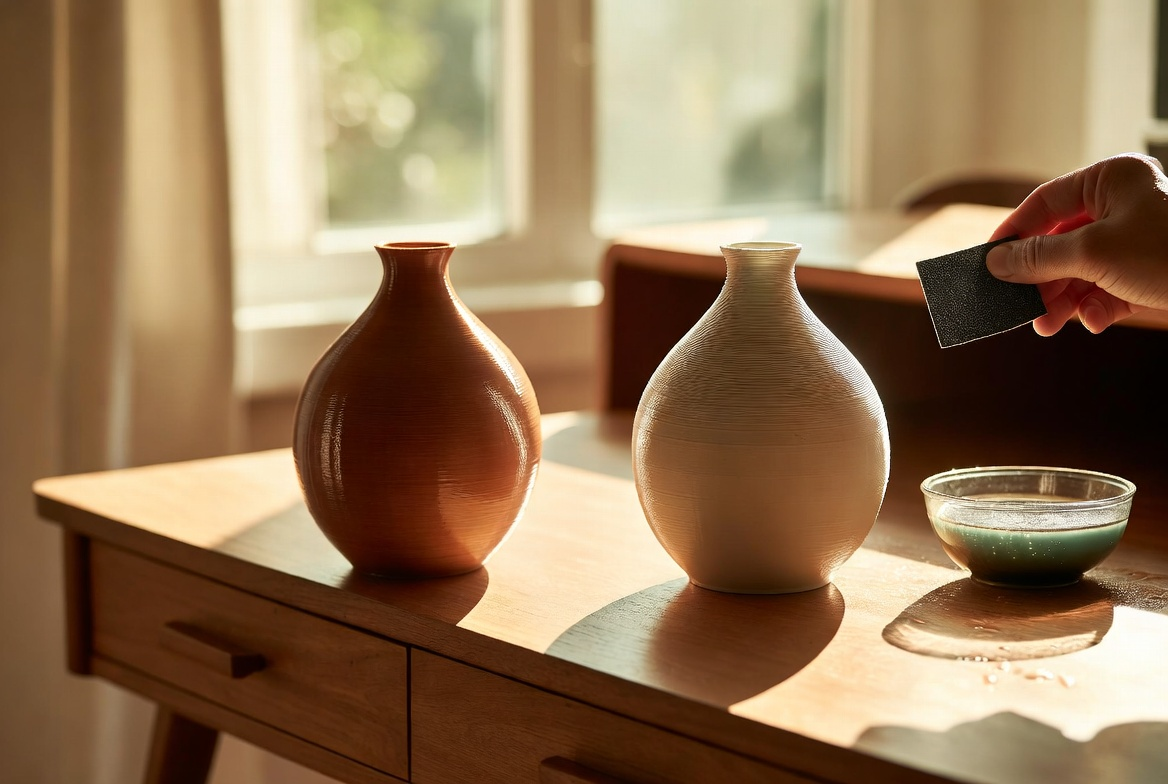
Step 3 — Cool, Remove, Clean
Let the print cool five to ten minutes before removing. PLA shrinks slightly as it cools, releasing from the bed naturally. Lift with a plastic scraper or a gentle twist. Pulling too hard cracks thin bases.
Snip supports with flush cutters. Sand rough edges with 220-grit paper — two minutes is enough for most prints. Add stickers, paint, or magnets if you want.

|
THE FIRST FINISHED TOY The first toy off your own printer feels different from anything bought. That's the payoff that makes the next print easier to start. Don't skip celebrating it. |
Test the Toy and Improve the Next Print

Quick Inspection Checks
Press gently on thin sections. Flexible toys should bend without cracking between layers. Layer cracks usually mean too cold a print or too thin a wall.
Moving parts should rotate or flex without scraping. Tight joints sometimes need a few gentle flexes to release — that's normal on first prints.
Common Issues and Quick Fixes
|
Problem |
Most Likely Cause |
Quick Fix |
Time |
|
Print won't stick |
Dirty plate, unlevel bed |
IPA wipe + re-level |
5 min |
|
Layers shifting |
Loose belt, bumped printer |
Check tension, clear debris |
5 min |
|
Stringing between parts |
Hot temp, retraction off |
Lower temp 5°, enable retraction |
5 min |
|
Toy cracking at joint |
PLA stress at pivot point |
Print replacement part |
20 min |
Keep notes after every print. Even a sticky note next to the printer beats memory after ten prints.
Older kids who outgrow a starter machine often graduate to a STEM-ready printer for older kids and classrooms, which adds a bigger build volume and deeper design tools for more ambitious builds.
Conclusion
A follow-along 3D printing project beats reading three guides about how the technology works. One real project. One real toy. One full pass through every step in the workflow.
The first print teaches the most. By print three, the same settings save themselves, bed leveling becomes automatic, and the slicer screen stops looking intimidating. That's how the loop starts — not by reading more, but by finishing one print.
The toy doesn't have to be ambitious. A spinning top a five-year-old picked the color for gets more daily use than a precision mechanism a parent picked. Pick the project that gets used. Skip the one that looks impressive in a photo and lives on a shelf afterward.
AOSEED's family creativity platform pairs the printer with a weekly-updated Toy Library and a Learning Center that walks through setup and troubleshooting in plain language. It's the same rhythm running in over 5,000 schools — one project at a time, with the next one always queued up.
Pick the smallest model in the library. Print it this weekend. Save the settings. Print two will be easier than print one.
|
START SMALL, FINISH OFTEN A printer that earns its shelf space isn't the one with the biggest build volume — it's the one used every weekend. Small toy. Short print. Repeat. |
FAQs
What is the 45 degree rule in 3D printing?
Most FDM printers handle overhangs up to about 45° cleanly. Steeper angles droop because melted plastic loses support underneath.
How much does it cost to run a 3D printer for one hour?
Electricity runs $0.03–$0.15 per hour. Filament adds $0.50–$2.00 for most small toy prints. Total cost stays under $3 for nearly every family build.
Can you legally sell 3D printed items?
Original designs and files marked for commercial use are legal to sell. Trademarked characters and licensed designs aren't — Pokémon, Disney, Marvel, and sports logos all require licensing.
What are some profitable projects to make with 3D printing?
Functional household items sell better than decorations. Cable organizers, plant pots, gaming holders, and seasonal items see the most repeat buyers.
What is the most wanted 3D printed item?
Articulated toys, gaming accessories, and practical desk items rank near the top of marketplaces. Flexi dragons, phone stands, and custom storage boxes show up constantly.
What 3D prints are selling right now?
Dragon eggs, articulated animals, controller holders, and personalized name signs lead recent sales charts. Custom and seasonal items track well too.
What cool things can you 3D print?
Toys, replacement parts, organizers, decorative items — even custom keyboards or RC car parts. Beginners usually start with flexible dinosaurs and desk gadgets.
How difficult is it to 3D print toys for beginners?
This follow along 3D printing project works best as a beginner-friendly first 3D print tutorial because it keeps the model simple, the settings predictable, and the first success realistic.Easier than it looks. Download a model, load it into the slicer, press start. Most families complete a successful first print in their first session.
Sources
- U.S. Consumer Product Safety Commission —federal toy safety standards and small-parts guidelines for children under three
- Autodesk Tinkercad —free browser-based 3D design tool used as a beginner standard for first-time designers
- Printables —community-verified STL model library for 3D printed toys and beginner projects
- Ultimaker Learn —industry reference on overhangs, layer adhesion, and PLA print properties
- AOSEED Kids 3D Printer Collection —full lineup of enclosed kid-friendly 3D printers sorted by age range


You may also like
X-MAKER JOY:AI-Powered ToyMaker 3D Printer for Kids
AOSEED X-MAKER: Kid-Friendly AI-Powered 3D Printing Revolution
Further reading

Elementary STEM 3D Printing: Simple Projects Teachers Can Actually Run
Follow-Along 3D Printing Project: Make a Simple Toy

Live Q&A: The Most Common Parent Questions About Kids' 3D Printing