


Small Group 3D Printing Activity With One Printer
This small group 3D printing activity shows teachers how to organize teams, rotate jobs, and keep one printer useful for the whole class.
The ratio sounds broken until you stop treating the printer as the main event. Most of the learning happens before the print starts — sketching, measuring, slicing, fixing files. The machine just confirms the work.
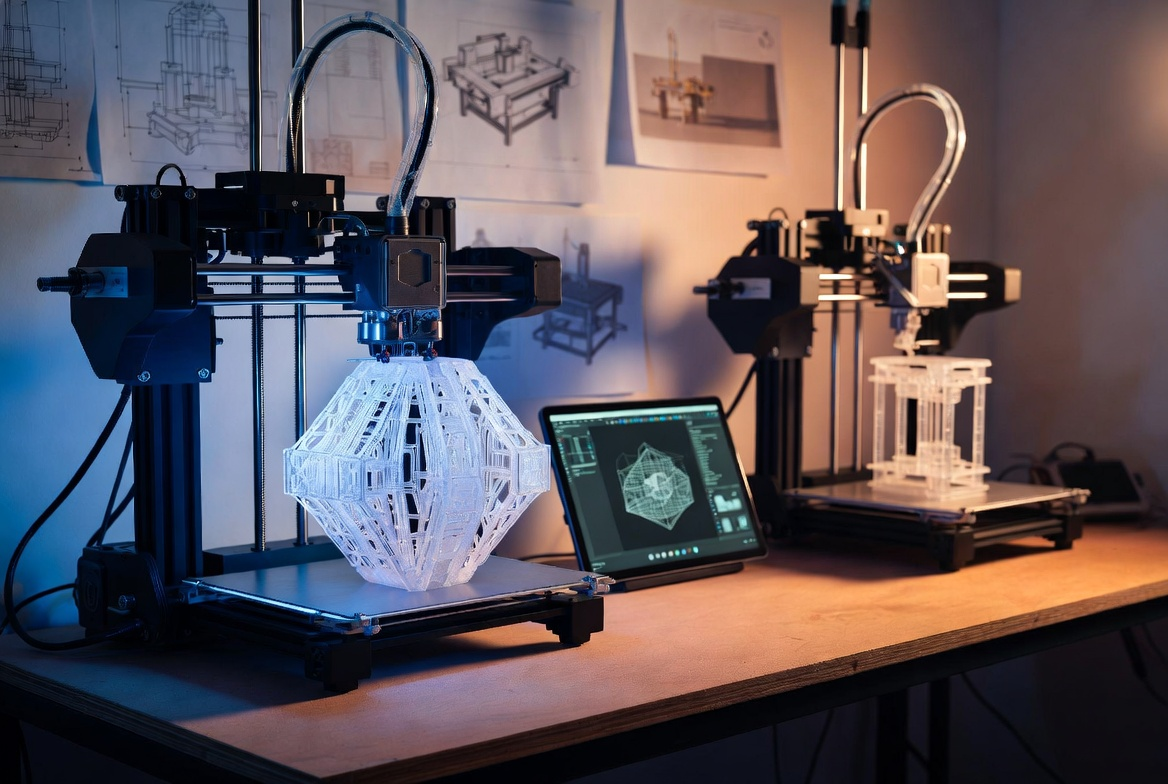
This guide shows an in-classroom 3D printer setup for running a small group 3D printing activity, with clear teams, room setup, and a five-step workflow that keeps students active while one printer runs.
Why One Printer Can Hold a Whole Class
The Setup Most Teachers Get Wrong
The instinct is to schedule "printer time" — each group gets twenty minutes with the machine. That model fails. Twenty minutes isn't long enough to print most useful classroom objects, and the waiting groups have nothing to do.
Invert the time instead. Printing is the last twenty minutes of a sixty-minute session. The first forty are design work. Groups arrive, sketch, measure, build the CAD model, slice the file, and queue for the printer. The machine is the bottleneck — so everything else happens around it, not for it.
What Students Actually Learn
Most of the visible skills — using Tinkercad, picking infill, knowing what a 0.2mm layer height does — are teachable in one session. The deeper learning shows up in the work between prints. A student finds out their design has a wall under 1.2mm thick when the slicer flags it. They measure twice because the part has to fit something real. They defend a design choice when a teammate disagrees.

The NGSS-aligned TeachEngineering activity plan documents the same shift: hands-on engineering improves engagement because students get stuck and have to talk through the stuck moment.
The Real Cost of a Group Session
PLA runs $20–$25 per kilogram. A small classroom print uses 15–40 grams — about $0.30 to $1.00 in material. A typical session burns under $5 in filament across all groups. Electricity adds $0.02–$0.05 per hour. The cost of a thirty-minute classroom activity is roughly the price of a single chocolate bar.
The expensive part is wasted time. A failed print costs forty minutes of class momentum. That's the real budget to protect.
Choosing the Right Group Setup
Start With a Win, Not a Challenge
First sessions should target prints that finish in twenty to forty-five minutes — name tags, keychains, board game pieces, small hooks. Save the bridge-strength competition and the multi-part assembly for session three. A finished print in the same period is what brings students back ready to design something better the next week.

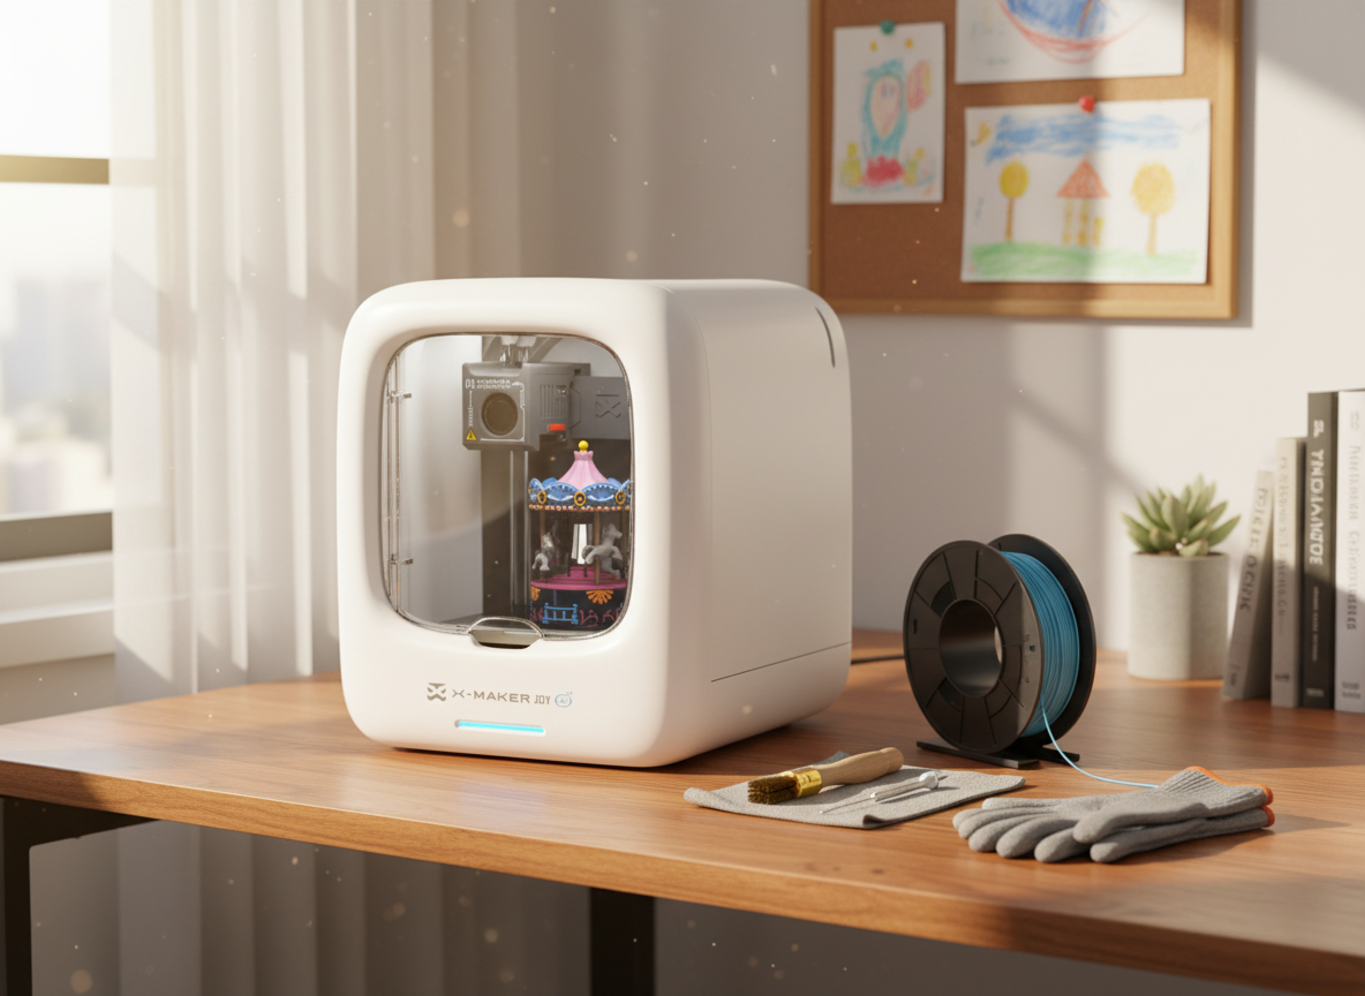
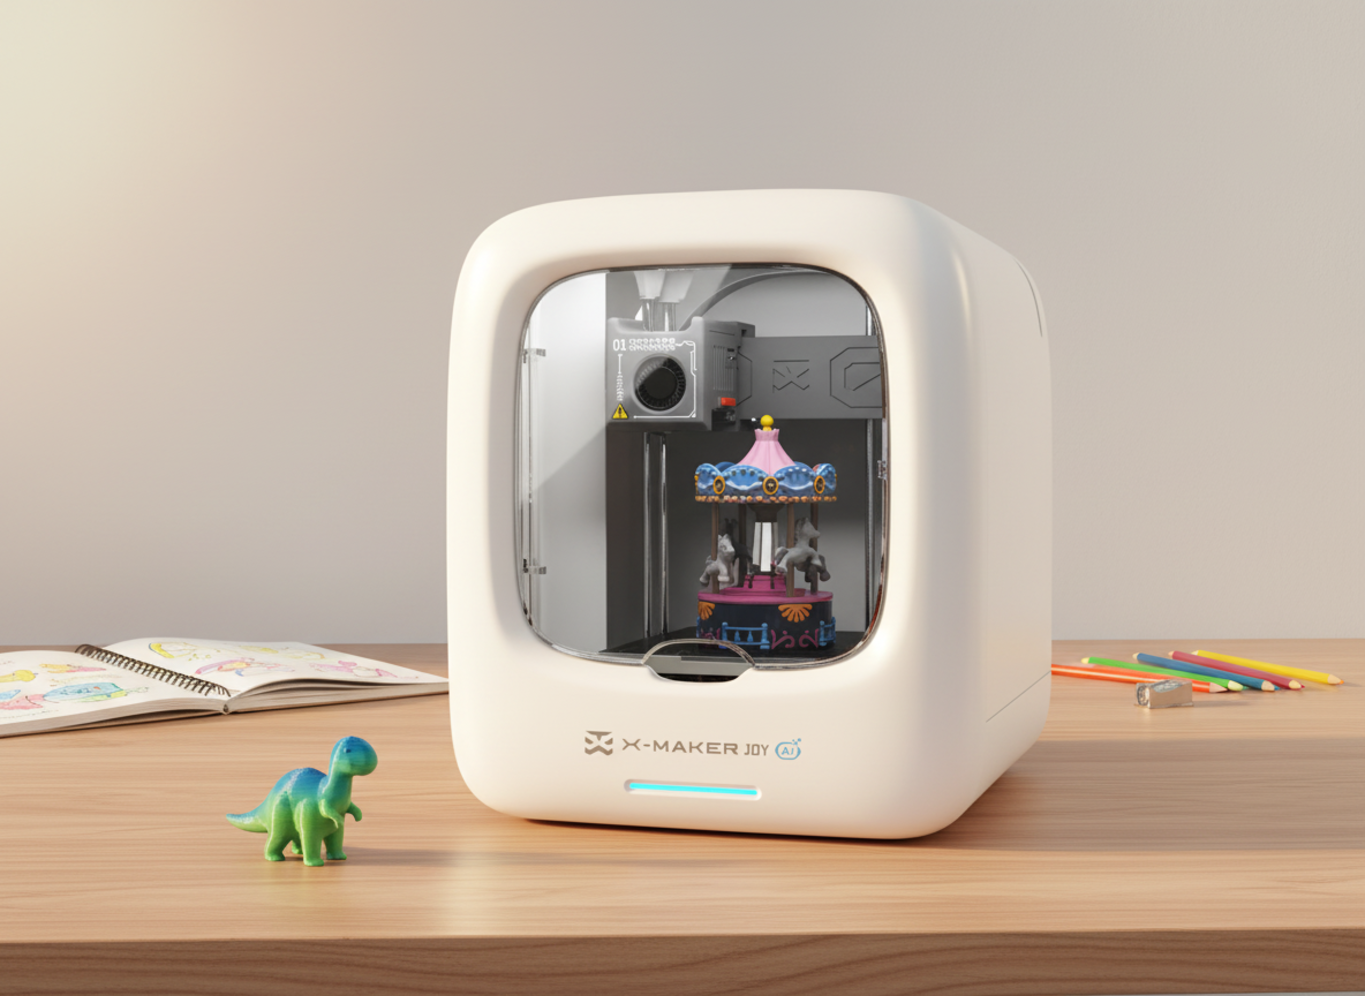
A guided STEM 3D printer for older kids and tweens like AOSEED X-MAKER works well for classroom and club settings — enclosed build area, auto-leveling, and a curated model library that sorts projects by skill level. For younger groups, a guided toy-making printer for younger kids keeps the workflow simpler.
Four Roles That Make Everyone Active

Roles distribute the work and make it visible. Rotate them each session so every student practices each skill across the term:
- Designer — owns the CAD file
- Builder — handles slicer settings and printer prep
- Checker — verifies measurements, wall thickness, and supports
- Presenter — documents the choices and shows the result
If one role drops the ball, the group sees it before the print starts. That's not a punishment system — it's how engineering teams actually work.
Match the Group Size to Your Setup
|
Group Size |
What Works |
What Breaks |
|
2 students |
Fast decisions, tight collaboration |
One absence halves the team |
|
3–4 students |
Best fit — roles map cleanly to people |
Needs role rotation to stay fair across sessions |
|
5+ students |
Useful for very large project builds |
Passive watchers form quickly at the laptop |
Mix skill levels in each group when possible. Experienced students naturally coach beginners, which frees the teacher to focus on groups that need direct help.
|
3D PRINTER SAFETY RULES
PLA prints at 190–220°C. The nozzle stays hot for ten minutes after the print finishes. Students design and operate the controls; adults handle filament loading, stuck prints, and anything hot. The CPSC toy safety guidelines apply to prints intended for children under 3 — check part dimensions in the slicer before any small-parts build. |

Setting Up Before the Lesson Starts
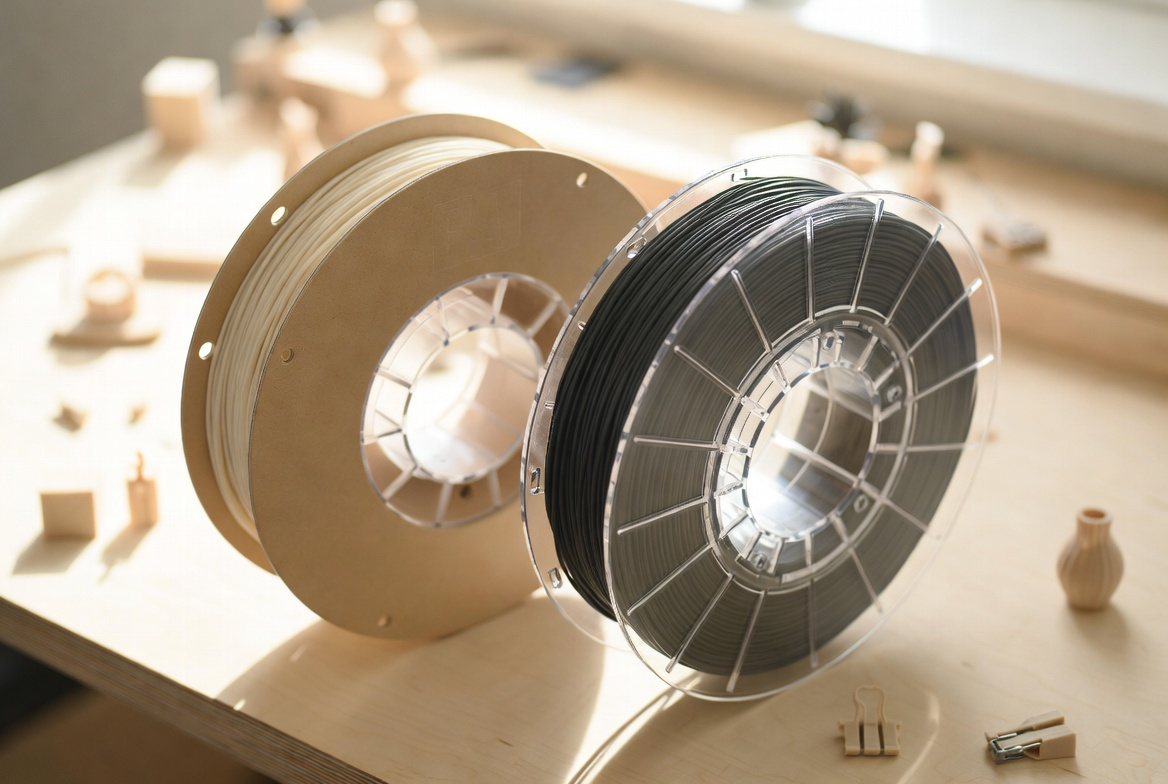
The Right Filament for Classroom Toys
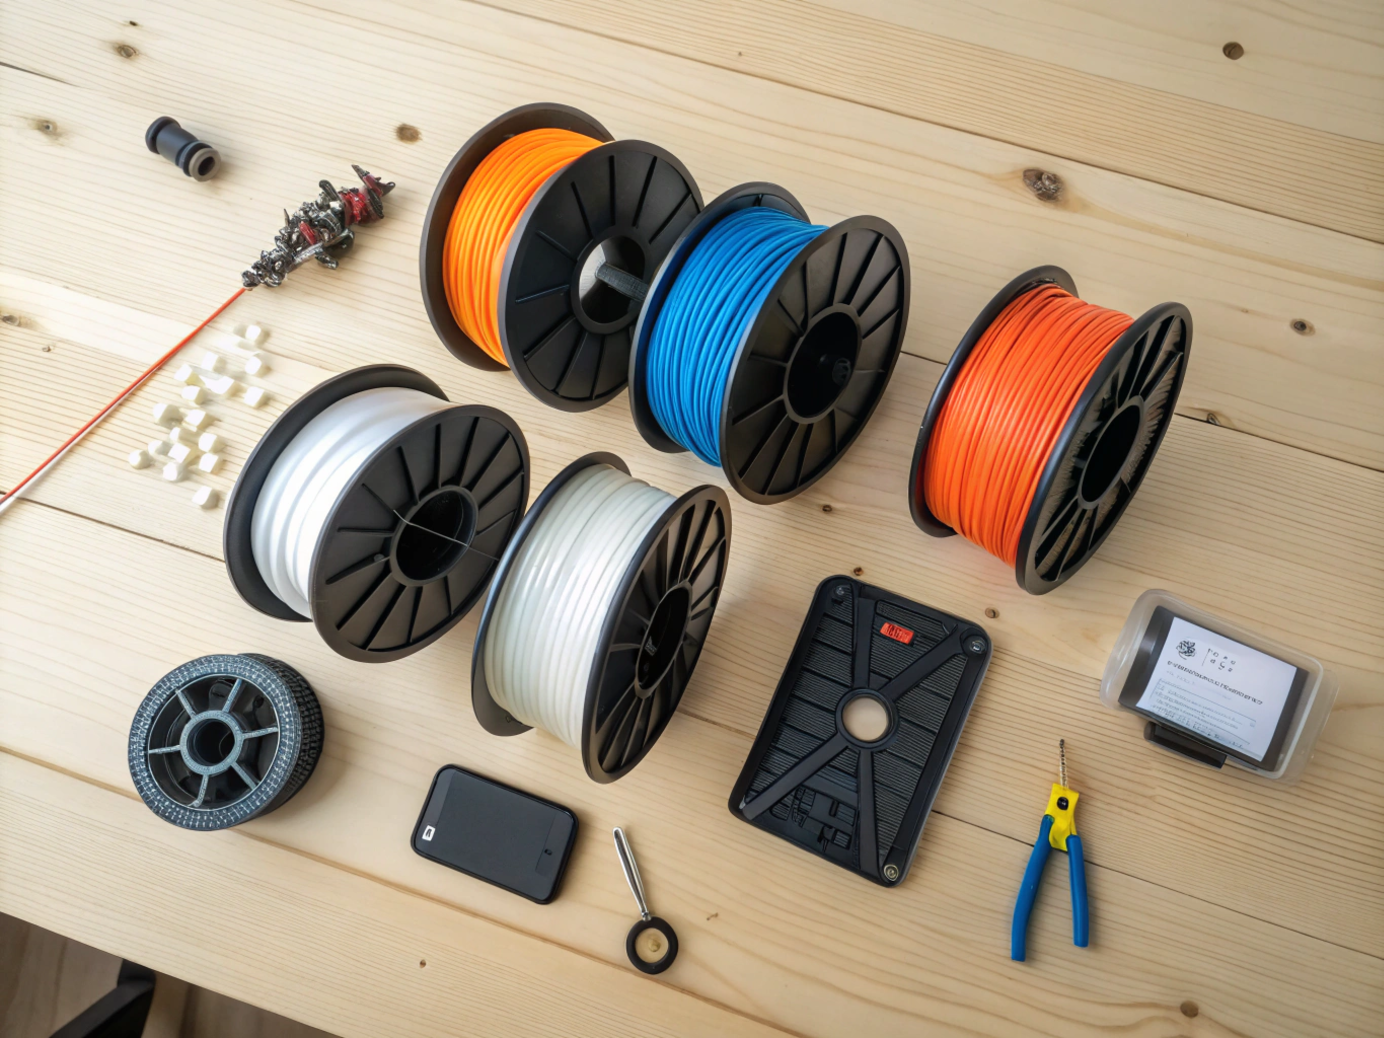
PLA handles 90% of classroom projects. Other options have their place:
|
Filament |
Best For |
Watch Out |
Difficulty |
|
PLA |
Most classroom prints, display models |
Cracks under repeated impact |
Beginner |
|
PETG |
Hooks, hinges, active-handling parts |
Strings without retraction tuning |
Intermediate |
|
TPU |
Bendable models, fidget items |
Slow print speed required |
Intermediate |
|
ABS |
Outdoor or heat-resistant builds |
Fumes — enclosed printer + ventilation required |
Advanced |
Two Settings That Matter Most
Layer height and infill. That's most of it.
A 0.2mm layer height balances detail and speed for most classroom prints. Drop to 0.1mm for fine surface work where texture matters. Infill at 15–20% covers display models and name tags; bump to 30–40% for anything that takes active handling. Print speed around 40–50mm/s produces cleaner curves than the default on most beginner machines.
Change one setting per failed print. Adjusting everything at once makes it impossible to know what actually fixed the problem.
Workspace and Hot-Part Basics
Flat, stable, dedicated surface. Not a folding desk. Not a wheeled cart unless it locks. A printer table that moves when someone walks past is the wrong table.
Print boundaries to set on day one:
- Maximum print time: 45 minutes per group
- Maximum model size: 3 to 4 inches in any dimension
- No weapon designs, even toy versions
- No copyrighted logos or branded characters without permission
Schools and clubs comparing enclosed machines can browse beginner 3D printers for families by age band and feature set.
The Five-Step Activity Workflow
This small group 3D printing activity workflow helps students learn 3D design, print real objects, and build 3D printing skills through problem solving instead of waiting around the printer.One workflow. Repeat it every session. By the third project, groups run it without prompting.
Step 1 — Pick a Quick-Win Project
Simple wins. Target prints that finish in twenty to forty-five minutes — name tags, keychains, board game pieces, hooks. Long prints multiply the risk of failed layers, tangled filament, and lost class time. They also break the iteration loop that keeps engagement high.
Step 2 — Sketch and Measure
Pencil before software. A two-minute sketch forces the group to agree on shape, size, and function before the laptop opens. If the design has to fit a real object — phone, drawer, marker — calipers come out next. Measuring twice in pencil saves three failed prints.
Step 3 — Build the CAD Model

Tinkercad handles most beginner builds with three shapes — cube, cylinder, and text. Wall thickness stays above 1.2mm to avoid fragile prints. Test small versions first when the design is complex. A five-minute test print catches design errors that would waste forty minutes at full scale. The AOSEED Learning Center has step-by-step project guides for the most common project types if students need a reference.
Step 4 — Slice and Check
The slicer converts the model into printer instructions. Three settings drive most outcomes:
- Layer height — quality and time
- Infill — strength and material use
- Supports — placed under overhangs steeper than 45°
Before queuing the file, double-check print size, support placement, estimated time, and wall thickness at the thinnest point.
Step 5 — Print, Test, Improve
The most useful learning happens after the print finishes. Did the part fit? Did it hold weight? Did the supports leave a clean surface? Students examine the result and write down one thing they'd change. Engineering runs on iteration — a failed first try is data, not waste.
|
THE FIRST-LAYER CHECK The first layer decides whether the print succeeds or wastes the next thirty minutes. Stay near the printer for the first three to five minutes of every new print. If the first layer doesn't stick cleanly, stop the print, re-level, and restart. Five minutes saves twenty. |
Keeping Waiting Groups Engaged
Challenge Stations That Actually Work
Waiting groups shouldn't be watching the printer. Set up two or three quick stations: a paper bridge-strength challenge, a print-time estimation game where teams guess the current finish time, an infill comparison station with sample prints at 10%, 20%, and 50%, and a sketchpad for next-round ideas. Rotate teams every ten minutes. The room stays loud — the noise is design talk, not waiting.
Project Quick-Pick
These small group 3D printing projects work well during class or club sessions because each team can design, measure, and prepare files while one 3D print runs.

|
Project |
Print Time |
Skill |
CAD Difficulty |
|
Custom name tag |
15–25 min |
Beginner |
Easy |
|
Keychain |
20–30 min |
Beginner |
Easy |
|
Cookie cutter |
20–30 min |
Beginner |
Easy |
|
Board game piece |
25–35 min |
Beginner |
Easy |
|
Hook strength test |
30–40 min |
Intermediate |
Medium |
|
Desk organizer |
35–45 min |
Intermediate |
Medium |
|
Classroom fix part |
35–45 min |
Intermediate |
Medium |
Pick from the top of the list for first sessions. Harder builds come once the workflow is familiar.
Managing Time, Cost, and Failed Prints
Print-Time and Size Limits
Hard caps prevent the "I want to print a giant dragon" problem that wrecks classroom queues. The limits below work for most one-printer setups:
- Maximum print time: 45 minutes per group, per session
- Maximum height: 4 inches
- Single-color prints only — color changes mid-print stall the queue
Infill Choices
|
Infill % |
Print Time |
Strength |
Best For |
|
10% |
Fastest |
Light |
Display models, name tags |
|
15–20% |
Standard |
Solid for most needs |
Most classroom projects |
|
30–50% |
Slower |
Strong |
Strength tests, working hinges |
|
80–100% |
Slowest |
Heaviest |
Rare for classroom use |
Common Failures and 5-Minute Fixes
|
Problem |
Likely Cause |
Quick Fix |
Time |
|
Print won't stick to bed |
Bed dirty or not level |
Wipe with IPA, re-level, add glue stick |
5 min |
|
Stringy threads between parts |
Retraction too low |
Increase retraction distance in Cura |
5 min |
|
Failed top layer |
Infill too low |
Bump infill to 20%+ on next print |
2 min |
|
"Spaghetti" mess midway |
Print detached from bed |
Restart with better adhesion |
10 min |
|
Print stops mid-run |
Filament tangled or out |
Check spool, reload filament |
10 min |
Failed prints are part of the activity, not a sign something went wrong. Use them as case studies.
Conclusion
One printer isn't the limit it looks like. Treat the printer as the last step of the lesson, set roles that distribute the work, and the activity scales to a full class. Most of the learning happens during design and review — not during the print itself.
Start with quick wins. Name tags this week, board game pieces next week, classroom fix parts the week after. Build the workflow before chasing ambition. Once the five-step rhythm is automatic, the same system carries students into bridge tests, parametric design, and real engineering problems.
AOSEED's family creativity platform runs in over 5,000 schools on exactly that rhythm — a guided app, a model library that updates every week, and a Learning Center that walks through setup and troubleshooting without a manual. A guided STEM 3D printer for older kids and tweens isn't valuable because of its first print. It's valuable because of its tenth. That's when the routine sticks, the questions get better, and the printer earns its shelf space.
|
THE ONE-PRINTER MINDSET The printer that runs a full class isn't the one with the biggest build volume. It's the one that runs every week. |
FAQs
What are the most fun things to 3D print for group activities?
These are ideal for a small group 3D printing activity because students can split the work between sketching, measuring, slicing, and testing while sharing one printer.Name tags, keychains, board game pieces, fidget toys, articulated animals, and small desk organizers. Quick wins under thirty minutes hold attention better than long detailed prints.
Should a 7-year-old work with a 3D printer?
Yes, with adult supervision for anything hot or sharp. Seven-year-olds can sketch, design in Tinkercad with help, and watch prints finish — adults handle the 200°C nozzle.
How much does it cost to run a 3D printer for one hour?
About $0.02–$0.05 in electricity plus $0.40–$1.50 in PLA filament per typical classroom print. A 1kg PLA spool runs 30–50 hours of small projects.
Do 3D printers give off toxins in classrooms?
PLA releases minimal fumes in ventilated rooms. ABS and high-temp filaments need dedicated ventilation and aren't recommended for classroom use without it.
Do 3D printers run up an electricity bill?
No. Small desktop printers draw 70–150 watts during printing — roughly the same as a laptop. Twenty hours of monthly classroom use adds about $1 to the bill.
What is the most wanted 3D printed item?
Practical objects — phone stands, headphone hooks, cable organizers, kitchen tool holders, replacement parts. People print what solves a small daily problem.
Can students legally sell 3D prints from class projects?
Original student designs are fully legal to sell. Files downloaded under non-commercial Creative Commons licenses can't be sold, even after modification.
Is it legal to 3D print Legos in the classroom?
Printing LEGO-compatible bricks for personal classroom use is fine — the brick patent expired years ago. Selling them as LEGO-branded or copying licensed minifigures is not.
Sources
- U.S. Consumer Product Safety Commission — federal toy safety standards and small-parts guidelines for children under 3
- TeachEngineering — NGSS-aligned three-day 3D printing classroom activity (Boston University RET)
- Autodesk Tinkercad — free browser-based 3D design tool for beginner and classroom use
- UltiMaker Cura — free slicing software for converting 3D models to printable layers
- Printables — Toys & Games


You may also like
Further reading

Printable STEM Challenges for Grades 4-6 Using 3D Printing
Small Group 3D Printing Activity With One Printer

Elementary STEM 3D Printing: Simple Projects Teachers Can Actually Run


