


Step-by-Step Tutorial for DIY 3D Printed Dragons
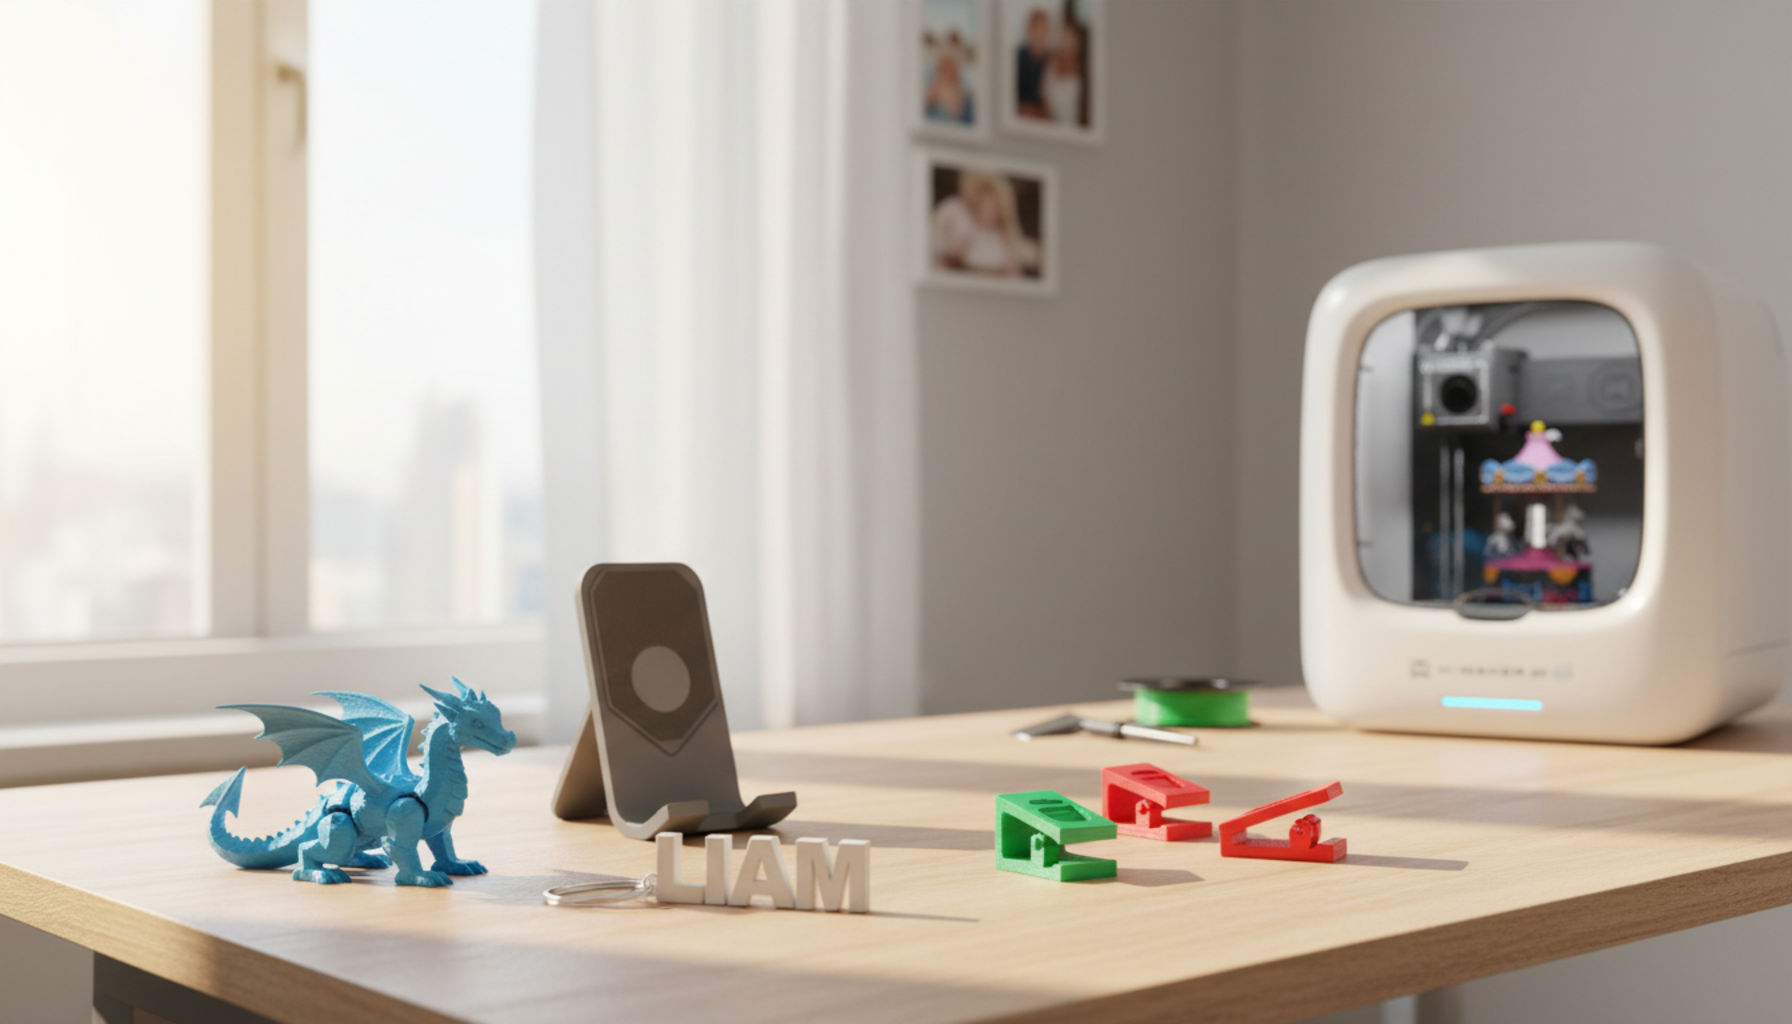
Pick up a 3D printed articulated dragon and it moves. Not because you assembled it. Not because you snapped pieces together. Because the whole thing printed in one continuous run and the designer built the joints right into the file. Lift it off the plate, flex the tail, and every segment pivots on its neighbor.
That’s the part people don’t believe until they hold it.
Getting there takes five steps. None require design software or engineering knowledge. Most require patience and one short test before committing to a long print. This tutorial covers everything between the file download and the finished dragon — including the two steps most guides skip over.
FDM is the filament-based technology in nearly every home printer and what this guide assumes throughout. If you’re on a resin machine, the file recommendations still apply, but the settings and removal steps differ.
What Is a 3D Printed Dragon?

The term covers a handful of model types. For this tutorial, “3D printed dragon” means an articulated or print-in-place model — a single-piece print where the body segments flex off the build plate with no post-print assembly required.
The designer engineers clearance gaps between each link: tight enough to stay mechanically connected, wide enough to flex without fusing during printing. When the print finishes and cools, each segment pivots on its neighbor. That gap — usually 0.3 to 0.5 mm — is what this entire tutorial is about protecting.
Static display dragons are fixed in pose: bigger, more detailed, meant for a shelf. Dragon eggs are decorative, sometimes hinged. Both are valid projects. But articulated models are where the real print challenge lives and the five steps below are written for that type.
Step 1 — Choose Your Dragon File

The file controls everything downstream. The wrong file means fused joints, failed prints, or a model that works on one printer and locks up on another.
Thingiverse, Printables, MakerWorld, and Cults3D carry hundreds of articulated dragon designs. Free files with thousands of verified users often outperform paid files with no user feedback. Price is the least useful filter.
What to look for:
- “Print-in-place” or “PiP” in the description — this means no post-print assembly
- Recommended layer height, infill, and a clear note on whether supports are needed
- Real user make photos from people using a similar printer setup — not just the designer’s render
- Joint gap tolerances noted by the designer — most PiP dragons are engineered for 0.3–0.4 mm clearance
- License type clearly stated, especially if selling prints is ever part of the plan
|
License check before selling A free download is not a commercial license. The U.S. Copyright Office confirms that copyright covers original creative works — and that includes 3D model designs. A Creative Commons NonCommercial license allows personal printing but prohibits selling the physical object. Screenshot the license page and keep it before listing anything online. |
Step 2 — Configure Your Slicer Settings

The slicer turns the 3D file into movement instructions for the printer. Wrong settings close the joint gaps before the print finishes — and a dragon that comes off the plate solid is the most common beginner failure.
|
Setting |
Recommended Range |
Why It Matters for Dragons |
|
Layer height |
0.15–0.20 mm |
Lower = sharper scales and cleaner joint edges; 0.20 mm is the safe beginner starting point |
|
Outer wall speed |
30–50 mm/s |
Slower outer wall = more precise gap definition and better scale surface quality |
|
Infill |
10–20% |
Higher infill makes the dragon heavier and stiffer with no real strength benefit for joints; use wall loops instead |
|
Bed temp (PLA) |
55–60°C |
Too hot = joint gaps soften and fuse; too cold = small foot segments lift from the plate |
|
Cooling fan |
80–100% from layer 3 |
Keeps each deposited layer solid before the next one lands on top of it |
|
Supports |
OFF for PiP files |
Support material trapped inside joint gaps locks them solid — the single most common cause of a rigid dragon |
According to Prusa’s PLA filament guide, PLA has the lowest warping tendency of common filaments and strong detail resolution — both useful for a model with fine scales, small feet, and linked joints.
The setting that kills most first dragon attempts: supports enabled on a print-in-place file. Support material fills the joint clearances and locks them solid. If the file says no supports needed, trust that note.
|
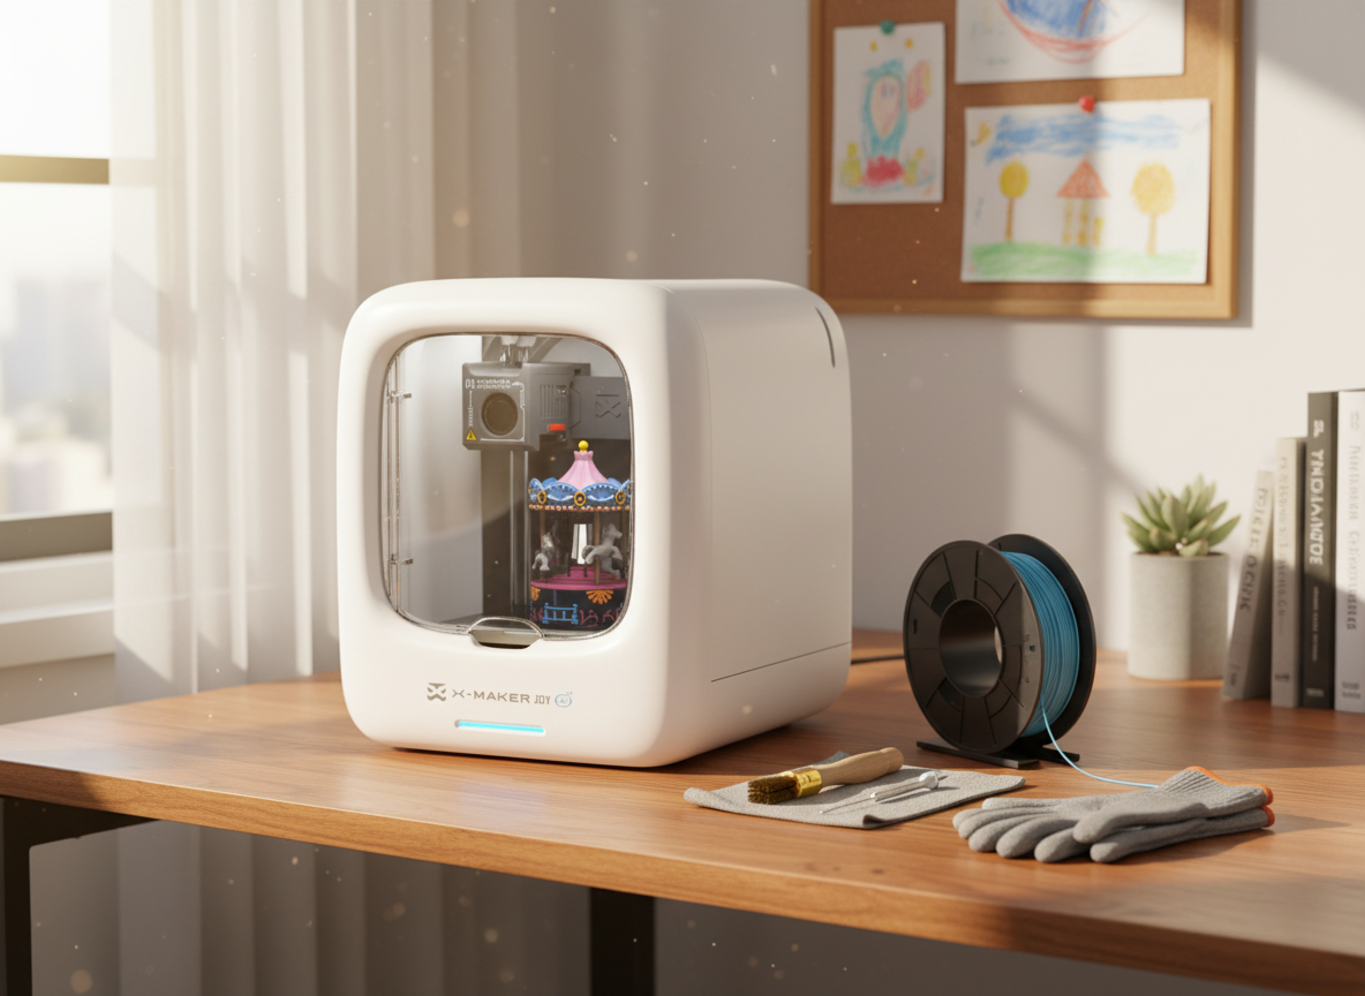
WHEN A KID IS THE ONE PRINTING A kid doesn’t want a settings manual. They want to design a shape, watch it build, and play with what comes off the plate. That’s a creative workflow — and it needs a different kind of machine than a general-purpose FDM kit.
Open-frame printers often need more hands-on setup, so parents may need to help with troubleshooting along the way.A pre-assembled, enclosed machine built for younger users — like the AOSEED X-MAKER JOY at around $299, which ships with 1,500+ ready-to-print models for ages 4 to 12 — strips out most of that friction. If a child is the primary user, a starter toy-making 3D printer designed for that age is worth the difference in cost. |

Step 3 — Load Filament and Level the Bed
Load filament with the nozzle at temperature. Most modern printers guide this with on-screen prompts. Let the nozzle purge a short run before starting the dragon — it clears old material left from the previous print.
Bed leveling matters more for dragons than for most models. The feet and tail-tip segments have small contact footprints. A first layer that’s uneven at one corner will lift before the second layer finishes. Use auto-leveling if your printer has it. Manual printers need a four-corner and center check before every dragon run.
Clean the build plate with isopropyl alcohol before printing. Hand oils reduce adhesion noticeably, and the tail section — the narrowest contact area on most dragon files — is the most likely place to lose grip first.
Step 4 — Start the Print and Monitor It

Watch the first 10–15 minutes before doing anything else. Every foot, every tail segment, every small contact point needs to sit flat and stick. A lifting first layer will keep peeling as the model gains height. Stop at 10 minutes, re-level, and restart if anything looks wrong. Ten minutes of plastic costs almost nothing. Restarting at hour 8 costs the whole spool portion.
After the first layer settles, check in every hour or two for:
- Spaghetti filament — loose extrusion tangled around the model means a section failed silently
- Layer shifts — body segments appearing offset mid-print, usually from a loose belt or cable snag
- Sections lifting from the bed — a visible gap forming underneath a foot or tail segment
|
QUICK BENCHMARK For 3D Printer Dragons A 20 cm articulated dragon at 0.2 mm layer height prints in roughly 10–14 hours on a standard home machine. The same file at 0.15 mm takes 18–22 hours but produces sharper scales and cleaner joint edges. For a first attempt, 0.2 mm is the right call — fast enough to catch problems and iterate on the same day. Run a tail-only test first: slice just the last 8–10 cm of the model and print it. If the joints move, the settings work. If they’re fused, adjust before committing to the full print. |
Step 5 — Remove, Free the Joints, and Finish

Wait until the build plate cools to room temperature. PLA shrinks slightly as it cools, and that contraction is what opens the joint clearances properly. Removing a warm dragon can re-fuse segments that were just barely separated or snap thin joints that haven’t fully set.
Remove from the thickest body section first. Support the model from underneath with your other hand. On a flexible plate, bend the plate slightly rather than twisting the dragon. Keep a flat scraper flat — not angled — if you need to use it.
Work each joint from the tail toward the head:
- Hold the segment adjacent to the one you’re moving — not the dragon body itself.
- Apply gentle side pressure. Not a twist. Not a hard pull.
- Check for stringing or brim material in the gap if the joint resists.
- Remove stray plastic with tweezers before applying any real force.
- Move segment by segment — each freed joint makes the next easier.
Paint after printing if you want color. Apply a thin primer coat first. Acrylic paint works well on both PLA and PETG surfaces. Keep paint out of joint gaps — thick dried acrylic inside a joint will lock it solid.
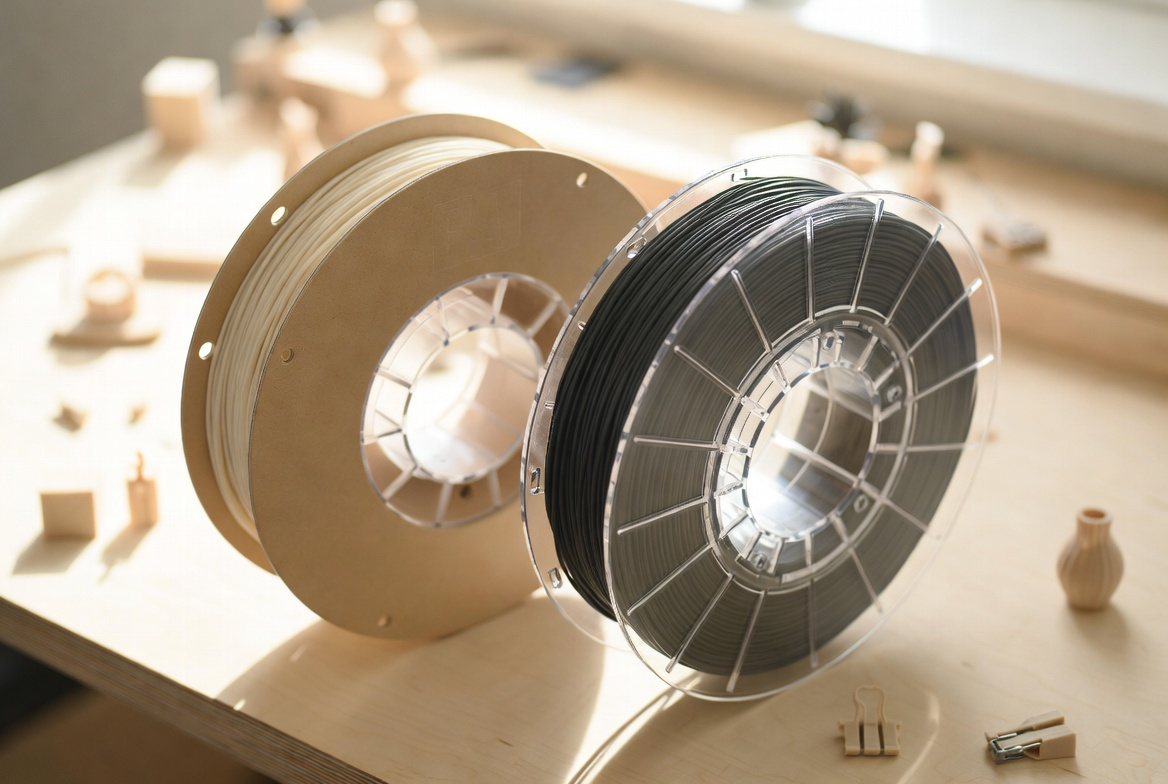
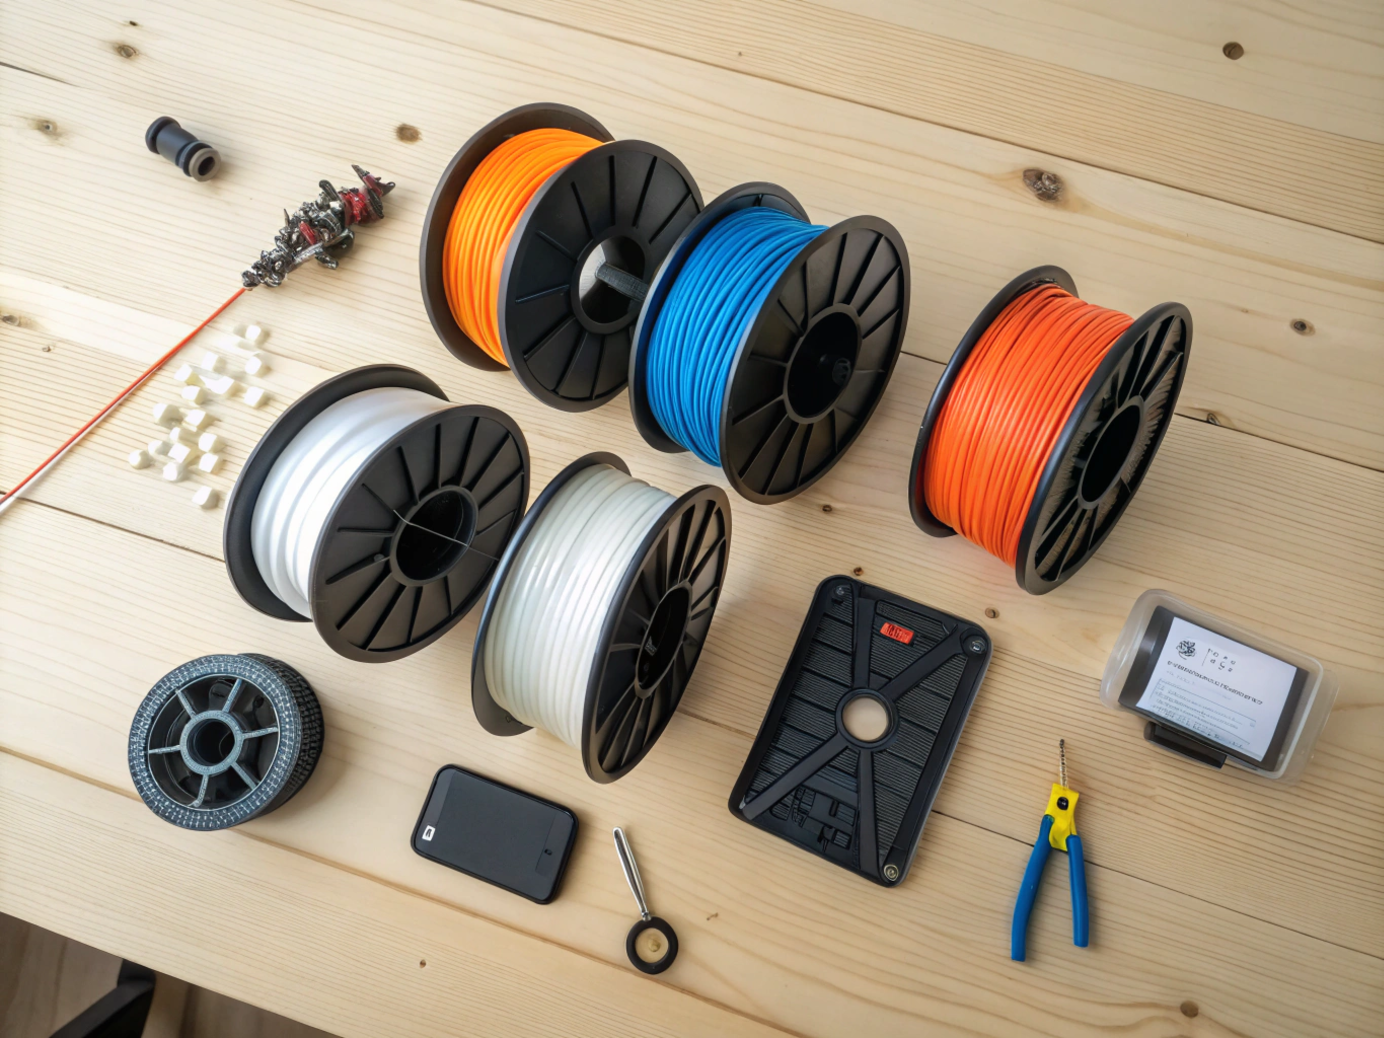
Which Filament for Which Dragon?
|
Filament |
Best Dragon Projects |
Why |
|
PLA (standard) |
First prints, test runs, painting base |
Easiest to print; good detail resolution; softens above 60°C — keep away from hot cars and sunny windows |
|
Silk PLA |
Crystal dragons, display models, shelf pieces |
Metallic sheen highlights scale curves without painting; gold and teal are most popular |
|
Rainbow / color-shift PLA |
Kids’ dragons, fidget toys, gifts |
Color shifts along the body length during the print; no painting or assembly needed |
|
Glow-in-dark PLA |
Bedroom dragon, nightstand display, gifts |
Charges from ambient light; check nozzle compatibility first — some abrasive fills wear brass faster |
|
PETG |
Dragons handled daily, outdoor-adjacent display |
More impact-resistant and flexible than PLA; needs tuned retraction settings to control stringing |
What a 3D Dragon Can’t Be (Yet)

A home FDM printer has real limits on dragon projects, and knowing them up front saves wasted filament and frustration.
Print size is the first wall. Most entry-level printers have a build volume around 220 × 220 × 250 mm. A 40 cm display dragon won’t fit in one piece — it gets split into sections and joined, or it doesn’t happen. The build volume spec on the product page is the hard limit.
Joint tolerances are the second limit. Very cheap printers with inconsistent extrusion can’t reliably hold the 0.3 mm gaps that PiP files require. The dragon prints, but the joints fuse. Slowing the outer wall speed or switching to a tighter-tolerance filament often fixes this, but there’s a floor below which the printer just can’t hit the mark.
Fine surface detail has a ceiling. Scale texture finer than 0.2 mm layer height won’t transfer cleanly to the print. Individual scale details smaller than the nozzle diameter disappear entirely. Resin printers handle that level of detail, but that’s a different machine, a different workflow, and a different set of safety requirements.
None of these are dealbreakers. They simply mark the practical edge of what the five steps above can achieve at home. Fine surface detail has a ceiling, scale texture can disappear, and resin handling requires extra care. The FDA notes that 3D-printed dental crowns, implants, and prosthetics are already used as medical devices, but that level of printing is an industrial workflow, not a home FDM project.
How to Start: Your First Dragon Print
|
# |
What to Do |
How It Works |
Tip / Time |
|
1 |
Download and check the file |
Look for “print-in-place” in the notes; confirm it fits your bed; check the license if selling is ever the plan |
10 min |
|
2 |
Configure the slicer |
Layer height 0.2 mm, infill 15%, supports OFF for PiP files, cooling fan at 80%+ from layer 3, outer wall at 40 mm/s |
15 min setup |
|
3 |
Level the bed and load filament |
Auto-level if available; clean plate with IPA; purge old filament; do a 4-corner check for manual printers |
10–15 min |
|
4 |
Run the tail-section test first |
Print just the last 8–10 cm of the model at full scale. If the joints flex, the settings work. If fused, adjust and retest. |
1–2 hrs |
|
5 |
Print the full model and wait |
Don’t open the lid, don’t move the printer, don’t peel until the bed is at room temperature |
Varies by model size |
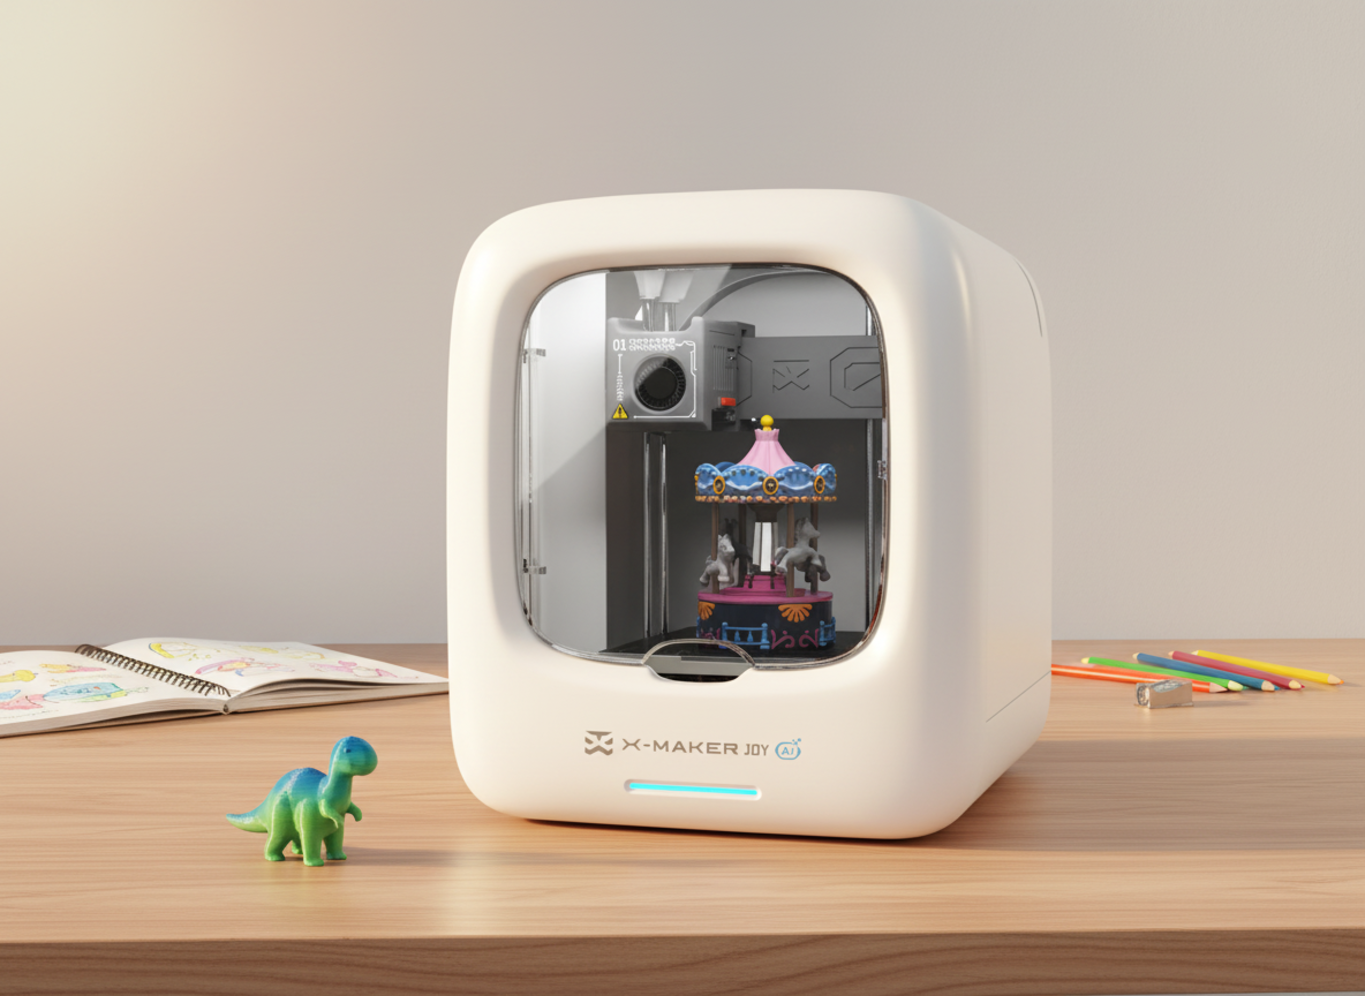
Start with a short model and a tail test before the full print. AOSEED’s kid-friendly 3D printer lineup is built around guided apps and a model library, so the first print needs almost no parent setup.
Conclusion
So, what does it take to 3D print a dragon? The right file, four dialed-in slicer settings, a level bed, and patience — especially at the removal step. The five steps here are what every successful dragon print has in common. None are complicated. Most are just specific.
Don’t start with the 40-segment crystal dragon. Print the tail section first. Get those joints moving before you commit to a 20-hour run. The people who give up on this project almost always started too big and skipped the test.
For families with kids in the 4 to 12 range, AOSEED’s family-friendly 3D printing platform is built around the design-it-then-play-with-it loop — where the printed object is the point and the process is the teacher. Whatever dragon you print first, the rule holds: match the file to the printer, test the tail before the full model, and let the plate cool.
FAQs
Can a 3D printer print a dragon?
Yes, and most home FDM printers can handle an articulated dragon without modifications. Print-in-place dragon files are specifically designed for standard home printers with a 0.4 mm nozzle and PLA filament. The key variable is the file: choose a tested model with real user photos, a no-supports note, and clear layer height recommendations. Slice it first to confirm it fits your build plate and check the estimated print time before committing. A 10 cm articulated dragon typically finishes in 4–6 hours — a good size for a first attempt.
How long does it take to 3D print a dragon?
Size and layer height drive the number. A small 10 cm dragon takes 4–6 hours at 0.2 mm layer height. A 20 cm model runs 10–14 hours. A large crystal or display dragon above 30 cm can take 24–48 hours. Dropping to 0.15 mm for sharper detail roughly doubles the time. Your slicer gives the most reliable estimate for your specific file and printer. For a first print, choose a model that finishes in under 10 hours — fast enough to catch settings problems and fix them before the next run.
What filament is best for a 3D printed dragon?
PLA for beginners. Low warping tendency, clean extrusion, good detail resolution. Silk PLA is the upgrade for display pieces — the metallic sheen highlights scale curves without any painting. Rainbow PLA shifts color along the body length for a no-paint color effect. PETG handles daily handling better than PLA if the dragon will be played with frequently. Skip ABS for this project unless you have a fully enclosed printer and a specific reason.
Why won’t my dragon joints move after printing?
Three most common causes: supports were added to a print-in-place file and trapped material inside the gaps; the bed temperature was too high and the gaps softened and fused during printing; or brim material is bridging across the segments. Check for stringing or brim plastic with tweezers before applying any force. If joints still don’t move after cleanup, the file’s gap tolerance may be too tight for your printer’s extrusion accuracy — try scaling the model up 5–10% and reprinting.
Is it legal to sell 3D printed dragons?
Yes, when the file license permits it. A free download is not a free pass to sell. Most files on Thingiverse and Printables are personal-use only. Some designers offer monthly commercial licenses for $5–8/month that cover shop sales. The U.S. Copyright Office confirms copyright protects original creative works — including 3D model designs. Check the license tab on the model page, save a screenshot, and keep it with your product records before listing anything.
How much does a 3D printed dragon cost to make?
Material cost is low. A 10 cm dragon uses roughly 30–50 g of filament — under $2 at standard PLA pricing. A 30 cm display dragon at 150–200 g runs $4–8. Failed prints are the hidden cost: a large dragon that fails at hour 10 wastes that full filament portion. Running a tail-section test before the full model catches most problems before they get expensive. Electricity is a minor line — a 100W printer running for 12 hours costs roughly $0.12–0.18 at average US rates.
Why is my 3D print failing?
Dragon-specific failures trace back to four causes. First: the first layer didn’t grip the bed — clean the plate with IPA, re-level, and add a brim for small contact areas. Second: the filament has absorbed moisture — dry the spool at 45°C for 4–6 hours before reprinting. Third: you added supports to a print-in-place file — disable them and reprint. Fourth: print speed is too high — drop to 40–50 mm/s and work up from a stable clean baseline.
What are the best dragon STL files for beginners?
Look for files with thousands of real user makes, a no-supports note, and the designer’s recommended settings in the description. Short articulated models (10–15 cm), compact baby dragons, and basic crystal spine designs are the safest first choices. Avoid files that are large, have open wings requiring supports, or show few user makes and no print photos. A file’s track record on a public platform is more reliable than any ranking list.
Sources
- Prusa Knowledge Base — PLA filament: properties, print temperatures, and tips
- Prusa Knowledge Base — Stringing and oozing: causes and retraction fixes
- Creative Commons — Attribution-NonCommercial 4.0 International License
- U.S. Copyright Office — What Is Copyright?
- U.S. Food and Drug Administration — 3D Printing of Medical Devices


You may also like
Further reading

Printable STEM Challenges for Grades 4-6 Using 3D Printing

Small Group 3D Printing Activity With One Printer

Elementary STEM 3D Printing: Simple Projects Teachers Can Actually Run


