


3D Printed Racing Games Kids Can Make and Play at Home
Four game types. One printer. Zero store trips.
A 3D printed racing game gives a child something a toy aisle can't replicate -- the build is half the play, and they know it. When the motor kicks on for the first time and obstacle cars scroll toward a magnetically mounted player car, the reaction is different from anything that arrived in a box. They made it move.
This guide covers all four build types, the materials each one needs, a session-by-session plan for the trickiest build, safe jobs for kids at every age, and a quick reference when prints go sideways.
Why Printed Racing Games Hit Differently

A bought toy arrives finished. A printed racing game arrives as a problem to solve -- the motor doesn't run until the gear mesh is right, the belt won't track until the rollers are seated. That troubleshooting loop is the STEM lesson. It happens because a child wants the game to work, not because a curriculum requires it.
Designer wontonnn's Road Fighter-inspired arcade racer proved this at scale -- Designboom covered it as a non-digital arcade revival that earned more engagement than most product launches. The whole build runs on a $4 motor kit and printed parts. The crank version adds a second player who controls belt speed -- turning a solo toy into a negotiation.
The replay question answers itself. They built it, so they keep playing it.
4 Types of 3D Printed Racing Games Kids can make at Home

Not every build suits every child. A seven-year-old thrives on a push-along racer that finishes in ninety minutes. A twelve-year-old stays focused until the motorized arcade version runs. Match the build to the child's patience for multi-step work -- not just their age.
|
Build Type |
Best Age |
Build Time |
Motor / Kit |
Replay Factor |
|
Mechanical Arcade Racer |
8-14 |
6-10 hrs |
Yes -- motor kit |
High |
|
Marble Run Car Track |
7-13 |
4-7 hrs |
No |
Good |
|
Strategy Board Game |
9-14 |
5-8 hrs |
No |
High |
|
Wind-Up / Push-Along |
5-10 |
1-3 hrs |
No |
Starter |
Mechanical Arcade Racing Toys
The most complex and most rewarding build. A compact conveyor belt scrolls obstacle cars toward a magnetically mounted player car. Steer left or right with a printed wheel. Hit an obstacle -- the car drops off the magnet, game over. Simple, fast, addictive.
The crank variant needs no motor at all -- one child controls belt speed while the other steers. Community-tested models and build notes live on MakerWorld. The motor kit covers everything that can't be printed: 030 Micro DC Motor, battery connector, gear set, magnets, and screws.
Marble Run Car Races
Track sections click together without glue and reconfigure between sessions. Small printed cars navigate loops and spirals on gravity. The build is a 3D puzzle; the play is a gravity race with predictable physics. When a corner prints at the wrong angle, the car stalls exactly there -- and fixing that is the lesson.
Strategy Board Games
Tile-based racing for kids who prefer planning over reflexes. Print boards, track tiles, and tokens at home. Print the pieces in the afternoon, play after dinner. The making and the playing fold into one shared event -- the pieces carry history a boxed game can't manufacture.
Wind-Up & Push-Along Racers
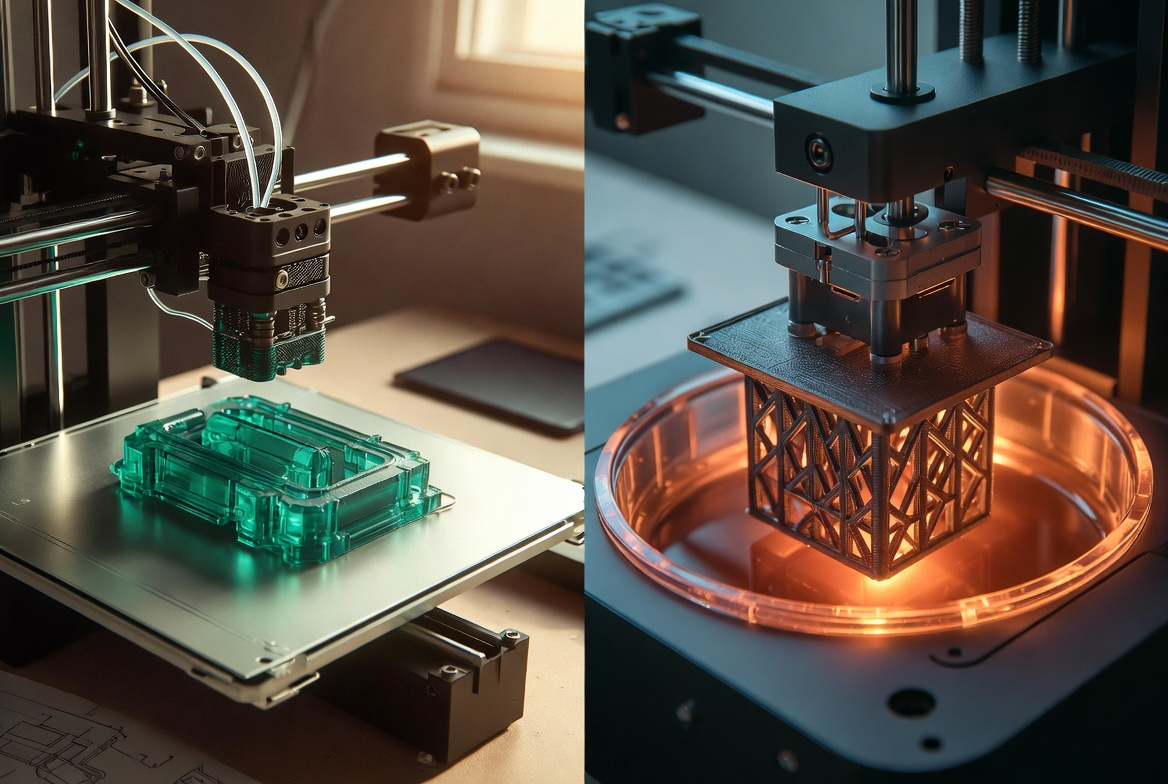
Three parts, ninety minutes, no motor. A rubber band releases stored energy into forward motion. Print-in-place designs come off the bed with wheels already turning. The right first build -- it proves the printer's calibrated before committing to a 40-part motorized version.
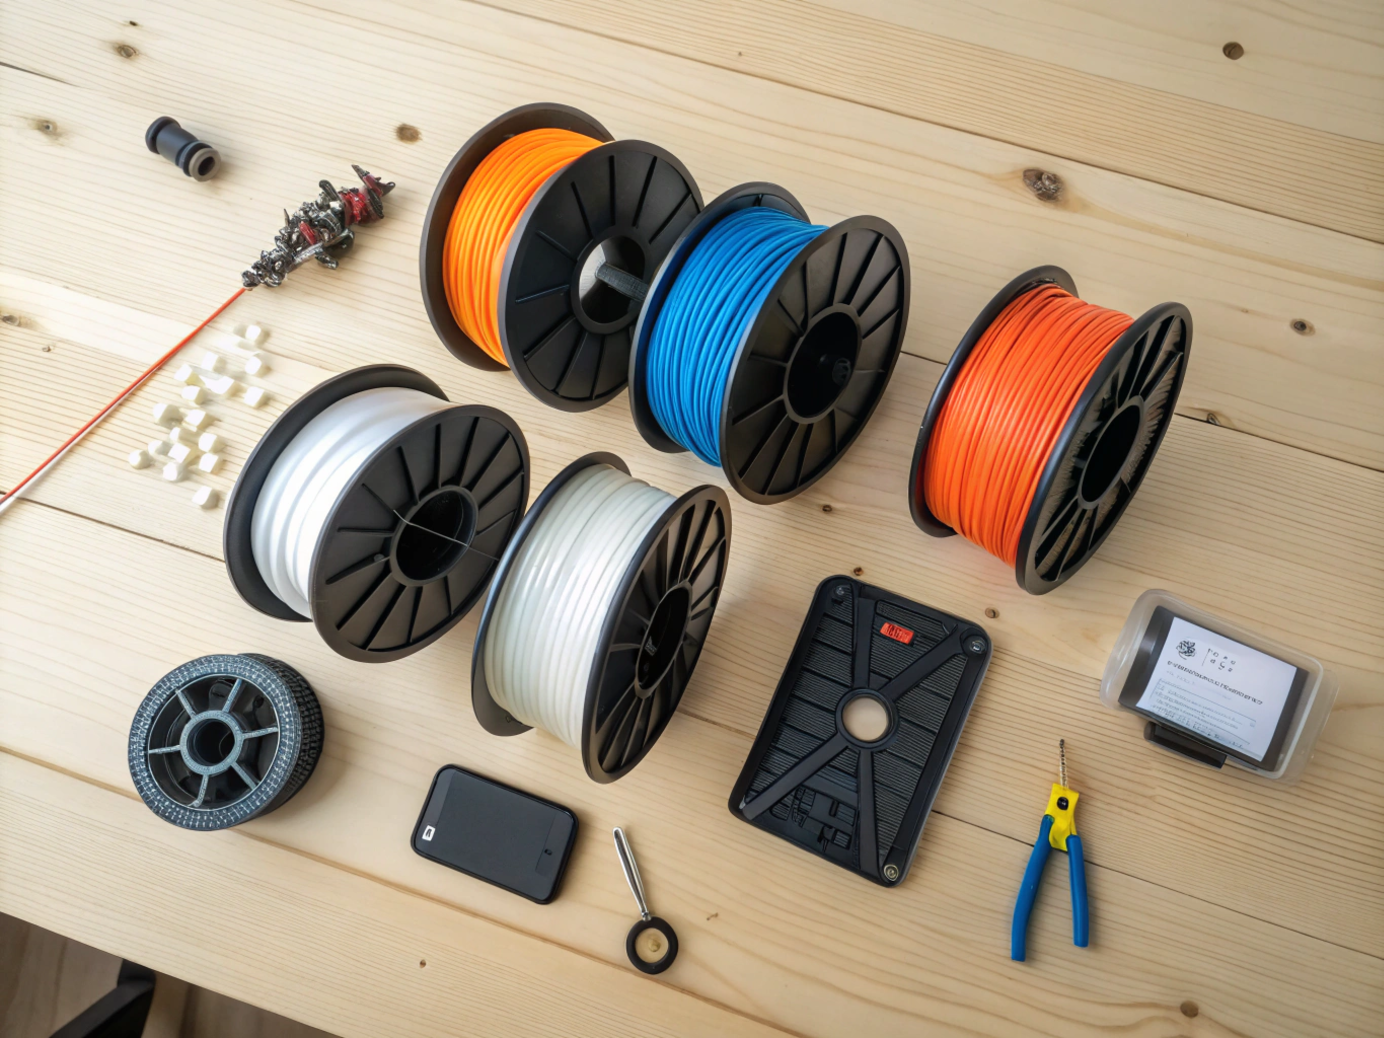
Filaments, Kits, and What to Buyfor Kids’ 3D Printed Racing Games

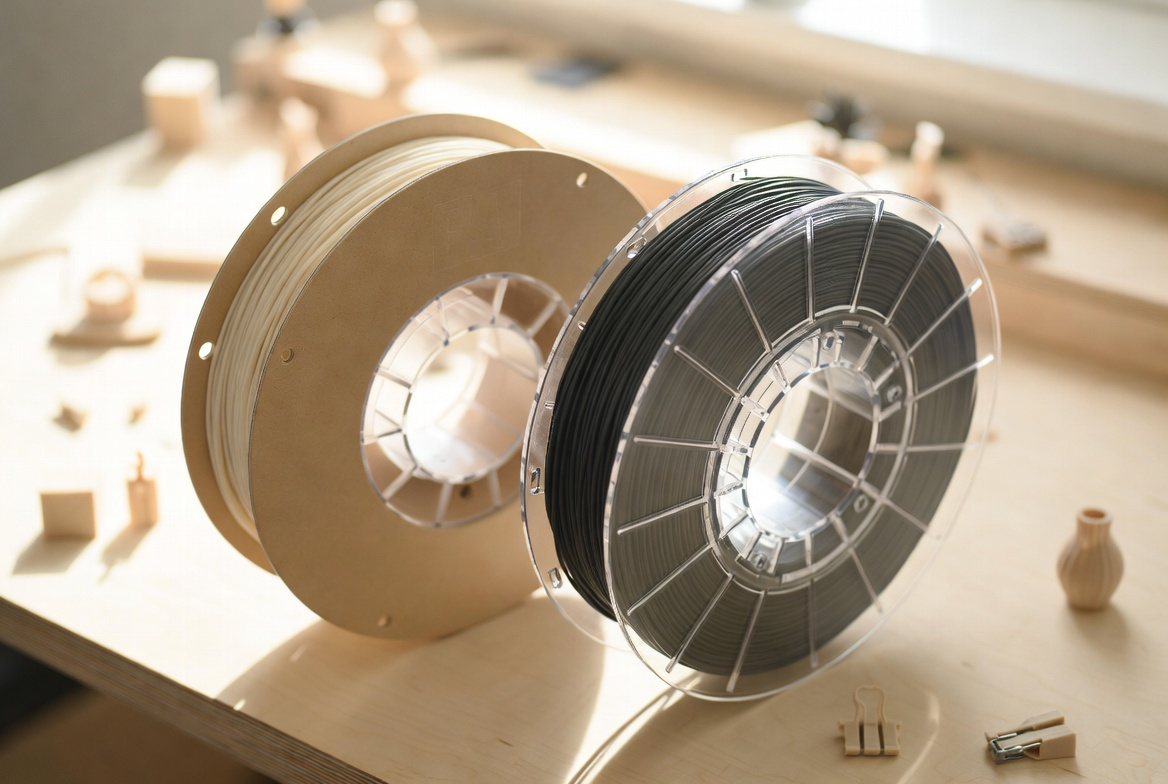
Wrong material breaks builds early. A gear tooth that warps mid-print jams the belt before anyone plays a round.
|
Material |
Best For |
Avoid For |
Kid-Safe? |
|
PLA |
Car bodies, track sections, game tiles, all decorative parts |
High-stress gear teeth, parts that flex repeatedly |
Yes -- non-toxic, low-temp |
|
PETG |
Wheel hubs, axle sleeves, gear teeth, conveyor rollers |
Fine cosmetic detail -- strings easily |
Yes -- with adult print supervision |
|
Resin |
Driver figurines, badges, small decorative elements |
Anything structural -- brittle under point impact |
Adult-managed -- gloves + UV cure required |
|
ABS |
Specific industrial use only |
All kids builds -- emits fumes, needs enclosure + ventilation |
Not recommended for home family use |
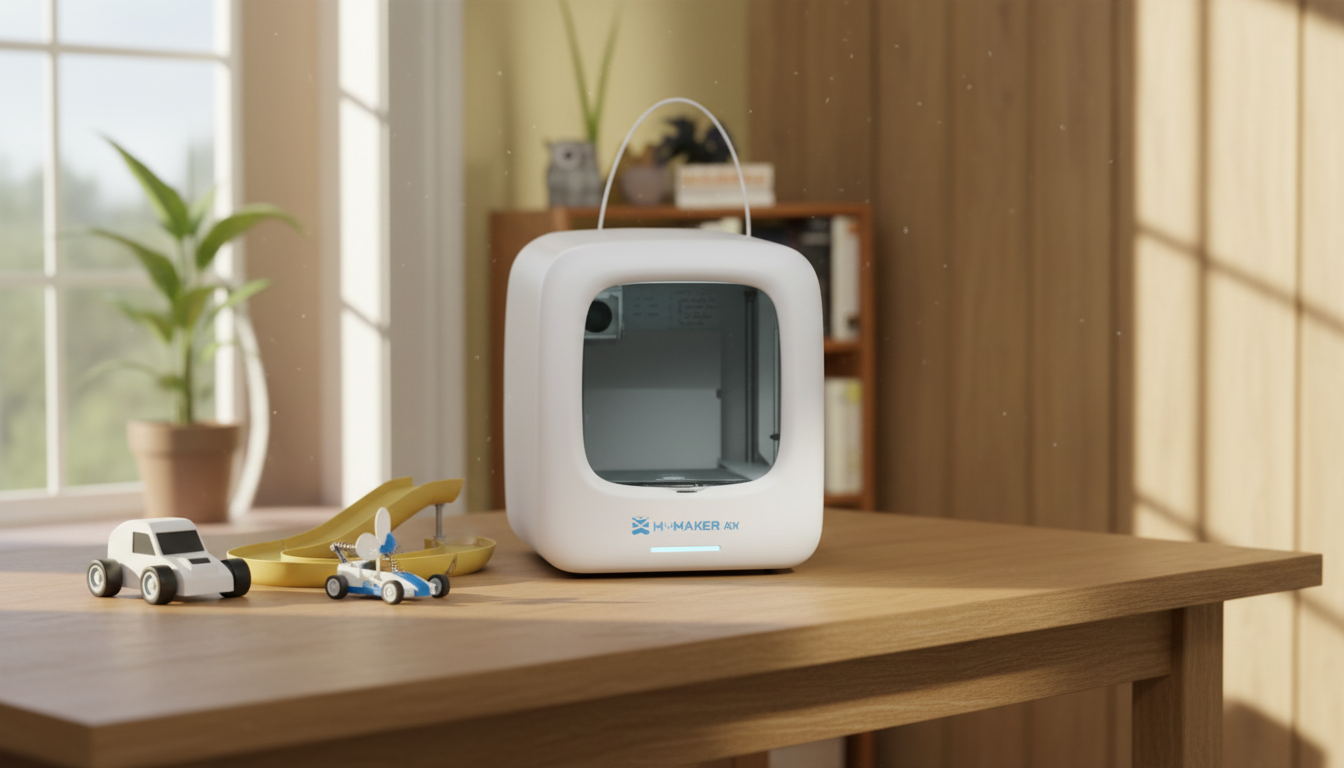
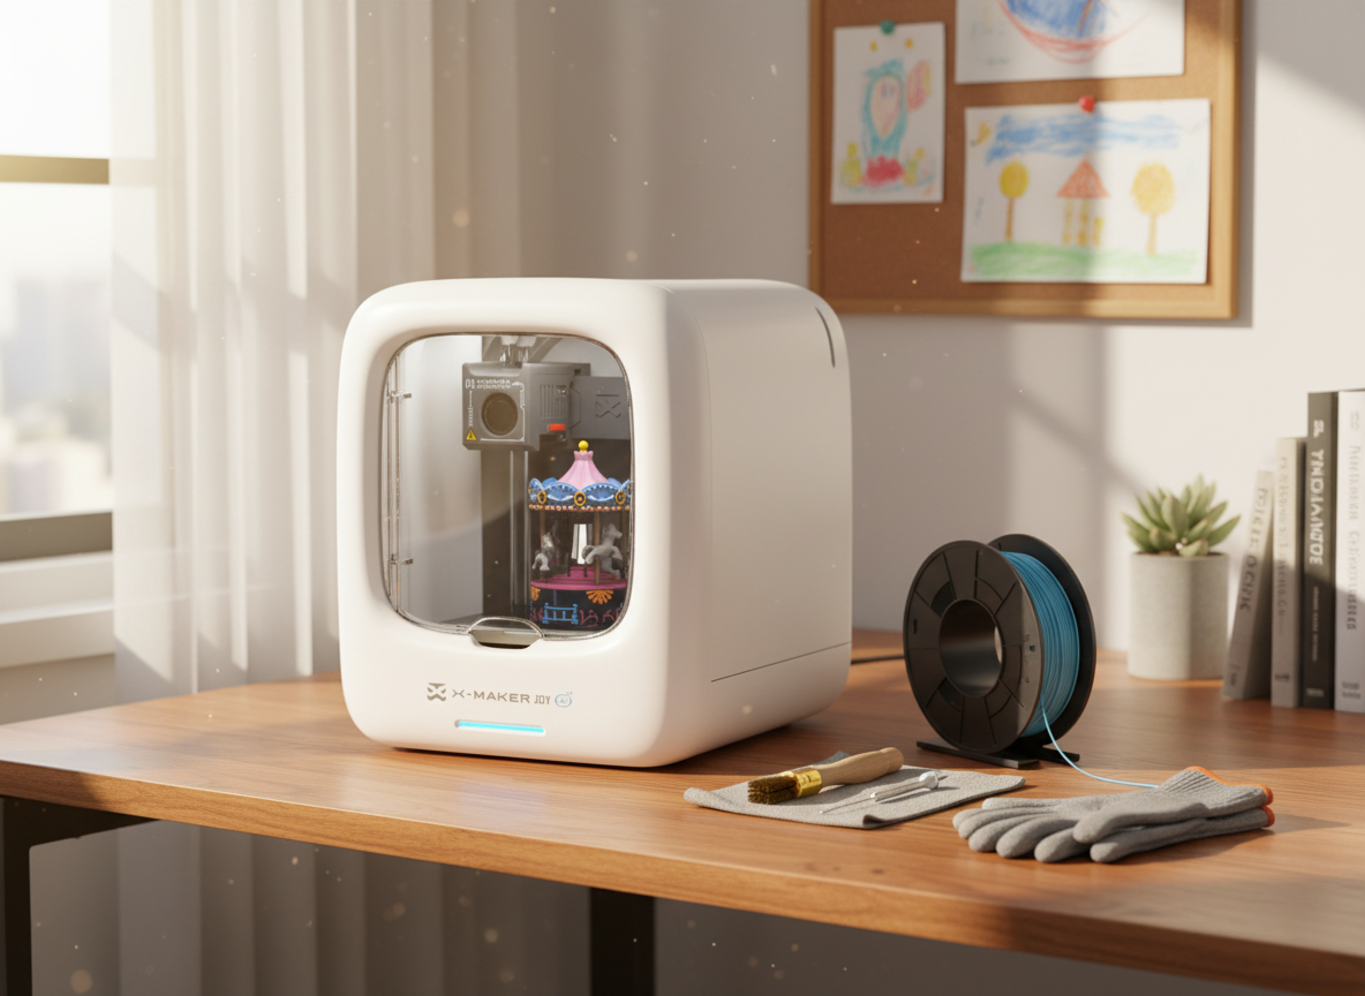
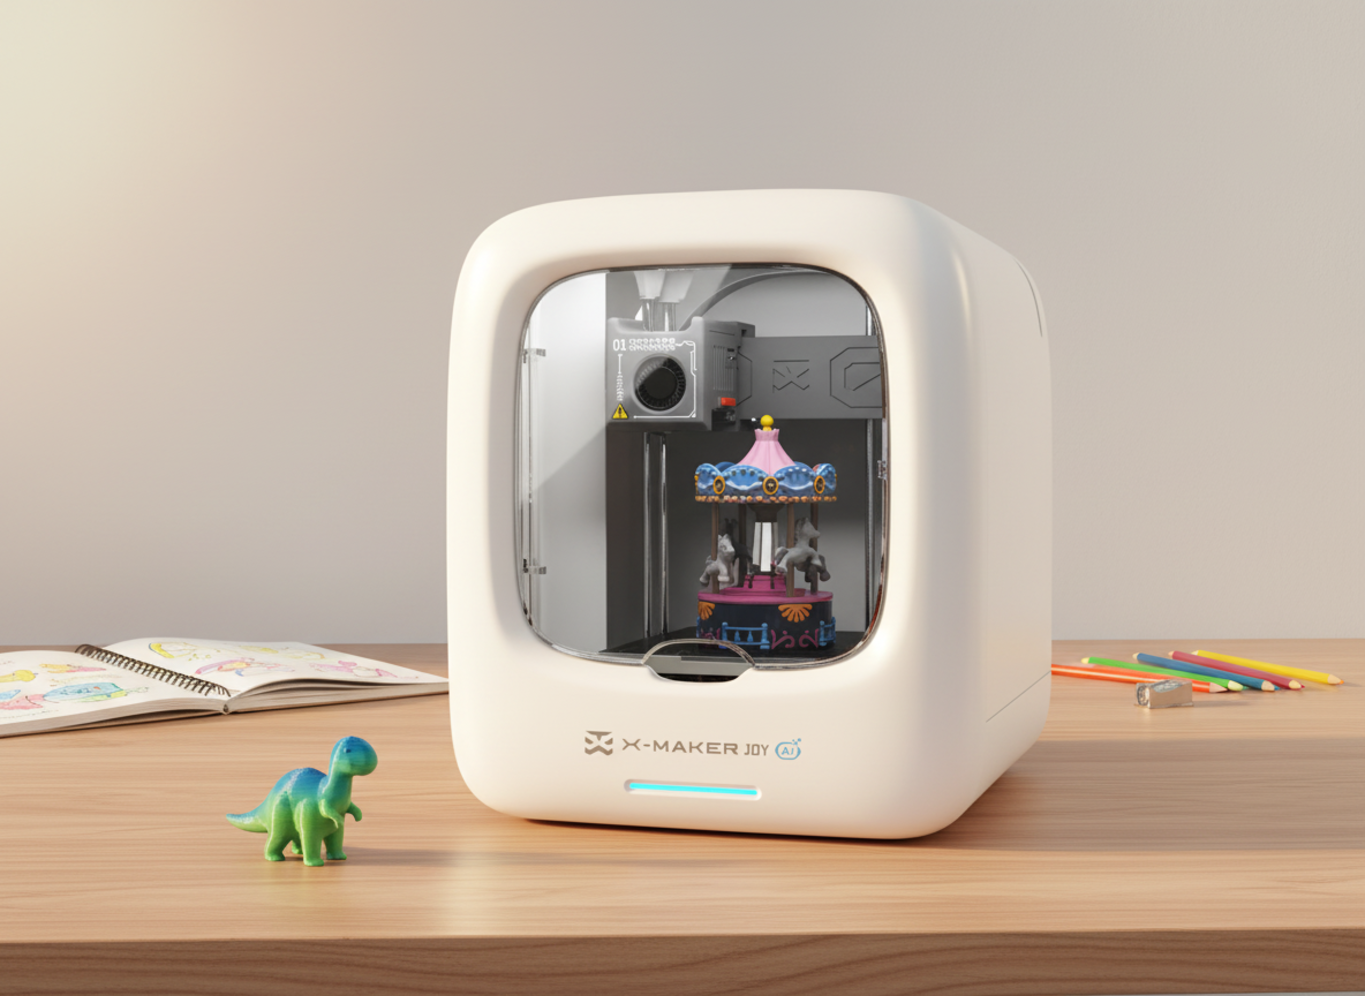
For families starting with a first printer: a beginner-friendly 3D printer for kids like the X-MAKER JOY combines guided toy design apps with a tested model library. The gap between 'powered on' and 'first working racing game' is hours, not frustrated weekends.
Three non-printed items make every build smoother: small Phillips screwdriver, super glue for magnet seats, and a ruler for track section alignment checks. Under $10 total.
|
Safety Note |
|
Small rare-earth magnets and loose screws are choking hazards for children under 6. |
|
Glue all magnet seats before play. Run the motor test outside the casing -- a loose wire inside a sealed compartment is a fire risk. |
|
Hot end: 190-250 deg C during printing. Heated bed: 60-110 deg C. Both stay burn-hot for 5-10 minutes after the print ends. |
Building the Motorized Arcade Racer -- Session by Session

The most ambitious build on this list. Run it across sessions. Everything in one sitting reliably ends with a frustrated child and a half-assembled conveyor belt.
|
Session |
Focus |
Time |
Adult Help |
|
Session 1 |
Calibrate: print one wheel + sleeve, check fit, set layer heights |
20-40 min |
Check tolerances together |
|
Session 2 |
Base plate, rollers, belt load, obstacle cars |
60-90 min |
Screw assembly |
|
Session 3 |
Motor seat, battery wiring, steering arm, player car magnet |
60-90 min |
All wiring -- adult only |
|
Session 4 |
First play run, obstacle spacing, crash rules, belt tracking |
30-60 min |
Calibration decisions shared |
Session 1 -- Calibrate Before Printing Everything
Print one wheel and its axle sleeve first. If they fit cleanly -- wheel spins without wobble, sleeve doesn't crack under light pressure -- the printer is dialed in. If not, adjust tolerances now. Twenty minutes here saves two hours later.
Layer height: 0.15-0.20mm for gear teeth and hubs. 0.20-0.28mm for base plates and casing. Label parts by type as they come off the bed -- mixing mirror-pair parts during assembly is the most common first-build error.
Session 2 -- Base, Rollers, and Belt
Screw support pillars to the base plate, then fit the rollers. Each one should spin freely before the belt goes on. Load the three obstacle cars onto the belt before closing it around the rollers -- adding them after pulls the belt sideways. Three cars is the functional minimum.
Session 3 -- Motor, Steering, and Player Car
Seat the motor, connect the battery lead, close the case. Run 30 seconds -- listen for a smooth whir, not grinding. For the steering arm: test left-right travel with light finger pressure, should return to center. Sticking means the pivot hole needs 0.1mm more clearance in the slicer. Seat the player car's magnet last. Should hold firmly, release cleanly on impact.
Session 4 -- First Play and Calibration
First play session doubles as calibration. Adjust obstacle spacing. Set crash rules. Decide if the crank version allows mid-run speed changes. These decisions turn a working mechanism into a game with actual stakes.
Safe Jobs for Kids at Every Age

Kids get more out of a printer when they help with it. The rule is the same at home or in a classroom: if it's hot, sharp, or plugged in, the adult does it. Everything else is fair game with the right supervision level.
|
Task |
Kids Can Do |
Adult Does |
|
Pick up filament scraps after cooldown |
Independently |
-- |
|
Wipe printer exterior with dry cloth |
Independently |
-- |
|
Check spool for tangles |
Independently |
-- |
|
Log failed prints or session notes |
With guidance |
-- |
|
Wipe build plate with IPA after cooling |
Older kids, supervised |
Always supervises |
|
Remove finished print from the bed |
Older kids, supervised |
Final call on timing |
|
Cleaning the heated nozzle |
Not permitted |
Adult only -- 190-250 deg C |
|
Scraping a stuck print with metal tool |
Not permitted |
Adult only -- sharp |
|
Wiring, motor, or battery work |
Not permitted |
Adult only -- fire risk |
|
Handling uncured resin |
Not permitted |
Adult only -- gloves + goggles |
|
BURN HAZARD |
|
Nozzle runs 190-250 deg C during printing. Heated bed at 60-110 deg C. |
|
Both stay hot enough to burn for 5-10 minutes after the print ends. The screen reading 'done' doesn't mean cool. |
|
No child touches the nozzle, heater block, or heated bed -- printing, paused, or idle. |
Printer Placement and Setup

Dedicated, stable, flat surface. Not a folding table. Not a wheeled cart without locking wheels. Wobble shows up in prints as ringing -- wavy vertical lines around sharp corners. If a glass of water on the table ripples when someone walks past, that's the wrong table.
Enclosed printers reduce burn risk significantly -- the hot end stays behind a door by default. Families comparing machines can browse the AOSEED kids 3D printer lineup by age and feature, or start with a guided STEM 3D printer for older kids for grades 4 and up.
PLA is the right filament for all four builds at home. ABS and resin need dedicated ventilation and adult handling throughout. Cover the printer when not in use -- dust on rails shortens part life faster than heavy printing does. Keep the table clear of snacks and drinks.
When a Print Fails -- Quick Reference
Most racing game failures trace to four causes: tolerance, moisture, alignment, and surface. Work through the list before adjusting slicer settings.
|
Symptom |
Most Likely Cause |
First Fix |
Time |
|
Car track sections don't align |
Print warped or tolerance off |
Reprint at 0.15mm -- check bed level first |
15 min |
|
Belt drifts sideways |
Roller seated unevenly |
Power down, reseat rollers, re-run belt |
5 min |
|
Motor grinds, doesn't spin cleanly |
Gear mesh misaligned |
Disassemble, reseat gear, close case flush |
10 min |
|
Marble car stalls mid-track |
Corner printed at wrong orientation |
Rotate that section 180 deg in slicer, reprint |
20 min |
|
Player car won't release on crash |
Magnet over-recessed in seat |
Add 0.2mm depth in slicer, reprint seat pocket |
15 min |
|
Wind-up racer wheels bind |
Axle tolerance too tight |
Scale axle hole +0.3mm in slicer, reprint |
10 min |
|
First layer lifts off plate |
Dirty or cold plate, nozzle too high |
IPA wipe, re-level, drop Z-offset 0.05mm |
5 min |
|
Extruder clicks during load |
Wet filament or partial clog |
Cold pull, then dry spool 4 hrs at 50 deg C |
15 min |
When to Upgrade the Printer

The printer that handles all four build types well has a plate of at least 120 x 120mm, reliable filament feeding, and an enclosed design if younger kids will be nearby. When builds get more ambitious -- bigger marble run tracks, multi-section board game boards, custom car bodies designed from a guided app -- the printer's tolerances become the ceiling.
A beginner-friendly 3D printer for kids like the X-MAKER JOY starts younger children with guided design apps and a model library of tested builds, so first prints work without a slicer deep-dive. For step-by-step project guides and build ideas, the AOSEED Learning Center organizes everything by experience level.
Conclusion
The best thing about a printed racing game isn't the game. It's the second session — when a child asks what happens if the corner is steeper, the belt faster, or the player car heavier. That question is the point. And it leads directly to the next print.
Most toys don't do that. They get played with, then they get put down. A build the child made themselves stays in the conversation — at dinner, on the way to school, during the next weekend when they're already pulling up the slicer before you've finished your coffee.
That's the difference between a project and a purchase. The project grows. The wind-up racer becomes the arcade racer. The arcade racer gets a crank mode so a sibling can play. The marble run gets a new corner section printed on a Tuesday afternoon because one kid decided the old one wasn't fast enough. Small decisions, real stakes, totally self-directed.
It doesn't need to be every weekend. One solid build a month keeps the habit alive. The printer stays warm. The ideas keep coming.
AOSEED's family creativity platform — deployed in over 5,000 schools and homes — is built around exactly that loop: from idea to printed object to the next idea, with guided apps and a project library that keeps the cycle going. The goal was never the first print. It was always the tenth.
|
THE BUILD-FIRST MINDSET |
|
Four game types. Three filament choices. Two-player options in two of them.One rule for 3D printed racing games: start with the simplest build that moves on its own. |
|
A working push-along racer in ninety minutes is more valuable than a half-assembled motorized arcade racer after eight hours. |
|
Finish the first build. The second build is always more ambitious. |
FAQs
Can kids safely build 3D printed racing games at home?
Yes, with supervision and an enclosed printer. Keep children away from the hot end and heated bed during and for 10 minutes after printing -- both run hot enough to burn. PLA filament is non-toxic and the lowest-risk material for home family use.
What age works best for these projects?
Push-along racers suit ages 5-6 with adult help. Motorized arcade builds fit ages 8 and up. Strategy board games work well from age 9. Match the build to the child's patience for multi-step work across several sessions -- not just their birthday.
Do I need a special printer?
No. Any FDM printer with a 120 x 120mm build plate covers all four build types. An enclosed design matters most if younger children will be nearby while the machine is running.
How long does the motorized arcade racer take?
Six to ten hours across three to four sessions. Don't attempt it in a single sitting -- spreading sessions across two or three days keeps the child engaged and the assembly quality higher.
Which filament is safest for kids?
PLA -- non-toxic, low printing temperature, takes paint well for customization. PETG for moving parts under repeated mechanical stress. Avoid ABS at home; it emits fumes and needs dedicated ventilation beyond normal room airflow.
Can I print all parts without buying a kit?
All structural parts yes. The motor, magnets, and gears for the motorized build need sourcing regardless. A beginner kit bundles them pre-matched -- faster and fewer compatibility problems than sourcing individually from multiple suppliers.
Why does the belt keep tracking sideways?
A roller is seated unevenly. Power down, reseat each roller flush with the base frame, and re-run the belt. If it keeps drifting, check that the base plate is level and all roller mounting screws are evenly tightened.
Can kids customize the cars and tracks?
Yes -- paint a PLA body with acrylics, swap spoilers, print a custom driver figure, or redesign the car from scratch using a beginner-friendly design app. A child who creates even one custom part before the game goes into regular use relates to the whole project differently.
Sources
- wontonnn / Designboom, 3D printed racing toy revives arcade games with miniature cars and steering wheel, July 2025.
- MakerWorld, Mini Arcade Steering Dodge Car Toy -- model files, community build data, and tolerance documentation.
- Instructables, 3D Printed DIY Video Game Racing Set-Up -- electrical wiring, modular track design, and build walkthrough.
- 3DPrintBoard, 3DRacers -- The 3D Printed Racing Game


You may also like
Further reading

Printable STEM Challenges for Grades 4-6 Using 3D Printing

Small Group 3D Printing Activity With One Printer

Elementary STEM 3D Printing: Simple Projects Teachers Can Actually Run


