


How to Choose a 3D Printer for Kids As A Non-Technical Parents
3D printer projects fail in specific, preventable ways. The app is confusing on day one. The nozzle clogs by day three. The first print sticks to the bed and tears when a child tries to remove it. Every one of those problems starts with the same decision made before the box arrived — the printer.
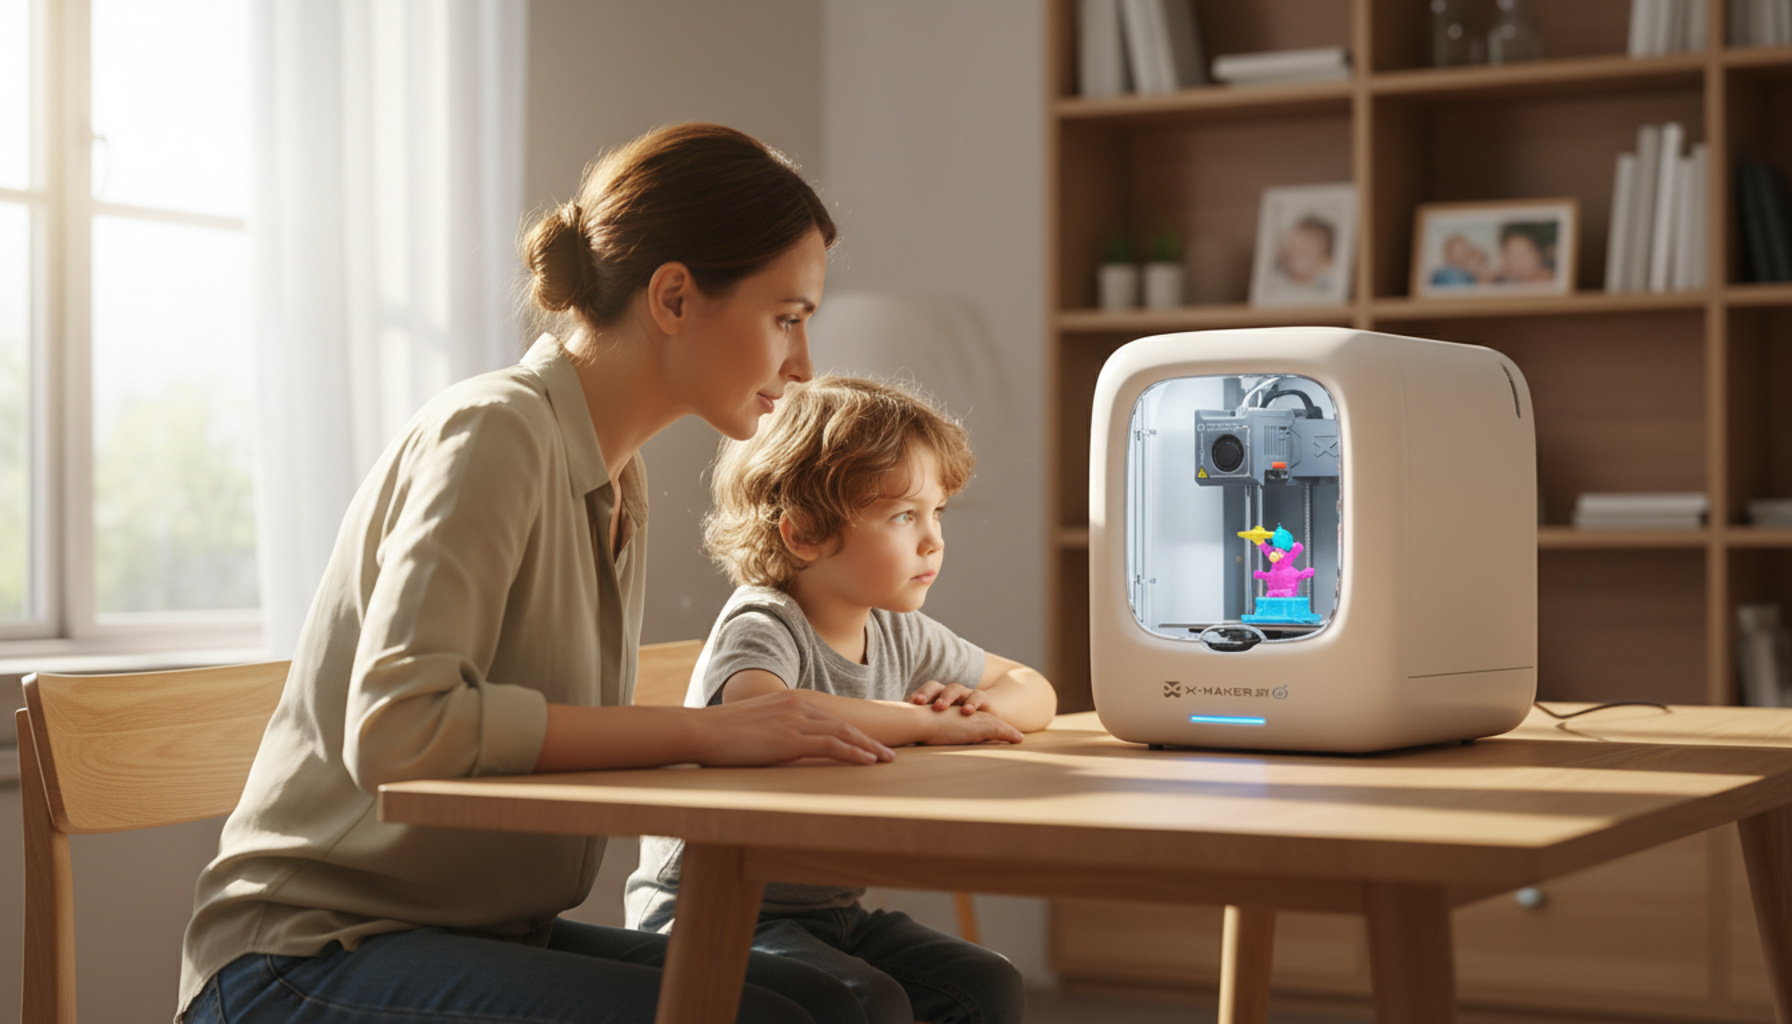
Enclosure is the number that matters most. Not brand, not print speed, not feature count. Whether the printer has a closed shell around the print space determines how safe it is around children, how often a parent needs to step in, and whether the machine stays in making-things mode after the first month.
|
Quick picks:3D printers for kids by age
|
Why Enclosure Decides the Whole Setup

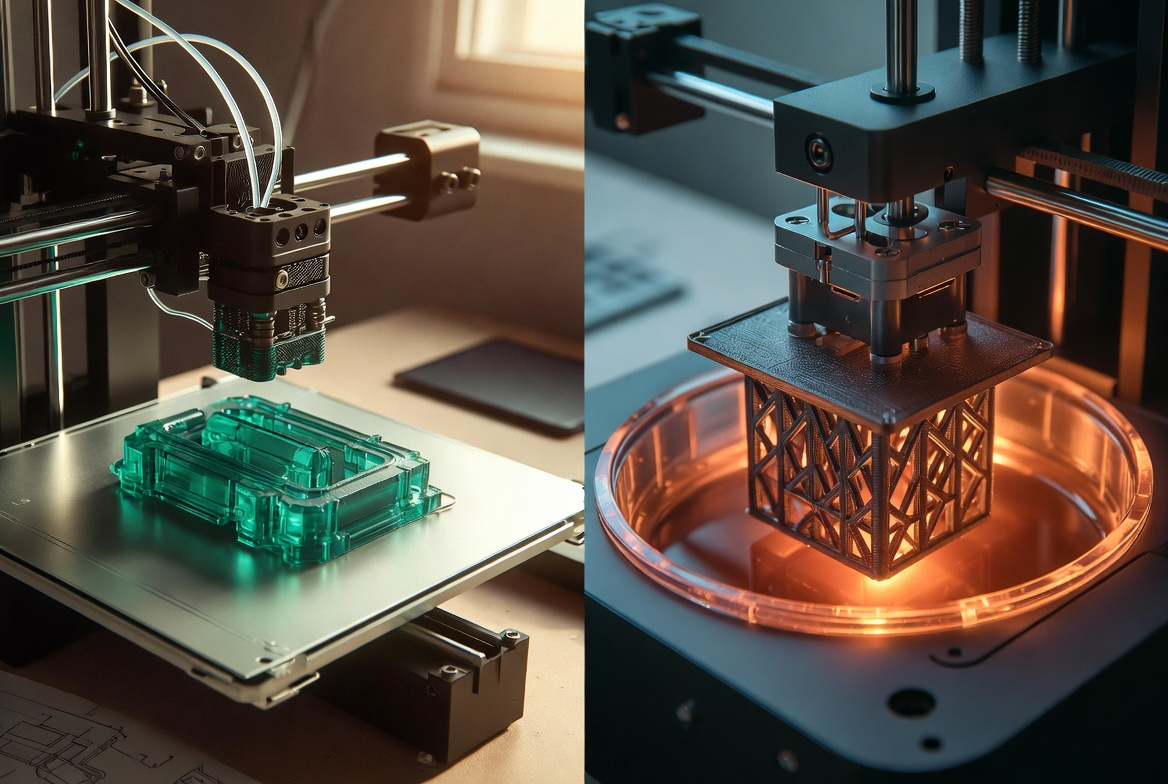
A 220×220 mm open-frame printer can sit on a child’s desk. A clogged nozzle, a warped first layer, or a child touching hot parts mid-print can also happen there. An enclosed printer places a shell around the print space. The hot nozzle — which reaches above 200°C — moving belts, and melted plastic all happen behind a closed door. Research from CDC/NIOSH recommends ventilation controls for desktop 3D printers in shared indoor spaces because printing releases ultrafine particles. EPA research notes similar VOC concerns. An enclosed machine directs that output away from the breathing zone. An open-frame machine releases it directly into the room.
What different printer types actually let kids do
|
Setup Type |
Hot Parts Exposed |
Safe Under-10 Solo Use |
ABS/PETG Capable |
Best For |
|
Open frame |
Yes — nozzle accessible |
No — adult supervision at all times |
PETG: possible; ABS: risky |
Teens 13+, adults |
|
Compact enclosed |
No |
Yes — with door sensor |
PETG: yes; ABS: marginal |
Ages 4–12, families |
|
Larger enclosed |
No |
Yes |
PETG: yes; ABS: yes |
Ages 9+, growing makers |
When a simpler printer is still the right call
Budget and space both matter. An open-frame printer needs table depth for the bed’s full travel range before you account for the filament spool beside it. If the printer lives in a shared bedroom, a compact enclosed machine running pre-tested models can keep a child printing reliably for months without a parent involved in every session.
Small enclosed printers handle toys, name tags, accessories, and school models well. The extra machine complexity of a larger open-frame printer is not always manageable for a household that did not sign up for a new technical hobby.
Best 3D Printers for Kids — Quick Comparison

|
Printer |
Build Volume |
Enclosure |
Kid App |
Best For |
Price |
|
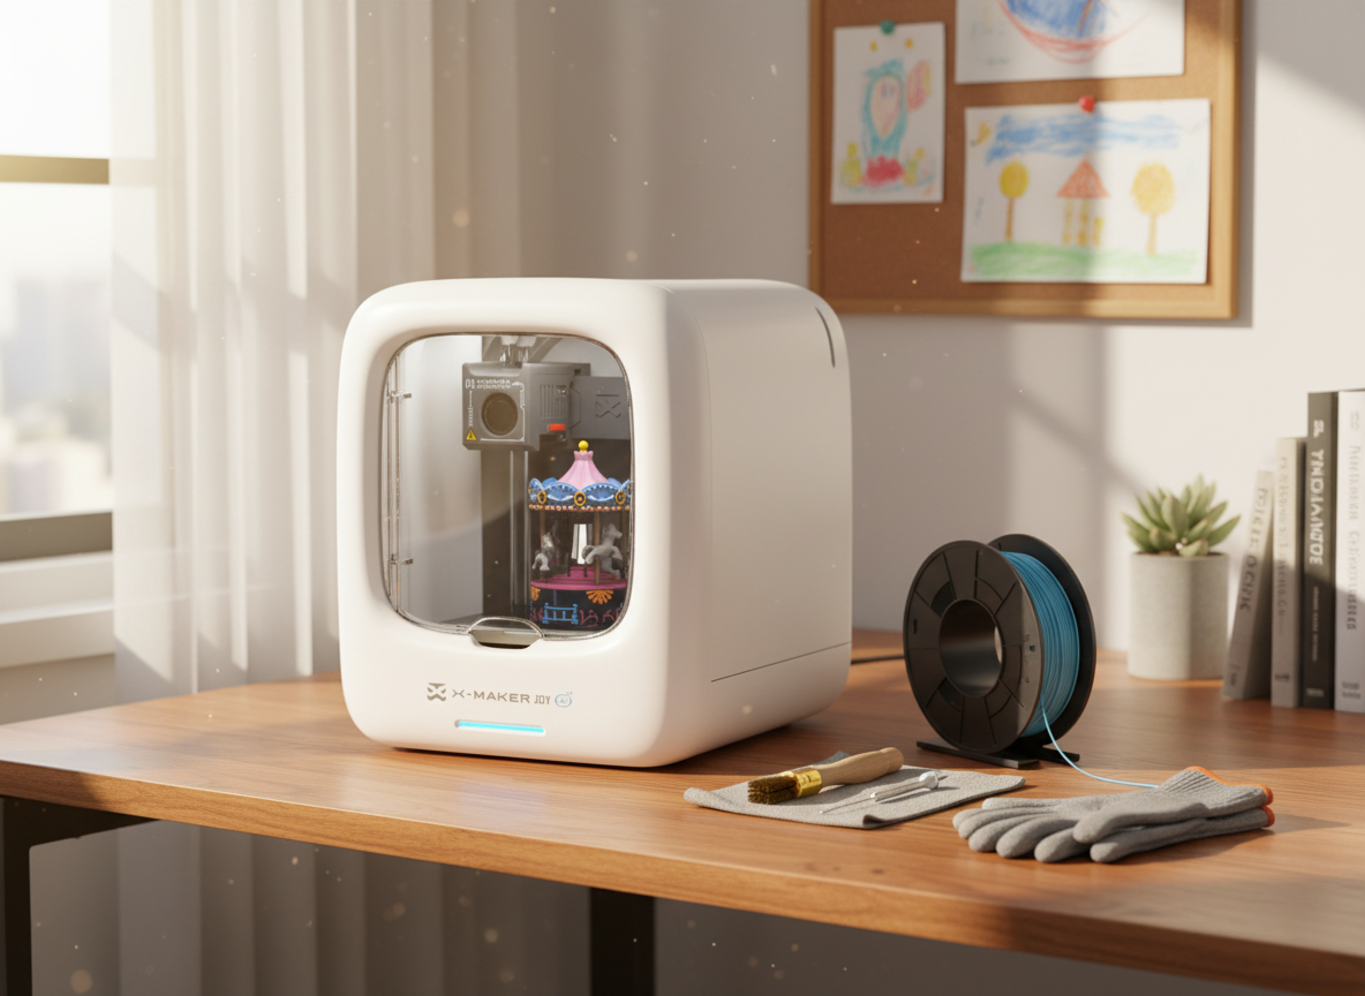
AOSEED X-MAKER JOY |
120×120×120 mm |
✅ Fully enclosed |
✅ Guided + AI |
Ages 4–12 |
Under $300 |
|
AOSEED X-MAKER |
150×150×150 mm |
✅ Fully enclosed |
✅ Guided + AI |
Ages 9–16 |
Under $400 |
|
Bambu Lab A1 Mini |
180×180×180 mm |
❌ Open frame |
❌ Adult slicer |
Teens 13+ |
~$300 |
|
ToyBox Alpha Two |
Small |
✅ Enclosed |
✅ Curated |
Ages 4–8 |
~$200 |
|
AOSEED X-MAKER JOY — best for ages 9–12 and first-time families |
|
|
Build volume |
120 × 120 × 120 mm |
|
Enclosure |
Fully enclosed with door sensor |
|
App |
AOSEED guided app — AI MiniMe, AI Doodle, Toy Library (weekly updates) |
|
One-press print |
Yes — slicer, settings, and file transfer handled automatically |
|
Best for |
Ages 4–12, parent-led printing, first family printer |
|
Price range |
Under $300 |
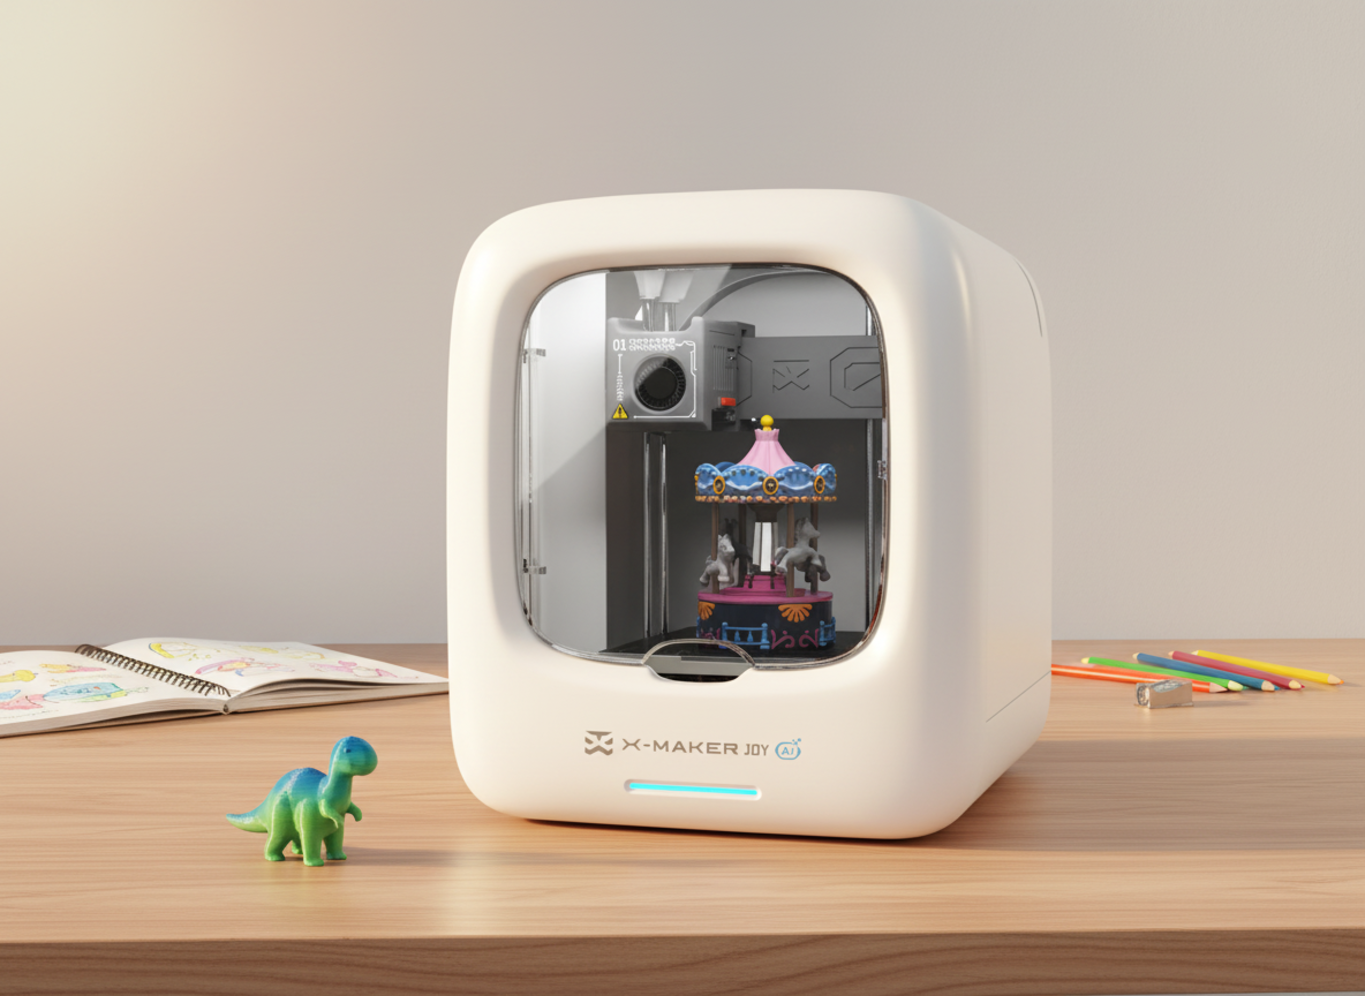
The X-MAKER JOY handles the combination that family printing demands: a fully enclosed build area, one-press printing, and a Toy Library that gives kids a next project every time they finish one. The AI MiniMe tool turns a selfie into a printable 3D figure. AI Doodle converts a typed description into a toy template. Neither requires design knowledge.
The trade-off is build volume. At 120 × 120 × 120 mm, the JOY suits toys, badges, and accessories. Larger school projects need the X-MAKER instead. For a 6-year-old printing a dinosaur and an 8-year-old designing a name tag, this printer covers both without the parent learning a single setting.
|
The X-MAKER JOY is not a toy version of a real printer. It is a fully functional enclosed FDM machine with a kid-safe design and a simple app-guided workflow. That distinction matters when a child eventually wants to move beyond preset modes, because the upgrade path is clear. |
|
AOSEED X-MAKER JOY — best for ages 9–16 and first-time families |
|
|
Build volume |
150 × 150 × 150 mm |
|
Enclosure |
Fully enclosed |
|
Control |
3.5-inch touchscreen + AOSEED app |
|
Nozzle system |
Quick-swap 0.25 mm – 0.8 mm — no tools required |
|
Extras |
Built-in time-lapse camera; power-loss recovery |
|
Best for |
Ages 9–16, STEM projects, school builds, supervised independent use |
|
Price range |
Under $400 |
The X-MAKER is the right step when a child outgrows the JOY or starts with clearer creative goals. A 3.5-inch touchscreen handles navigation without a paired phone. The 150 × 150 × 150 mm build area fits most school project parts in a single piece. Quick-swap nozzles mean different sizes — 0.25 mm for fine detail, 0.4 mm standard, up to 0.8 mm for faster structural prints — without specialist tools.
The full slicer is available alongside the guided app, so the same machine serves an 11-year-old printing characters and a 15-year-old designing drone parts. For growing makers ready to step up, a 3D printer built for guided creative projects sits comfortably between beginner guided use and genuine maker experience.
|
Editor note: The X-MAKER’s advanced slicer mode is accessible but never forced. Beginners never need to see it. Teens who want it find it within two menu levels. That range at under $400 is rare. |
|
Bambu Lab A1 Mini — best multi-color option for teens |
|
|
Build volume |
180 × 180 × 180 mm |
|
Enclosure |
Open frame — hot nozzle accessible during printing |
|
Software |
Bambu Studio slicer + MakerWorld model library |
|
Multi-color |
Yes — up to 4 colors with AMS Lite attachment |
|
Best for |
Teens 13+ who can follow safety rules around exposed heat |
|
Price range |
~$300 |
|
Watch out for |
No kid-specific app; adult slicer requires a real learning curve |
The A1 Mini is not built for children — it is built for efficient multi-color printing at a reasonable price. Teens who follow the rule — nothing inside the machine while it runs — get a serious printer at a fair price. The open frame is the main caution for younger users.
For a 14-year-old who wants multi-color figures and is ready for adult slicer software, it is the strongest value in the $300 range. For a 10-year-old, it is a machine that requires a parent to configure every print session.
|
Editor note: Bambu’s Handy mobile app makes the A1 Mini more approachable than most open-frame machines, but it remains a slicing tool, not a guided design environment. The app does not prevent a child from starting a print with wrong settings. |
|
ToyBox Alpha Two — simplest start for ages 4–8 |
|
|
Build volume |
Small — suits toys, small figures, and badges |
|
Enclosure |
Enclosed |
|
Software |
ToyBox app — curated, age-filtered catalog |
|
Library |
Thousands of models; licensed content from major brands |
|
Best for |
Ages 4–8 who want immediate results with zero parent setup time |
|
Price range |
~$200 |
|
Watch out for |
Locked ecosystem — files cannot be exported to other printers |
ToyBox removes almost every decision from the printing process. The catalog is curated and age-appropriate — content with weapons, mature themes, or IP violations is filtered by default. Setup takes minutes. The first print happens the same afternoon the box arrives.
The long-term limit is flexibility. Models exist inside the ToyBox ecosystem and cannot be exported when a child outgrows the catalog. When a 9-year-old wants to design from scratch or print a file found elsewhere, the machine has no upgrade path.
|
Editor note: ToyBox’s locked ecosystem is a feature for ages 4–6 and a frustration for everyone older. The window where it fits perfectly is narrow. After age 7 or 8, a guided-but-open printer like the X-MAKER JOY covers the same simplicity without the ceiling. |
How to Set Up Your Child’s First Month of 3D Printing

Wrong setup is the most common first-month failure. The printer arrives, the child is excited, someone starts a large model on day one without testing anything first, and a 4-hour print fails at the 3-hour mark. Check the setup before printing anything ambitious.
Work through these four steps before the first real project:
- Choose based on age and patience first, spec sheet second. Write down the child’s age
three likely first projects, and your own tolerance for troubleshooting. Let those answers drive the choice before comparing build volumes or print speeds.
- Print a small test model first. A simple name tag or small toy prints in under one hour. If it sticks well, layers look clean, and the child removes it safely, the setup is correct. A second test costs 20 minutes. A failed large model costs an afternoon.
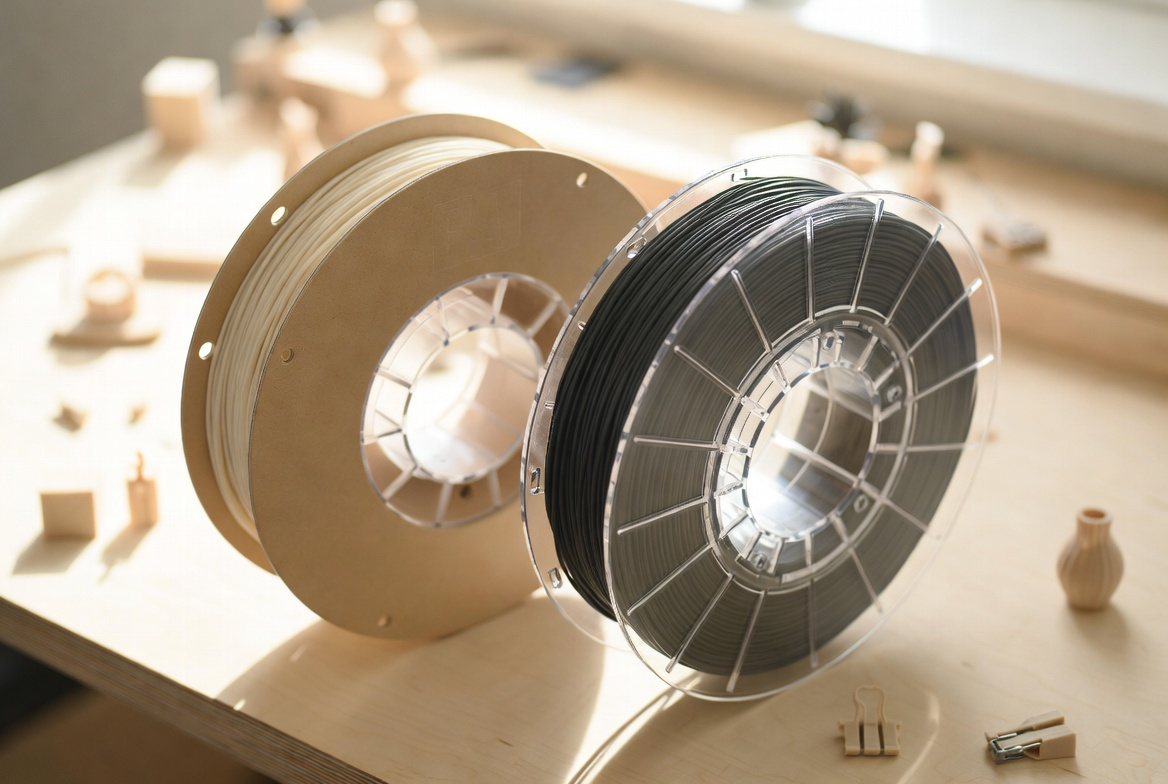
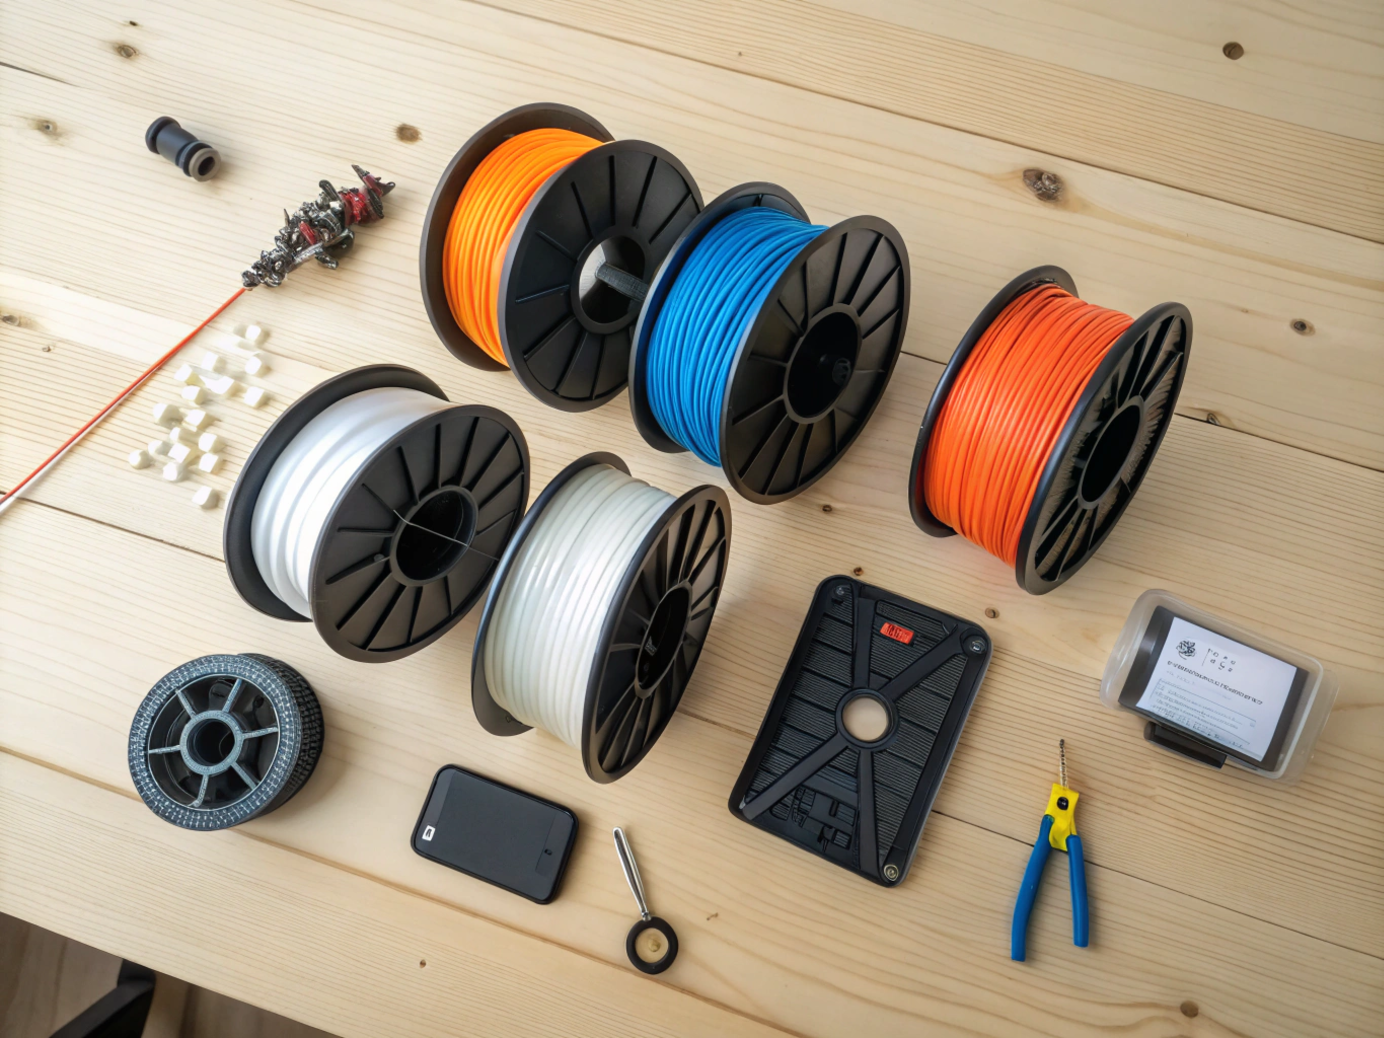
- Seal filament from day one. Keep filament in an airtight container with silica gel between sessions. Moisture causes bubbling, weak layers, and nozzle clogs. Most beginner failures trace to wet filament, not printer errors.
- Check ventilation before every session. Place the printer near an openable window. CDC/NIOSH recommends exhaust controls for 3D printers in shared indoor spaces. An open window covers most of the requirement for families using PLA.
|
Scaling trap to avoid: Scaling in the slicer applies to the bounding box, not to the fit-critical dimensions. A toy figure scaled to 120% may be 20% larger than the child expected in all three directions. Always confirm final dimensions in the slicer preview — width, height, and depth — before starting a long print. |
Best Filaments for Kids’ First Prints

|
Filament |
Strength |
Heat Limit |
Enclosure |
Best Kids’ Use |
|
PLA |
Medium |
~60°C |
No |
First builds, toys, indoor display props, school models |
|
PETG |
Good |
~80°C |
No |
Outdoor props, wearable accessories, belt clips, convention pieces |
|
ABS |
High |
~100°C |
Yes — required |
Advanced only — not recommended without enclosed printer and good ventilation |
|
TPU |
Flexible |
~80°C |
No |
Grips, connectors, phone cases, soft hinges, strap loops |
|
Resin (SLA) |
Detail |
Varies |
Ventilation required |
Fine accessories, badges, gems — adults only, not for children |
PLA is the right starting material. It prints easily, sands cleanly, and produces low odor compared to ABS. The failure case is specific: PLA softens around 60°C — below the interior temperature of a parked car on a summer day and close to what a prop sitting in direct outdoor sun can reach. Use PLA for first builds and indoor projects. Switch to PETG for outdoor events and physical-contact parts.
|
ABS and resin: ventilation is not optional ABS emits styrene fumes during printing. Resin emits significantly more hazardous photoinitiators. Always print in an enclosed machine with active ventilation or a HEPA+carbon filter. Do not run these in a sealed bedroom or small room without airflow regardless of print duration. Start children on PLA only. Introduce other materials only once both parent and child are comfortable with the full printing workflow. |
From Unboxing to Regular Use — What the First Month Looks Like

Post-setup takes longer than the printer itself. Unboxing and first print in one afternoon is realistic. A reliable, repeatable printing habit usually takes two to four weeks to establish. Budget both stages, not just the printer price.
The first session
Place the printer on a stable table near an openable window. Load PLA following the on-screen guide, keeping fingers away from the nozzle area. Choose a model that prints in under one hour. Watch the first layer — it should stick flat and even across the surface. A dragging or lifting edge is better caught at minute one than discovered at minute 45. Let the print cool before removing it. Children should not reach inside until the temperature display drops.
Week two and beyond
After three to five successful small prints, the child understands the rhythm: load, choose, start, wait, remove. Introduce design tools at this point — not before. The AOSEED app’s AI MiniMe and AI Doodle tools let kids move from choosing models to making their own without CAD software. Most children make that shift within two to three weeks of reliable printing.
When the first failure happens
It will happen — a warped layer, a clogged nozzle, a print that sticks too hard. Check three things in order: was the bed cleaned with IPA before the print, was the filament sealed and dry, was the first-layer speed appropriate for the material. Most first-month failures trace to one of those three. Fix the cause, not the symptom.
|
WHEN A TEEN WANTS MORE CONTROL |
|
A teenager does not want preset modes and a locked catalog. They want to design from scratch, test different materials, and understand how the machine works. One failed print from wrong settings is a lesson. Repeated failures from a printer that hides its settings is frustration. Open-frame printers with full slicer access match that goal. For families staying in the AOSEED ecosystem, the X-MAKER’s advanced modes, quick-swap nozzle system, and third-party filament compatibility offer meaningful depth beyond the beginner workflow. The kid-friendly 3D printer lineup covers both ends of that range — guided simplicity for younger children and genuine maker tools for older ones. |

Prevent the Most Common First-Print Failures

Most first-print failures are preventable. Five habits stop the majority of problems before they cost a spool.
|
Habit |
What It Prevents |
|
Keep filament sealed with desiccant |
Bubbling, weak layer adhesion, nozzle clogs from moisture — especially PETG and Nylon |
|
Always print a small test model before a long job |
Wasted multi-hour prints from wrong scale, caught in 20 minutes instead |
|
Scale each model’s fit-critical dimension independently |
Wrong proportions discovered after a 4-hour print rather than a 20-minute pre-check |
|
Clean the build plate with IPA before every print |
Adhesion failures and edge lift on flat-bottomed models — the most common beginner problem |
|
Let the print cool completely before removal |
Torn base layers and scratched build plates from forced early removal |
|
PRINT TIME REALITY CHECK Name tag or badge: 15–30 min print | 10 min finish Small toy (single piece): 1–3 hrs print | 20–30 min finish Articulated figure (multi-part): 6–12 hrs print | 2–4 hrs finish School project model: 2–6 hrs print | 1–2 hrs finish Large costume prop (full section): 20–40 hrs print | 6–12 hrs finish Editor note:Electricity for a 6-hour toy print runs $0.07–$0.11 based on standard 80–100 W printer draw at US average rates ($0.15/kWh). The filament for the same print costs $0.60–$2.00. Failed prints are the real budget line — not the power bill. |
Conclusion
A 3D printer for kids is not about brand reputation or headline print speed. Enclosure, app quality, filament safety, and consistent first-layer adhesion are what separate a printer that gets used from one that sits dark on a shelf after week three.
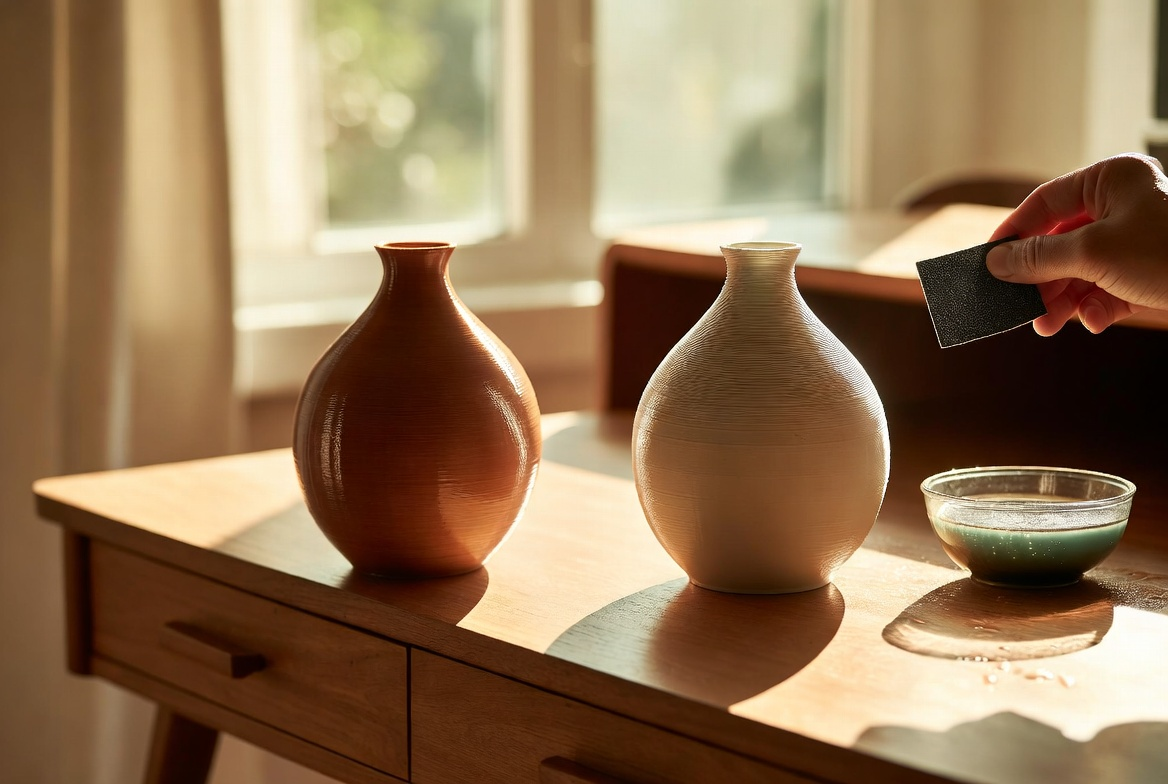
Start with one small project and run the full cycle: print, cool, remove, hand the object to the child. That single finished model teaches more about the workflow than ten buying guides. Learn PLA first, move to PETG when the build needs outdoor durability, add ABS only when you have an enclosed printer and the ventilation to match.
The test print is the single best habit in kids’ 3D printing. Twenty minutes on a small model before a 6-hour job is not patience — it is the only reliable way to confirm settings before the spool is committed. Print the test. Then print the project.
Seam placement and model scaling decisions in kids’ printing work the same way as in any design project: plan before slicing, not after the sections come off the bed. Wrong scale discovered after a 4-hour print costs an afternoon. Wrong scale discovered during a 20-minute test costs 20 minutes.
Do not upgrade the machine until you know what is actually slowing the child down. Wrong filament, poor bed adhesion, and app difficulty are workflow problems. A larger or faster printer does not fix them — it just runs the same mistake more quickly. For families looking to reduce the maintenance loop from the start, the kid-friendly 3D printer lineup and AOSEED’s family-friendly 3D printing platform — enclosed, app-guided, project-led — keep the printer in making-things mode rather than troubleshooting mode.
FAQs
What is the best 3D printer for beginner kids?
For ages 4–12, the AOSEED X-MAKER JOY is the strongest pick — 120 × 120 × 120 mm, fully enclosed, one-press printing, and a weekly-updated Toy Library. For ages 9–16, the X-MAKER adds a touchscreen, larger build area, and quick-swap nozzle system. Both machines skip the setup complexity that makes most 3D printers impractical for non-technical families. Choose your child’s first three projects before choosing the printer — project scope should drive the spec, not the other way around.
At what age can a kid use a 3D printer?
Children can start with 3D printing from around age four or five with adult involvement and an enclosed, guided printer. Adults handle every operational step while the child picks models and watches the object take shape. Around nine or ten, most children can start prints, use design apps, and follow safety rules with light supervision. The real readiness test is behavioral — a child who opens the printer mid-print or touches parts without waiting is not ready for independence regardless of age.
Is PLA okay for kids’ 3D printing?
PLA is the right starting material. It prints at the lowest temperatures of common filaments, produces less odor than ABS, and tolerates settings errors better than any other option. The failure case: PLA softens around 60°C — below the interior temperature of a parked car on a summer day. Use PLA for indoor projects. Switch to PETG for outdoor events. PubMed Central research (2021) confirms that ventilation is recommended even for PLA — always print near an open window.
How much does it cost to run a 3D printer for 1 hour?
A standard desktop 3D printer usually costs about $0.01–$0.02 per hour in electricity when printing PLA. For example, a 6-hour toy print may use about $0.07–$0.09 in electricity, while the filament for that same print may cost around $0.60–$2.00. That means electricity is a small part of the total cost. For families, the bigger expenses usually come from filament, failed prints, clogged nozzles, and replacement parts.
How expensive is 3D printing as a family hobby?
Entry cost: $200–$400 for an enclosed beginner printer. Budget separately for filament ($20–$30/kg), a spare nozzle ($5–$15), and IPA for bed cleaning. A first-year total for active family use typically runs $350–$600 all-in. Subsequent years run $100–$250 depending on print frequency. Budget 20–30% extra filament for the first month’s learning curve.
What should parents look for in a kids’ 3D printer?
In order of importance: an enclosed build area (non-negotiable for under-12 use), auto-leveling (removes the most common setup failure), a guided app with a curated model library (determines long-term use), and simple filament loading (reduces daily accident risk). Speed, brand name, and color options are secondary to all four. Also check spare parts availability — a printer whose nozzles are hard to source is one failure away from becoming unusable.
What should you not 3D print for children?
Avoid printing functional parts that bear load near a child’s face — helmet clips, visor mounts, and strap anchors need adequate wall thickness tested before final use. Check your local event’s prop rules before printing anything resembling a weapon or realistic firearm. Do not print or sell IP-protected character designs without a commercial license. Resin printing is not appropriate for children — the liquid resin, washing process, and UV curing require chemical handling beyond most family setups.
What is the average lifespan of a kids’ 3D printer?
Frames and motors last 5+ years in a well-maintained enclosed printer. Consumable parts wear faster: nozzles every 200–500 print hours, PTFE tubes annually, belts and gears every 1–2 years of heavy use. Active family printing accelerates wear. The practical lifespan for most families is 3–5 years before a part wears out or the child’s projects outgrow the build volume. UL Research Institutes’ emissions work also notes that enclosed machines with active filtration maintain safer indoor air quality over multi-year use than open-frame alternatives.
Sources
- CDC/NIOSH, “Approaches to Safe 3D Printing in Schools, Libraries, and Makerspaces.”
- EPA, “3D Printing Research at EPA.”
- PubMed Central, “Parameters Influencing Ultrafine Particle Emissions From FDM 3D Printers.”
- UL Research Institutes, “3D Printing Emissions Research.”
- AOSEED, “X-MAKER JOY Product Page.”
- AOSEED, “X-MAKER Product Page.”


You may also like
Further reading

Printable STEM Challenges for Grades 4-6 Using 3D Printing

Small Group 3D Printing Activity With One Printer

Elementary STEM 3D Printing: Simple Projects Teachers Can Actually Run


