


3D Printer Nozzle Size Guide: How It Affects Your Prints
Every FDM printer ships with a 0.4mm nozzle. Most people never change it. But swapping nozzle size — a $3 to $15 decision — can cut a six-hour print in half, produce miniature detail that rivals resin, or stop chronic clogs for good. The trick is knowing which size does what job.
Nozzle size controls three things at once: how wide each extrusion line is, how tall a layer can safely be, and how fast material can flow. Get it wrong and you fight print quality, speed, and clogging problems at the same time — often without knowing the nozzle was the cause.
This guide matches each nozzle size to a real print goal, explains what changes when you switch, and tells you when to stay with 0.4mm and when to upgrade.
Quick-pick by 3D printer nozzle size by print goal:
|
If you are printing... |
Use this nozzle |
Layer height starting point |
|
Miniatures, fine detail, small text |
0.2mm – 0.25mm |
0.08mm – 0.12mm |
|
Everyday models, toys, home items |
0.4mm |
0.20mm |
|
Functional parts, faster output |
0.6mm |
0.30mm |
|
Large prototypes, props, draft prints |
0.8mm+ |
0.40mm – 0.50mm |
What 3D Printer Nozzle Size Actually Controls

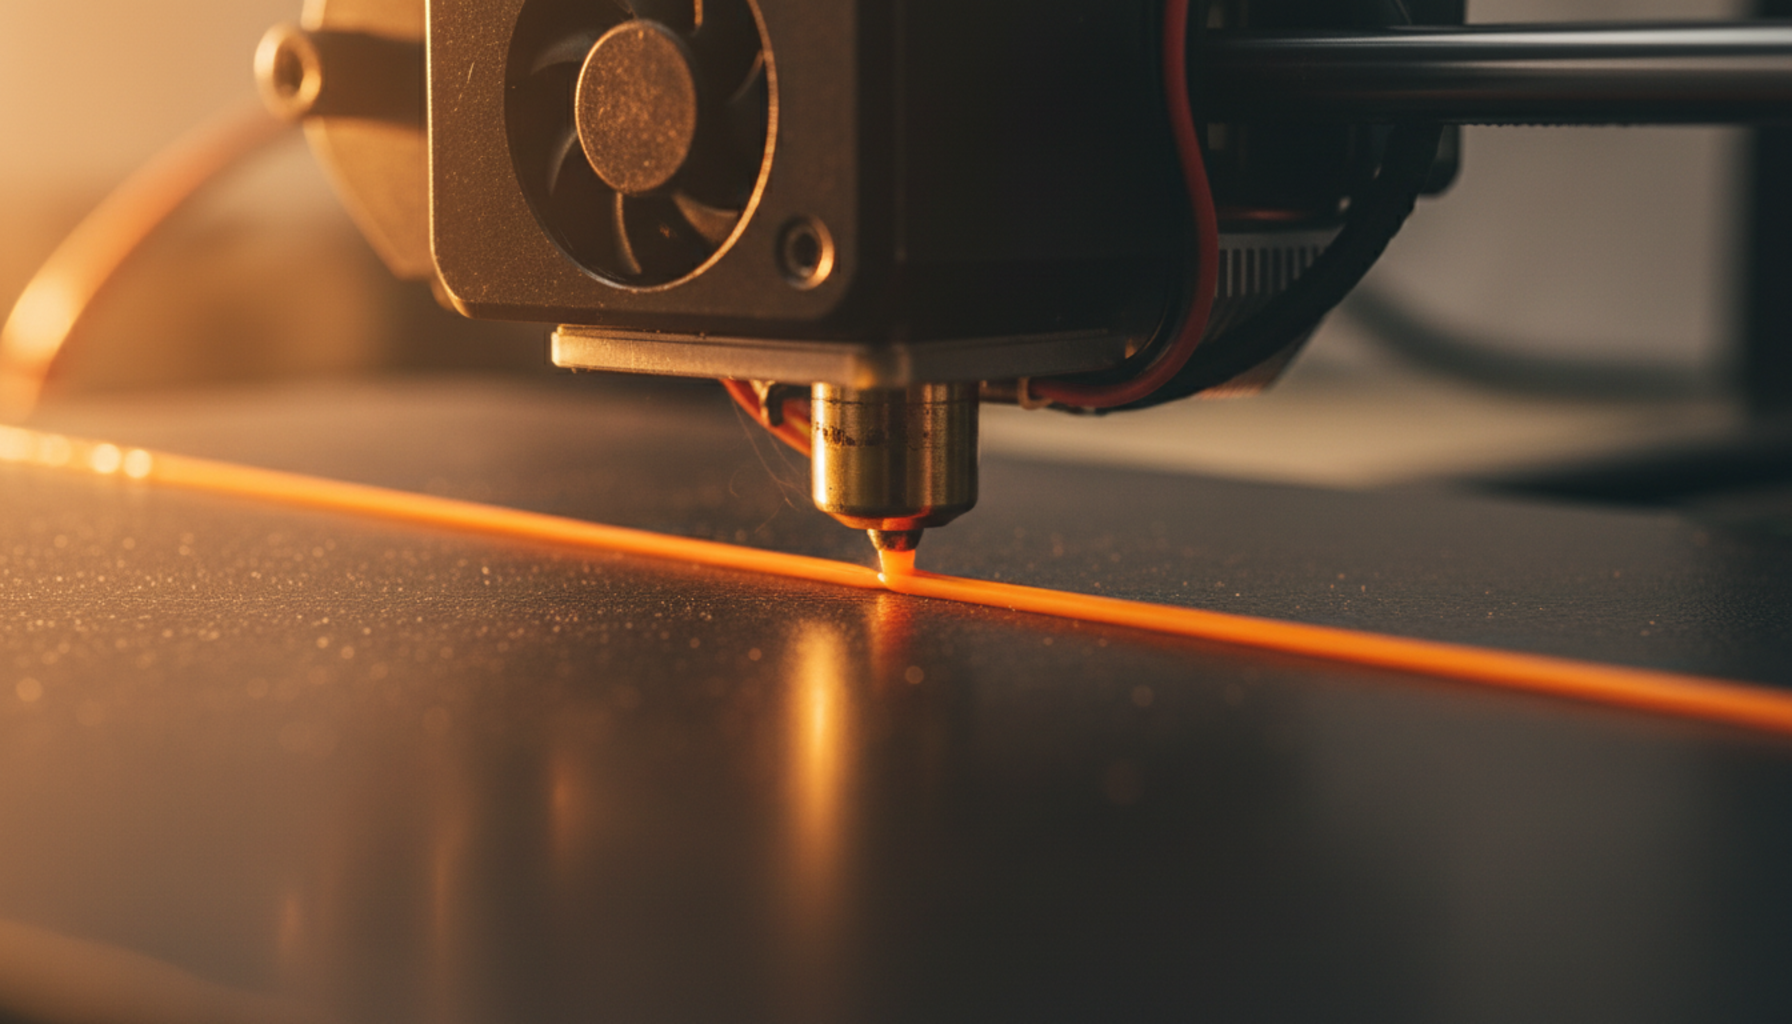
The nozzle sits at the tip of the hotend — the small metal hole where melted filament exits and gets laid down in lines on the print bed. Its diameter directly sets the extrusion line width. Everything downstream — layer height range, flow rate, surface detail, bonding strength — follows from that single measurement.
Nozzle diameter vs. extrusion width
Nozzle diameter is the physical hole size. Extrusion width is the line of plastic after it exits — slightly wider in practice. A 0.4mm nozzle typically lays lines between 0.40mm and 0.48mm wide depending on slicer settings. You can push extrusion width up to around 120% of nozzle diameter for stronger walls, or pull it narrower for finer detail.
Layer height is a separate setting. It controls how tall each printed layer is, not how wide. The two settings work together within a hard limit.
|
The 80% Rule for Layer Height and Nozzle Diameter Maximum layer height must not exceed 80% of nozzle diameter. Exceed this and layers fuse poorly. 0.4mm nozzle → maximum 0.32mm layer height 0.6mm nozzle → maximum 0.48mm layer height 0.8mm nozzle → maximum 0.64mm layer height Per the Prusa Knowledge Base guide on layers and perimeters, going above 80% causes weak layer bonds and rough surfaces regardless of speed or temperature settings. |
Common 3D Printer Nozzle Sizes

Most desktop FDM printers support nozzles from 0.2mm to 1.0mm. Each size solves a different problem.
|
Size |
Best For |
Max Safe Layer Ht. |
Main Trade-Off |
|
0.2mm |
Miniatures, jewelry, fine lettering |
0.16mm |
Very slow · clogs easily with filled filaments |
|
0.4mm |
Everyday prints, toys, PLA, PETG, ABS |
0.32mm |
Not the fastest for large parts |
|
0.6mm |
Functional parts, faster output, TPU |
0.48mm |
Fine text and small features soften noticeably |
|
0.8mm |
Large prototypes, props, draft models |
0.64mm |
Visible layer lines · hotend must keep up with flow |
|
1.0mm+ |
Industrial / large-format builds |
0.80mm |
No fine detail · requires high-flow hotend |
0.2mm — when detail is non-negotiable
A 0.2mm nozzle brings FDM quality close to resin territory. It prints lines narrow enough that layer traces nearly disappear at normal viewing distance. For tabletop miniatures, small logos, and fine architectural models, nothing else in FDM matches it. The catch: a miniature that takes three hours at 0.4mm may run eight to ten hours at 0.2mm. Use only clean, dry, particle-free filament — wood-fill and carbon fiber will block it within minutes.
0.4mm — the standard for a reason

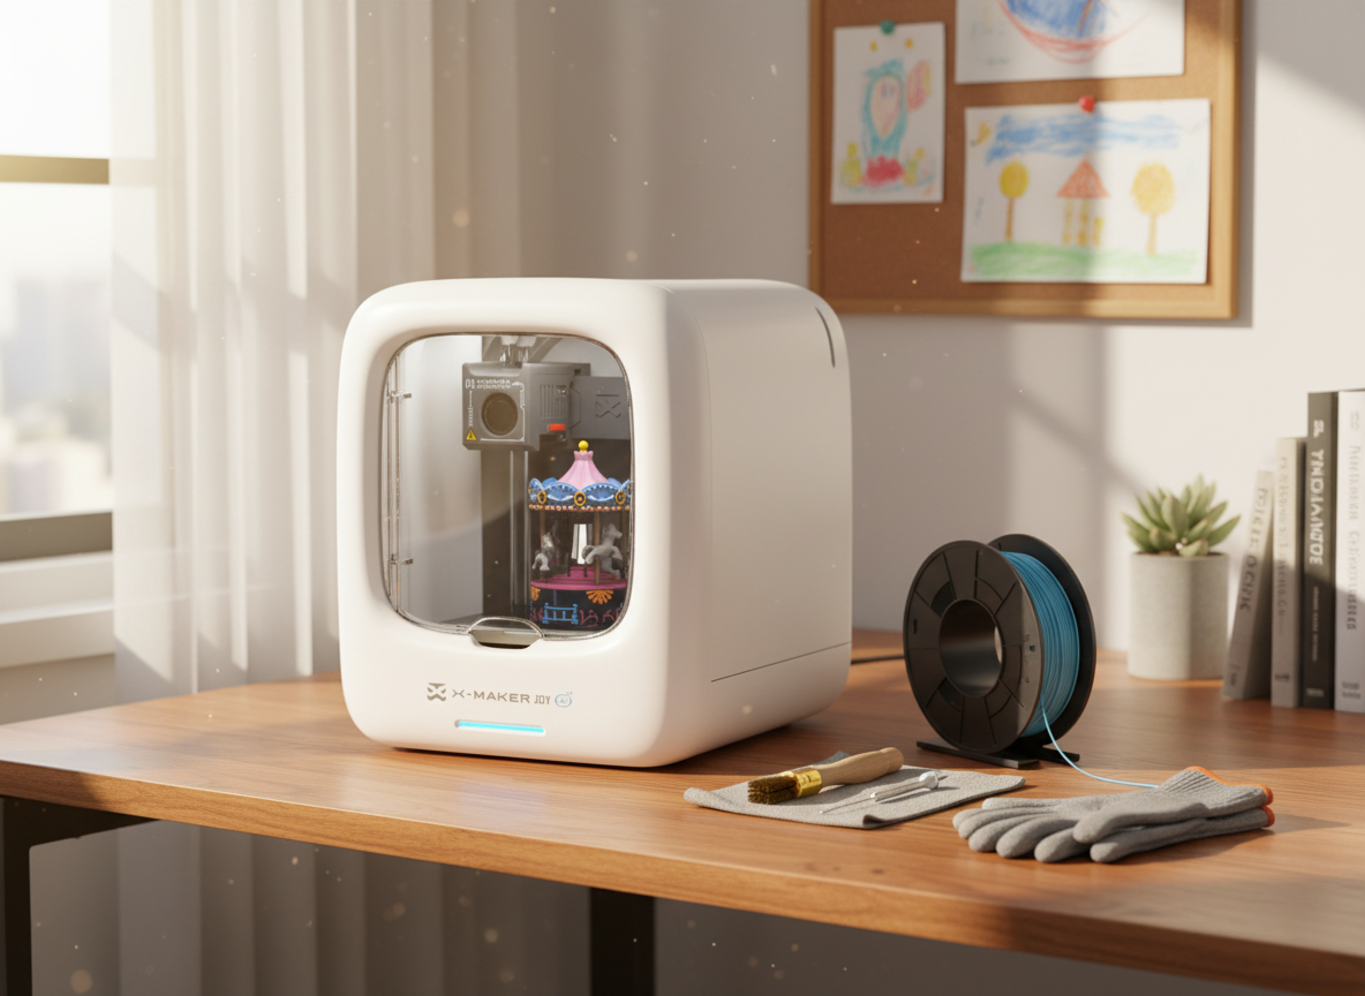
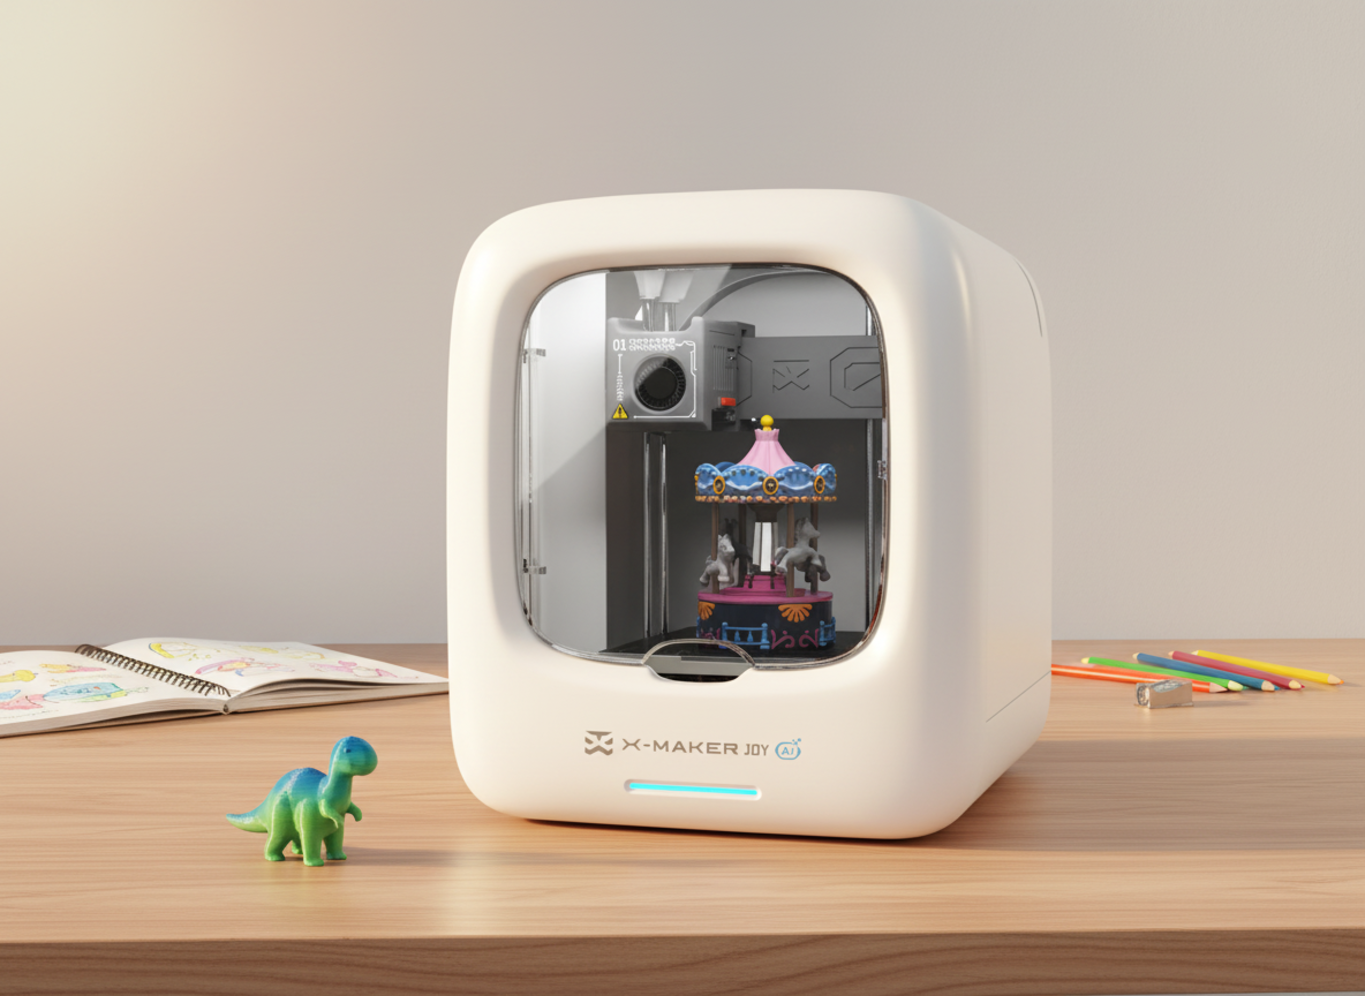
The 0.4mm nozzle ships on nearly every consumer FDM printer because it genuinely sits at the best intersection of speed, detail, and reliability for general use. Most slicer profiles are built around it. Printers designed for family use — including a
guided toy-making printer for younger kids — default to 0.4mm because it needs the least tuning for beginners to get clean first prints.
0.6mm — the most underrated upgrade
Most users skip from 0.4mm straight to asking about 0.8mm. The 0.6mm is the smarter step. It prints faster, makes stronger parts, handles flexible and filled filaments more reliably, and still produces clean output for the vast majority of practical prints. If you regularly print brackets, tool holders, large toys, or anything you'd sand and paint anyway, a 0.6mm nozzle belongs in your kit.
0.8mm and beyond — when speed is the priority
An 0.8mm nozzle moves material roughly four times faster than a 0.4mm at equivalent layer heights. For large props, plant pots, furniture parts, or shape-testing prototypes, the time saved is measured in hours — not minutes. Surface finish shows thick layer lines. Sand, prime, and paint afterward if needed. Check that your hotend can melt filament fast enough before running this size at high speeds.
How Nozzle Size Affects Print Quality

Where smaller nozzles win
Smaller nozzles improve horizontal resolution — the sharpness of features in the XY plane. Small text, logo embossing, fine surface texture, narrow slots, and complex geometry all come out sharper at 0.2mm or 0.25mm than at 0.4mm. Print the same model with embossed text at both sizes at the same layer height and the difference is obvious at small font sizes. Design rule: minimum feature width must be at least equal to your extrusion line width.
Where larger nozzles are misunderstood
Wider lines bond with more surface area. A 0.6mm nozzle often produces fewer visual defects on large flat-sided objects than a 0.4mm nozzle — each line retains heat slightly longer before the next pass cools it, which improves layer fusion. On a big bracket or housing, 0.6mm walls look more uniform, not worse.
The real limit of larger nozzles is geometry: a feature has to be at least as wide as the extrusion line to print correctly. A 0.6mm nozzle cannot cleanly reproduce 0.4mm-wide geometry. The slicer will skip or approximate it.
How Nozzle Size Affects Print Speed
Larger nozzle → wider lines → fewer passes → faster print. The mechanism is volumetric flow. The formula: flow = layer height × line width × travel speed. Push any of the three values too high and the hotend cannot melt filament fast enough, causing under-extrusion.
A 0.6mm nozzle raises both safe line width and safe layer height simultaneously. Switching from 0.4mm to 0.6mm can cut print time by 30–50% on large parts without touching the speed slider. According to
Prusa Research's nozzle diameter analysis, printing at 0.4mm layer height versus 0.2mm nearly halves print time — and a larger nozzle makes that higher layer height achievable without adhesion problems.
|
Speed benchmark by method: 0.4mm nozzle at 0.20mm layers → baseline 0.4mm nozzle at 0.28mm layers → ~28% faster, minimal quality loss 0.6mm nozzle at 0.30mm layers → ~45% faster, stronger layer bonds 0.8mm nozzle at 0.50mm layers → ~70% faster, visible layer lines |
Nozzle Size and Layer Height

Layer height is not fixed by the nozzle — it has a safe range set by the nozzle. Within that range, you tune quality versus speed separately.
|
Nozzle |
Min Layer Ht. (25%) |
Recommended Default |
Max Layer Ht. (80%) |
|
0.2mm |
0.05mm |
0.10mm |
0.16mm |
|
0.4mm |
0.10mm |
0.20mm |
0.32mm |
|
0.6mm |
0.15mm |
0.30mm |
0.48mm |
|
0.8mm |
0.20mm |
0.40mm |
0.64mm |
For a 0.4mm nozzle, 0.20mm is the right starting point for 90% of everyday prints. Drop to 0.12mm or 0.16mm for display models. Push to 0.28mm when you want to finish faster and detail is not the priority.
For a 0.6mm nozzle, 0.30mm is the working default. At this setting, most parts finish about 40% faster than 0.4mm at 0.20mm while producing comparable or better structural quality. Use 0.20mm when you want cleaner surfaces from the larger nozzle.
0.4mm vs 0.6mm Nozzle — The Most Common Upgrade Decision
If you only own one nozzle, make it 0.4mm. If you are ready for a second, make it 0.6mm. They do different jobs well — and most active setups eventually use both.
|
Factor |
0.4mm Nozzle |
0.6mm Nozzle |
|
Surface detail |
Better — sharp text, fine features |
Good enough for most practical prints |
|
Print speed |
Baseline |
30–50% faster on large parts |
|
Layer strength |
Good |
Better — wider bonding surface area |
|
Clog risk |
Low |
Lower — larger bore tolerates more |
|
Slicer setup |
Easy — presets built around it |
Requires updating nozzle size + line width + layer height |
|
Best for |
Detail, everyday prints, beginners |
Functional parts, large prints, second nozzle upgrade |
|
WHEN A KID IS THE ONE PRINTING |
|
A child does not want to think about nozzle diameter. They want to design something, watch it build, and hold the result. One bad print from wrong nozzle settings breaks that loop fast. Budget open-frame kits usually end with a parent recalibrating on a weekend. Pre-assembled enclosed machines designed for ages 4–12 — like those in the kid-friendly 3D printer lineup — ship with a pre-tuned 0.4mm setup and guided app profiles that eliminate most manual nozzle decisions for the first months of use. If a child is the main user, nozzle selection should be part of the printer choice, not an afterthought. |
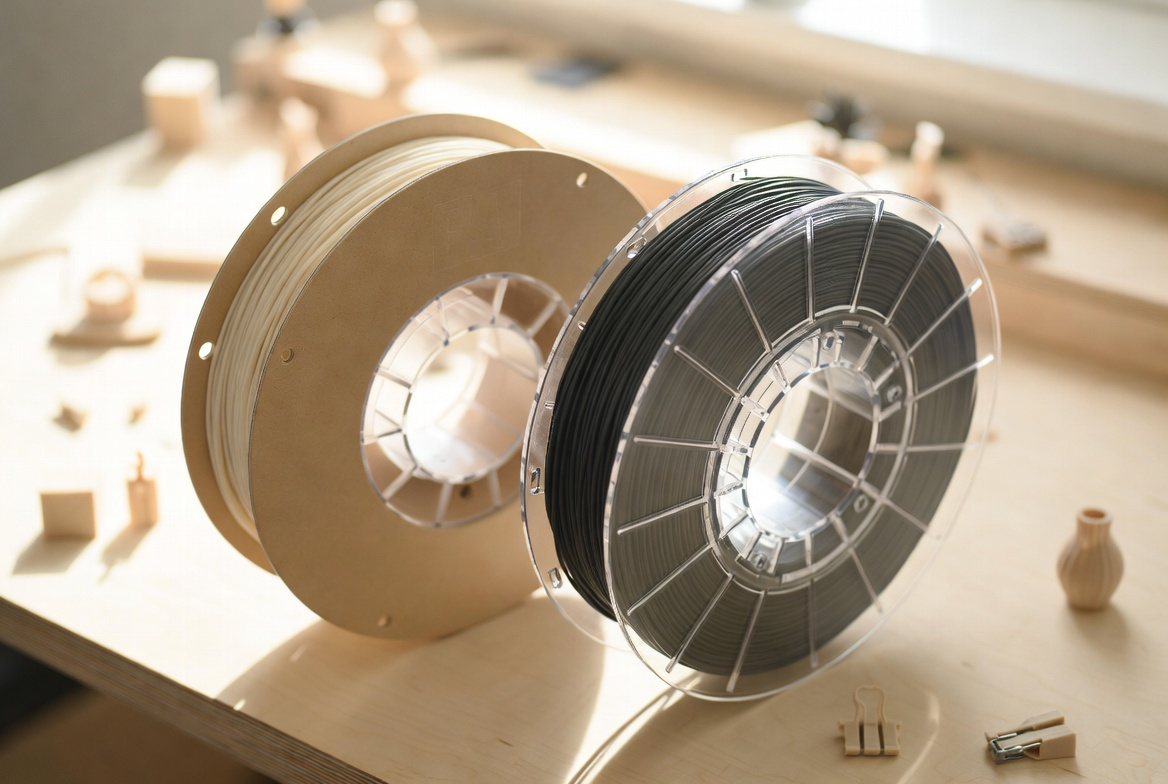
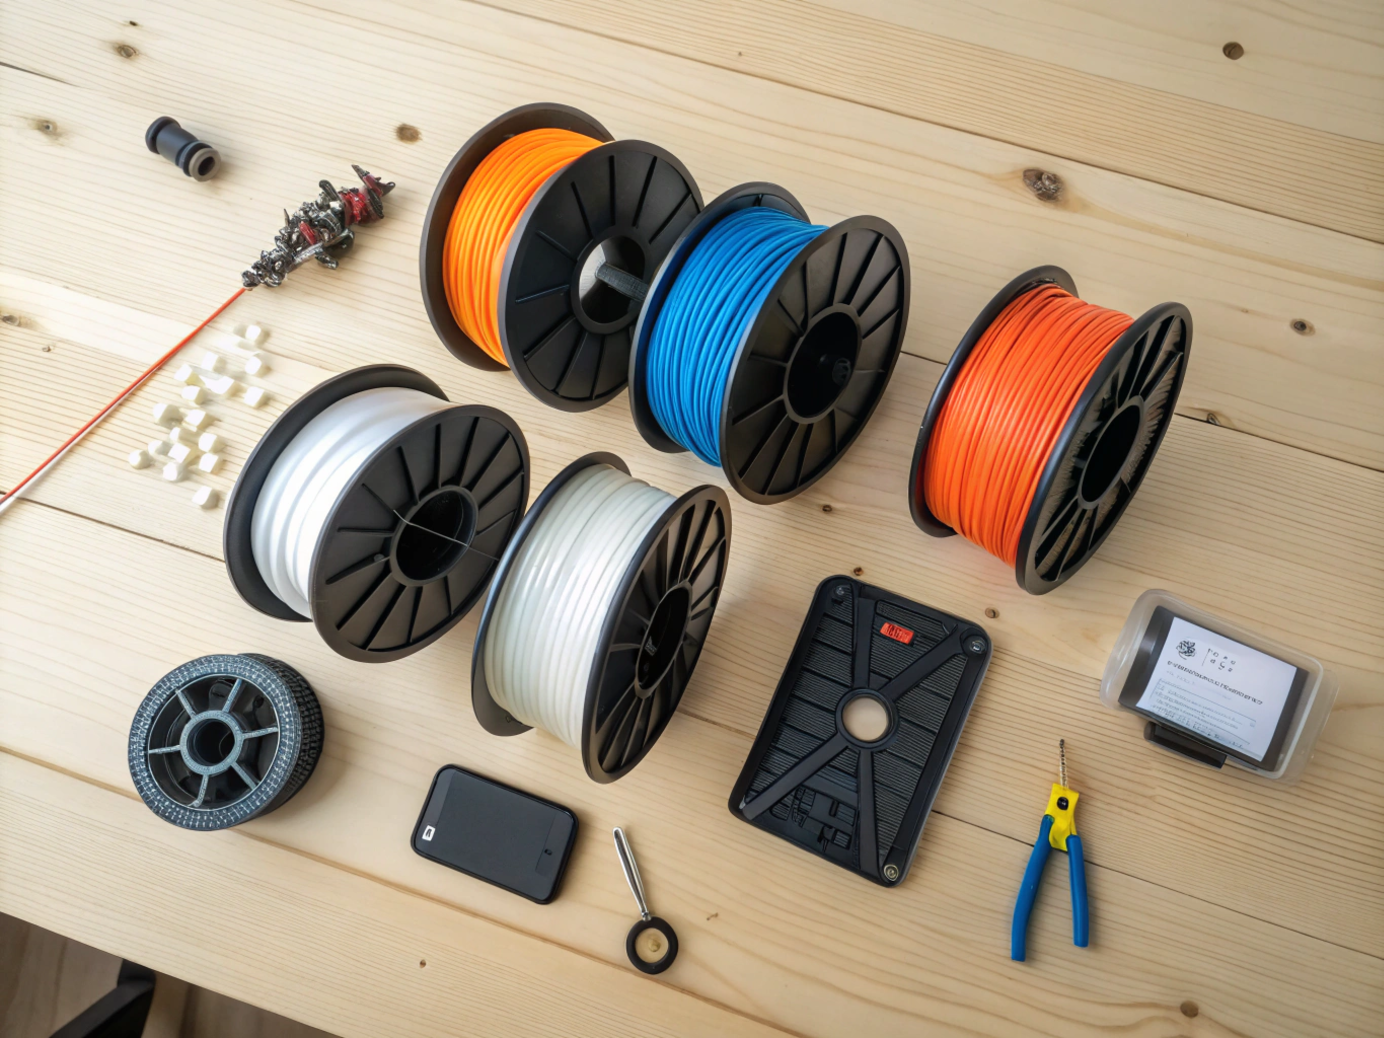
Nozzle Size and Filament Compatibility

Some materials cannot safely run through small nozzles. Others will destroy a soft brass nozzle in a matter of weeks. Match nozzle size and material to the filament type.
|
Filament |
Recommended Size |
Recommended Material |
Why |
|
PLA |
0.4mm |
Brass |
Clean melt, minimal wear on brass |
|
PETG / ABS |
0.4mm – 0.6mm |
Brass or stainless |
Higher temps; brass handles both well |
|
TPU / flexible |
0.6mm+ |
Brass or stainless |
Wider bore reduces backpressure on soft filament |
|
Carbon fiber fill |
0.6mm+ |
Hardened steel or ruby |
Short fibers are abrasive — brass wears in weeks |
|
Wood-fill |
0.6mm – 0.8mm |
Hardened steel |
Wood particles need a wider path to avoid jams |
|
Glow / metal-fill |
0.6mm+ |
Hardened steel or tungsten carbide |
Hard mineral particles rapidly ream brass bores |
Brass is soft. Carbon fiber, glow, and metal-fill filaments contain particles harder than brass and will gradually widen the opening — turning a precise 0.4mm hole into a ragged 0.5mm+ gap.As documented in E3D’s abrasive filament research, even 500g of carbon fiber composite causes measurable bore wear on brass. A hardened steel nozzle lasts 10 times longer in these conditions and costs only a few dollars more
Nozzle Material: The Other Part of the Decision

Size gets most of the attention, but material determines how long the nozzle lasts and which filaments it can handle cleanly.
|
Material |
Temp Limit |
Wear Resistance |
Best For |
Relative Cost |
|
Brass |
~300°C |
Low |
PLA, PETG, ABS, standard filaments |
$ |
|
Hardened Steel |
~500°C |
High (10× brass) |
Carbon fiber, glow, wood-fill, metal-fill |
$$ |
|
Stainless Steel |
~500°C |
Medium |
Food-contact prints, corrosion-sensitive use |
$$ |
|
Ruby-tipped |
~500°C |
Very High |
Any abrasive, high-volume use |
$$$ |
|
Tungsten Carbide |
~500°C |
Extreme |
Metal-fill, boron carbide, heavy abrasives |
$$$$ |
For casual PLA and PETG, brass works perfectly. The moment abrasive filaments enter the rotation, hardened steel pays for itself before the first spool runs out. Premium ruby or tungsten carbide nozzles are worth it only for high-volume use or ongoing abrasive work — for occasional prints, hardened steel is the practical ceiling.
When to Change Your Nozzle Size
Switch to a smaller nozzle when:
- Text, logos, or surface features look blurry or rounded on the top surface
- You are printing miniatures, jewelry samples, or fine-detail display models
- A 0.4mm print looks acceptable but you need noticeably sharper horizontal detail
Switch to a larger nozzle when:
- Print times feel excessive for the level of detail the part actually needs
- You are printing structural parts where strength matters more than aesthetics
- Filled or flexible filaments keep clogging at 0.4mm
- The model is large and flat-sided — detail loss from 0.6mm will not be visible
|
After every nozzle change — update these slicer settings before printing: Nozzle diameter (obvious, but easy to forget) Line width / extrusion width (usually auto-calculates from nozzle diameter in most slicers) Layer height (move to the appropriate safe range for the new nozzle) Flow rate (run a calibration cube first — do not launch a long print immediately) The Prusa Knowledge Base guide on nozzle profiles walks through exactly what to update in Prusa Slicer and compatible tools. |
Conclusion
The 0.4mm standard exists for good reason — it is the best single nozzle for the widest range of everyday prints. But it is a starting point, not a ceiling. A 0.6mm nozzle on a bracket or large toy finishes faster and bonds stronger. A 0.25mm nozzle on a miniature produces detail that surprises anyone used to standard FDM output. A hardened steel nozzle on any abrasive filament saves the expense of replacing worn brass every few hundred grams.
Match nozzle size to the job, update slicer settings when you switch, and keep the right nozzle material for the filament you run. Those three habits solve the majority of print quality and clogging issues that most people blame on temperature, speed, or the printer itself.
Pre-assembled enclosed machines designed for ages 4–12, like the $299 AOSEED X-MAKER JOY, ship with over 1,500 ready-to-print models. These machines are built to handle most nozzle issues directly through the app before they ever reach the child.
FAQs
What size 3D printer nozzle should I use?
Start with 0.4mm. It ships on almost every consumer FDM printer and handles PLA, PETG, ABS, TPU, toys, home items, and basic functional parts without requiring much fine-tuning. Most slicer profiles are built around it. The only time you need a different size immediately: miniatures (try 0.25mm), large structural parts (try 0.6mm), or very large prints where speed is the priority (try 0.8mm). For everything else, 0.4mm is the answer until you hit a specific limitation it cannot solve.
What is the difference between 0.4 and 0.6 nozzles?
Detail versus speed and strength. A 0.4mm nozzle produces sharper text, cleaner small features, and crisper corners. A 0.6mm nozzle lays down wider lines that print faster and bond more strongly between layers. For decorative models and anything where surface sharpness matters, 0.4mm is the better choice. For brackets, tool holders, large toys, and anything you plan to sand or paint, 0.6mm finishes faster and usually comes out structurally tougher. Many active users keep both — 0.4mm as default, 0.6mm for large or functional jobs.
Can you use 1.75 mm filament in a 0.4 mm nozzle?
Yes — these are two completely separate measurements. The 1.75mm number is the diameter of the filament rod before it enters the hotend. The 0.4mm number is the diameter of the hole the melted plastic exits through. Most modern desktop FDM printers are built for 1.75mm filament and ship with a 0.4mm nozzle — that combination is the current consumer standard. Check your printer's specifications before buying filament. Some older or larger-format printers use 2.85mm filament instead.
Do I need different size nozzles for a 3D printer?
Not to get started. A 0.4mm nozzle handles most beginner projects — toys, organizers, simple tools, and decorative models — without issue. Additional nozzle sizes become useful once you know what you print regularly: a smaller nozzle for miniatures, a larger one for big functional parts, a hardened version for abrasive filaments.
How small can I print with a .4 nozzle?
Any feature narrower than your extrusion line width — roughly 0.40mm to 0.48mm — is at risk of being skipped by the slicer or printed poorly. Very fine text, sub-millimetre grooves, tiny pins, and walls below 0.8mm may not reproduce cleanly. The fix: design walls as clean multiples of extrusion width (0.8mm, 1.2mm, 1.6mm for a 0.4mm nozzle) and preview the sliced file before printing to confirm small features appear in the toolpath.
Is a 0.6 nozzle worth it?
Yes, if you print functional parts, large models, or flexible filament regularly. A 0.6mm nozzle finishes large parts 30–50% faster, bonds layers more strongly, and passes flexible and filled filaments with less resistance. In practical terms: a part that takes four hours at 0.4mm might take under 2.5 hours at 0.6mm with comparable structural quality. The trade-off is a modest loss in fine detail — text looks slightly softer and very small features may not reproduce as cleanly.
Practical tip: test it on a simple bracket or box first and compare time and strength against your 0.4mm result. Most people who try 0.6mm keep it as a permanent second nozzle.
Can you print a 0.2 layer with a 0.4 nozzle?
Yes — 0.2mm layer height with a 0.4mm nozzle is the most common everyday FDM setting. At 50% of nozzle diameter, it sits comfortably in the ideal range for layer fusion and surface quality. Go lower (0.12mm or 0.16mm) for smoother display models; go higher (0.28mm) for faster output when detail is not critical. Avoid pushing past 0.32mm — that is the 80% ceiling for a 0.4mm nozzle, and above it layer bonds weaken noticeably.
Is a 0.4 mm nozzle good enough?
For most 3D printing use cases, yes — unambiguously. It handles PLA, PETG, ABS, TPU, and most standard filaments without issue. It produces clean enough detail for toys, organizers, household items, basic mechanical parts, and display models. It has lower clog risk than 0.2mm and better resolution than 0.6mm or 0.8mm.
The cases where 0.4mm genuinely falls short are specific: very fine miniatures or embossed text (go smaller), strong functional parts where you need better layer bonding (go larger), or large prints where you want to save several hours (go larger). If none of those apply right now, the 0.4mm nozzle already on your printer is the right tool.
Sources
- Prusa Knowledge Base, "Layers and Perimeters."
- Prusa Knowledge Base, "Creating Profiles for Different Nozzles."
- Prusa Research Blog, "Everything About Nozzles with a Different Diameter."
- E3D Online, "Are Abrasives Killing Your Nozzle?"


You may also like
Further reading

Printable STEM Challenges for Grades 4-6 Using 3D Printing

Small Group 3D Printing Activity With One Printer

Elementary STEM 3D Printing: Simple Projects Teachers Can Actually Run


