


How One 3D Printer Can Support Small-Group STEM Learning
The most common reason teachers stop using a 3D printer is not a technical failure. It is the management challenge: 30 students, one printer, finite sessions. The printer becomes a bottleneck and eventually a shelf ornament.
The answer is not a different printer. It is a different classroom structure. When one 3D printer is managed as a rotating station rather than a whole-class tool, it produces more learning per week than most multi-printer setups — because every group's session is purposeful, observed, and documented.
This guide covers how to run a single 3D printer across five small groups, how to prevent the most common 3D printing mistakes beginners encounter in schools, five collaborative project types where groups contribute individual pieces to a shared outcome, and how to use the AOSEED X-MAKER JOY's app-led workflow to reduce teacher management time during each group's session.
|
5 groups One printer supports a 30-student class in rotating sessions |
7 mistakes Common 3D printing mistakes beginners make — all preventable |
5 projects Collaborative designs where groups contribute interlocking pieces |
6 subjects STEM model guide covers maths, biology, physics, chemistry, engineering, geography |
One Printer, Many Groups — The Rotation Strategy

MissTechQueen's guide, 3D Printing in the Classroom: Everything You Need to Know, identifies the rotation model as the most effective classroom 3D printing structure — because it keeps the printer continuously in use while ensuring every group has a clearly defined role during every lesson, whether or not they are at the printer.
The Five-Group Rotation Model
A class of 25–30 students divided into five groups of five to six means each group gets a full printer slot approximately once every five lessons. Within each slot, the group does three things: submits their design file, monitors the first layer, and schedules their collection session. All other work — design, iteration, post-print decoration, peer review — happens while the printer is printing for another group.The printer is never idle. The class is never waiting.
5-Group Rotation Plan — Printer Zone Activity + Parallel Group Work
|
Lesson slot |
Group in the printer zone |
What they do at the printer |
What other groups do meanwhile |
|
Slot 1 |
Group A submits file / Group B observes print completion |
Group A: finalize design file and send to printer queue. Group B: collect their completed print from build plate. |
Groups C, D, E: work on design phase — sketching, measuring, building CAD model in Tinkercad |
|
Slot 2 |
Group C submits file / Group A paints and labels their print |
Group C: load filament color, submit file, start print. Group A: post-print decoration session. |
Groups B, D, E: peer review session — compare each other's designs, identify one improvement each |
|
Slot 3 |
Group D submits / Group C collects print |
Group D: submit file, confirm first layer. Group C: collect, test their printed object against the success criteria. |
Groups A, B, E: writing phase — each student documents their design decision and predicts what happens at the test |
|
Slot 4 |
Group E submits / Group D tests |
Group E: final group submits file. Group D: runs load test or function test on their completed print. |
Groups A, B, C: present to each other in pairs — describe design, explain one thing they would change |
|
Slot 5 |
Group E collects / Group B tests |
Group E: collect their print. Group B: runs their test session — records pass or fail against criteria. |
Groups A, C, D: iteration planning — students with failed tests redesign; students with passing tests design the next challenge |
|
The Key Rule: The Printer Does Not Wait The rotation system works if and only if the print queue is managed by the teacher before each lesson. Groups should submit design files digitally at least 24 hours before their slot. The teacher reviews the file, confirms it is printable, and loads it for the session. This preparation step eliminates the most common time-wasting moment: a group arriving at the printer with a design that has not been reviewed. Five minutes of daily queue management saves 45 minutes of disrupted classroom time per week. |
Common 3D Printing Mistakes — What Beginners Encounter and How to Prevent Them

3D printers for schools fail to reach their potential in most classrooms for one reason: the first few failed prints undermine teacher confidence before the methodology is established. The mistakes below are not equipment failures — they are setup and settings failures, and they are all preventable.
The most important framing for teachers and students: a failed print is not a wasted session. It is diagnostic data. The group that diagnoses why their print failed and corrects the parameter has completed a real engineering troubleshooting cycle. Document every failure with a note and a photograph. The failure log becomes part of the assessment portfolio.
7 Common 3D Printing Mistakes for Beginners — What Causes Them and How to Fix Them
|
Common 3D printing mistake |
When beginners encounter it |
How to prevent it — practical classroom fix |
|
First layer not sticking to bed |
Print #1 and print #2 — the most common beginner failure |
Run the bed calibration wizard before each new roll of filament. Check that the build surface is clean (IPA wipe). Start at 60°C bed temp for PLA. |
|
Spaghetti print — the model collapses mid-print |
Usually a supports problem or overheating on thin upper sections |
Add automatic supports in the slicer for any overhang over 45°. Reduce print speed by 20% for the upper sections of tall thin models. |
|
Print warps or lifts at the corners |
Usually happens on large flat models or if ambient temperature is cold |
Use a brim (3–5 mm) around the model's base in slicer settings. Keep the printer away from open windows and air conditioning vents. |
|
Visible layer lines too rough |
Layer height set too high — 0.3 mm or above produces a visibly rough surface |
Set layer height to 0.15–0.2 mm for display models. Reserve 0.3 mm for structural prototypes where appearance does not matter. |
|
Model dimensions are wrong after printing |
Scale was not checked in the slicer — model printed at 100% digital scale but incorrect physical size |
Always check the slicer preview against the intended real-world dimensions. Print a test cube (20 mm) before the final model on any new material. |
|
Nozzle clog mid-print (filament stops extruding) |
Usually happens when changing filament or after printing flexible or composite materials |
Purge old filament completely before loading new. Use cold pull technique monthly to clear partial clogs. Keep filament in sealed containers. |
|
Support material fused to the model (hard to remove) |
Support interface settings too close to the model — support touches the surface directly |
Set support interface distance to 0.2 mm (Z gap). Use tree supports rather than grid supports for organic shapes. |
Three mistake-prevention habits that experienced school 3D printing teachers recommend:
- Run a test cube before every new roll of filament: a 20 mm cube takes 15 minutes. If it prints cleanly, the filament is fine. If it warps or strings, fix the settings before committing 2 hours to a group project print.
- Keep a classroom 3D printing log: date, model, material, settings, result. After 10 sessions, patterns become visible — which settings cause which problems for your specific printer in your specific room.
- Assign a 'first layer monitor' role in each group: one student watches the first 5 minutes of every print and immediately reports any sign of lifting, gaps, or stringing. Catching a failed print in minute 3 saves 90 minutes of unrecoverable time.
Engaging Students in Collaborative Design Projects

Why Collaborative 3D Projects Work in a One-Printer Classroom
The most powerful format for a one-printer school classroom is the modular project: a large outcome that consists of interlocking individual contributions, each of which is the right size for one group's print slot. Instead of five groups each printing independent objects, five groups print five pieces of the same thing.
This structure produces one additional benefit: the groups must coordinate their designs before printing. They need to agree on interface dimensions, connection mechanisms, and shared standards. This coordination is systems engineering at the Grade 5 level — and it happens as a natural consequence of the project structure.
5 Collaborative Project Formats — What Each Group Prints and How It Connects
|
Project title |
What each group prints |
How pieces connect |
STEM subject |
|
Miniature city |
One sector per group: park, residential, industrial, transport hub, power station |
All buildings share a common grid plate (30 mm × 30 mm footprint) — snaps together at the end |
Geography, urban planning, engineering |
|
Solar system scale model |
Each group responsible for one planet and its scale ring |
All models mount to a common central hub piece printed by the teacher |
Astronomy, mathematics (scale), science |
|
Working simple machines set |
Each group designs one machine: lever, pulley, wheel and axle, inclined plane, wedge |
Set displayed together — students demonstrate each machine's mechanical advantage |
Physics, engineering, mathematics |
|
Topographic map of local area |
Each group maps one grid square of a local landscape using online elevation data |
Grid squares snap together to form the complete map — contour lines aligned across squares |
Geography, mathematics, earth science |
|
Human body system models |
Each group prints one system: skeletal, digestive, circulatory, nervous, respiratory |
Displayed side by side on a labelled anatomy wall |
Biology, health science |
The AOSEED Toy Library provides modular component models for several of these project types — topographic tile sets, building footprint templates, and anatomy model series are available as pre-designed modular downloads. Groups can also modify these templates in the design app to add their own specific content before printing.
Supporting Hands-On Learning Across STEM Subjects

Practical Uses of a 3D Printer in STEM Education
A 3D printer in a school becomes a sustained STEM tool when it is planned into the curriculum across multiple subjects, not used for one science unit and then stored. The guide below maps one model per subject to the specific learning outcome it produces. Each model is appropriate for a small group session and produces a physical object the class keeps and uses as a reference tool for the rest of the term.
STEM Subject Model Guide — What to Print, How Long, and What Students Learn
|
Subject |
Small-group model to print |
Session time |
Learning outcome |
|
Maths |
Nested geometric solids: sphere inside cylinder inside cube — volume relationship visible |
45–90 min print |
Students prove V_sphere = (4/3)πr³ from a physical comparison, not just a formula |
|
Biology |
Double helix DNA strand (two intertwined spirals) — major and minor groove visible |
60–90 min print |
Students identify base pair positions on a 3D model they can rotate and measure |
|
Physics |
Gear train: three interlinking gears of different sizes — speed ratio demonstrable |
60–80 min print |
Students turn the largest gear and count rotations on the smallest — gear ratio as a felt experience |
|
Chemistry |
Molecular model set: water (H₂O), carbon dioxide, methane — bond angles visible |
30–50 min each |
Students compare bond angles of polar vs non-polar molecules using a physical model they assembled |
|
Engineering |
Arch vs beam comparison: same span, different structural form — load test both |
40–60 min per form |
Students apply identical load to both forms and compare deflection — structural principle demonstrated physically |
|
Geography |
Topographic cross-section of a mountain range — elevation profiles visible as a 3D slice |
60–90 min print |
Students correlate elevation to climate zone — each layer painted to represent a different zone |
|
Tip: Build the School's Curriculum Library Over One Year A single printer used consistently across six subjects produces 6 × 5 groups = 30 group sessions per curriculum unit. After one year of operation, the school has a physical model library covering geology, geometry, molecular structure, mechanical physics, structural engineering, and topography — permanently available for every future class that studies these topics. The printer pays its educational value forward indefinitely. |
Promoting Problem-Solving and Critical Thinking

How 3D Printing Builds the Engineering Problem-Solving Habit
The design-build-test-iterate cycle is the most valuable thing a school 3D printer teaches — and it requires a failed print to activate. A group whose first attempt collapses under load, leaks water, or does not meet the dimensional specification has not wasted their session. They have generated a hypothesis, tested it, and falsified it. What they do next determines whether they are doing engineering or just making.
The table below shows a real bridge design iteration cycle from a Grade 5 engineering session. The group started with a failed design and iterated three times. By version 3, they had developed a hybrid arch-beam structure based on their own testing — not from a textbook.
Engineering Iteration Cycle — How One Group's Three Prints Produced Real Engineering Learning
|
Iteration |
What the group designed |
What the test revealed |
What they changed in the redesign |
|
Version 1 |
Bridge spanning 20 cm — 4 mm rectangular beam profile |
Deflected 12 mm under 200g — exceeded the 5 mm limit |
Increased beam depth from 4 mm to 8 mm — same width, doubled height to increase second moment of area |
|
Version 2 |
8 mm deep beam bridge |
Deflected 3 mm under 200g — within limit. Passed. Challenge: can they pass 500g? |
Added triangular trusses below the beam — introduced triangulation to distribute load across more members |
|
Version 3 |
Trussed beam bridge |
Deflected 1 mm under 500g — significant improvement. Now testing failure load. |
Added a compression arch above the beam — combining beam and arch structural principles in a hybrid design |
Problem-Solving Challenge Formats
|
Challenge format |
What the group is tasked with |
How the iteration is structured |
STEM concept developed |
|
Load-bearing test |
Design a bridge that spans X cm and holds Y grams. Success: holds for 30 seconds. |
Print, test, identify failure mode, redesign, reprint. Minimum 2 iterations. |
Structural engineering: beam theory, triangulation, material stress |
|
Water-tight container |
Design a container that holds 100ml without leaking for 2 minutes. |
Print, fill, observe leakage point, increase wall thickness at that point, reprint. |
Materials science: wall thickness, layer adhesion, precision measurement |
|
Gear ratio challenge |
Design a two-gear system where the small gear turns 3× faster than the large gear. |
Calculate the required tooth count ratio, print, verify with a rotation counter, adjust if needed. |
Mechanical engineering: gear ratio, tooth mesh, rotational speed |
|
Quickest cooling structure |
Design a surface that maximizes heat loss from a warm object in 5 minutes. |
Print, test with warm water and a thermometer, compare to flat surface, redesign with more surface area. |
Physics: thermal conductivity, surface area to volume ratio |
Enhancing Creativity and Design Thinking

The Role of 3D Printing in Fostering Creative Output
3D printing removes the barrier between a creative idea and a physical object. A student who has been told their work is 'good but hard to understand' in every other subject can design a form that communicates a concept spatially — and be assessed on a dimension of intelligence that standard testing does not reach.
The most creative 3D printing school projects are the ones with the most ambiguous briefs. 'Print something that represents justice' produces more learning than 'print a cube with your name.' The ambiguity is the challenge. The design decisions required to translate an abstract concept into a 3D form is higher-order thinking.
5 Creative Small-Group Projects — Across Art, Literature, Music, and STEM History
|
Creative project |
What students design and make |
Subject connection and skill developed |
|
Miniature world-building (literature / art) |
Scale models of settings and characters from a class novel — each group takes one chapter or location |
Inference and visualization from text. Students must extract physical descriptions from the narrative. |
|
Wearable geometric jewelry design |
Necklace pendants using Voronoi cell patterns, tessellation, or fractal geometry — printed in chosen color |
Maths: geometric pattern and symmetry. Design thinking: aesthetic + structural decisions. |
|
Personalized classroom set |
Each group designs and prints a matching set of desk accessories in their group's 'brand' colors and style |
Product design cycle: define a brief, iterate on form, produce a matched set that must fit together aesthetically. |
|
Soundscape sculpture (music / art) |
A 3D form that represents a piece of music — each group listens to the same 20 seconds and designs their interpretation |
Abstract visual communication. Students explain the relationship between their visual form and the sound. No two groups produce the same result. |
|
Inventor tribute model (STEM history) |
Each group researches an inventor and prints a model representing their most significant invention at scale |
Research skills + STEM history. The model becomes the centrepiece of a class exhibition. |
Assessing creative 3D printing projects fairly:
- Assess the design rationale, not just the object. A student who can explain why their form communicates what they intended has demonstrated critical thinking. A student who says 'I just printed something cool' has not — regardless of print quality.
- Build in a verbal presentation component. Each group presents for 3 minutes: what they decided, why, and what they would change. The presentation reveals the design thinking behind the object.
- Use peer assessment for creative projects. Each group reviews one other group's design rationale and identifies one strength and one question they would ask the designer. Students providing quality peer assessment need to understand both the project brief and the design decision.
Simplifying Complex Concepts with Visual Models

Why Tactile 3D Models Are More Effective Than Diagrams
The research basis for 3D printed models in education is straightforward: students who interact with a physical model of a concept score higher on spatial reasoning assessments of that concept than students who studied only from diagrams. The advantage is particularly large for concepts with invisible or inaccessible internal structure — molecular bonds, geological layers, internal organs, mechanical gear meshes.
A diagram can represent these structures. A 3D model lets the student turn the object, trace the structure with their finger, compare it to another model, measure it, and hold it while discussing it. These are qualitatively different cognitive experiences.
Building the School's Permanent Model Library
|
Model category |
What a class of 5 groups can collectively print in one project cycle |
Permanent use after the project ends |
|
Science models |
5 different cross-sections of the earth at different scales, 5 different planetary scale comparisons, 5 different molecular structures |
Stored in labelled trays for every future class studying the same topics — no reprinting needed |
|
Mathematics manipulatives |
Complete set of Platonic solids, Archimedean solids, and comparison volume models (sphere vs cylinder vs cone) |
Available for every geometry lesson without 3D printing time — already in the drawer |
|
Historical artifacts |
Roman arch sections, Greek column orders, ancient tools, monument scale models |
Stored on the classroom history shelf — available for display, student handling, and presentation use |
|
Engineering reference models |
Gear systems at three different ratios, structural forms (arch, beam, truss, cantilever), mechanical advantage tools |
Available for engineering units — students compare printed examples before designing their own |
Conclusion
A single 3D printer in a school is not a limitation. It is a resource that rewards structured use. The classrooms where one printer supports 30 students across a full school year are the ones where the printer is managed as a rotating station, where common 3D printing mistakes are treated as diagnostic data rather than failures, and where each group session contributes to a cumulative model library that the whole school uses.
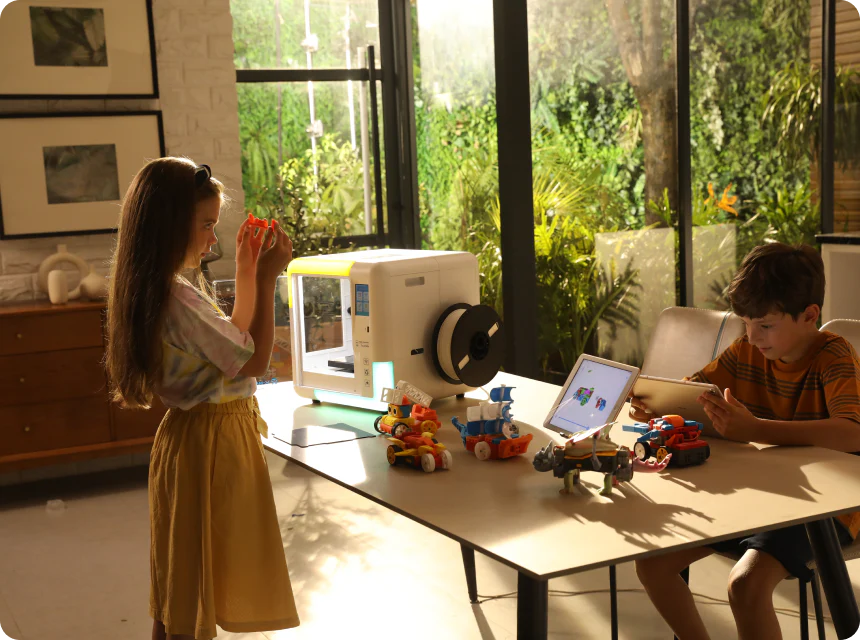
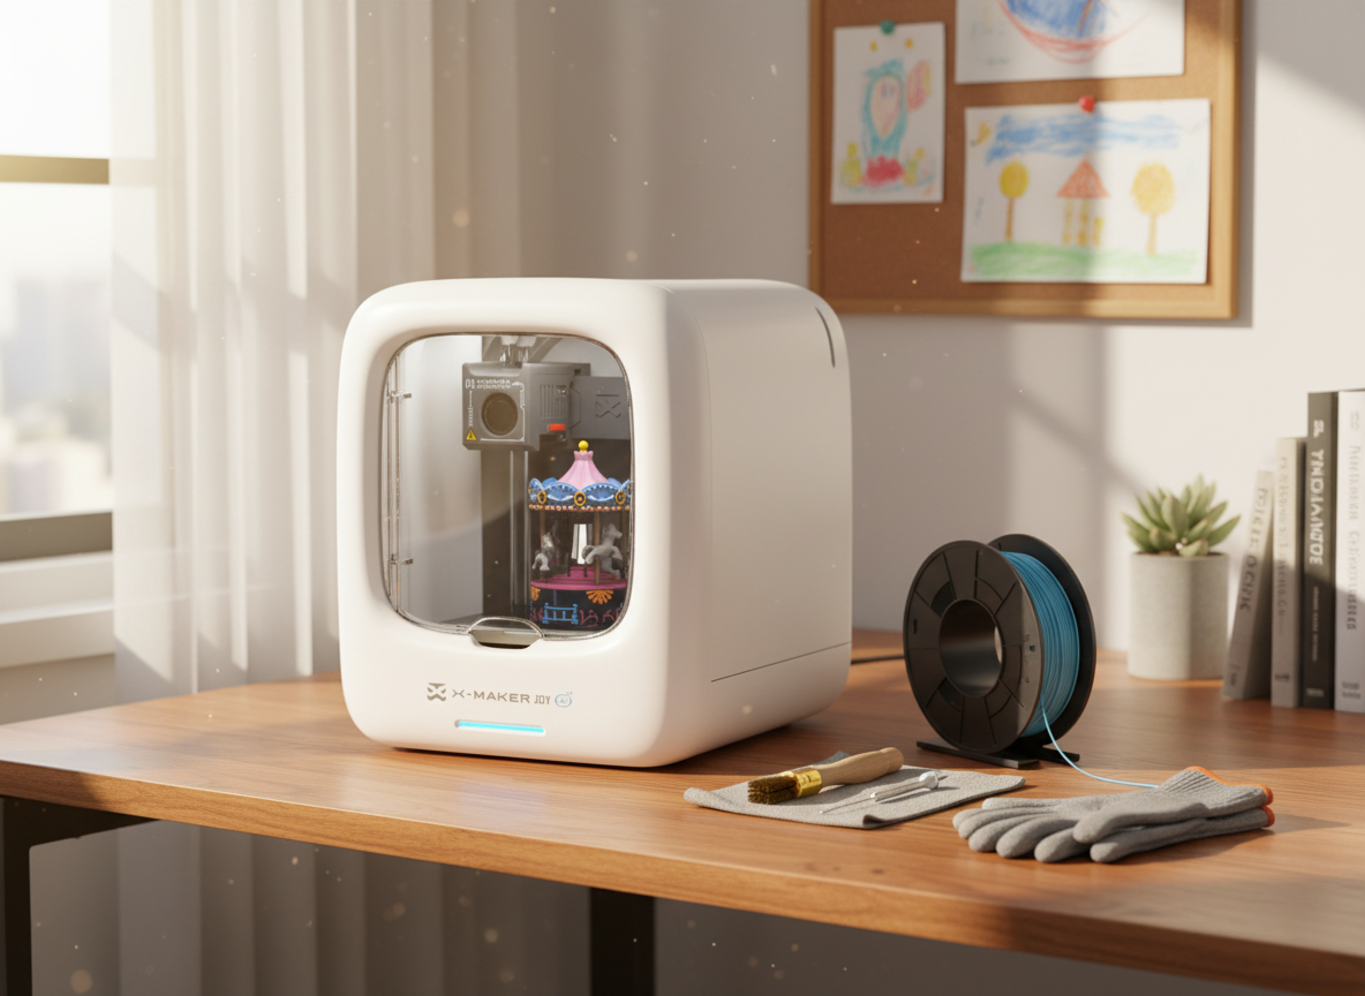
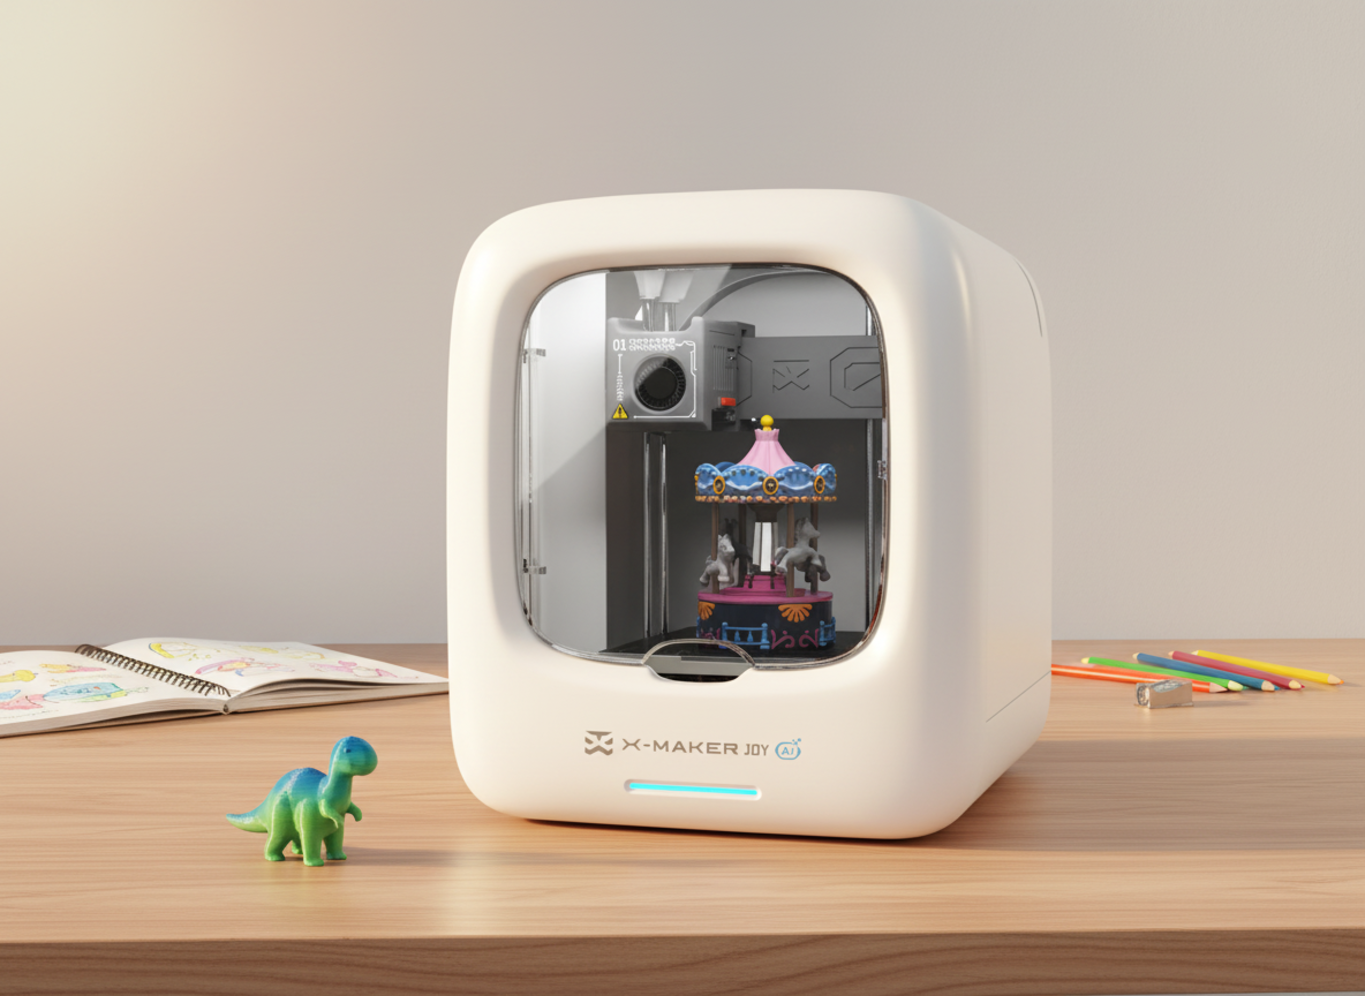
The AOSEED X-MAKER JOY is designed for exactly this use case: an enclosed, app-led printer that any group can operate with three app actions (select model, choose color, press start), freeing the teacher from technical management and allowing them to focus on the learning that happens before and after the print.
For schools evaluating their first 3D printer purchase, AOSEED 3D printers for kids shows both models with guidance on which specification is appropriate for a single-class setup versus a whole-school makerspace deployment.
FAQs
Why is 3D printing important in education?
3D printing is important in education because it converts abstract curriculum concepts into physical objects students can handle and examine. This matters most in subjects where the learning object is three-dimensional by nature: geometry, molecular chemistry, anatomy, geological structure, mechanical engineering, and architectural history. A student who has held a 3D printed gear mesh understands gear ratio as a physical experience rather than a formula. A student who has assembled a 3D printed earth cross-section understands geological layer depth as a spatial reality rather than a diagram label. The physical interaction produces a qualitatively different type of understanding — and it is available from one printer managed with a rotation structure across any class size.
What are 5 benefits of 3D printing in schools?
The five most reliable benefits for schools specifically are: (1) active learning — students produce rather than consume, producing deeper understanding of the concept being modeled; (2) cross-curricular deployment — one printer serves maths, science, history, design technology, and engineering across a school year, making it one of the highest-ROI pieces of classroom equipment per curriculum hour; (3) collaborative learning — the rotation model and modular project format produce natural collaboration and coordination between groups; (4) problem-solving through iteration — failed prints, treated as diagnostic data, produce engineering thinking that textbooks cannot; (5) persistent model library — each session adds a physical model to a school-wide collection that every future class uses without additional print time.
What are three disadvantages of 3D printing?
Three genuine disadvantages of 3D printing in schools: (1) print time — most models take 30 to 90 minutes, which requires advance scheduling and a rotation system to avoid the printer sitting idle or creating bottlenecks. The solution is a managed queue, not a faster printer; (2) maintenance and troubleshooting — common 3D printing mistakes (bed adhesion, nozzle clogs, warping) require teacher technical confidence to diagnose. The solution is a printer with an app-led workflow and an accessible troubleshooting guide, not avoidance of printing; (3) per-group print time limits — with one printer and 30 students, not every student gets a session every lesson. The solution is the modular collaborative project structure — where each group contributes to a shared outcome rather than printing independently.
What is the future of 3D printing in schools?
The trajectory of 3D printing in schools is toward deeper curriculum integration and away from novelty use. The schools that currently use 3D printing most effectively are those where the printer is planned into lesson sequences across multiple subjects for the full school year — not reserved for one special unit or STEM day. As model libraries expand, curriculum-aligned projects become more accessible, and app-led workflows reduce teacher technical barriers, the printer transitions from a specialist tool that requires a specialist teacher to a shared classroom resource that any subject teacher can deploy. The parallel trend is toward school-level rather than classroom-level deployment: one school makerspace with two or three printers serving all year groups, managed by a coordinating teacher, runs more efficiently than 10 single-printer classrooms with 10 teachers each managing independently.
How many hours do 3D printers last?
A well-maintained FDM 3D printer typically has a lifespan of 1500 to 3000 printing hours before major components need replacement. For a school context: if the printer runs for an average of 3 hours per school day across a 190-day year, that is approximately 570 hours per year. A printer purchased for a school should therefore provide 3 to 5 years of reliable use before significant maintenance is required. The most commonly replaced components — nozzle, build surface, and feeder tube — are consumable parts that cost $5 to $30 each and can be replaced by a teacher following a manufacturer video guide. A printer that requires weekly repairs is the wrong printer for a school. A printer that requires an annual nozzle change is the right one.
What are 3D printer applications in education?
The six highest-value applications of 3D printers in schools are: (1) curriculum model creation — earth science, geometry, molecular biology, and historical artefacts made permanently available as physical reference objects; (2) engineering design-build-test cycles — prototype challenges that teach iterative problem-solving through physical testing; (3) collaborative modular projects — groups contribute pieces to a shared physical outcome that connects across all print sessions; (4) design technology skills development — students learn the full design-to-manufacture workflow from digital sketch to physical object; (5) personalized classroom tools — nameplates, organizers, and teaching aids designed and produced by students for daily classroom use; (6) creative output across non-STEM subjects — art, history, and literature projects that use spatial form to communicate meaning rather than text or image.
Do most schools have 3D printers?
In 2026, 3D printers are present in a significant minority of schools — concentrated in schools with active STEM programs, well-funded departments, or teachers who pursued grant funding independently. The majority of schools that have a printer use it for fewer than 20 sessions per year, primarily because of the management challenge rather than the equipment challenge. The schools that use their printer more than 100 sessions per year share one characteristic: a teacher who built a rotation management system in the first term and documented it well enough for other teachers to use it. The printer availability is not the barrier — the integration methodology is.
Sources
- MissTechQueen — 3D Printing in the Classroom: Everything You Need to Know, 3D Printing in the Classroom: Everything You Need to Know, 2023.
- LearnByLayers — From Classroom to Production Floor: How 3D Printing Education Prepares Students, From Classroom to Production Floor: How 3D Printing Education Prepares Students, 2025.
- Makers Empire — 7 Benefits of Using 3D Printing Technology in Education, 7 Benefits of Using 3D Printing Technology in Education, 2025.
- Xometry — 3D Printing for Education: Importance and Benefits, 3D Printing for Education: Importance and Benefits, 2024.
- Sinterit — 3D Printing in Education: Benefits and Applications, 3D Printing in Education: Benefits and Applications, 2025.
- MakerBot — 5 Benefits of 3D Printing in Education, 5 Benefits of 3D Printing in Education, 2025.
- Reddit r/3dprinter — What Would Be the Best 3D Printer for Education?, What Would Be the Best 3D Printer for Education?, 2025.


You may also like
Further reading

Printable STEM Challenges for Grades 4-6 Using 3D Printing

Small Group 3D Printing Activity With One Printer

Elementary STEM 3D Printing: Simple Projects Teachers Can Actually Run


