

How to Pick the Right 3D Printing Project by Age, Time, and Difficulty
Put the wrong 3D printing project in front of the right child and you will watch the motivation drain out of the room. A six-year-old staring at a forty-five-part assembly file is not the problem — the file is. A twelve-year-old printing their third flexi-animal in a row is not thriving; they are bored and stalling. The project has to fit where the child actually is, not where you wish they were.
The 3D printing projcject by age is not about protecting children from difficulty. It is about giving them the right difficulty at the right time — matched to their fine motor control, their patience for multi-step tasks, and what a realistic win looks like for them today. Get that match right and the printer earns a permanent spot in the weekend routine. Get it wrong and it moves to a shelf by week three.
|
How to Choose a 3D Printing Project by Age For most children under ten, the project wins or loses in the first fifteen minutes. If the file has more than six parts, runs longer than ninety minutes, or requires original design work, it is probably wrong for the age. Part count, print duration, and design complexity are the three filters that matter most. |
What Makes a Project Right for the Age

The test is not about complexity — it is about finish. Can this child complete this project in one session and walk away holding something they made? A wobbly printed house is still a finished house. A name keychain that printed slightly too thick is still a keychain with the child’s name on it. Getting to finish builds the kind of confidence that brings a child back for a second session. Getting too impressive usually does not.
Fine motor skills, patience for multi-step tasks, and the ability to visualize a shape in three dimensions before it prints all develop on different timelines. The CDC’s developmental milestone guide maps what children can reliably manage at each stage. Knowing roughly where your child sits on those curves — not by age alone but by what they can actually do — is the fastest way to choose a first project that works.
Three Things to Check Before You Start
Rate every project on three variables before the printer starts. How many parts does the model have? How long does the print run? Does the child need to design anything from scratch, or is the file ready to go? A one-piece flexi animal scores 0 on all three. A twelve-part robotic arm with custom Fusion 360 files scores high across the board. Successful first projects sit as close to 0 as possible.
The Finish Line Test
Before pressing print, ask one question: can this child hand the finished object to someone and explain what they made? If yes, the project is probably right for today. If the honest answer is “maybe, once an adult explains it” — the project is too advanced. Save it for next month. The harder builds are not going anywhere.
Why the Wrong Project Ends the Session Early
Choosing a project above the child’s current stage does not produce productive struggle. It produces ten minutes of quiet confusion followed by waiting for an adult to take over. Children do not blame the software or the printer when that happens. They blame themselves. A child who concludes at nine that they are “not a 3D printing person” may not revisit that belief for years.
The mismatches follow a predictable pattern. Ages four to six: given a file with small parts to assemble — fine motor control is not there yet, and the experience feels like failure rather than making. Ages seven to ten: given a print with a four-hour runtime — motivation does not survive the wait. Ages eleven to thirteen: handed an open CAD screen and told to “design something” — no starting point, no visible way to win, session ends in ten minutes with nothing to show.
|
Watch for this pattern: If a child goes quiet within the first ten minutes of a 3D printing session and starts waiting for an adult to take over, the project is wrong for the age. That is not a child problem. That is a project-fit problem. |
Age vs Complexity — What Actually Differs
The same underlying skills — spatial reasoning, iterative design, cause and effect — are built at every age. The difference is how quickly the first result appears and whether the child owns any part of the decision that produced it.
|
Dimension |
Ages 4–7 |
Ages 8–11 |
Ages 12–14 |
Ages 15–18+ |
|
Starting point |
Pre-made library file |
Tinkercad edit or build |
Full Tinkercad or intro Fusion 360 |
Fusion 360 / Blender |
|
Print time |
20–40 min |
30–90 min |
1–4 hours |
2–12+ hours |
|
CAD level |
None needed |
Basic blocks |
Intermediate |
Advanced |
|
Functional test |
Does it wiggle? |
Does it fit? |
Does it work? |
Does it solve the problem? |
|
Supervision |
Full session |
Start and end |
Periodic check-in |
Setup only |
What the early years get right:
Children under ten build the most from prints that produce an immediate physical result. A toy that wiggles the moment it comes off the plate teaches the same cause-and-effect reasoning as a complex mechanical assembly — and it does it in thirty-five minutes rather than four hours. Speed to first result is the most underrated factor at this age.
What the later years need:
Teenagers who have built their spatial reasoning through simpler builds find advanced design tools significantly less steep than beginners who arrive cold. The flexi animals and Tinkercad keychains of earlier years are not background noise. They are the foundation that makes Fusion 360 learnable rather than overwhelming at sixteen.
3D Printing Projects for Ages 4–7: Watch, Choose, Play
These children are not operators. They are observers, color-choosers, and end users. The printer is the show — the layers building, the hum of the motor, the smell of warm PLA. Set the bar correctly: the child picks the color, watches the process, and carries the finished object around for the rest of the day. That is the full and correct workflow for this age group.
What to First Print

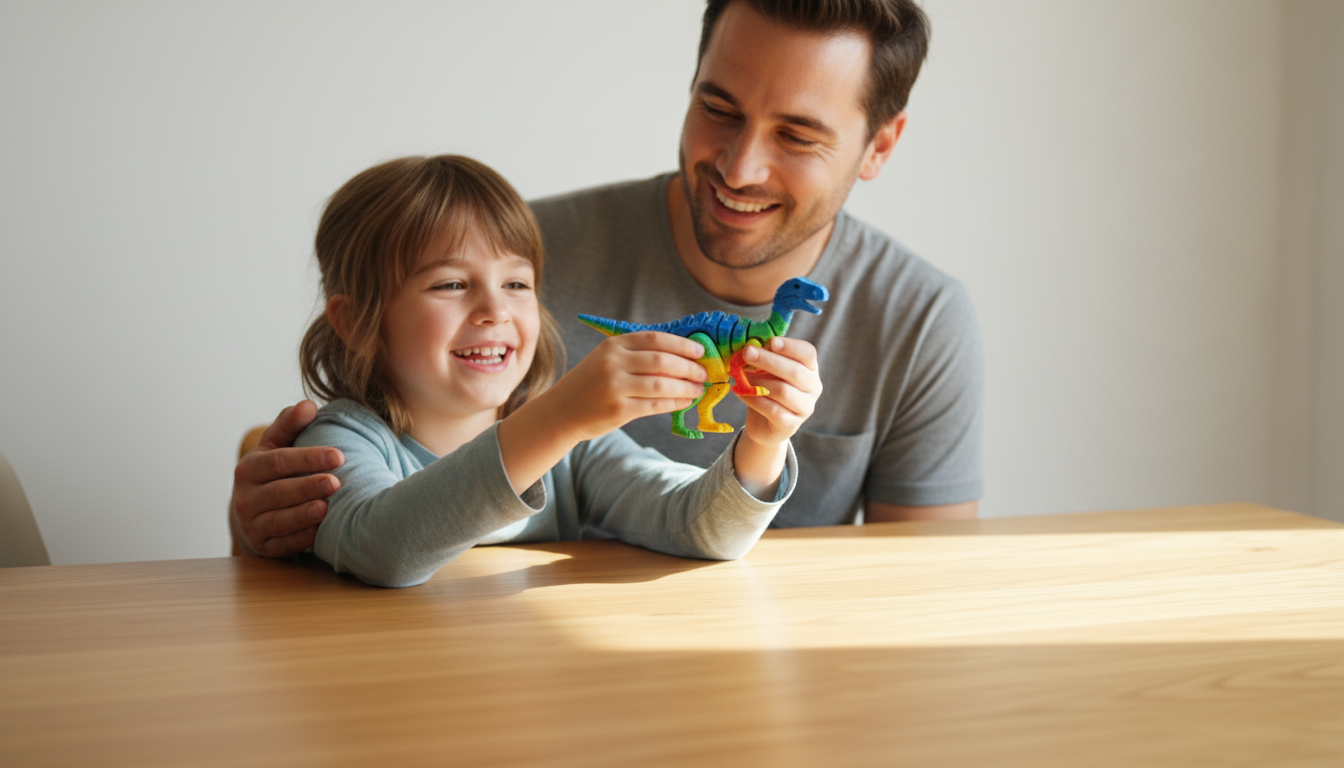
Articulated animals are the most-downloaded first prints for this age for good reason. A flexi-Rex prints in one piece, needs no assembly, and moves the moment it is lifted off the plate. A jointed octopus, a poseable snake, a collapsible axolotl — same principle, different shape. Print time: twenty-five to forty minutes. Thousands of free models are available on Printables, one of the largest free 3D model platforms, without an account needed to browse or download.
A starter 3D printer designed for younger kids with a pre-loaded Toy Library removes even the browsing step. The child picks the shape, picks the color, and presses print. One choice, one press, one result that wiggles. The Toy Library updates weekly, so there is always something new to choose from next time.
Materials and Safety
PLA only at this age. It is derived from plant starches, prints at lower temperatures than most alternatives, and produces minimal fumes during a normal session. Nothing with a part under one inch in any dimension for children under four — the CPSC’s federal toy safety size standard applies equally to 3D-printed objects. Check finished models for sharp layer lines before handing them to small children. A light pass with fine sandpaper takes thirty seconds.
One Tip That Changes the Session
Let the child pick the filament color before the printer starts. Thirty seconds of that decision produces complete ownership of the finished object. “I made that” is a different claim than “someone printed that for me” — and children understand the difference without anyone explaining it.
|
The goal at ages 4–7 is not a well-designed object. It is a child who says “when can we print something again?” at the end of the session. The simpler the project, the more reliably that happens. |
3D Printing Projects for Ages 8–11: Design, Build, Test

This is where 3D printing shifts from spectator activity to guided participation. Children this age can navigate slicing software with some adult guidance, edit an existing Tinkercad model, and start caring whether a design actually works rather than just how it looks. The projects that land best here have a functional test built in: does it fit? Does it hold? Does it actually do the thing it was supposed to do?
Start With Tinkercad
Tinkercad runs in a browser with no installation, no subscription, and no design background needed. Its drag-and-drop block system lets children build from geometric shapes — cubes, cylinders, spheres — and cut holes by overlapping a hole-shape with a solid and grouping them. Most children aged eight and up can produce a personalised name keychain within their first twenty minutes of use.
First projects that consistently succeed at this age: name keychain (15–20 minutes), custom pencil holder with measured compartments (30 minutes), cookie cutter in a chosen shape (20 minutes), simple phone stand with an adjustable back angle (35 minutes). The goal of the first Tinkercad session is not a perfect object. It is completing the loop once: design → print → test → fix.
The Loop Is the Skill
A child who designs a phone stand, prints it, finds their actual phone tilts backward, and adjusts the back angle in Tinkercad before the next print has just worked through tolerance testing, iterative design, and functional engineering — without anyone calling it that. The lesson does not need a label to stick.
Pairing Tinkercad with a guided design app that connects directly to the printer makes the loop happen the same afternoon. Design on the tablet, send to the printer, hold the result within an hour. That physical output — something the child designed and printed the same day — is what keeps them coming back to both the software and the machine.
Mechanical and Interactive Prints
Once Tinkercad basics are solid, print-in-place mechanical toys push the learning further. Flexi-joint dinosaurs show how linked segments transfer motion without glue or fasteners. LEGO-compatible custom bricks demonstrate tolerance in the most direct way possible: if the peg prints 0.2mm too wide, the brick will not connect to a real LEGO piece, and the child has to go back and fix the dimension. That fix is a better design lesson than any tutorial.
|
Engineering without the label: A child who adjusts a dimension because a printed piece does not fit is practicing exactly what a product engineer does on day one. They do not need to know that. The habit builds either way. |
Projects for Ages 12–14: Function Matters

Middle schoolers can run a full print session independently — troubleshoot a first-layer adhesion failure, adjust support settings before a long build, and hold a project together across two or three sessions without losing momentum. The marker that separates this age from the previous one is not age. It is whether the functional test actually matters to the child.
Functional Prototypes
Gear sets that demonstrate torque. Crank-driven automata that animate a figure when a handle turns. Desk organizers designed to the child’s actual pencil and ruler dimensions before a single shape is placed in Tinkercad. These prints are defined by whether they work, not whether they look good. A pencil holder that does not fit a pencil goes back into Tinkercad. A gear train that does not turn reveals a tolerance error in the teeth. Both failures teach more than a print that works perfectly the first time.
Curriculum-Connected Models
3D printing earns its clearest academic value at this age. A DNA double helix for biology. A cross-section of a volcanic structure for earth science. A scale model of the Pantheon for history. These are study tools that happen to be made of PLA. Building the structure of a concept produces better retention than reading a diagram of it, and the finished object stays in the room as a reference long after the lesson ends.
3D Printing Projects 15–18+: Solve Real Problems

The best projects for older teens start with a problem, not a file. A bracket on a piece of furniture that broke. A component missing from a hobby kit that costs three times too much to replace. A custom jig that would make a recurring task measurably faster. Starting from a real gap and ending with a physical test of whether the solution closes it is entry-level engineering practice — and it is available to any teenager with a printer and a ruler.
Advanced Design Tools
Fusion 360 handles precision mechanical assemblies with toleranced fits and dimensional constraints. Blender handles organic forms, artistic shapes, and geometry suited to animation and creative modeling. Both tools are free for personal and educational use. A teen who has built spatial reasoning through earlier guided builds finds these tools significantly more accessible than a complete beginner would. The years of simpler prints are not wasted time. They are what makes advanced tools learnable.
Material Selection as a Design Decision
PETG delivers better heat resistance and impact toughness than PLA without ABS’s warping tendencies. Flexible TPU is the right choice for living hinges, wearables, and snap-fit components. Knowing which material a specific build actually requires — and deciding deliberately rather than defaulting to whatever is already in the machine — is a design judgment in its own right. It only becomes relevant once a teenager is solving problems that expose PLA’s limits.
How Parents Can Set Projects Up for Success
The most effective thing a parent can do during a 3D printing session is not fix problems in real time. It is remove the predictable failure points before the session starts. Choose a file with a known success rate for the age. Confirm the print time fits the available afternoon. Have the file pre-sliced before the child sits down. Those three preparation steps prevent the majority of sessions that end in frustration.
When problems arise mid-session, the better response is a question before an answer: “What do you think would happen if that support was a little wider?” That question produces a child who solves the problem. A direct fix produces a child who learns to wait for an adult to solve it next time.
One rule applies at every age: no hands near the printer while it is running. Establish it clearly in the first session. Say it again for the following two. After that it is a habit — and preventing an established safety habit from forming is much harder than building one from the start.
|
Before every session: Check three things: the right file loaded, the print time fits the available slot, the workspace is clear. Three checks. Ninety seconds. Most abandoned sessions trace back to one of these three things not being in place before the printer started. |
When the Projects Are Getting Too Easy

The signal that a child is ready for the next level is not their age — it is their behaviour. A child who modifies downloaded projects in ways the template never intended has outgrown the constraint. A child who asks “why can’t I change this dimension?” is ready for tools where they can. A child who stays focused across a two-session build without prompting is ready for projects that reward exactly that kind of patience.
The move up does not have to be abrupt. A child can use Tinkercad for quick weekend prints while starting Fusion 360 for a longer project running in parallel. The skills transfer. When the time comes to look at the best kid-friendly 3D printers that support larger build volumes and more advanced material options, having that design foundation already in place makes the hardware far more useful from the very first session.
Conclusion
Choosing the right 3D printing project by age is not about keeping children away from complexity. It is about building the understanding that makes complexity approachable when the moment is right. Every flexi animal printed at six deposits spatial reasoning. Every Tinkercad pencil holder at nine deposits tolerance and iteration. Every gear set at thirteen deposits the engineering instinct that makes Fusion 360 accessible at sixteen rather than impossible.
The family-friendly 3D creation platform that supports this path best is one that provides the right starting point at each stage, keeps new challenges available through a Toy Library that updates weekly, and reduces enough setup friction that the session begins with the child’s idea — not with troubleshooting.
Start where the child is. Pick something finishable in one session. Let the functional test do the teaching. Then come back and make the next thing.
|
THE RIGHT PROJECT MINDSET A print that gets played with teaches more than a print that gets admired. A project that finishes in one session builds more habit than one that almost finishes in two. Pick the right fit for today. The harder builds will still be there when the child is ready for them. |
FAQs
Should a 7-year-old have a 3D printer?
Yes, with an adult present throughout. At seven the child’s role is choosing the model and the filament color — not operating the machine. An enclosed printer using PLA with a pre-loaded library makes the experience safe, engaging, and repeatable from the very first session.
What is the most wanted 3D printed item?
Articulated animals lead the download charts for children every year — flexi-Rex, jointed octopuses, poseable snakes. They print in one piece, need no assembly, and move immediately. Match the first print to what the child is already obsessed with and the second session organises itself.
How expensive is 3D printing as a hobby?
Printer: $250–$400. One kilogram of PLA filament: $15–$25, covering dozens of small to medium projects. Slicing software is free. Most model libraries are free. The ongoing cost per print for most children’s projects sits comfortably under a dollar. For parents, this means 3D printing can stay affordable if the first printer is simple, the projects are small, and the ongoing filament cost is planned ahead.
In what states is it illegal to 3D print a gun?
California, New Jersey, Hawaii, Connecticut, and New York have specific restrictions. Federal law applies through the Undetectable Firearms Act as well. Check current state law before any print in that category. Nothing in this guide covers firearm-related projects.
Can I legally sell 3D prints?
Yes, if the design is original or licensed for commercial use. Files marked for personal use only cannot be sold without the designer’s permission. Check the license attached to every STL file before the first sale — not after.
What is the 3-6-9-12 rule for kids?
A child development framework by French psychiatrist Serge Tisseron: no screens before 3, no gaming before 6, no unsupervised internet before 9, no social media before 12. 3D printing fits naturally inside this framework — it is hands-on and physical, not passive screen consumption.
What is the 7-7-7 rule for parents?
Seven minutes structured activity, seven minutes guided learning, seven minutes free play. A 3D printing session maps onto this pattern without adjustment: a short design phase, a supervised print start, then free time while the machine runs in the background.
Is 3D printing Warhammer 40K illegal?
Printing for personal use sits in a legal grey area. Selling those prints is a clear IP violation. Use original designs or license-clear files from platforms like Printables or MyMiniFactory instead — high-quality options exist there without any IP exposure.
Sources
- Autodesk Tinkercad — browser-based 3D design for beginners, kids, and classrooms
- Printables by Prusa — open community library with thousands of free 3D models for all skill levels
- CDC — Developmental Milestones — age-stage readiness benchmarks by the Centers for Disease Control and Prevention
- U.S. Consumer Product Safety Commission — federal standards for toy safety, choking hazards, and children's product size requirements
- AOSEED Learning Center — official printer setup guides, safety instructions, and first-project tutorials




Further reading

Graduation Gifts for Kids: Keepsakes for Kindergarten to Fifth Grade

How to Clean a 3D Printer: A Routine for Families

3D Printer Filament Holder: Options, Setup and a Version You Can Print


