


Best 3D Printer for Cosplay: Scaling and Large Prints Guide
Cosplay props fail in specific, preventable ways. The helmet opening is 2 cm too narrow. The chest plate needs six glue joints that never quite line up. The filament softens under a conventional spotlight. Every one of those problems starts with the same decision made before the first layer — the printer.
Build volume is the number that matters most. Not brand, not print speed, not smart features. How large a piece your printer can produce in one run determines how many seams you glue, how long finishing takes, and how cleanly the final prop holds together.
|
Quick picks:best 3D printers for cosplay by use case • Serious helmets and ABS armor → Bambu Lab H2S (340 × 320 × 340 mm, 65°C heated chamber) • Large builds on a budget → Elegoo Neptune 4 Max (420 × 420 × 480 mm, open frame) • Easy setup, medium parts → Bambu Lab P1S (256 × 256 × 256 mm, enclosed) • First build or family use → see AOSEED’s family-friendly 3D printing platform |
Why Build Volume Decides the Whole Build

A 220 mm printer can make a cosplay helmet. It takes six sections, five glue joints, and two extra evenings of sanding. A 340 mm printer makes the same helmet in two sections. Every extra seam is a surface to sand flat, fill, prime, and disguise under paint. On curved armor, each additional join multiplies the chance of visible misalignment.
What different bed sizes actually let you print
|
Prop Type |
Min Bed for 1 Piece |
Sections at 220 mm |
Sections at 350 mm+ |
|
Standard adult helmet |
~280 × 280 mm |
4–6 sections |
2 sections |
|
Adult chest plate |
~320 × 300 mm |
6–8 sections |
2–3 sections |
|
Shoulder bell |
~200 × 180 mm |
1–2 sections |
1 piece |
|
Forearm guard |
~180 × 120 mm |
1 piece (fits most beds) |
1 piece |
|
Full sword blade (90 cm) |
N/A — always sectioned |
5–7 sections |
3–4 sections |
When a smaller printer is still the right call
Budget and space both matter. A 500 mm bed-slinger occupies most of a workbench before you account for spool clearance and bed travel. If your workspace is a bedroom desk, a compact enclosed printer running well-cut sections can deliver cleaner finished props than a large open machine you are constantly fighting to tune. Small printers handle accessories, test rings, and single-piece armor sections well. The extra seams are manageable. The extra cost and footprint of a large machine are not always manageable.
Best 3D Printers for Cosplay — Quick Comparison

|
Printer |
Build Volume |
Enclosure |
Price Range |
Best For |
|
Bambu Lab H2S |
340 × 320 × 340 mm |
Yes — 65°C active |
Premium (~$1,099+) |
Helmets + ABS armor |
|
Elegoo Neptune 4 Max |
420 × 420 × 480 mm |
No — open frame |
Budget (~$399) |
Wide armor on a budget |
|
Sovol SV08 Max |
500 × 500 × 500 mm |
No — open frame |
Mid-high (~$1,099) |
Giant props, expert users |
|
Bambu Lab P1S |
256 × 256 × 256 mm |
Yes — passive |
Mid (~$549) |
Medium parts + easy setup |
Bambu Lab H2S — best overall for serious builds
|
Build volume |
340 × 320 × 340 mm |
|
Chamber heating |
65°C active |
|
Max nozzle temp |
350°C (supports ABS, ASA, Nylon, CF blends) |
|
Best for |
Helmets, ABS armor, cosplayers printing multiple costumes per year |
|
Price range |
Premium (~$1,099+) |
The H2S handles the combination that large cosplay prints demand: 340 mm of width, an actively heated chamber, and a high-temperature hotend. Helmet shells that warp off an open-frame machine print cleanly here. The tradeoff is price. For one costume per year, a smaller printer with good finishing habits delivers comparable results at a fraction of the cost.
|
Editor note: The H2S is not a first printer. It is a production machine built for people who know exactly what they need it for. If you are not yet sure, start smaller and upgrade after your first full costume. |
Elegoo Neptune 4 Max — most bed for the money
|
Build volume |
420 × 420 × 480 mm |
|
Frame type |
Open bed-slinger |
|
Best for |
Wide PLA/PETG armor plates on a budget |
|
Price range |
Budget (~$399) |
|
Watch out for |
ABS warps without enclosure mod; needs more tuning than enclosed printers |
At 420 × 420 mm, the Neptune 4 Max prints wide chest plates and broad shoulder armor in fewer sections than most enclosed printers manage at twice the price. The open frame is the limit — ABS lifts at the corners, and the bed-slinger motion adds ringing at high speeds. For PLA and PETG convention props where budget is the real constraint, it is hard to beat the space-per-dollar value.
Sovol SV08 Max — maximum volume, experienced users only
|
Build volume |
500 × 500 × 500 mm |
|
Firmware |
Klipper (open-source, powerful, steep learning curve) |
|
Best for |
Giant shields, wide back panels, oversized props |
|
Price range |
Mid-high (~$1,099) |
|
Watch out for |
Large footprint; significant power draw; not for a bedroom desk |
A 500 mm platform prints a full Mandalorian chest — front, back, and side sections — with room remaining. Klipper firmware unlocks advanced tuning but adds a steep learning curve on top of a physically large and power-hungry machine. For growing makers ready to step up, a 3D printer built for bigger creative projects is worth comparing as a bridge before committing to full large-format hardware.
Bambu Lab P1S — best plug-and-play option
|
Build volume |
256 × 256 × 256 mm |
|
Enclosure |
Yes — passive chamber heating |
|
Best for |
Sectioned helmets, medium props, masks, accessories |
|
Price range |
Mid (~$549) |
|
Watch out for |
Build volume limits one-piece helmet printing for most adults |
The P1S won’t print a standard adult helmet in one piece — 256 mm is narrower than most helmet openings require. What it does is print consistently, quietly, and without much setup fuss. For cosplayers who accept sectioned builds and want to spend time finishing rather than tuning, it is the most reliable mid-range option.
How to Scale Cosplay Models Before You Print

Wrong scale is the single most common cosplay print failure. A helmet file from a model library is almost never calibrated for your head. A chest plate at 100% scale may be built for a 5‘10” person with a 38-inch chest. Check the numbers before printing anything large.
Work through these four steps before every large cosplay part:
- Measure your body, not your clothes. For helmets: head circumference, width ear to ear, front-to-back depth. For armor: chest width, shoulder width, torso length. Add 2–3 cm clearance for helmets, 1–2 cm for armor sections.
- Print a test ring first. A 5 mm slice of the helmet opening takes 15–25 minutes. If it clears your head with the wig and padding in place, the scale is correct. If not, adjust 3–5% and print another ring. A second ring costs 25 minutes. A second full helmet costs a full day.
- Scale each piece independently. Scaling the full costume to 110% may make the chest fit while leaving wrist guards loose and shoulder bells too wide. Each body area has different proportions — fit them one at a time.
- Run a small edge test before committing to full parts. A 3 cm slice of the most fit-critical edge — wrist opening, strap anchor, shin guard edge — confirms wall thickness and surface quality in 20 minutes before the full print.
|
Scaling trap to avoid: Scaling in the slicer applies to the bounding box, not anatomical dimensions. If a helmet is modelled with 1 cm wall thickness, scaling up 10% makes the walls 11% thicker and the opening 10% larger — but the proportions may no longer match your head. Always verify the opening diameter in millimetres against your measurement. |
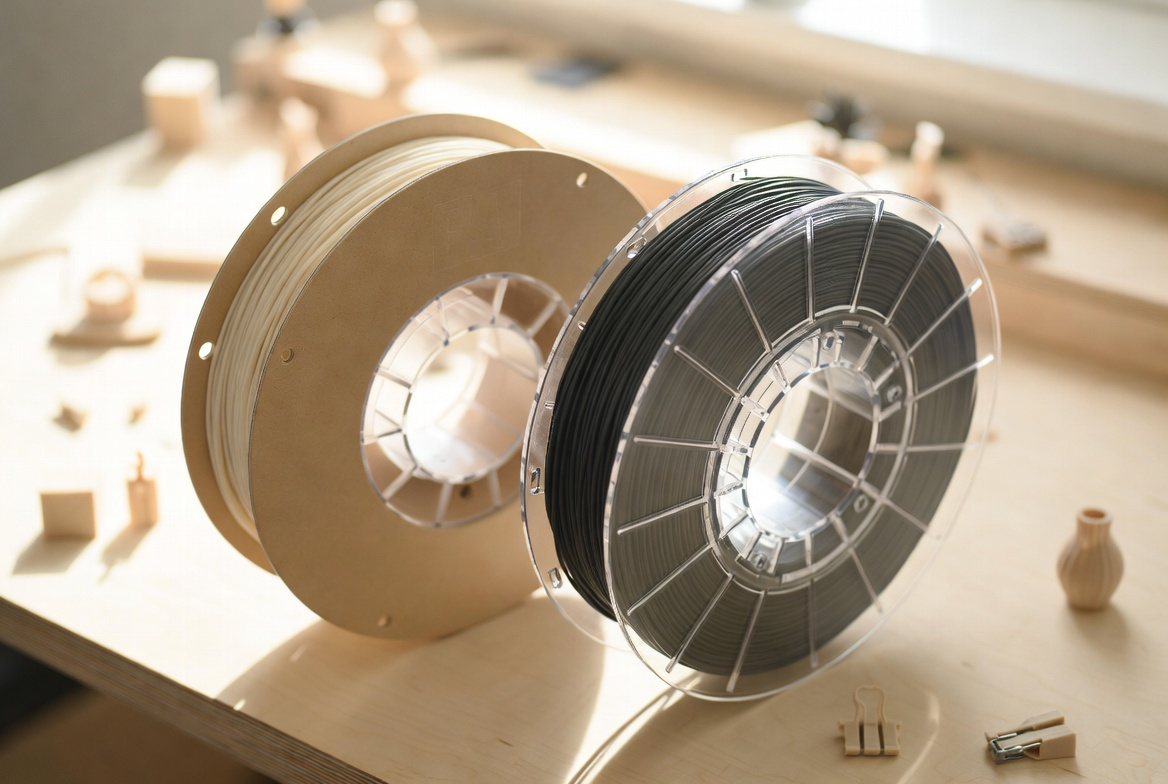
Best Filaments for Cosplay Props

|
Filament |
Strength |
Heat Limit |
Enclosure |
Best Cosplay Use |
|
PLA |
Medium |
~60°C |
No |
Indoor display props, badges, test pieces |
|
PETG |
Good |
~80°C |
No |
Wearable armor, belt clips, outdoor convention props |
|
ABS |
High |
~100°C |
Yes — required |
Large shells, outdoor armor, acetone-smoothed pieces |
|
ASA |
High |
~100°C |
Yes — required |
UV-stable outdoor armor, summer event pieces |
|
TPU |
Flexible |
~80°C |
No |
Grips, strap loops, soft connectors, flex joints |
|
Resin (SLA) |
Detail-focused |
Varies |
Ventilation required |
Badges, gems, fine accessories, emblem details |
PLA is the right starting material. It prints easily, sands cleanly, and produces low odor compared to ABS. The failure case is specific: PLA softens around 60°C — below the interior temperature of a parked car on a summer day and close to what an enclosed prop reaches in direct outdoor sun. Use PLA for first builds and indoor props. Switch to PETG for outdoor events and physical-contact parts.
|
ABS and ASA: ventilation is not optional Both materials emit styrene fumes during printing. Always print in an enclosed machine with active ventilation or a HEPA+carbon filter. Do not run these in a sealed room without airflow regardless of print duration. |
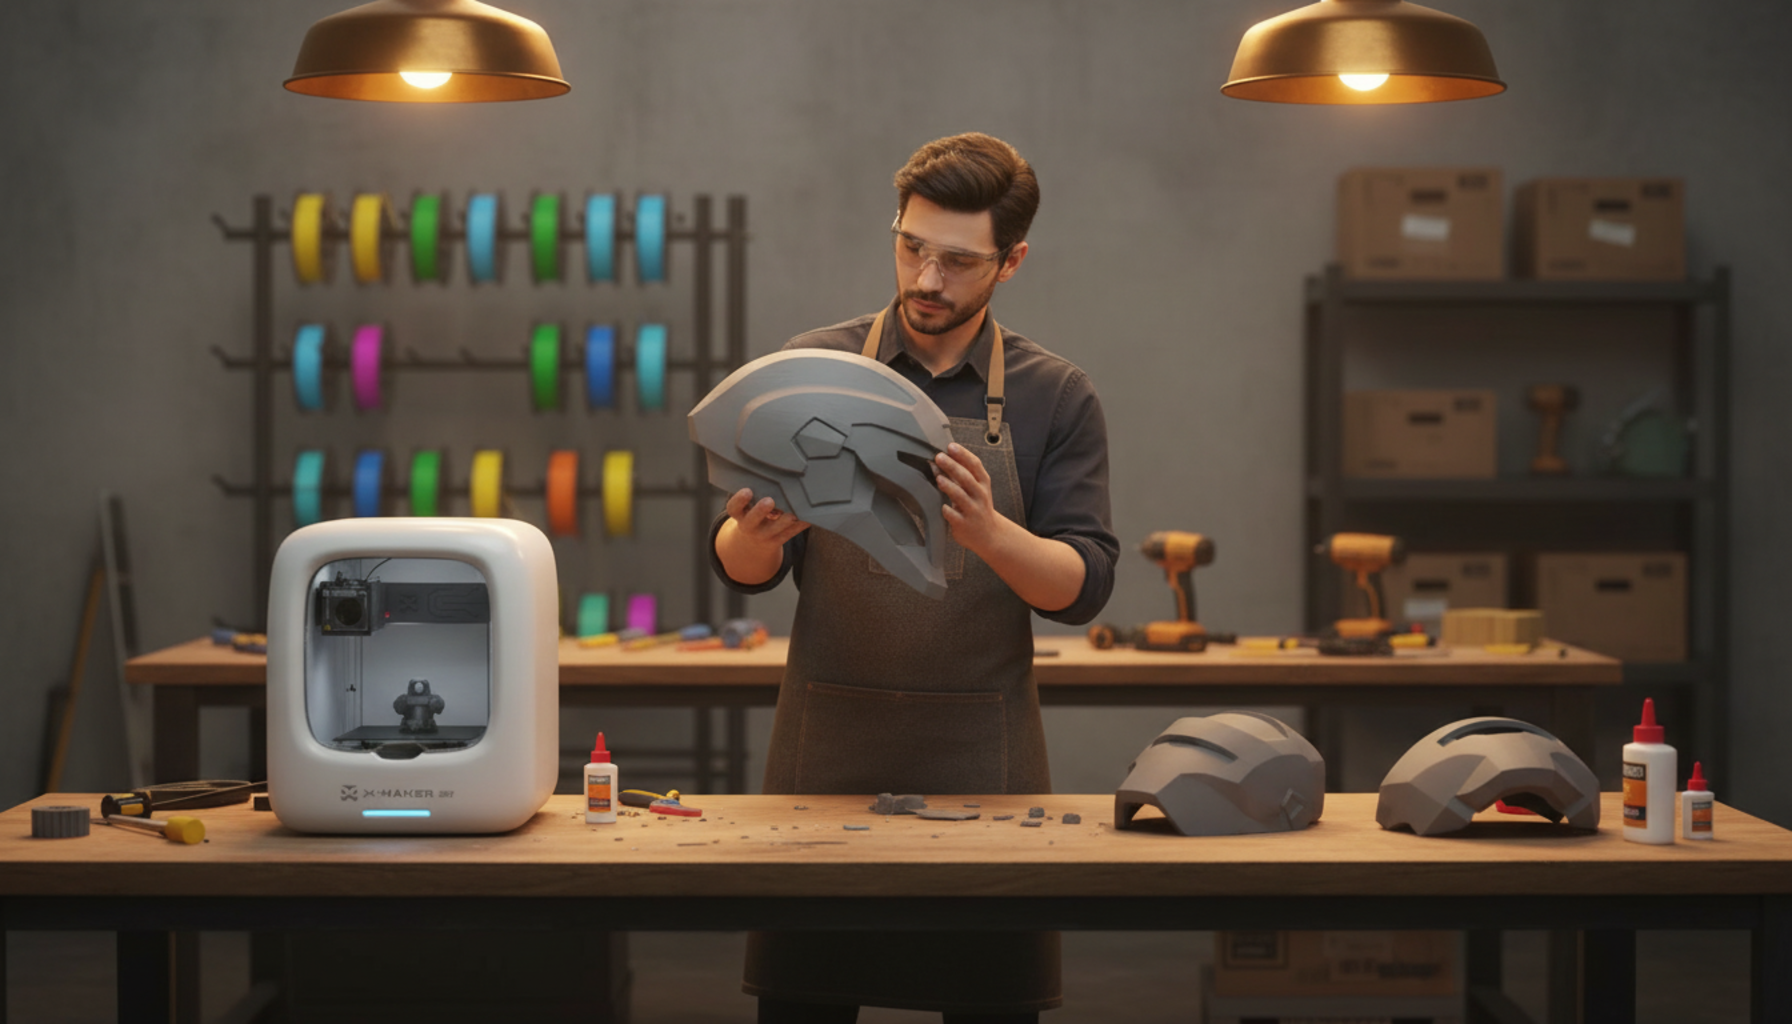
Post-Processing: From Printed Sections to Finished Prop

Post-processing takes as long as printing — often longer. A helmet that takes 24 hours across sections may take 8–12 hours to finish properly. Budget both halves of the time, not just the slicer estimate.
Gluing and seams
Dry-fit every part before any adhesive. Check edge alignment, pin seating, and overall shape from the front and side. CA glue works fast for PLA joins. Epoxy gives working time and fills gaps better — essential on imperfect seam edges. Reinforce every structural seam from inside with fiberglass cloth and epoxy — that internal layer is the actual strength. The visible outside seam is cosmetic.
Sanding and filler primer
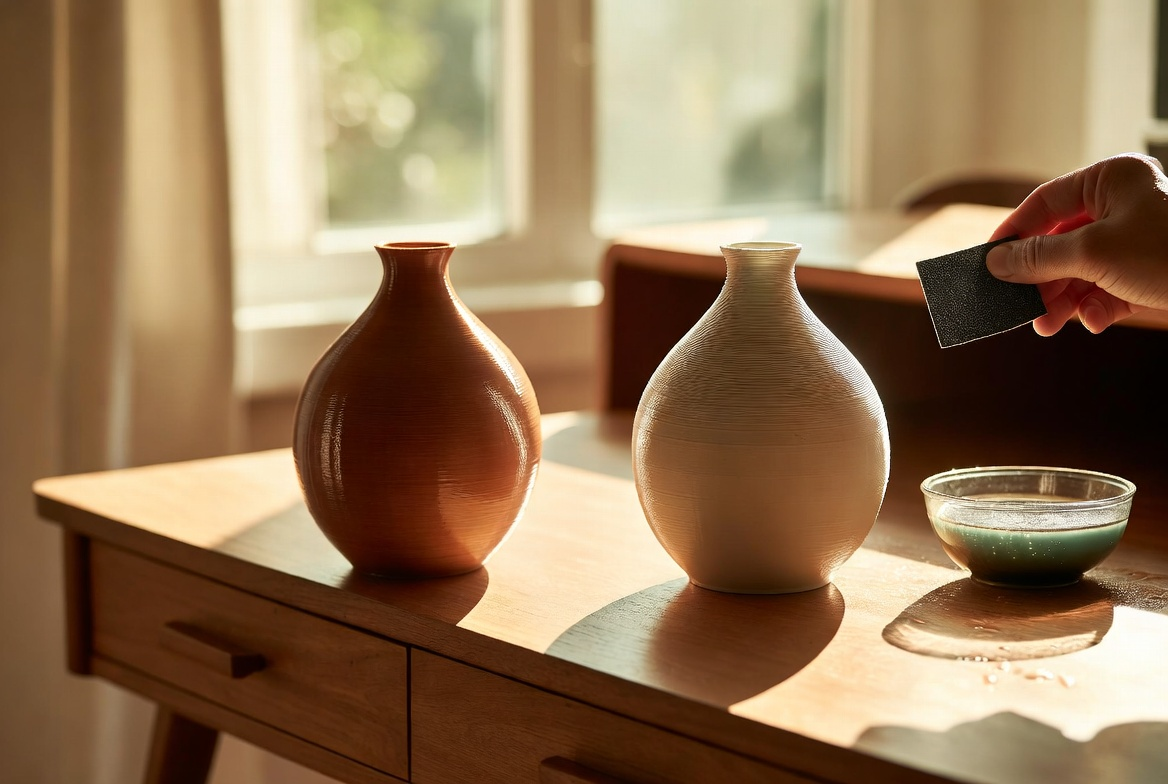
Start at 120-grit where layer lines are heaviest. Move to 180, then 220 before primer. Apply filler primer in two light coats. Check under raking light after each coat — a lamp held low to the side reveals every remaining scratch. Sand, prime, check, repeat until the surface reads clean. This loop is where professional-looking cosplay props come from.
Painting and sealing
Color paint goes over fully cured primer only. Metallic finishes need a smooth black base coat underneath — it dramatically improves reflectivity. Add weathering after the base color dries. Seal with clear coat matched to the final look: gloss for polished armor, matte for battle-worn props. Let it cure 48+ hours before packing — fresh clear coat scratches and does not recover.
|
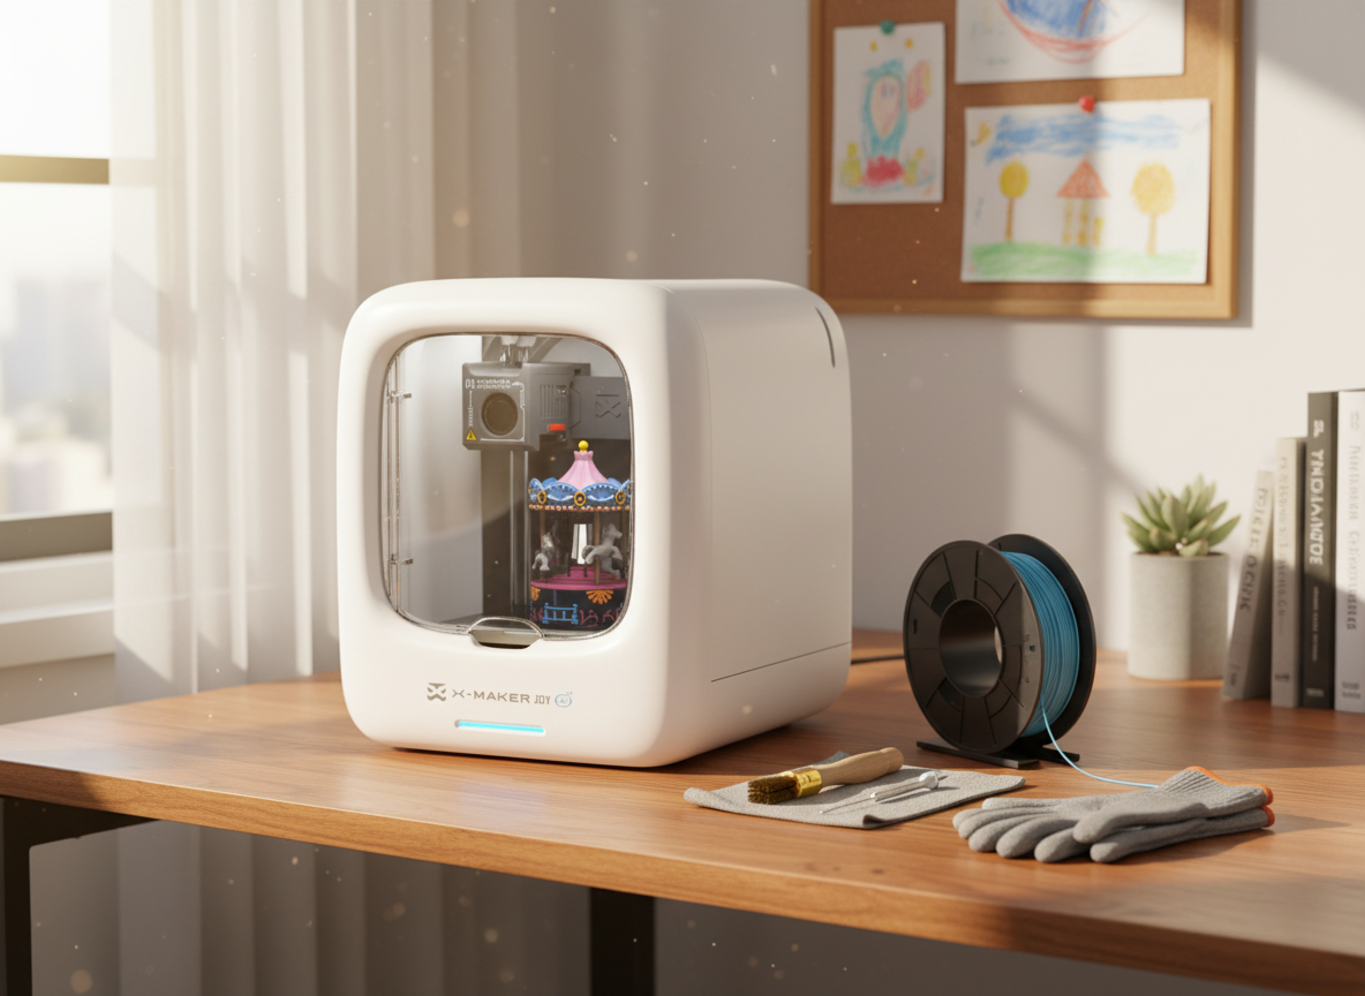
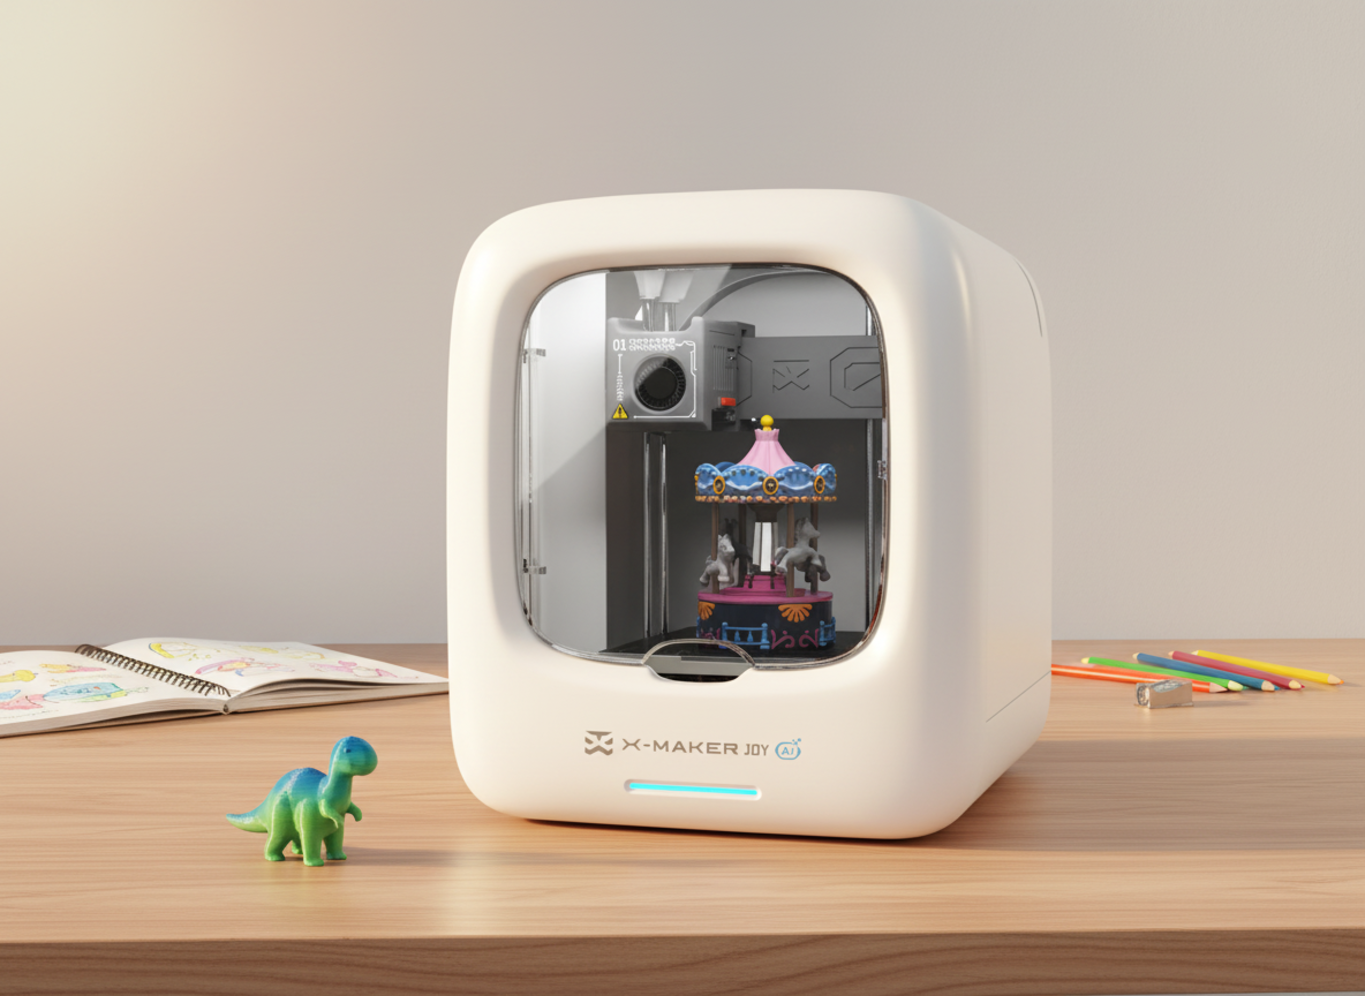
WHEN A KID IS THE ONE COSPLAYING A child doesn’t want a scale calculation or a sanding session. They want to design something, watch it build, and wear it. One failed print — wrong scale, clogged nozzle, warped section — can end a cosplay project before it starts. Open-frame budget machines can require more hands-on setup, which often leaves parents helping with troubleshooting before a project is ready to print. Enclosed, app-guided printers designed for younger users — like those in the kid-friendly 3D printer lineup — reduce many common failure points before they reach the child. The printer stays focused on making, not troubleshooting.
|

Prevent the Most Common Failures

Most cosplay print failures are preventable. Five habits stop the majority of problems before they cost a spool.
|
Habit |
What It Prevents |
|
Keep filament sealed with desiccant |
Bubbling, weak layer adhesion, nozzle clogs from moisture — especially PETG and Nylon |
|
Always print a test ring before full parts |
Wasted 20-hour prints from wrong scale, caught in 20 minutes instead |
|
Scale each armor piece independently |
Mismatched gauntlets, loose wrist guards, shoulder bells that don’t match the chest |
|
Orient cuts along design lines, not across visible surfaces |
Seams through the face area and chest centerlines that won’t sand invisible |
|
Clean the build plate with IPA before every print |
Adhesion failures and edge lift on large flat armor plates |
|
PRINT TIME REALITY CHECK Badge or small accessory: 30 min – 2 hrs print | 30 min – 1 hr finish Forearm guard: 4–8 hrs print | 2–4 hrs finish Helmet (4 sections on 220 mm bed): 20–40 hrs print | 6–12 hrs finish Chest plate (2 sections on 350 mm+ bed): 16–30 hrs print | 4–8 hrs finish Full armor set (8–12 pieces): weeks of print time | 50–100+ hrs finish |
|
Editor note: Electricity costs for a 20-hour helmet print run $0.25–$0.36 based on Prusa’s published 80–120 W draw figures for their MK4S. The filament for the same print costs $4–$12. Failed prints are the real budget line — not the power bill. |
Conclusion
A 3D printer for cosplay is not about brand reputation or headline print speed. Build volume, enclosure, filament compatibility, and scaling discipline are what separate a prop you are proud to wear from a pile of misaligned plastic sections.
Start with one piece — a wrist guard, a badge, a simple mask — and run the full cycle: print, sand, prime, paint. That single finished prop teaches more about the workflow than ten guides. Learn PLA first, move to PETG when the costume needs outdoor durability, add ABS or ASA only when you have an enclosed printer and the ventilation to match.
The test ring is the single best habit in cosplay printing. Twenty minutes of print time before a 20-hour helmet is not patience — it is the only reliable way to confirm scale before the spool is committed. Print the ring. Try it with the wig. Then print the helmet.
Seam placement decides more about the finished look than any post-processing trick. A seam along the jawline or the back vertical panel disappears under paint. A seam across the forehead does not — no amount of filler primer recovers it cleanly. Plan the cut before you slice, not after the sections come off the bed.
Do not upgrade the machine until you know what is actually slowing you down. Wrong scale, wrong filament, and poor seam placement are workflow problems. A larger printer does not fix them — it just prints the same mistake at a bigger size. Master the process first, then buy for the specific bottleneck you have identified.
For families looking to reduce maintenance loops entirely, the kid-friendly 3D printer lineup and AOSEED’s family-friendly 3D printing platform offer enclosed, app-guided machines and guided project libraries. For kid and family cosplay printing, that setup helps keep the printer in making mode rather than troubleshooting mode.
FAQs
Which 3D printer is best for cosplay?
For helmets and wearable armor, the Bambu Lab H2S is the strongest overall pick — 340 × 320 × 340 mm, 65°C heated chamber, 350°C hotend. On a tighter budget, the Elegoo Neptune 4 Max’s 420 × 420 mm footprint prints wide armor plates in fewer sections. The Bambu Lab P1S is the most reliable enclosed option for medium builds. Choose your first three projects before choosing the printer — project scope should drive the spec, not the other way around.
Practical tip: Measure your workspace before buying a large printer. Some bed-slingers need 700–800 mm of table depth when the bed travels.
Do people use 3D printers for cosplay?
Yes, widely. 3D printing is standard practice for helmets, chest armor, weapon props, visors, and badges. Foam and fabric still handle body-conforming sections and anything that needs to be soft against skin. Most finished builds combine both: printed parts for hard structure, foam and fabric for padding and wearability.
Practical tip: Use FDM for hard shapes. Use foam where comfort and flexibility matter more.
Is PLA okay for cosplay?
PLA works for indoor display props and convention armor that stays in climate-controlled venues. The failure case is specific: PLA softens around 60°C, which is below the interior temperature of a parked car on a hot day. Use PLA to learn the workflow. Switch to PETG for outdoor events, ABS or ASA when genuine heat resistance is needed.
Practical tip: PETG is the right second material — tougher than PLA, easier than ABS, and no enclosure required.
How much does it cost to run a 3D printer for 1 hour?
Prusa’s published MK4S figures list 80 W for PLA and 120 W for ABS. At $0.15/kWh (US average), a 20-hour helmet print costs $0.24–$0.36 in electricity. The filament costs $4–$12. A failed print wastes the filament cost plus the time. Calculate your rate with: watts ÷ 1,000 × hours × local kWh price.
Practical tip: Electricity is not the budget concern. Failed prints and filament waste are.
How expensive is 3D printing as a cosplay hobby?
Entry cost: $200–$1,100+ for the printer. Budget separately for filament ($20–$30/kg; helmets use 300–600 g), sandpaper and primer ($20–$40/build), paint and clear coat ($30–$60/build), and spare nozzles and adhesives. A first costume all-in with a compact printer runs $300–$500. Subsequent builds run $50–$150 in materials. Budget 20–30% extra filament for failed prints during the learning curve.
Practical tip: Set a project budget, not just a printer budget. The machine is often a smaller fraction of total spend than new makers expect.
Can you legally sell 3D printed cosplay items?
You can sell printed items when you own the design, hold a commercial license, or use files explicitly marked for commercial use. Fan armor based on copyrighted IP carries real legal risk without a license. The U.S. Copyright Office’s fair use guidance confirms no fixed threshold applies — each case depends on its facts. Seek legal advice before building a commercial operation around character-specific designs.
Practical tip: Read the file license. Assume non-commercial unless the designer states otherwise explicitly.
What should you not 3D print for cosplay?
Avoid props that could fail under load near the face. Check your event’s prop policy before printing swords, staffs, blasters, or anything with a point — conventions prohibit specific lengths, realistic firearm shapes, and metal rod reinforcements. Do not sell IP-protected character designs without permission from the rights holder.
Practical tip: Download your event’s prop rules before printing, not after the prop is finished.
What is the average lifespan of a 3D printer?
Frame and motors last 5+ years in a well-maintained printer. Consumable parts wear faster: nozzles every 200–500 print hours (sooner with abrasive filaments), PTFE tubes annually at high temperatures, belts and extruder gears every 1–2 years of heavy use. Cosplay printing accelerates wear — long print jobs stress components more than short desktop runs. Keep basic spare parts on hand before any deadline build.
Practical tip: Buy a printer with standard-size consumables and an active community. Proprietary nozzles cost significantly more to maintain.
Sources
- Bambu Lab, "Bambu Lab H2S 3D Printer."
- ELEGOO, "Neptune 4 Max Large Format 3D Printer."
- Sovol, "SV08 Max CoreXY 3D Printer."
- Prusa Research, "Original Prusa MK4S 3D Printer."
- U.S. Copyright Office, "Fair Use."


You may also like
Further reading

Printable STEM Challenges for Grades 4-6 Using 3D Printing

Small Group 3D Printing Activity With One Printer

Elementary STEM 3D Printing: Simple Projects Teachers Can Actually Run


