


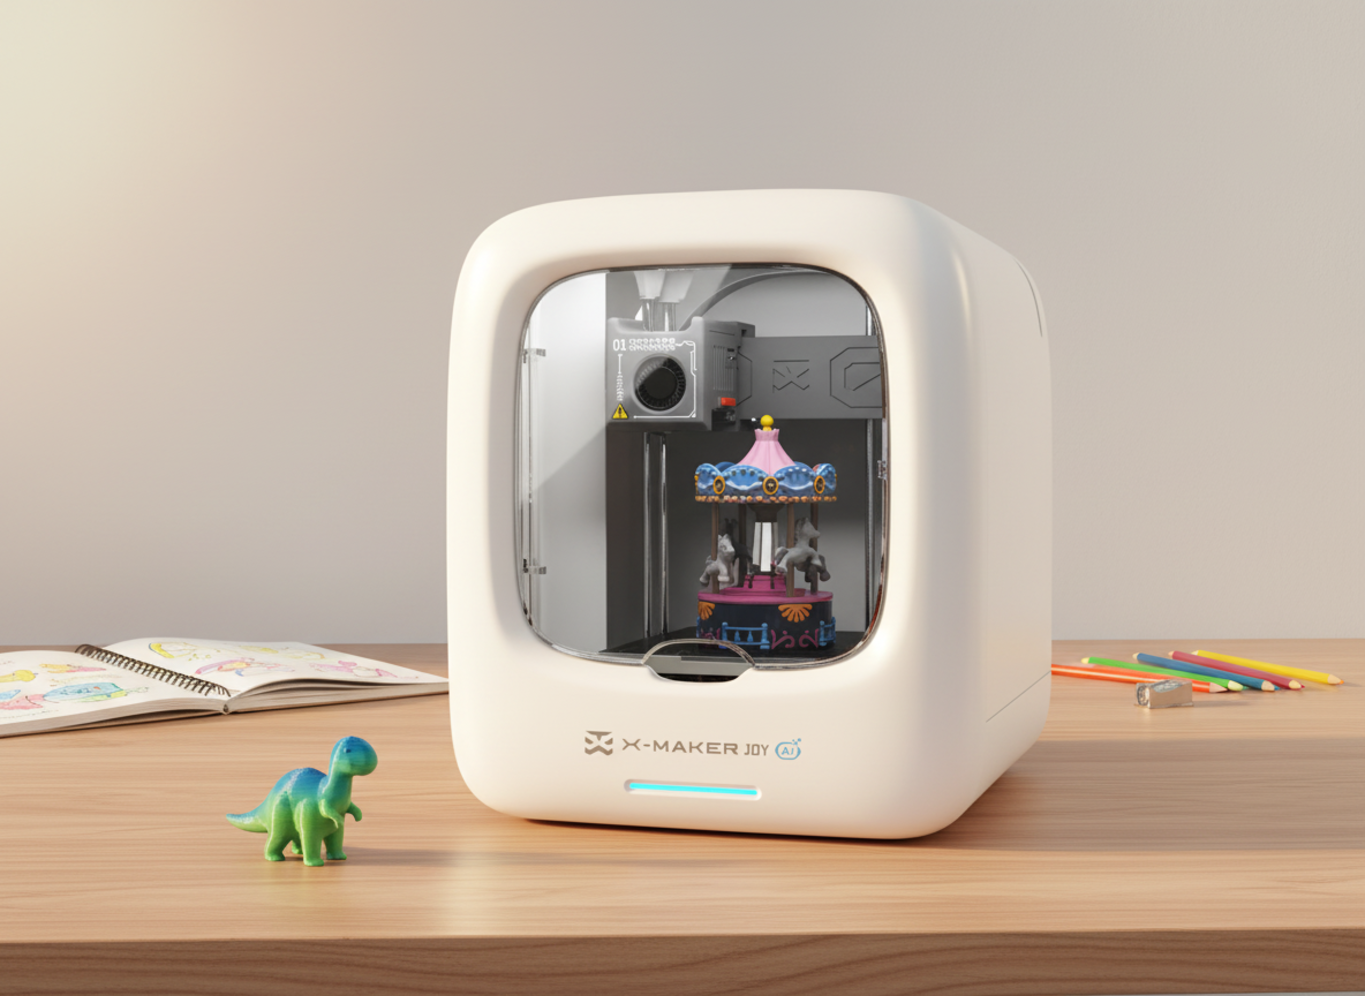
How to Clean and Maintain a Kids 3D Printer in the School
Twenty hands a week. Sometimes thirty. That's the math on a classroom 3D printer.
Three minutes of cleanup after each class. Twenty minutes once a week. Forty minutes once a month. Done right, that's all it takes to keep a school printer reliable across an entire year of student projects.
This guide walks through what to clean, when to clean it, who does what — and why most failed prints in a school come from the same handful of small things going wrong. We'll cover daily wipe-downs, weekly belt and bed checks, monthly deep care, the student-vs-teacher task split, and the safety basics that keep a 250°C nozzle from becoming a 250°C problem.
Why School 3D Printer Maintenance Matters
A home printer belongs to one careful user. A school printer belongs to thirty curious ones. The difference shows up faster than most teachers expect.
How Missed Maintenance Shows Up in Prints
Failed prints have a shape. They lift off the bed. They shift sideways at layer 30. They feed thin, then nothing. Each failure has a story, and most stories start the same way — a missed wipe-down, a dusty fan, a screw that backed out two prints ago.
A patchy first layer? The build plate's dirty. Wavy walls? Belt's loose or a screw's rattling. Clicking from the extruder? The filament got wet, or something's blocking the path. Three diagnostic shortcuts that save fifteen minutes of staring at a curling corner.
Why Classroom Printers Wear Faster
Five projects a day. Twenty filament loads a week. Someone always pries a print off too early. Someone else touches the bed with snack-greasy fingers. Wear accumulates fast — small fingerprint, small filament scrap, small bumped knob — until the next print just won't start clean.
The 3-Tier Kids 3D Printer Maintenance Schedule That Actually Works
Teachers don't need a service manual. They need a one-page schedule that fits next to the printer and matches the school week. NIOSH's school-focused guidance (Approaches to Safe 3D Printing: A Guide for Makerspace Users, Schools, Libraries, and Small Businesses) explicitly identifies maintenance and cleaning as one of four distinct hazard stages — alongside pre-printing, printing, and post-printing — which means it needs the same structured handling as any other classroom-equipment routine.
|
Frequency |
Time |
Focus |
Who Does It |
|
Daily (after class) |
3–5 min |
Build plate, scraps, nozzle check |
Students + teacher |
|
Weekly |
15–20 min |
Bed level, belts, screws, fans |
Teacher |
|
Monthly |
40–60 min |
Extruder, lubrication, wires, wheels |
Teacher or tech |
|
Yearly |
2–3 hr |
Worn parts, full calibration, safety check |
Trained tech |
The split rule: students do the cool, safe jobs. Teachers do anything hot, sharp, or plugged in. A magnet-mounted checklist at the printer station tells everyone what they can and can't touch, before anyone reaches inside — a practice Lawrence University's makerspace documentation calls out as one of the highest-leverage moves for a shared classroom printer.
Daily Cleaning Tasks After Each Class

Three minutes. Tools within arm's reach. Cool surfaces only.
Keep a labeled box next to the printer with a lint-free cloth, soft brush, plastic scraper, small empty cup for scraps, and a bottle of 70%+ isopropyl alcohol. That's the daily kit. Anything sharper or hotter lives in the teacher-only box.
Wipe the Build Plate
Wait for the plate to cool. Glass and PEI can crack on temperature shock. Warm flexible plates warp under pressure.
Once cool: lint-free cloth, fingerprints gone, dust cleared. For light grease, use 70%+ isopropyl alcohol — on the cloth, never on the plate itself. Skin oils cause more first-layer failures than any other single thing, and a quick alcohol pass handles them in under a minute.
When glue or sticky residue builds up, pop the plate off and wash it with mild dish soap and warm water. Dry it completely. A damp plate ruins the next first layer just as fast as a dirty one.
Sweep Filament Scraps
A scrap the size of a grain of rice can shift a print at layer 40. They drift under belts, behind pulleys, into the spool holder corner — all the small spaces small pieces find.
Brush the print area after every removal. Drop scraps into the cup rather than the trash; knowing the size of the day's scrap pile is a small but useful health signal for the printer.
Inspect the Nozzle — Cool, Eyes Only
Burnt plastic, hanging strings, a blob on the tip — these are visible without touching anything. If something needs cleaning, that's a teacher's job after heating, never a student's.
A brass brush sweeps light buildup from a heated nozzle. Eye protection on; small flecks of melted plastic can fly. Keep kids back during this step.
Read the First Layer
A clean glossy first layer means everything's working. A curled corner means the bed's too far from the nozzle. A patchy line means oil or dust on the plate. Free diagnostic, every print.
Weekly Maintenance Checklist

Pick one day. Friday after class works for most schools — the printer gets a quiet 48-hour window to settle. Twenty minutes if nothing's wrong, add five if something is.
Re-Level the Print Bed
Bed level slips with use. Someone leans on the gantry. A student pulls hard on a stuck print. The printer gets moved an inch during a desk reshuffle. Any of those resets the geometry.
Run leveling weekly — sooner if first layers start failing unevenly across the plate. Auto-leveling printers still need a clean sensor and a clean nozzle. The sensor can't measure what dust has buried.
Check Belt Tension
Press each belt with a fingertip while the printer's off. Just a few millimeters of give. A loose belt prints wavy walls and shifted layers. An over-tight belt strains motors and wears parts faster. The sweet spot is firm — a low note when plucked, not a slack thud.
Clean Fans with Compressed Air
Dust kills printers quietly. It coats fans, blocks vents, makes the electronics run hot. Aim short bursts of compressed air at each fan while holding the blades still with a finger — letting them over-spin from air pressure damages bearings. Five fans, ten seconds each. Done.
Tighten Loose Screws
Vibration loosens screws. Loose screws cause rattles. Rattles shift layers. The pattern's predictable.
Walk the frame with the printer's hex key once a week — spool holder, bed corners, toolhead mount, frame uprights. Tighten only what feels loose. Overtightening strips threads.
Monthly Maintenance for Better Classroom Printing

Power down. Unplug. Set aside forty minutes, and do this when no class is waiting on the machine.
Clean the Extruder Gears
Filament dust packs into the gear teeth over time. The gear spins, the filament slips, the print starves. Open the extruder area as the manual directs, then clear ground plastic out of the teeth with tweezers or a small brush. Two minutes.
The clicking sound during loading is the early warning. Most "broken" extruders just need a brush-out.
Lubricate Rails — the Right Way
Wrong lubricant is worse than none. Household oil traps dust and gums up rails. Use only what the printer manual specifies — usually PTFE-based grease or a printer-specific lubricant.
Wipe old grease and dust off the rails first. Apply a thin film. The rail should look damp, not coated. Move the axis through its full travel twice to spread it. Linear bearings often don't need user grease at all; check the manual before adding any.
Inspect Wires and Connectors
Wires that move every day fail every year. Bed cables flex with each print. Toolhead cables make hundreds of trips along the drag chain. Insulation eventually cracks at the bending point.
Look for browned wires, exposed copper, melted plastic at connectors, or pinched cables. A wire problem is a stop-use problem. Tag the printer, unplug it, and call for service — don't let students near it.
Check Wheels and Replace Worn Nozzles
Spin each wheel by hand when the printer's off. Smooth motion, no flat spots, no grinding. Loose wheels can be snugged with the eccentric nut; chewed wheels need replacement.
Brass nozzles last two to four months under heavy classroom use. Hardened steel lasts a year. When cleaning stops fixing under-extrusion, replace — don't keep cleaning. For step-by-step replacement instructions, follow the AOSEED Learning Center's step-by-step replacement and setup guides or your printer maker's documentation.
Safe Maintenance Jobs Kids Can Help With

Students get more out of a printer when they help maintain it. The trick is matching the job to the age and the supervision level — without putting them near the hot or sharp parts. This isn't a stylistic call; it's the documented standard. Washington State's 3D Printers in Schools guidance states the rule directly: only classroom instructors or maintenance workers should perform routine maintenance or cleaning, because of the potential for chemical and physical exposure. Academic makerspaces apply the same logic — Princeton University Library's makerspace policy requires every user to complete training before touching a printer, with reservations and oversight built in.
A simple classroom rule works: if it's hot, sharp, or plugged in, the teacher does it. Everything else is fair game with permission.
|
Task |
Students |
Teacher / Tech |
|
Picking up filament scraps after cooldown |
✓ |
— |
|
Wiping the printer exterior (dry cloth) |
✓ |
— |
|
Checking spool for tangles |
✓ |
— |
|
Logging failed prints in the maintenance log |
✓ |
— |
|
Cleaning the build plate with IPA (after cooldown) |
With supervision |
✓ |
|
Removing finished prints from the bed |
Older students, with supervision |
✓ |
|
Cleaning the heated nozzle |
✗ |
Teacher only |
|
Scraping a stuck print |
✗ |
Teacher only |
|
Wire, connector, or PSU inspection |
✗ |
Teacher / tech only |
|
Handling uncured resin |
✗ |
Teacher only, gloves + goggles |
Hot Nozzle Rules
|
BURN HAZARD Nozzles run 190–250°C during printing. The heater block stays hot for ten minutes after the screen reads "idle." No student touches the nozzle, hotend, or heated bed — printing, paused, or idle. |
Tape a "hot parts" sign on the front of the printer. Use the temperature readout to confirm parts have actually cooled, not the print status indicator. NIOSH's school-and-makerspace guide (Approaches to Safe 3D Printing) lists heat from hot surfaces alongside moving parts and ventilation as the three core physical hazards every classroom 3D printer policy needs to address. The hot nozzle isn't an edge case — it's a default.
How to Clean the Build Plate Correctly

The plate is the most-touched part of the printer. It's also the most common source of failed prints. Skin oils, glue layers, dust, and previous-print residue all interfere with first-layer adhesion.
Match the cleaner to the surface. The wrong product on a coated plate strips the coating. The right product extends its life by months.
|
Situation |
Best Cleaner |
Avoid |
|
Fingerprints, light dust, daily reset |
70%+ isopropyl alcohol on lint-free cloth |
Paper towels (leave lint) |
|
Glue stick or hairspray buildup |
Warm water + mild dish soap (plate removed) |
Water on a fixed-bed printer |
|
Stubborn dried filament residue |
Plastic scraper at 30° (plate off) |
Metal blade (scratches surface) |
|
PEI losing grip over months |
Light scuff with fine sandpaper (if manual permits) |
Acetone — strips coating |
|
Glass plate, mineral deposits |
Soap + water, fully dried |
Ammonia-based glass cleaner |
Isopropyl Alcohol — Daily Quick Clean
70%+ on a lint-free cloth. Apply to the cloth, never the plate. Wipe in straight lines, let dry for thirty seconds before the next print. Keep alcohol away from heaters, sparks, and student access. It's flammable and easy to spill.
Soap and Water — Deep Clean
Soap and warm water clear what alcohol can't — glue buildup, sugar residue, the sticky film from over-applying hairspray as a bed adhesive. Pop the plate off if it's removable, wash in a sink, rinse fully, dry completely before reinstalling. Never wash a fixed-bed printer in a sink. Damp cloth only for those.
What Not to Use
Acetone weakens some bed coatings. Ammonia fogs PEI. Strong solvents kill the textures on powder-coated steel sheets. Stick to the manual's recommendations. When in doubt, alcohol or soap and water are safer than mystery solvents.
Nozzle, Extruder, and Filament Care
These three share the same plumbing. Wet filament clogs nozzles. Clogged nozzles starve extruders. Starved extruders grind filament. The cycle feeds itself. Treating them as one system saves time.
Spotting a Dirty Nozzle
Blackened plastic on the outside. A blob hanging at the tip. Hair-thin strings reaching off the edge. The print tells you too — gaps in the first layer, lines thinner than expected, rough side walls. Clicking from the extruder is the gear slipping past stuck filament. Look first. Touching is always a teacher's decision.
Clearing a Small Clog
Heat to the loaded filament's printing temperature. Insert the correct cleaning needle gently into the tip, just deep enough to push residue back up. Pull straight out. Repeat once if needed.
Deeper clogs need a cold pull — heat to print temp, push fresh filament through, drop to about 90°C for PLA, then yank firmly. The cold filament pulls contamination with it.
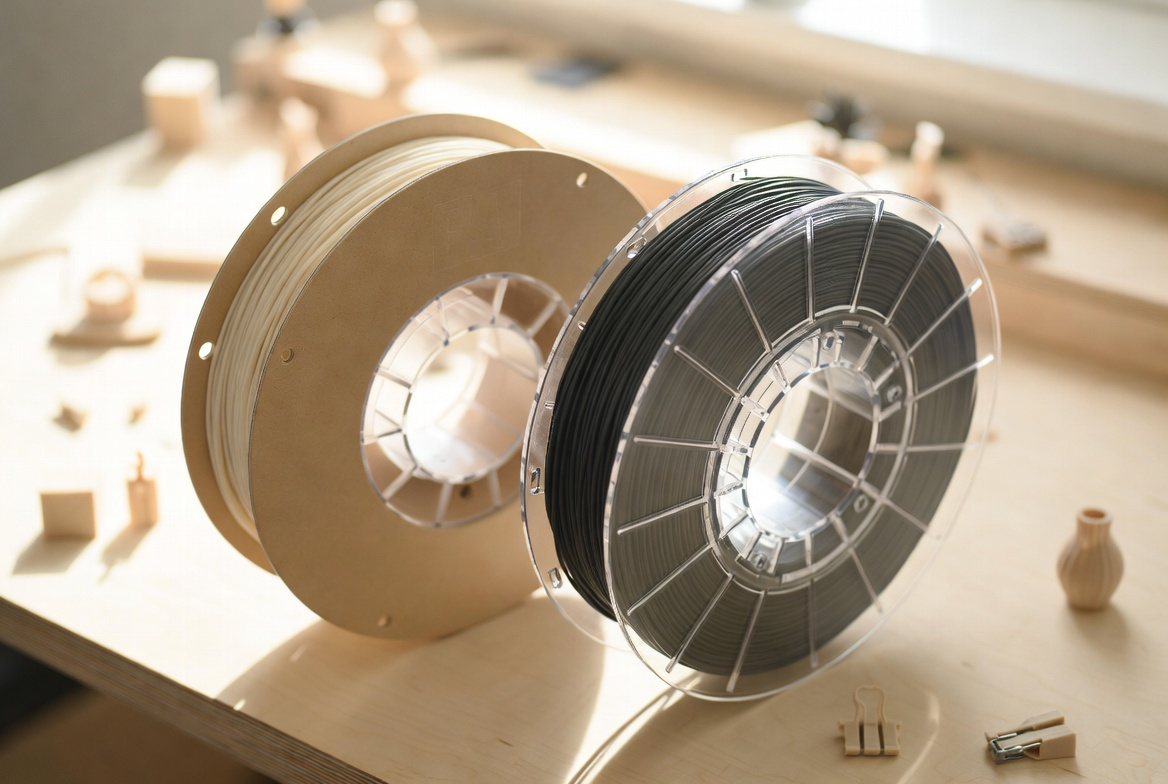
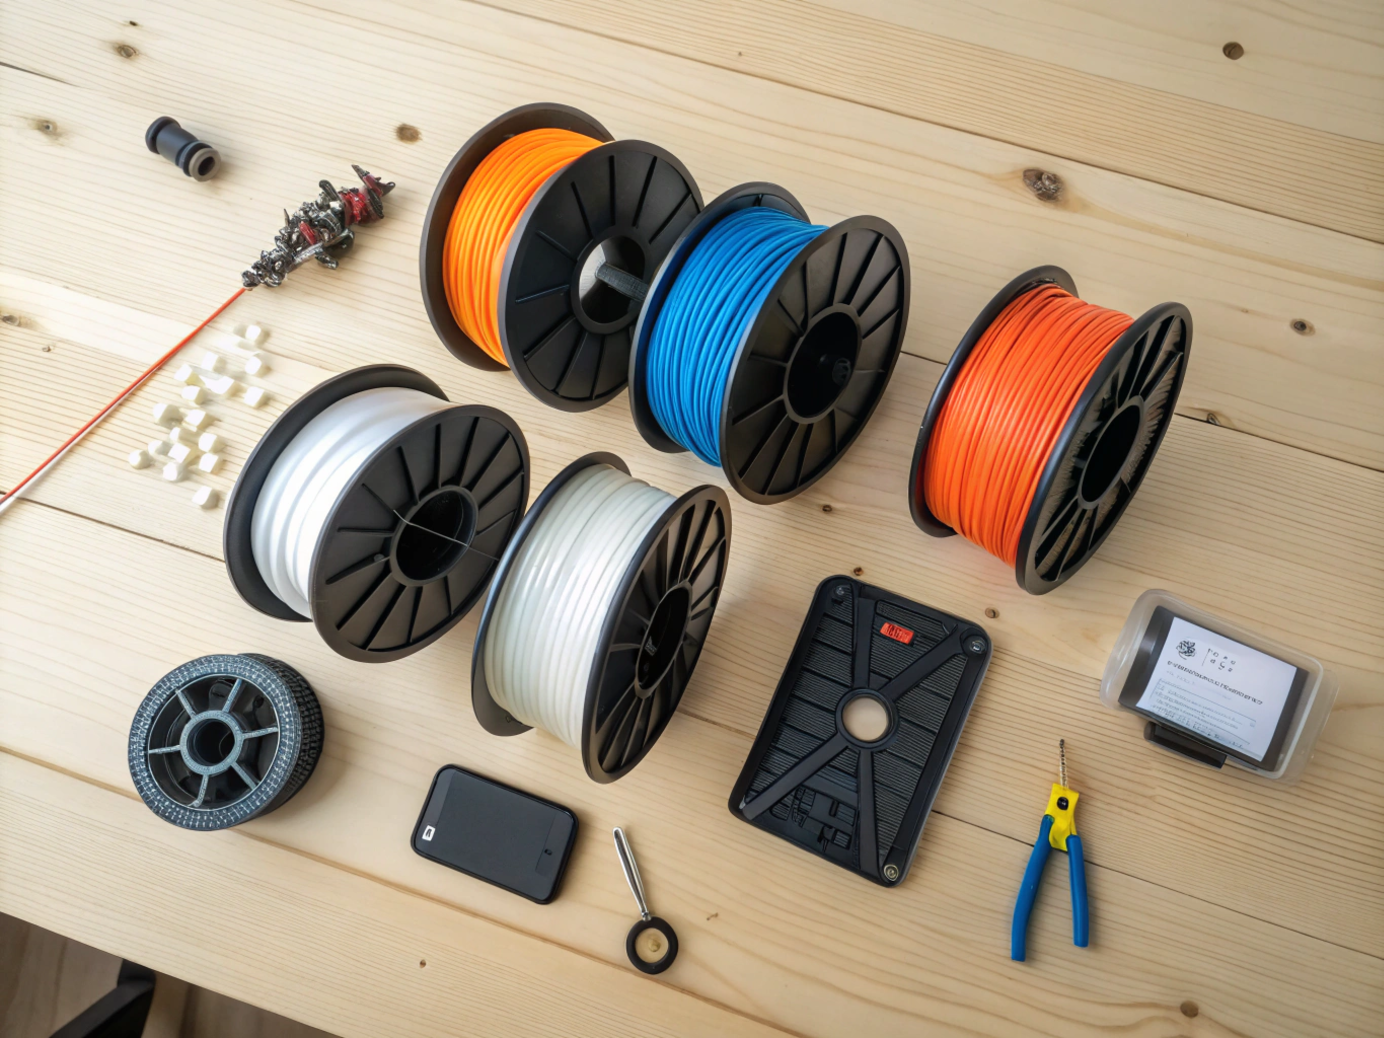
Filament Storage Done Right
PLA absorbs moisture. So does PETG. So does almost every common filament. Wet filament pops, hisses, strings, and prints with brittle layers.
Open spools live in sealed bags with a desiccant pack. A two-liter container with silica gel works as a low-cost dry box. Clip the loose end into the spool's side hole so the filament can't wrap over itself and knot. Label every spool with color and date opened.
Classroom Safety, Ventilation, and Printer Placement

Where the printer sits matters as much as how it's cleaned. A printer on a wobbly cart, in a corner with no airflow, or next to a busy walkway will fail faster and cause more incidents.
Stable Table, Predictable Spot
A flat, heavy, dedicated table. Not a folding desk. Not a wheeled cart unless the wheels lock and the surface is rigid. Wobble shows up in the print as ringing — vertical lines around sharp corners. If a glass of water on the printer table ripples when someone walks past, the table is the wrong table.
Hands Off Hot Parts
Nozzle at 250°C. Heated bed at 110°C. Both stay hot enough to burn for minutes after the print ends. The screen reading "idle" doesn't mean cool.
Tape a "hot parts" warning on the front. The rule: students never reach inside the build area during or right after printing. Enclosed printers reduce the risk meaningfully — schools comparing classroom machines can look at a guided STEM 3D printer for kids and teens or browse the AOSEED kids 3D printer lineup by age, both fully enclosed with the hot end kept out of curious hands.
Ventilation for ABS and Resin
PLA's the easiest classroom filament. ABS and resin need more careful handling — both for the materials and for the room. NIOSH's Approaches to Safe 3D Printing guide recommends ventilated enclosures, local exhaust ventilation, or dedicated maker spaces for higher-emission filaments. Washington State's 3D Printers in Schools health guidance goes a step further — it lists "placing the printer inside an enclosure that exhausts emissions directly outside the building" as the top-preferred ventilation option for a school setting.
Don't run ABS or resin in a closed classroom with students at the next desk. Move it to a vented enclosure, a fume hood, or a dedicated maker space — that's the consistent recommendation across every school-focused 3D printing safety document.
Keep the Area Clean and Covered
Dust accelerates wear on every moving part. Cover the printer when it's not in use — fitted dust cover or a clean cloth bag, whatever the maker allows. Never cover a running printer unless its enclosure is rated for it; heat builds, fans starve, prints burn.
Printer table off-limits for snacks, drinks, water bottles. Sticky residue in the rails is hard to clean and shortens part life.
Troubleshooting Common School 3D Printer Problems
Most school print failures trace to a short list of causes. Working through the list in order saves time over rewriting slicer settings.
|
Symptom |
Most Likely Cause |
First Fix |
Time |
|
Print lifts off the bed |
Dirty plate, unlevel bed, cold room |
Alcohol-wipe plate, re-level, check Z-offset |
5–10 min |
|
Nozzle keeps clogging |
Wet filament, worn nozzle, wrong temp |
Cold pull → check filament moisture |
10–15 min |
|
Layers shift sideways |
Loose belt, debris in rails, bumped printer |
Tension belt, clear debris |
5 min |
|
Clicking from extruder |
Filament jam, tangled spool, restricted path |
Pause, unload, check feed path |
5–10 min |
|
Stringing between parts |
Wet filament, retraction set too low |
Dry filament, increase retraction |
10 min |
|
Wavy walls / ringing |
Wobbly table, loose toolhead, fast acceleration |
Move printer, tighten frame, reduce speed |
10 min |
|
Printer won't turn on |
Power cable, switch, internal fuse |
Check outlet — do not open PSU |
2 min, then service |
Prints Won't Stick
Dirty plate, unlevel bed, cold draft. Three causes, in that order of frequency. Start with the plate — it's the cheapest fix and the most common cause. If the first layer's too thin on one side and too thick on the other, run leveling. If the nozzle's too high, drop the Z-offset by 0.05mm and test again.
Repeat Clogs
Filament problem, not nozzle problem. Wet, dirty, or wrong temperature. Dry or replace the spool, then clean the extruder gear, then check nozzle wear. Persistent clogs after cleaning usually mean the nozzle is worn.
Shifted Layers
Belt's loose. Or something's caught in the rails. Or someone bumped the printer. Check belt tension, then clear debris from pulleys. Add lubrication only where the manual specifies.
Won't Turn On
Start simple — cable seated at both ends, outlet working, surge strip on. If those check out, stop using the machine and contact a tech. Internal fuses and power supply work aren't classroom repairs, even if it looks like a quick fix.
When to Service or Replace a School 3D Printer

Cleaning fixes most problems. Some problems need parts. A few problems need a different printer. A maintenance log makes the call easier — if the same failure repeats every other week despite the right cleaning steps, replacement parts won't solve it.
Signs the Printer Needs Service
Burning smell. Damaged wire. Melted connector at the heater or bed. Repeated overheating signs. Any of these is a stop-use warning. Power the printer down, unplug it, and keep students away until the manufacturer or a qualified tech weighs in.
Wear Parts to Stock
Nozzles, belts, Bowden tubes, fans, bed surfaces, and wheels wear before the frame does. These are normal replacement parts. Keep three to four spares of each labeled by printer model — installing the wrong nozzle size or wrong tube ID is a common error.
When Replacement Beats Repair
Replacement makes sense when repair costs keep climbing, parts are no longer available, or the machine lacks basic safety features like an enclosure. Don't keep a printer running only because it still powers on — print quality, safety, and support all matter more than age.
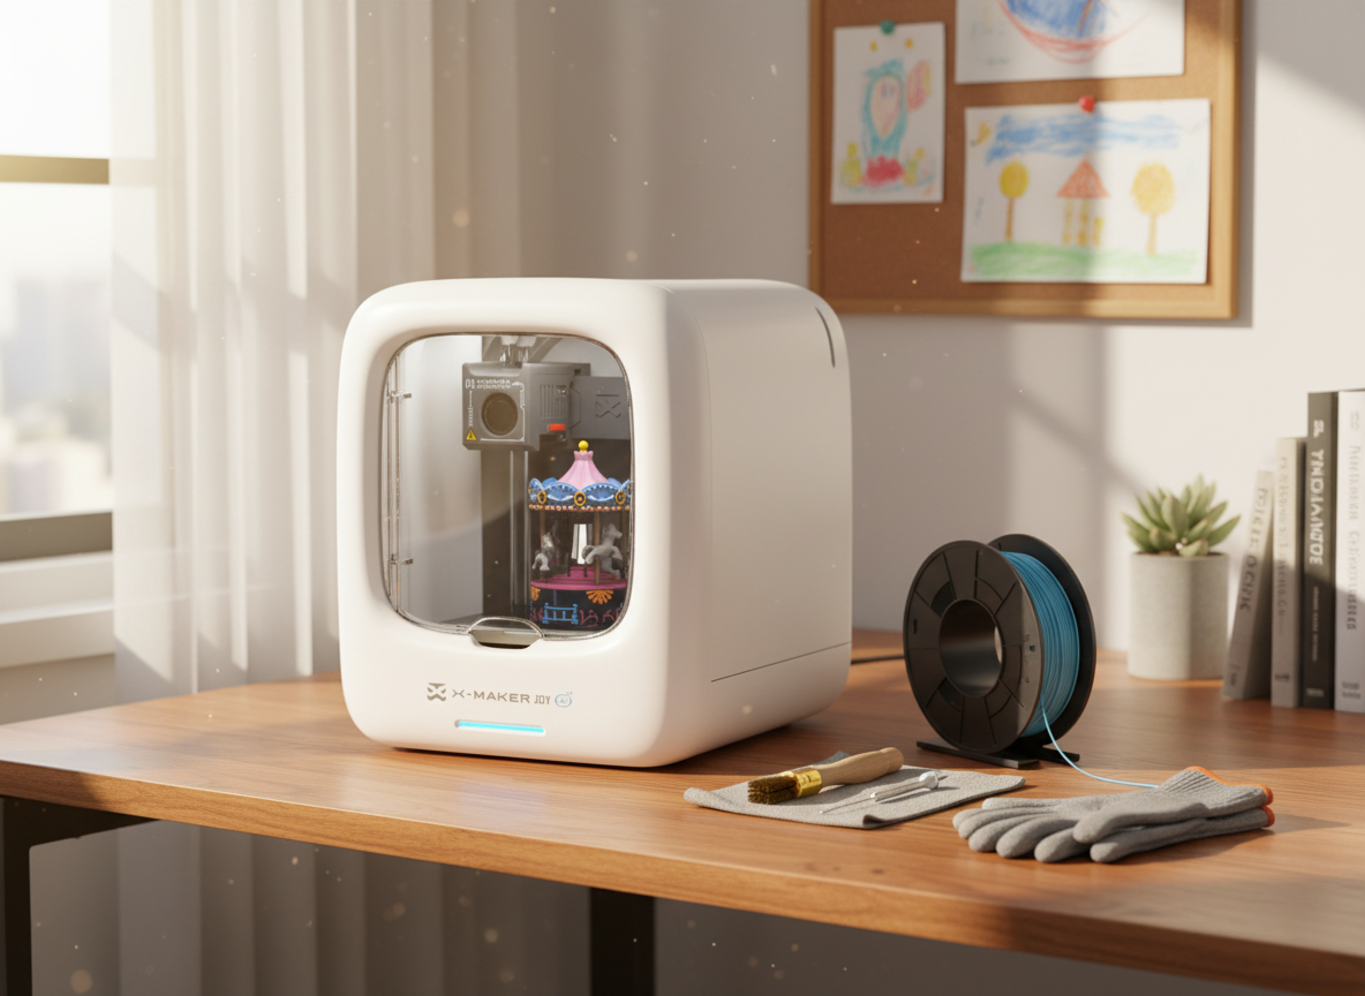
Matching Printer to Student Age
Younger students do better with simpler, fully enclosed machines and guided software. For early-elementary classrooms, a beginner-friendly 3D printer for kids reduces setup stress for teachers and incident risk for students. Older grades can handle the next step up.
Conclusion
A school 3D printer stays reliable when cleaning becomes part of the class routine. Not a repair manual. A one-page rhythm.
Three minutes after each class. Twenty minutes once a week. Forty minutes once a month. Daily care on the plate, scraps, and nozzle. Weekly care on bed, belts, fans, and screws. Monthly care on extruder, rails, wires, and worn parts. Kids handle the cool, safe work. Teachers handle anything hot, sharp, or electrical.
The payoff isn't in the printer alone. It's in the student who never sees the printer fail, the project that finishes on time, the lesson that doesn't get derailed by a clog at layer 30. AOSEED's family creativity platform — deployed in over 5,000 schools — is built around exactly that idea. The most important innovation in classroom 3D printing isn't the latest feature. It's the maintenance routine that keeps the machine working week after week.
|
school/kids’ 3D printer maintenance routine Three minutes daily, twenty minutes weekly, forty minutes monthly. That's the entire program. Skip none of it. Add nothing complicated. The printer that runs all year is the one with the boring routine — not the one with the bigger toolbox. |
FAQs
What maintenance do 3D printers need?
3D printers need regular cleaning, bed checks, nozzle care, belt checks, lubrication, and safe filament storage. In a school, the work splits into daily, weekly, and monthly routines so teachers don't miss the small problems that pile up.
Should a 7 year old have a 3D printer?
A 7-year-old can be around a 3D printer only with close adult supervision. Hot parts, sharp tools, wiring, resin, and deep maintenance stay off-limits at that age.
Do 3D printers need to be serviced?
Yes — 3D printers need service when normal cleaning no longer fixes the problem. Many classroom issues are solved by cleaning the bed, leveling the plate, checking the filament, clearing a small clog, or replacing a worn nozzle. In many school contexts, minor service visits or simple repairs can cost tens of dollars, while major component replacements, such as a hotend, control board, or motion-system part, can reach hundreds of dollars. A regular maintenance routine helps schools avoid bigger repair bills and keeps printers ready for student projects.
Do 3D printers give off toxins?
Some 3D printers can release ultrafine particles and VOCs during printing. The amount depends on the filament, temperature, printer design, and room airflow. ABS and resin call for more care than basic PLA classroom printing.
How often do I need to lubricate my 3D printer?
Many school 3D printers need lubrication about once a month. The right interval depends on the model and how often it runs. Always follow the printer maker's guide — some rails, rods, or bearings need specific grease, while others should not be oiled at all.
Can I wash my 3D printer bed with soap and water?
Yes — many removable build plates wash safely with mild dish soap and warm water. This handles fingerprints, glue, sugar residue, and grime that alcohol can't fully clear.
Is it okay to run a 3D printer for 24 hours?
A 3D printer can run long jobs if it's in good condition, placed safely, and operated within the manufacturer's limits. In a school, a 24-hour print needs extra planning because the machine often runs after teachers and students leave the building.
How much does it cost to have a printer serviced?
Service costs depend on the brand, part prices, labor rate, and whether the school uses in-house tech support. Small fixes — replacing a nozzle, clearing a clog, retightening belts — cost far less than replacing electronics, a full hotend, or a damaged bed.
Sources
- CDC/NIOSH, "Approaches to Safe 3D Printing: A Guide for Makerspace Users, Schools, Libraries, and Small Businesses."
- Washington State Department of Health, "3D Printers."
- Princeton University Library, "3D Printers (Makerspace Resources)."
- Lawrence University Makerspace, "Documentation."
- AOSEED, "3D Printer for Kids Collection."


You may also like
Further reading

Printable STEM Challenges for Grades 4-6 Using 3D Printing

Small Group 3D Printing Activity With One Printer

Elementary STEM 3D Printing: Simple Projects Teachers Can Actually Run


