

How Kids Can Turn an Idea Into a Toy With Guided 3D Design
One idea on Sunday afternoon. A finished toy by Monday at lunch. That's the math on guided 3D design for kids.
Ten minutes to sketch. Twenty in the app. Forty-five to print. The skill builds across projects — measuring, fixing a wobbly base, deciding what to change next time. The toys are a bonus.
This guide covers what guided 3D design looks like at home, which apps fit which ages, the six-step path from idea to printed toy, and where parents should step in (and where they should step back). Real ages, real time estimates, and the small things that turn a failed first print into a kid's favorite weekend habit.
What Guided 3D Design For Kids Actually Looks Like

Software handles the math. The child handles creativity. That's the deal.
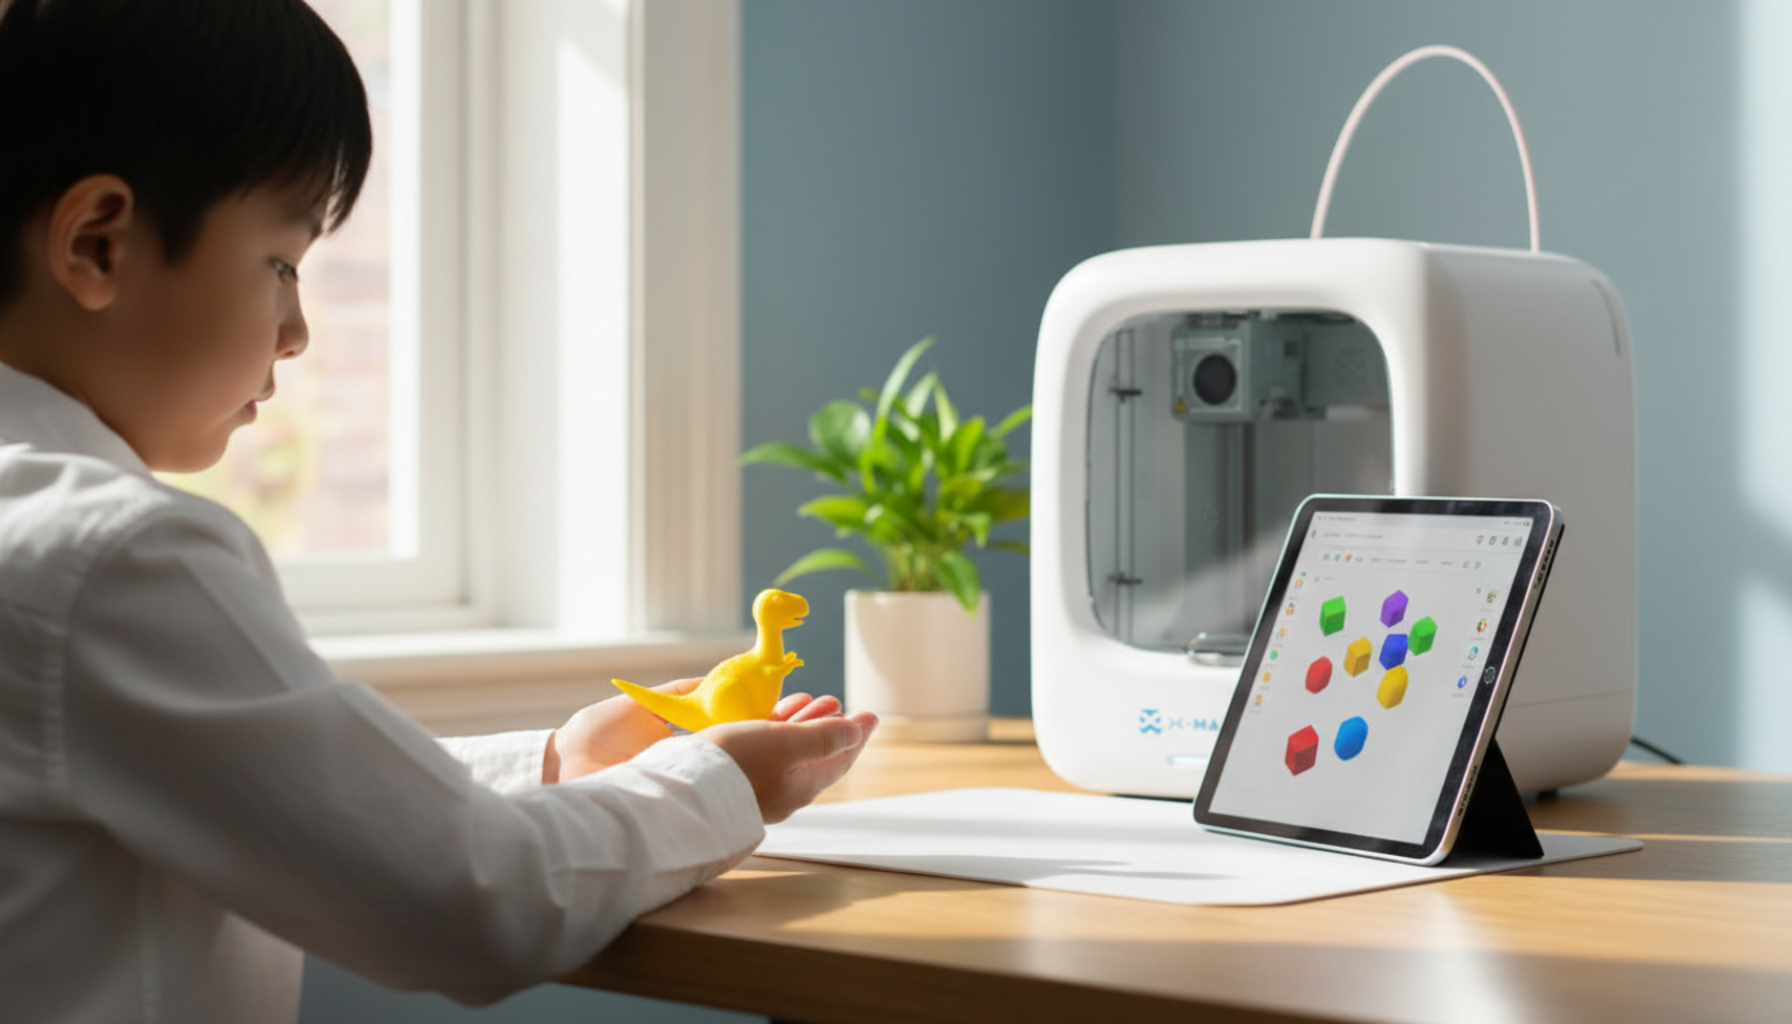
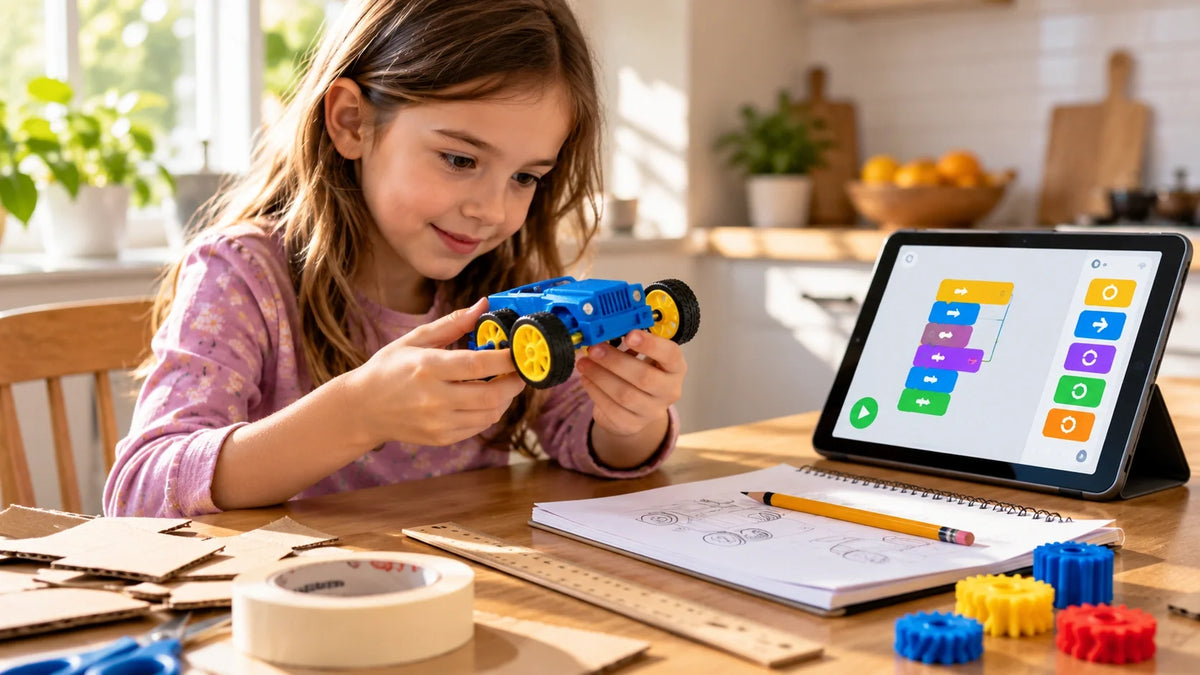
A typical first project: a six-year-old wants a name tag for her water bottle. She opens a kid-friendly app on a tablet. Drags a rectangle. Types her name. Picks a star to sit next to it. Saves. Ten minutes of work. Twenty-five more for the print. By snack time she has a name tag with her name on it.
The guided part matters more than the design part. Tools like Tinkercad and Makers Empire walk kids through movement, scaling, and how shapes combine — without dumping them into a CAD interface built for engineers. Kids pick up the same core ideas a designer uses (height, width, depth, symmetry) through play, not through a textbook.
Why Kids Stick With It
The appeal is ownership. A kid who designs her own dinosaur figurine has something no store sells. She picked the spikes. She picked the color. She fixed it when the tail kept snapping off. The toy already has a story by the time it comes off the print bed.
The skill-building runs deeper than it looks. Children learn how a shape appears from above versus the side, why a tall narrow tower falls over, and how two parts have to fit together. Research from STEM education programs shows hands-on design activities improve critical thinking and creative confidence in children (source: NIH / PubMed Central).
The failures help more than the wins. A toy snaps because the legs were too thin. The next version uses thicker legs. The third version balances on its own. Try, fail, fix, try again — that loop is hard to teach with a worksheet but happens naturally with a printer running in the corner.
Then there's the sharing. A printed keychain handed to a friend, a name tag spotted on a binder, a custom token in the family board game. Small, visible payoffs that keep kids coming back to the app on weekends without being asked.
The Right 3D Design App for the Right Age

There's no fixed start age. The activity changes with the kid.
|
Age |
What kids can do |
Best tool style |
Parent role |
|
4–8 |
Drag shapes, change colors, save a model |
Tablet apps with big icons (Morphi) |
Full setup + sit alongside |
|
9–12 |
Follow tutorials, build multi-part models, customize templates |
Tinkercad, Makers Empire, 3D Slash |
Help with slicing and first layer |
|
13+ |
Original designs, supports, moving parts, multi-piece assemblies |
SketchUp Free, BlocksCAD, full design apps |
Light oversight + safety reminders |
Younger kids work in short bursts — ten to fifteen minutes before attention drifts. Older kids will sit with one model for an hour and not look up. Either way, adult supervision around heated printer parts is non-negotiable. The American Academy of Pediatrics recommends active supervision when children use tools or heated equipment at home.
Families comparing options often start with the AOSEED kids 3D printer lineup to see what fits the age band before settling on a specific model.
From Idea to Toy in Six Guided 3D Design Steps

Most first projects follow the same six steps. Total time from idea to finished toy: about 90 minutes for a simple keychain. Longer for anything with detail.
|
Step |
What kids do |
How it works |
|
1 |
Sketch on paper |
Pencil drawing. Front view + side view. About 5 minutes. |
|
2 |
Build in the app |
Drag, scale, combine shapes. 10–20 minutes for a first model. |
|
3 |
Export the STL file |
One click in most beginner tools. Save it somewhere easy to find. |
|
4 |
Slice the model |
Open the STL in Cura or the printer's app. Leave defaults alone at first. |
|
5 |
Print + watch first layer |
If the first layer sticks evenly, the rest will probably finish. 30–90 minutes. |
|
6 |
Improve next version |
Note what worked, thicken what broke, adjust scale. The learning sits here. |
Sketch on Paper First
A pencil drawing on scrap paper is enough. Front view, side view, top view if the child wants. The sketch helps them spot problems before opening any software — a head that's huge from the side, wheels that won't reach the ground, a base too small for what's on top.
Build in the App
Tinkercad, 3D Slash, and Makers Empire all use the same logic: drag a shape, scale it, combine it with another, drill a hole, repeat. A simple turtle is three shapes — a flat oval body, four small cylinders for legs, a half-sphere for the head. About fifteen minutes of work.
Export the STL File
STL is the universal file format for 3D printers. Most kid-friendly tools export with one click — usually a button labeled Export or Download. Save it somewhere easy to find. Younger kids may need help finding their downloads folder.
Slice the Model
Slicing software (Cura is the common free option) converts the 3D shape into thin layers the printer builds one at a time. Open the file. Leave default settings alone for the first few prints. Click Slice. The preview shows exactly how the printer will move.
Print and Watch the First Layer
Send the file to the printer. Watch the first layer go down — if it sticks evenly, the print will probably finish. If it skips or curls, stop and re-level the bed before wasting filament.
Pick What to Change Next Time
When the toy comes off the bed, look at what worked and what didn't. A leg too thin? Thicken it next time. A name tag printed upside down? Flip the orientation before slicing. Each version teaches something the manual can't.
Best Apps to Start With
The right app depends on age, device, and how the kid likes to play. Here's a quick comparison before the deeper breakdowns.
|
App |
Age fit |
Device |
Cost |
Best for |
|
Tinkercad |
8+ |
Browser |
Free |
First real projects |
|
3D Slash |
7+ |
Browser / desktop |
Free tier |
Kids who love Minecraft |
|
Makers Empire |
5–12 |
Tablet / desktop |
Subscription |
Classroom and homeschool |
|
Morphi |
4+ |
Tablet |
Paid app |
Youngest learners |
|
BlocksCAD |
10+ |
Browser |
Free |
Kids who like coding |
|
SketchUp Free |
12+ |
Browser |
Free |
Teens going deeper |
Tinkercad — The Default Starting Point
Tinkercad is where most kids start. Free, browser-based, drag-and-drop. Schools have used it for years, so the tutorial library is huge. The trade-off: it's powerful enough to grow with a child, but eventually teens will want richer control over surfaces and joints.
3D Slash — For the Minecraft Crowd
3D Slash mimics Minecraft's voxel feel. Kids carve, hammer, and drill blocks into shape. The interface is forgiving for younger children who can't handle Tinkercad's precision tools yet. Output looks chunkier than Tinkercad's, which some kids prefer.
Makers Empire — Best for Schools and Homeschool
Makers Empire is built for schools first and homes second. Short design challenges plus teacher tools make it strong for homeschool parents who want structure rather than a blank workspace. The game-style lessons keep younger kids engaged longer than open-ended apps tend to.
BlocksCAD — For Kids Who Already Code
BlocksCAD suits kids who already enjoy Scratch or Minecraft modding. Instead of dragging shapes on a canvas, the child snaps code blocks together to describe a model. The output is the same printable file — the path there teaches a different skill set. Pairs well with math homework.
SketchUp Free — For Teens Going Deeper
SketchUp Free suits older kids who want to design rooms, houses, or anything architectural. The learning curve's steeper than Tinkercad — expect a few frustrating evenings before controls click. The free browser version handles most school and hobby projects. Paid tiers are aimed at professionals.
Morphi — For Tablet-First Beginners
Morphi is the best option for four-to-six-year-olds who do everything on a tablet. Touch controls match how younger kids already use devices. The icon set avoids the small targets that frustrate small fingers in browser tools.
For setup help, model templates, and project tutorials specific to AOSEED printers, families can use step-by-step design tutorials and project ideas in the Learning Center.
Easy First Projects That Actually Print

The fastest path to a confident kid is a string of small wins. Big projects fail more often, take longer, and frustrate beginners who haven't built up troubleshooting habits yet. Start small.
|
Project |
Skill it teaches |
Print time |
Difficulty |
|
Name tag |
Adding text, flat shapes |
20–30 min |
Easy |
|
Keychain |
Loops, holes, scale |
~30 min |
Easy |
|
Mini animal |
Combining 3+ shapes |
45–60 min |
Medium |
|
Toy car |
Wheels, balance, symmetry |
60–90 min |
Medium |
|
Game pieces |
Repeatable small designs |
20–45 min each |
Easy |
|
Room sign |
Letters, borders, decoration |
~60 min |
Medium |
Name tags use one rectangle and some text. Keychains add a loop with a drilled hole. Mini animals teach combining shapes. Toy cars introduce symmetry — wheels have to line up. Game pieces are perfect for batch printing. Room signs let kids combine letters and decoration in one project. Filament cost across all of them: pennies.
What Parents Should Do (And Not Do)

The temptation is to fix every mistake. Don't. A toy that prints wonky because the base was too small is more useful — long term — than a perfect toy a parent quietly corrected. The point is the learning, not the print.
Here's a clean split for who does what.
|
Child does |
Parent does |
|
Brainstorm the idea |
Ask helpful questions, not give answers |
|
Sketch and build in the app |
Sit nearby for the first few sessions |
|
Export the STL file |
Help younger kids find the download |
|
Watch the first layer print |
Load filament, check bed level |
|
Notice what went wrong |
Remove the print once cool |
|
Decide what to change next time |
Handle anything hot or sharp |
Ask, Don't Solve
"How will it stand up?" "Where will the keyring go?" "Will it fit in your hand?" Open questions help the child catch problems before printing burns through filament. Skip jumping to solutions — let them sit with the question first.
Keep First Prints Short
A 30-minute print fails small. A four-hour print fails big. The early weeks should be a chain of quick wins so the child builds the habit of finishing before they build the habit of getting frustrated.
Let the Small Mistakes Happen
When a toy breaks, ask "what would you change?" before suggesting anything. Eight times out of ten, the child already has an idea. The other two times, give one hint — not a fix.
Keep the Failed Prints
Save a shelf of failed attempts. Comparing the wobbly first turtle to the third, sturdy version is the most visible progress a child can see in this hobby. Throw nothing away for at least a year.
Safety Before the First Print

3D printers are safe for home use, but they involve heat. Printer nozzles can reach temperatures above 390°F (200°C). The heater block stays hot for several minutes after the printer screen says "idle." Burn risk is real, supervision matters (source: Cleveland Clinic).
|
BURN HAZARD Nozzles run 190–230°C during printing. The heated bed sits at 50–60°C for PLA. Both stay hot enough to burn for minutes after the printer reads "idle." No child touches the nozzle, hotend, or bed — printing, paused, or cooling. Use the temperature readout to confirm cool, not the status indicator. |
PLA filament is the standard for home and family use — lower print temperature, low odor, plant-based. The World Health Organization recommends proper ventilation around heated equipment used indoors (source: WHO). A printer running in a room with normal airflow is fine for PLA. Skip closed closets and windowless laundry rooms. Avoid ABS and resin at home with younger kids — both need stronger ventilation than a family room provides.
For families just starting out, a beginner-friendly 3D printer for kids with a fully enclosed build area keeps small hands away from the hot nozzle. One-press setup also means less time fiddling and more time printing.
|
SAFETY CHECKLIST — RUN THROUGH BEFORE EVERY PRINT • Printer on a stable, flat surface — not a wobbly table or near a desk edge • Cords tucked away from feet, pets, and curious toddlers • Room has normal airflow — a cracked window or door is enough for PLA • Kids know not to reach into the build area while the printer's moving or hot • Print fully cooled before removal — usually 2–3 minutes • Filament stored sealed away from sunlight when not in use |
Common Mistakes and How to Fix Them
These come up in nearly every beginner's first month. Knowing them ahead turns failed prints into design lessons instead of frustration.
|
Mistake |
Why it happens |
Fix |
|
Parts too thin |
Looks fine on screen, snaps in real life |
Keep walls and legs at least 2 mm |
|
Toy too big |
Excitement over scale |
Check printer bed size before slicing |
|
Base won't stick |
Bed not level or dirty |
Re-level, wipe bed clean, slow first layer |
|
Overhangs collapse |
Nothing underneath the plastic |
Turn on supports in slicer settings |
The two-millimeter rule covers most beginner prints. Anything thinner — a tail, a wing, a thin handle — will probably break either during printing or the first time it's handled. The fix is boring: just thicken it.
When Templates Aren't Enough Anymore

The signals are usually obvious. The child asks if they can add wheels to a template that doesn't have any. They want a hinge. They start tweaking downloaded models instead of printing them as-is. That's the move-up moment.
The next step is small: take a template and modify it. Add a name to a generic keychain, change the wheels on a stock car, swap the head on a generic figurine. The child gets to use template muscles plus design muscles at the same time.
Once that feels easy, original designs follow. Most kids who reach this point start asking about moving parts — wheels that spin, hinges that fold, snap-fit pieces. These are harder, but the learning curve is steady, not steep.
Teens often jump from this stage into proper engineering territory: multi-piece assemblies, working mechanisms, custom replacement parts for things around the house. By then, the printer's no longer a toy — it's a tool. For older kids ready for that next step, a guided STEM 3D printer for kids and teens gives them the larger build volume and design tools to handle bigger projects.
Conclusion
Guided 3D design gives kids a rare thing — a real path from imagination to physical object, with checkpoints they can learn at and recover from. The patience, the spatial thinking, the willingness to try a second version after the first one fails: those are the takeaways. The toys are the bonus.
Most families do well by starting simple. A free app like Tinkercad, an enclosed beginner-safe printer, PLA filament, and a 30-minute first project. PLA filament and enclosed printers are usually recommended for beginners because they reduce heat exposure and odors (source: Mayo Clinic). Skill builds from there, project by project.
Parents who let kids own the design — including the failed parts — see the longest-running interest. The shelf of imperfect prototypes is the point. Families ready to bring this home can explore AOSEED's family creativity platform, which pairs guided design apps with a regularly updated toy library so the next project is always one tap away.
|
THE GUIDED-DESIGN MINDSET Sketch on Sunday. Build Sunday night. Print Monday. That's the whole rhythm. Skip nothing. Add nothing complicated. The kid who keeps designing all year is the one with the boring routine — not the one with the biggest first idea. |
FAQs
What is the free 3D design software for kids?
Tinkercad is the default free, browser-based, drag-and-drop 3D design tool for kids. 3D Slash and SketchUp Free are strong runners-up, depending on the child’s age and how they like to play. All three work well as guided 3D design options for kids, especially when children are starting their first projects.
Can ChatGPT create a 3D model?
Not directly. It can describe a model or suggest shapes, but the child still needs CAD software to build a printable file. Useful for brainstorming, not designing.
Should a 7 year old have a 3D printer?
Yes, with supervision. Use an enclosed printer, PLA filament, and let an adult handle hot parts. The child designs and watches; the parent loads filament and removes prints.
Where can I design a 3D model for free?
Tinkercad and SketchUp Free run in a browser without installation. Makers Empire and Morphi work well on tablets, though some features sit behind a subscription.
Is SketchUp still free?
SketchUp Free still exists as a browser version. Paid plans add desktop apps, more storage, and pro export tools. The free tier is plenty for kids and hobby projects.
What is similar to SketchUp but free?
Tinkercad is the closest free alternative for younger users. 3D Slash suits Minecraft fans. BlocksCAD fits kids who already enjoy coding.
What is free 3D drawing software?
Tinkercad, SketchUp Free, Morphi, and Blender. The first three suit children. Blender's professional-grade and steeper — better for patient teens.
What's the difference between SketchUp and SketchUp Free?
SketchUp Free is the browser version. Paid plans add desktop apps, larger storage, and pro export. Most students never need anything beyond the free tier.
Sources
- American Academy of Pediatrics,"Child Supervision Around Tools and Heated Equipment."
- NIH / PubMed Central,"STEM Learning and Creative-Thinking Research."
- World Health Organization,"Indoor Ventilation Guidance."
- Cleveland Clinic,"Heat and Burn Safety Information."
- Mayo Clinic,"Home Safety Recommendations for Children."
- CDC/NIOSH,"Additive Manufacturing Safety Guidance."
- Autodesk,"Tinkercad: Free Browser-Based 3D Design Platform."




Further reading

Graduation Gifts for Kids: Keepsakes for Kindergarten to Fifth Grade

How to Clean a 3D Printer: A Routine for Families

3D Printer Filament Holder: Options, Setup and a Version You Can Print


