


Visual Project Plan for Kids: Make Creative Time Predictable
A visual project plan for kids helps a child see what to do next instead of relying on repeated verbal reminders. It gives creative time a clear path: choose the idea, gather supplies, make the project, clean up, and show the finished work.
A kids project planner can be a poster, a printable page, or a row of sticky notes — anything that answers the right questions and stays where the child can see it.
This guide covers what to put on the plan, how to set up before work starts, and how to run a kid-friendly planning cycle that actually finishes. School projects, art builds, science fair stuff, anything that runs longer than one sitting.
Why Visual Plans Beat Verbal Instructions
The Working Memory Problem
A child under twelve holds about four pieces of information in working memory at once. A medium-sized creative project asks for ten. So when you tell a seven-year-old to "go finish your butterfly poster," you're handing them a task their brain can't see the edges of. They stall, wander off, come back, ask again.
The plan stores the rest. Goal, supplies, next step, deadline, all of it lives on the paper, so the kid uses their brainpower for the actual work. Harvard's Center on the Developing Child talks about executive function as a set of skills kids build through everyday practice: planning, paying attention, switching between tasks. A separate paper from the NIH puts it more bluntly. Executive function predicts school readiness better than IQ does, and structured practice between ages four and twelve actually moves the needle.

What Kids Stop Asking
Once the plan goes up on the wall, three questions disappear. "What should I do next?" Answered. "How much longer?" Answered. "Am I done?" Answered. You stop being the interrupt-driven help desk. The kid starts feeling like the project belongs to them.
That shift is most of what this article is really about. Nobody's framing the poster at the end. The thing that matters is what the kid made.
The Real Cost of an Unplanned Project
Most projects don't fail because the child can't do them. They fail because Wednesday's painting needs Thursday's drying time, and Thursday is piano lessons. A visible timeline catches that conflict on Sunday afternoon, not at 6pm Thursday with a poster due in the morning and nothing dry.
Choosing the Right Format for the Project
Start With a Win, Not a System
First time around, you want something finished in under fifteen minutes. Skip the custom binder with tabs. A single sheet of poster paper with five labeled zones beats an elaborate setup that gets abandoned by Tuesday. Build the habit first. The format can get fancier later, after you know what your kid actually uses.
Five Formats Compared

These visual project planners and graphic organizers for kids help turn school projects, art builds, and multi-step creative work into clear steps a child can follow.
|
Format |
Best For |
Best Age |
Watch Out |
|
Poster board |
Big, multi-part projects at home |
5–9 |
Wall space, falls off easily |
|
Printable planner |
Short school assignments |
7–12 |
Can feel "school-y" and dull |
|
Sticky-note board |
Projects with changing tasks |
6–11 |
Notes fall off over time |
|
Slide deck |
Digital-final projects, tweens |
10+ |
Becomes invisible when closed |
|
Binder / folder |
Projects that travel school↔home |
9+ |
Out of sight, out of mind |
Match the Format to the Child
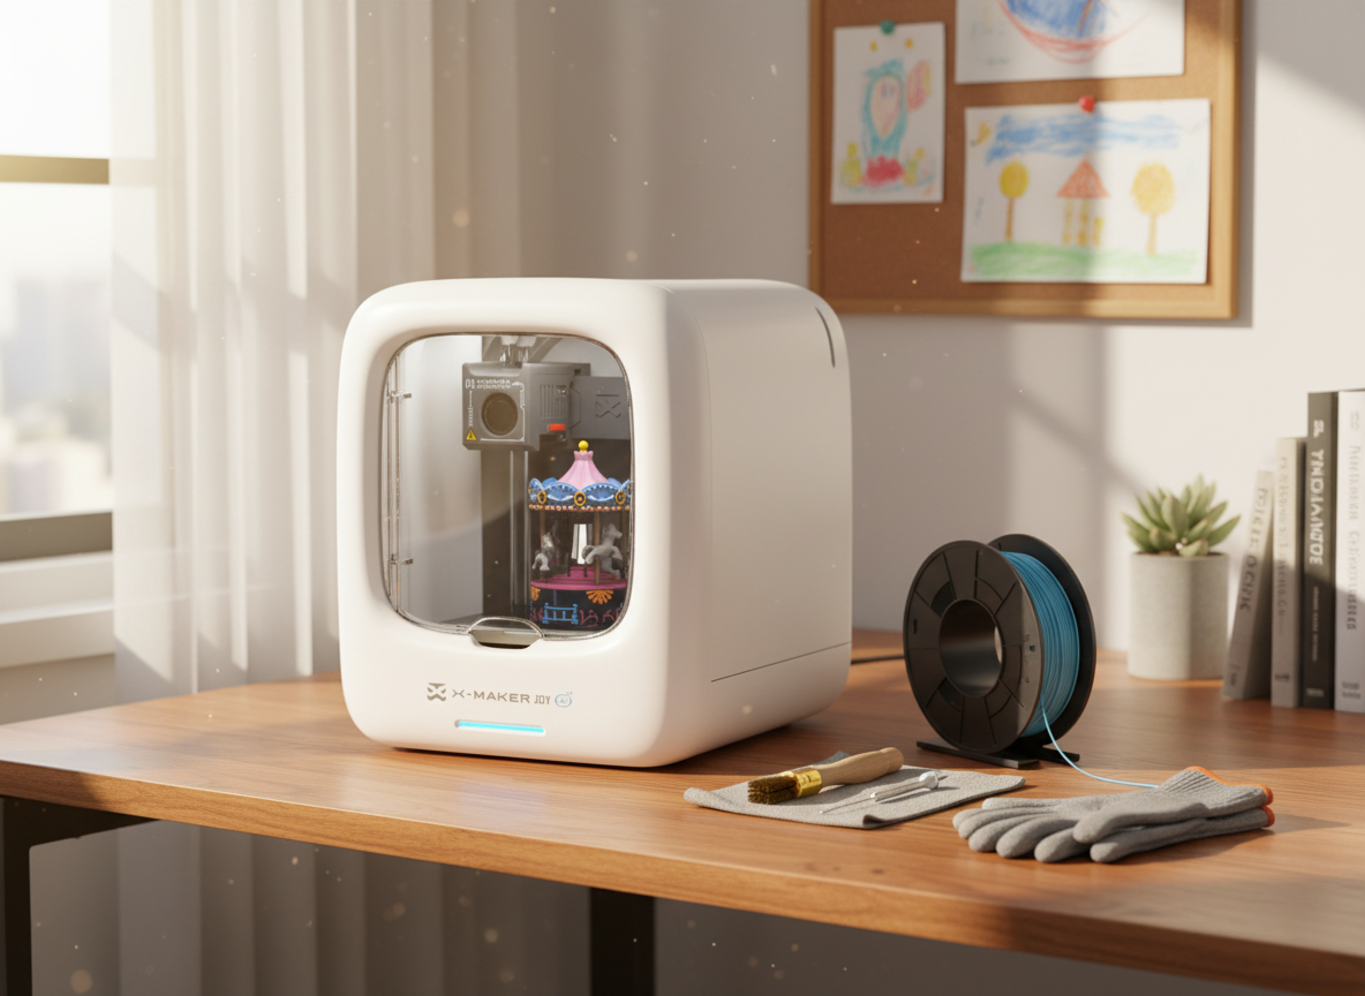
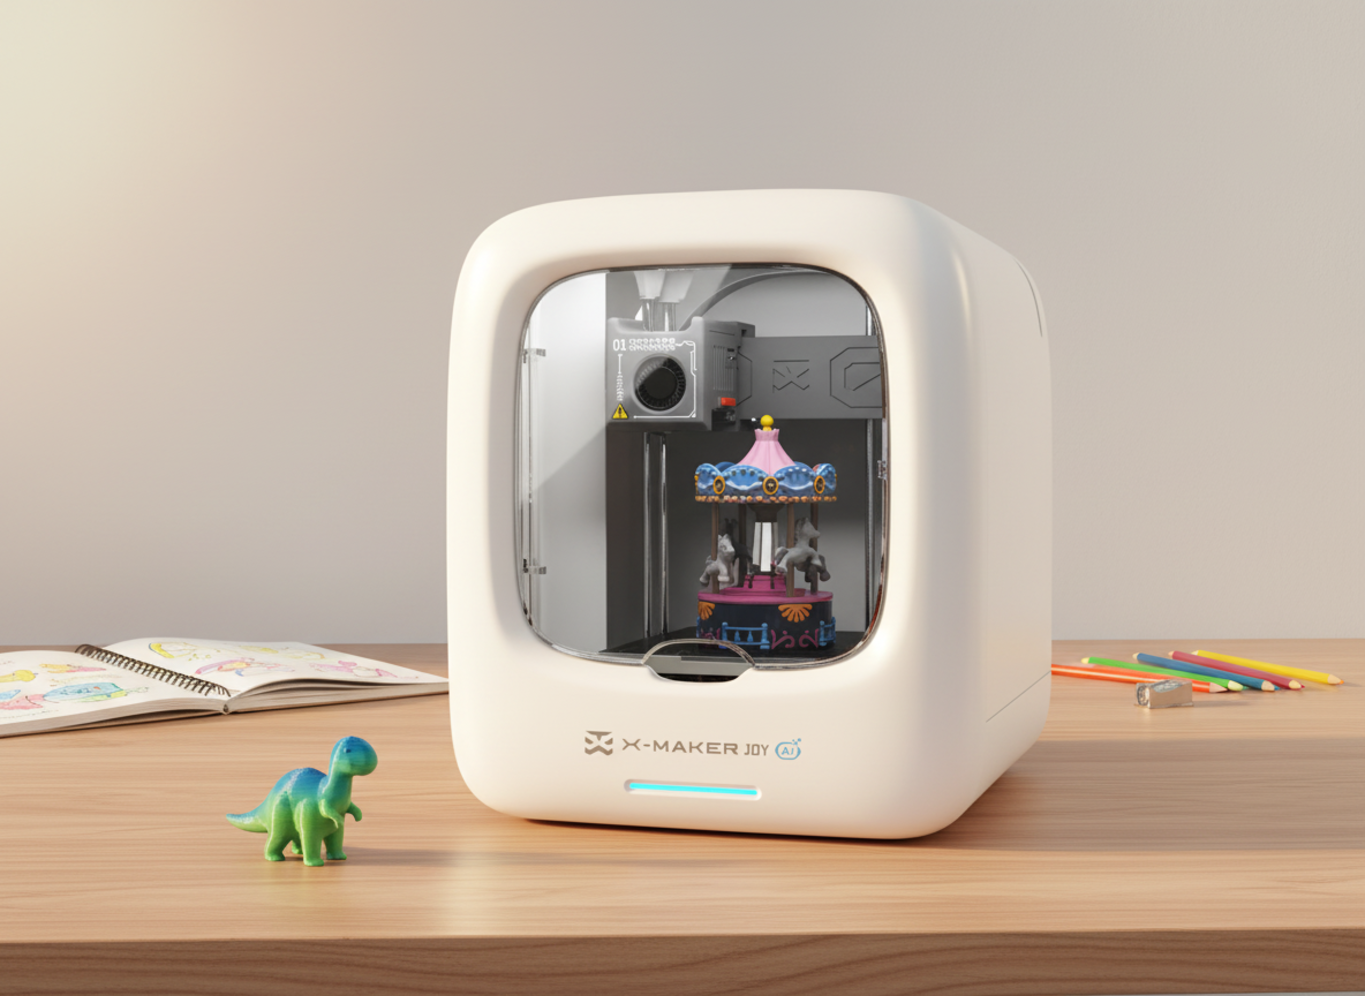
Younger kids read pictures and colored zones much faster than written task lists. Tweens want something that looks more grown-up, like a slide deck, a binder section, or a digital board. And for anything you can actually hold at the end — recycled robots, dioramas, science models, printed objects made on a guided toy-making printer for younger kids — a poster format wins, because each build stage gets its own visible row.

Setting Up Before Work Begins
The Five-Question Framework
|
The question |
What the child fills in |
|
What am I making? |
One sentence: "A poster about the butterfly life cycle." |
|
What do I need? |
Six to ten supplies, grouped by type. |
|
What comes first? |
A short task list in the right order. |
|
When will I work? |
Two or three time blocks across the week. |
|
How will I know it's done? |
A description of the finished result. |
Together, these five questions turn a visual project plan for kids into a simple executive function activity that helps them plan, start, and finish with less adult prompting.

Two Settings That Drive Quality
Task size and work-block length. That's most of it.
Tasks should be small enough to finish in one sitting: 10–15 minutes for ages 5–7, 15–25 for 8–10, and 25–40 minutes for 11 and up. Work blocks should match. "Research animals" is not a task. "Find three facts about emperor penguins from the encyclopedia in the living room" is a task. The second one tells the kid where to go, what to look for, and when they're allowed to stop.
Materials and Help
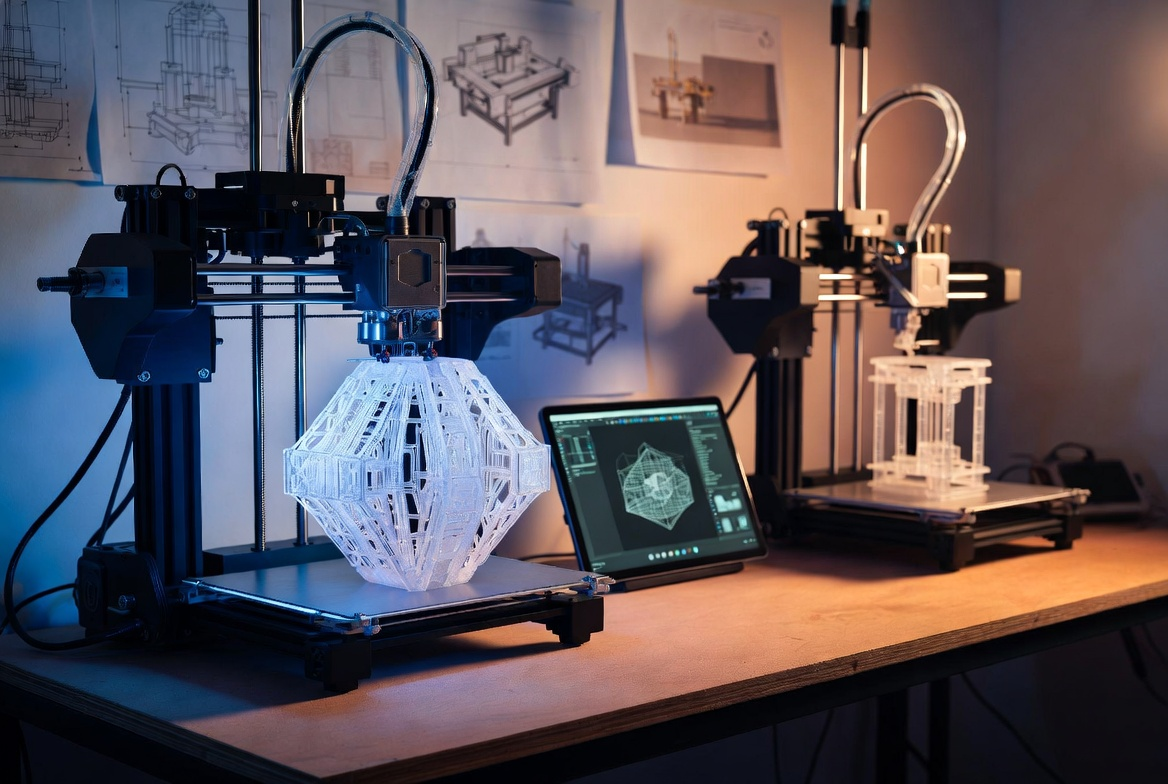
Write the supply list before any building starts. Walk through the house with the kid and tick off what you've already got. Circle the gaps. Those gaps become a shopping list with a clear deadline, since they need to arrive before the work block they're for. For projects that lean on a bigger family purchase (a craft kit, a class subscription, a starter device), handle that decision early. Families comparing options can browse beginner 3D printers for families sorted by age band and enclosure type, so shopping doesn't collide with the project deadline.
|
MARK WHO DOES WHAT Three symbols, used beside every task: ○ child does it alone · ⭐ child does it with a parent nearby · 👤 parent does it entirely. This turns "I need help" into something scheduled — Wednesday at 4:15pm, twelve minutes of supervised cutting — instead of an interruption mid-coffee. |
The Three-Stage Plan
One project, three different stages. Each one teaches something the next one will use.
Stage 1 — Plan and Decide
Let the kid drive. Write the goal sentence at the top of the paper. Underneath, sketch six boxes: Supplies, Tasks, Timeline, Help Needed, Plan B, Done Looks Like. Fill in two items per box together. Keep the whole session to 20–30 minutes for younger kids, because decision fatigue is a real thing and it shows up fast. End stage one with the plan visible and the first task circled. If your family layers hands-on builds into the plan, the AOSEED step-by-step project guides cover setup, materials, and first-print checks without the manual-speak.
Stage 2 — Build and Check

Start the first task in a scheduled work block. Twenty minutes after school on Tuesday, not just "Tuesday." A kid can show up to twenty minutes. Showing up to a vague day is much harder. Check the plan together at the end of each block: which task is done, which one moved, what's stuck. Two or three mini milestones across the project (sketch done by Monday night, four labels written by Tuesday, color complete by Wednesday) make progress visible without grading anything.
|
WATCH OUT — TOO MANY CHECKPOINTS Don't stack a milestone every fifteen minutes. The plan starts to feel like a test. Two or three per project is the sweet spot, enough to catch problems and few enough to feel like guardrails instead of a leash. |
Stage 3 — Review and Reset

Five minutes, three questions. What went well, what took longer than expected, what would the kid change next time. Write the three answers in a corner of the plan and date it. By the fourth or fifth project, your kid will start spotting patterns on their own. They finish faster when the goal sentence is up on the wall, or they need a break after thirty minutes, or labels always run long. The American Academy of Pediatrics frames play and reflection as core builders of executive function, which is exactly what this review step is doing under cover of a quick chat.
Extending Learning Through Reflection
Mini Review Questions
Instead of fixing the problem yourself, ask a question. "Does this match your goal sentence?" "What step were you on?" "What feels unfinished about this part?" "Where could you check that fact?" Each one hands the problem back to the kid, who almost always knows the answer if you give them a second. That keeps the plan theirs. The pride at the end stays with them too.
Patterns That Compound
One change per project. Small, specific, repeatable. "Start the title earlier." "Use a thicker glue stick." "Print the labels first, then write them by hand if the printer dies." Each one becomes a tiny rule for the next plan. Over a year, those small rules add up. You end up with a kid who plans creative work on their own, without you nudging. The CDC's positive parenting guidance for ages 6–8 recommends helping kids set goals and grow a sense of responsibility, which is basically what compounding one small rule per project does, week after week.
Maintaining the Habit
Storage and Reuse

Hang on to the last three completed plans in a folder. Not for review, for reuse. Next time a similar project comes around, pull an old one out. The kid sees their own past work, copies what worked, skips what didn't. Templates beat blank pages every single time. Mayo Clinic Health System's child-development resources point out that kids grow at very different rates and that growth isn't linear, which is exactly why old plans (not blank pages) give the next project its best starting point.
When the Plan Stops Working
If the kid stops checking the plan by Wednesday, the plan is too dense. If they finish ahead of schedule, the plan is too soft. Both are fixable with a quick conversation, not a whole new system.
|
Symptom |
Most Likely Cause |
Quick Fix |
|
Child ignores the plan by day 2 |
Too many boxes, too small to read |
Simplify to four zones, bigger handwriting |
|
Tasks keep running over |
Tasks too big for the age |
Cut each task in half |
|
Project finishes too early |
Goal sentence is too narrow |
Add a stretch task — labels, photos, a second draft |
|
Child won't pick a topic |
Choice paralysis |
Offer three options, not the whole world |
Conclusion
A visual project plan isn't really a planning system. It's a teaching tool that just happens to look like a poster on the wall. Day one builds the plan. Day two builds the project. By day three, what you're actually building is the habit.
Most families never get there because nobody tells them creative time needs structure. They hand the kid a sheet of paper, expect a finished project on Friday, and then wonder why the dining table is covered in regret by Wednesday. Six questions on a wall fixes most of that.
Start small. A spinning top whose color a five-year-old picked will get more use than a precision build a parent chose. Ownership starts at the goal sentence, not the finish line. AOSEED's family creativity platform runs in over 5,000 schools on this exact rhythm: design, build, review, do it again. A guided STEM 3D printer for older kids and tweens earns its shelf space on the tenth project, not the first. That's when the routine settles in and the questions get better.
Pin one to the wall this weekend. And let your kid name the project before it exists. That part alone usually does more than the next three hours of helping.
|
TRY THIS IN 10 MINUTES Pick one project your kid has coming up. Sit down together with a single sheet of paper. Write the goal sentence at the top. Underneath, sketch six boxes: Supplies, Tasks, Timeline, Help Needed, Plan B, Done Looks Like. Fill in two items per box. Pin it where the kid eats breakfast. That's the entire plan, and it will outperform an hour of well-meaning conversation. |
FAQs
How do you visualize a project plan?
Anywhere the kid will actually look. Poster on the wall, sticky notes on the fridge, a planner page on a desk, slides if they're older. The goal, supplies, tasks, timeline, and checkpoints each get their own spot. Color helps. Bigger writing helps more.
One quick check before any work starts: point at the plan and ask, "what's next?" If they take more than two seconds, the plan is too busy. Cut a row and try again.
How do you plan a project for kids?
Goal sentence first. Then break the rest into chunks small enough to finish before the kid loses interest, which is usually somewhere between fifteen and thirty minutes depending on age. Write down what you'll need, drop a couple of work blocks on the calendar, and that's most of it.
This turns the planning process into a visual project plan for kids, so they can see the goal, steps, supplies, and finish line before they begin.
How do you make a visual plan?
Pick the format first (poster, sticky notes, printable page, whatever). Then split whatever you picked into five rough zones: goal up top, supplies on one side, tasks in the middle, timeline on the other side, a small review space at the bottom. Neat doesn't matter. Visible does.
A thing most parents miss: make the plan bigger than feels necessary. Kids add stuff. They always add stuff.
What are the 7 parts of a project plan?
Goal, tasks, materials, timeline, roles, checkpoints, review. Seven words, one question behind each: what, how, with what, when, who's helping, when to pause, what we learned. Write them as headers on the plan and the kid can update any section without rewriting the others. Saves you a hundred do-overs.
What are the 5 stages of the project plan?
Choose, plan, build, finish, review. In that order. Works well for kids under ten and anything you can wrap up in two or three days. Give each stage its own color and you can see how far the project's gone from across the room, which is useful when you're stirring dinner and just need a quick status check.
How do you write a simple project plan?
Five questions on one page. What am I making. What do I need? What comes first. When will I work. How will I know it's done. Answer those and the project basically plans itself.
Use the kid's words when you write the answers, not yours. If they say "make a big penguin guy," write "big penguin guy." Tidying their wording into something more grown-up usually kills the ownership the plan was meant to build.
What does a good project plan look like?
Calm. That's the word. Goal at the top, tasks in some kind of order, supplies grouped, timeline visible somewhere, and the next step always findable in under three seconds without asking you. If your kid is squinting at it, something's wrong with the plan, not with them. Strip a row, use bigger letters, move on.
What are some fun school project ideas?
Habitat dioramas, history timelines, science posters, recycled robots, weather charts, book reports turned into boards, edible cell models, plus anything they can actually build. A printed dinosaur skeleton. A cardboard bridge that holds a few toy cars. A working pulley made from string and a paper cup. The hands-on ones tend to stick around longest.
Worth a quick check before you commit, though: what are the other kids in class doing? Five identical volcanoes on a Friday afternoon is rough on everyone. Pick something nobody else has.
Sources
- American Academy of Pediatrics) — AAP clinical report: play and reflection are central to executive function and healthy child development
- CDC — Positive Parenting Tips: Middle Childhood (6–8 years)
- Harvard Center on the Developing Child — Executive Function & Self-Regulation
- NIH / PubMed (PMC) — Interventions Shown to Aid Executive Function Development in Children 4–12 —
- Mayo Clinic Health System — Child Development Resources


You may also like
Further reading

Printable STEM Challenges for Grades 4-6 Using 3D Printing

Small Group 3D Printing Activity With One Printer

Elementary STEM 3D Printing: Simple Projects Teachers Can Actually Run


