


How to Start with One Simple 3D Printing Project Instead of a Hard Build
The most common mistake new families make with 3D printing is choosing the second project first. They see a detailed dragon, a complex mechanical gear, or a multi-part robot online and put it in the queue before the printer has run a single successful session.
The result: a failed print on a complex model, frustration, and the printer sitting unused in the corner for a month.
One simple project first. That is the entire rule. A spinning top that takes 10 minutes. A name keychain that takes 20. Something that produces a finished object the child can hold before dinner. The session habit comes from early success, not early ambition.
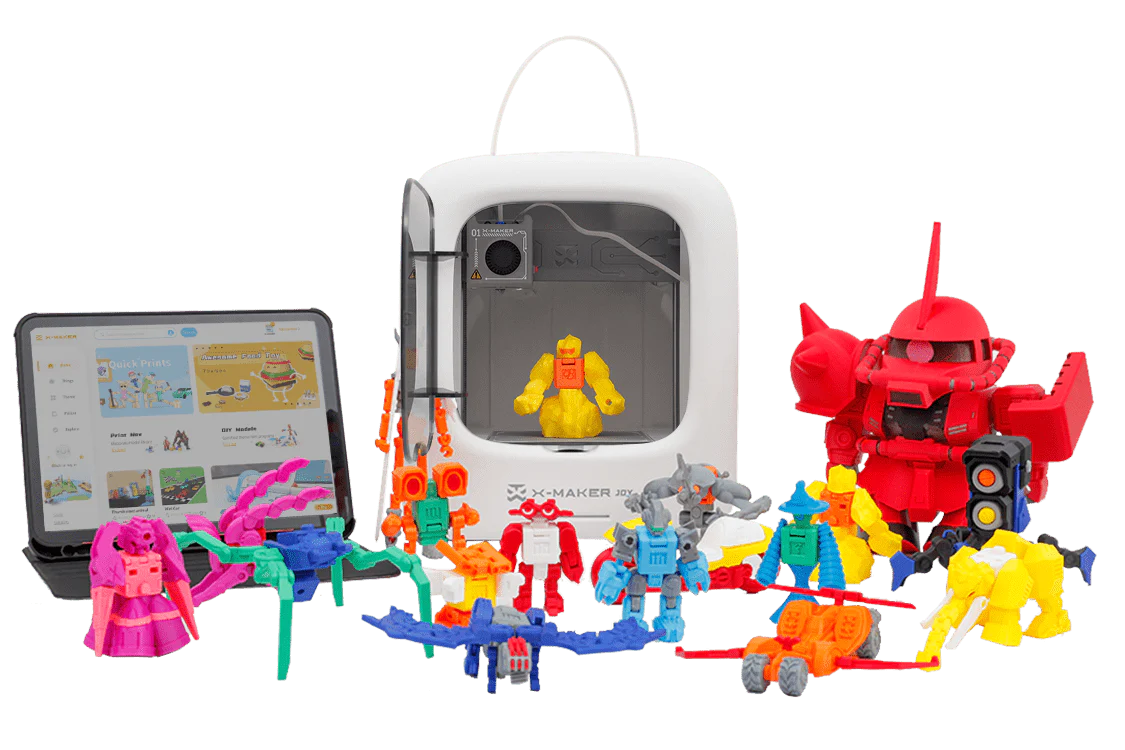
This guide covers the 7-step beginner progression from the first simple 3D printing project through to confident independent sessions — with project ideas, a session planner, filament reference, and troubleshooting. For families using the AOSEED X-MAKER JOY, the Toy Library provides all beginner projects in a browsable, print-time-filtered format.
|
1 project
Start here. Not 5. Not 10. One.
|
10 min
The ideal first session length — spinning top or ring
|
Session 3
Typical first 'I want to do this again' moment
|
PLA only
No material decisions for the first 10 sessions
|
Choose Simple, Fun, and Practical Projects

Snapmaker's guide to 3D Printing Ideas for Beginners identifies short print time and flat base geometry as the two most reliable predictors of first-session success across beginner projects. Both of these factors are more important than the project's visual appeal for a first session.
Why Simplicity is Key
A simple project has three characteristics that make it the correct starting point. First: the print time is short enough that the child's excitement outlasts the wait. Second: the base geometry is flat and wide, which means fewer adhesion challenges. Third: the object is useful or playable immediately after decoration — there is no assembly, no pairing with other parts, no instructions to follow.
Complexity can come from three sources: model geometry (how many overhangs and thin sections), print time (patience required), and post-print assembly (additional work after printing). A great first project has zero of these. The spinning top is round and flat at the base, prints in 10 minutes, and is ready to use the moment it cools.
Examples of Easy First Prints — Project Cards
Stage 1 and Stage 2 Project Ideas
All six projects above are available in the AOSEED Toy Library, organized by print time and model type. The Library filters by interest category — animals, vehicles, puzzles, gifts — so the child can find their preferred type without browsing through thousands of unrelated models.
Set Realistic Expectations for Your First Print

The gap between what families expect from a first session and what a first session actually delivers is the most common source of early abandonment. Understanding what is normal in a first session makes the experience feel like progress rather than disappointment.
Understanding the 3D Printing Process
What is normal in sessions 1 to 5
|
Session
|
What typically happens
|
What it means
|
|
Session 1
|
First layer may not stick on first attempt. One retry needed.
|
Normal — the plate needed a clean. The session produced a successful object by the second try.
|
|
Session 2
|
Print is successful. Surface has minor rough spots or small stringing.
|
Normal — PLA at default settings produces very minor surface variations. Not a defect.
|
|
Session 3
|
Child initiates the project selection without prompting.
|
This is the confidence marker — session habit is forming.
|
|
Session 4–5
|
Child asks about changing the color or trying a different model type.
|
Creative ownership is developing. The session structure is familiar enough to experiment within.
|
|
Session 6–10
|
Child wants to design something original. Parent guides the design screen.
|
Design independence begins. First personally customized object is meaningful.
|
Managing Time and Resources
First session print time should be under 20 minutes. This is not about what the printer can do — it is about matching the session length to the child's patience window before the first successful print has been experienced. Once the first object is in the child's hands, longer sessions become tolerable because the child knows what they are waiting for.
|
⏱ The Print Time Rule for First Sessions
Session 1: under 20 minutes. Sessions 2–5: under 45 minutes. Sessions 6–10: up to 90 minutes. Session 10+: any length the child has demonstrated patience for. The Toy Library displays the estimated print time for every model before printing starts — use this to filter by session duration.
|
Use Reliable, Beginner-Friendly Tools

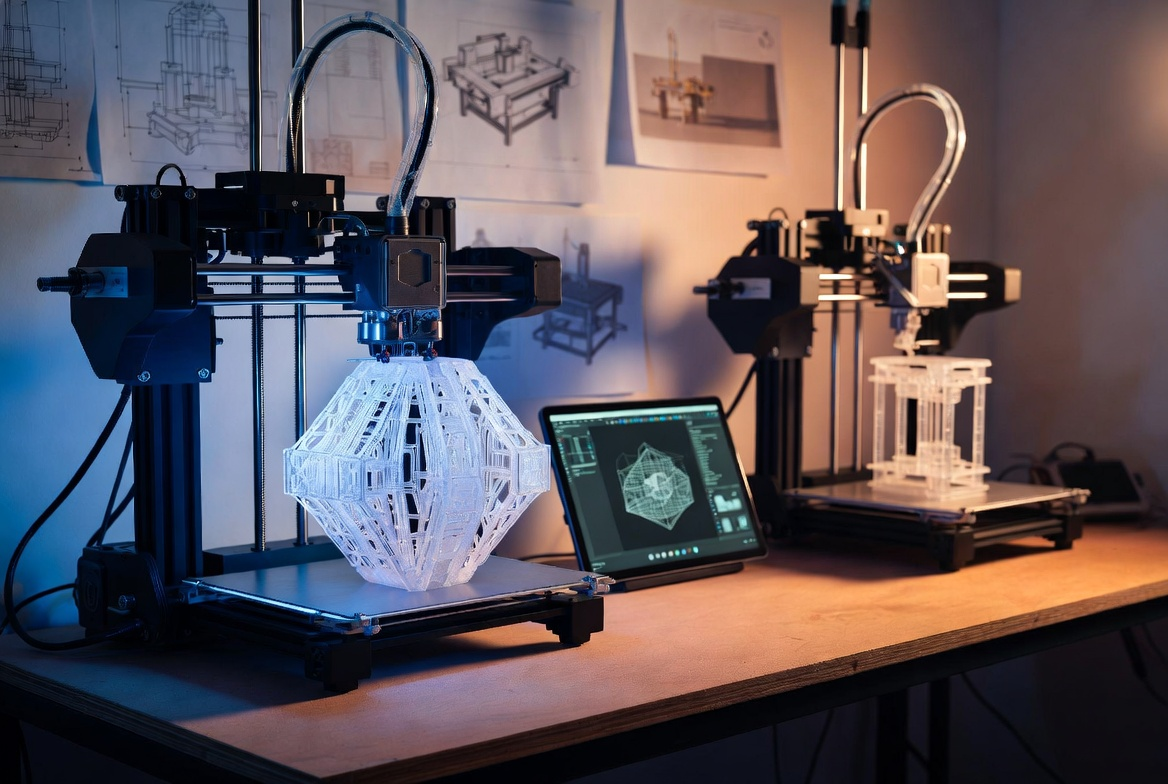
Choosing the Right Printer for Beginners
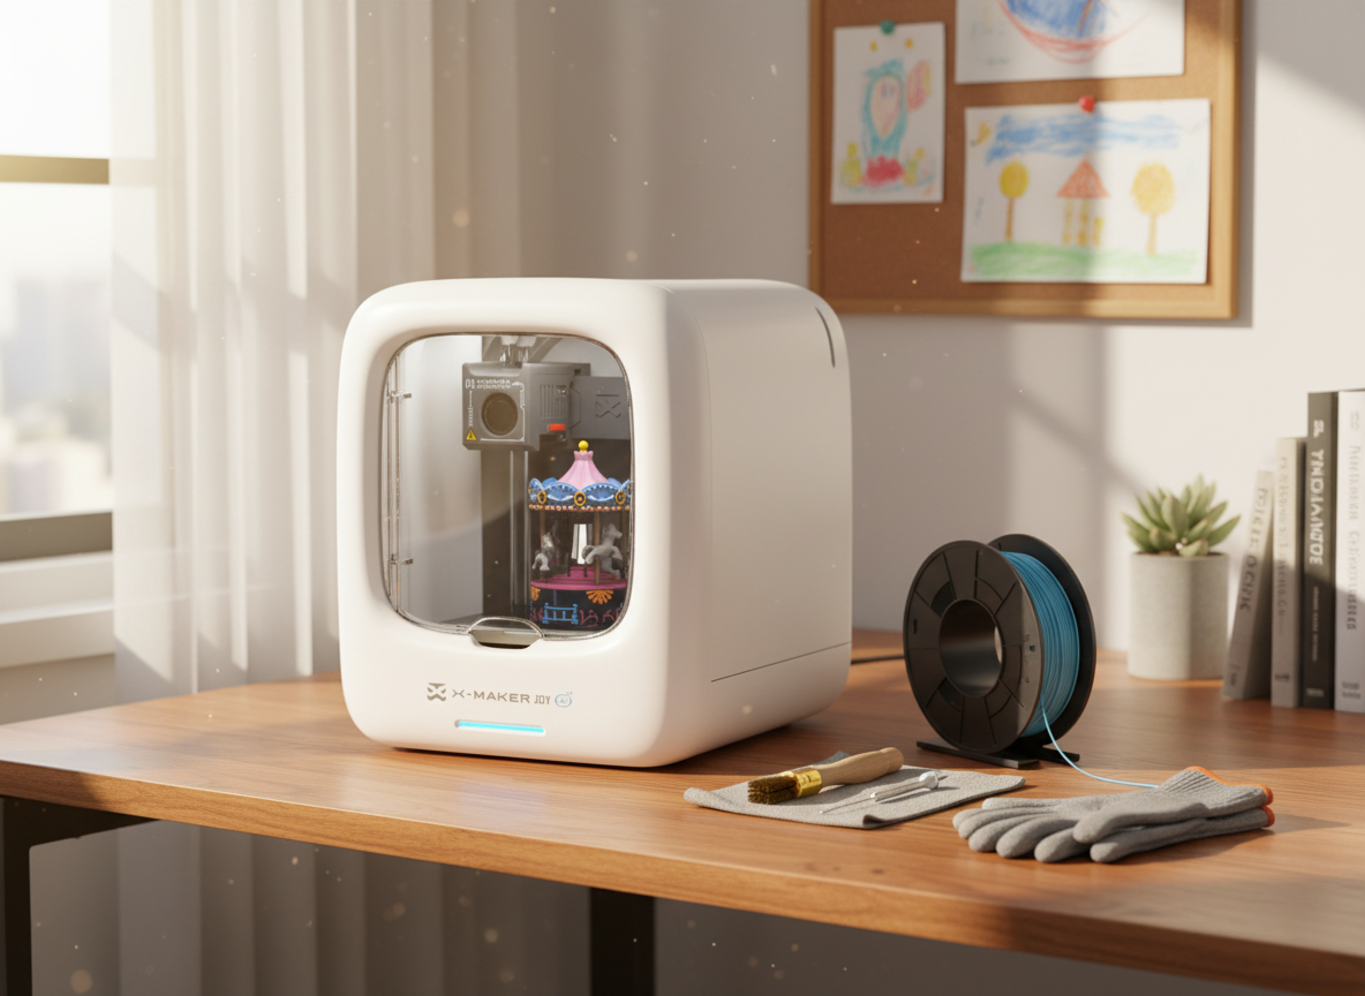
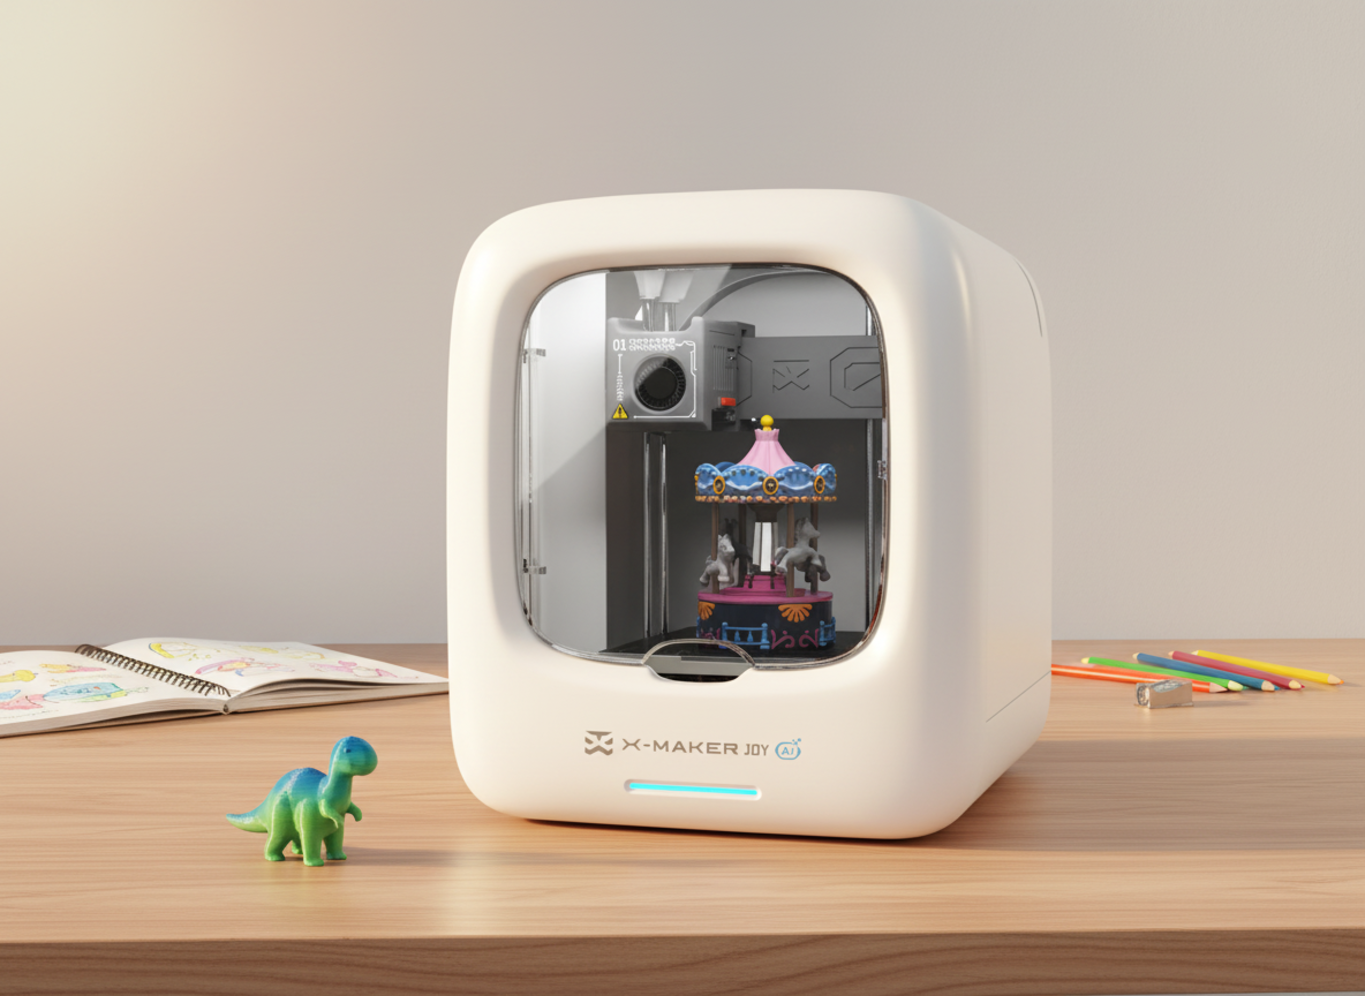
The correct printer for a beginner family has four characteristics: factory pre-calibrated (no manual setup on day one), enclosed design (nozzle and heated bed inside a sealed chamber for child safety), app-managed settings (no manual slicer configuration required), and a curated project library (the child can choose and print without the parent selecting or preparing files).
|
Feature
|
Why it matters for beginners
|
Which families need it
|
|
Factory pre-calibration
|
Eliminates the most common day-one failure — manual bed leveling
|
All first-time families — calibration is the most common day-one failure source
|
|
Enclosed design
|
Nozzle, heated bed, and moving belts inside sealed chamber
|
Families with children under 12 — physical contact with heated parts prevented by design
|
|
App-managed settings
|
No slicer software configuration — temperature, speed, and infill set automatically
|
All beginner families — wrong settings account for 3 of the 7 most common beginner mistakes
|
|
Curated project library
|
Pre-tested models with known print times — no STL file management required
|
Families in sessions 1–10 — removes file selection, import, and compatibility barriers
|
|
Built-in monitoring camera
|
Parent confirms first layer and monitors progress without being in the room
|
Families where the child begins operating sessions semi-independently after sessions 3–5
|
Slicer Software for First-Time Users
For families using a printer with an app-managed workflow (like the X-MAKER JOY), slicer software is handled automatically — there is no manual configuration needed for Toy Library sessions. For families who want to move into original design after session 10, two tools are the correct starting points.
Two beginner design tools, in the correct order:
-
Tinkercad (tinkercad.com): browser-based, free, drag-and-drop shape design. No download required. A child can build a simple original model in under 20 minutes. The X-MAKER app accepts Tinkercad exports via the design import function.
-
X-MAKER App Design Screen: for families using AOSEED printers, the app's built-in design tools allow name personalization, size adjustment, and shape combination without leaving the app — the simplest path from design decision to printed object.
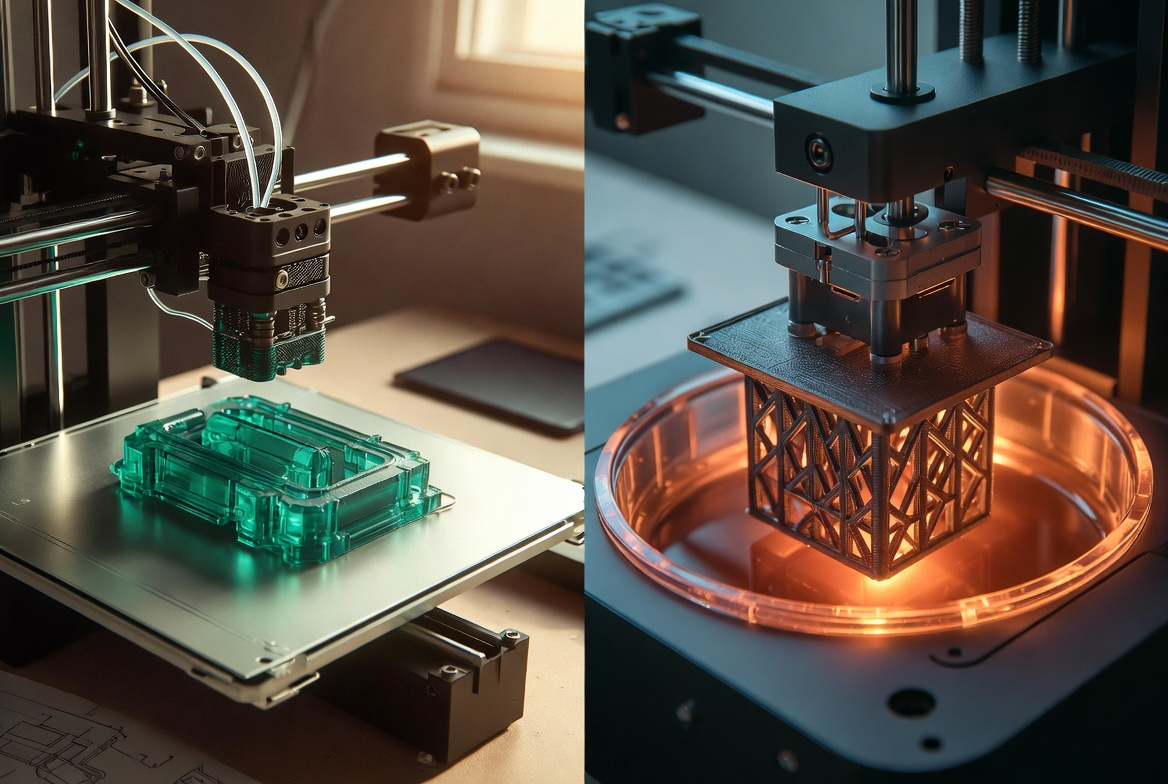
Focus on Easy-to-Use Filaments and Materials

Why PLA is Ideal for First Projects
PLA (Polylactic Acid) is the correct material for every first session and most sessions after that. It is the only material that satisfies all four beginner requirements simultaneously: non-toxic, low shrinkage (minimal warping), wide bed temperature tolerance, and lowest odor at printing temperature.
PLA vs PETG vs ABS — Beginner Comparison
|
Property
|
🌽 PLA — Beginner default
|
🔷 PETG — Session 10+
|
⚠ ABS — Not for families
|
|
Source
|
Plant-based — corn starch
|
Petroleum-based, food-grade
|
Petroleum-based
|
|
Toxicity
|
Non-toxic. Low odor. Safe for children.
|
Non-toxic. Slightly more odor.
|
Emits styrene fumes — ventilation required
|
|
Bed temp
|
60–70°C
|
70–80°C
|
100–110°C — very high
|
|
Nozzle temp
|
190–210°C
|
220–250°C
|
220–250°C
|
|
Warping risk
|
Low — easiest adhesion
|
Moderate — can stick too strongly
|
High — needs enclosure
|
|
Best for
|
All family sessions from day 1
|
Active toys and functional parts after session 10
|
Industrial — not family use
|
|
Beginner verdict
|
✅ Use for every session
|
✅ Upgrade after 10 sessions
|
❌ Avoid entirely for family use
|
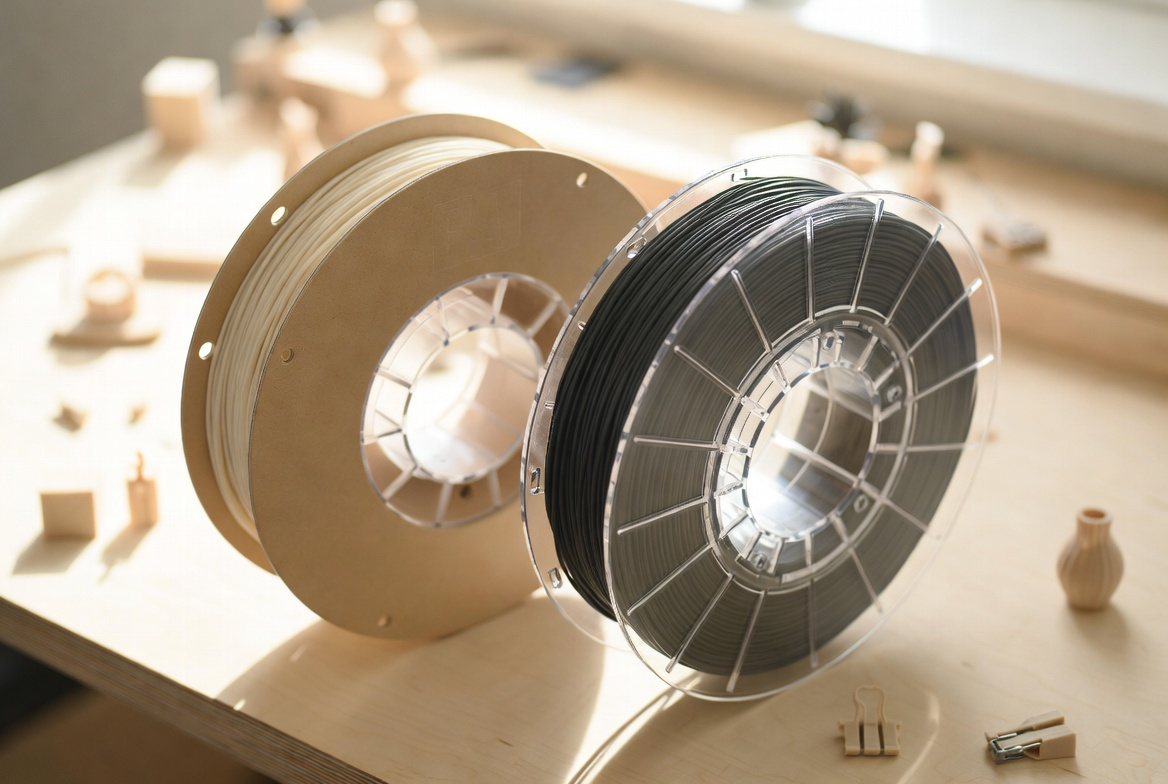
The Importance of Storing Filaments Properly
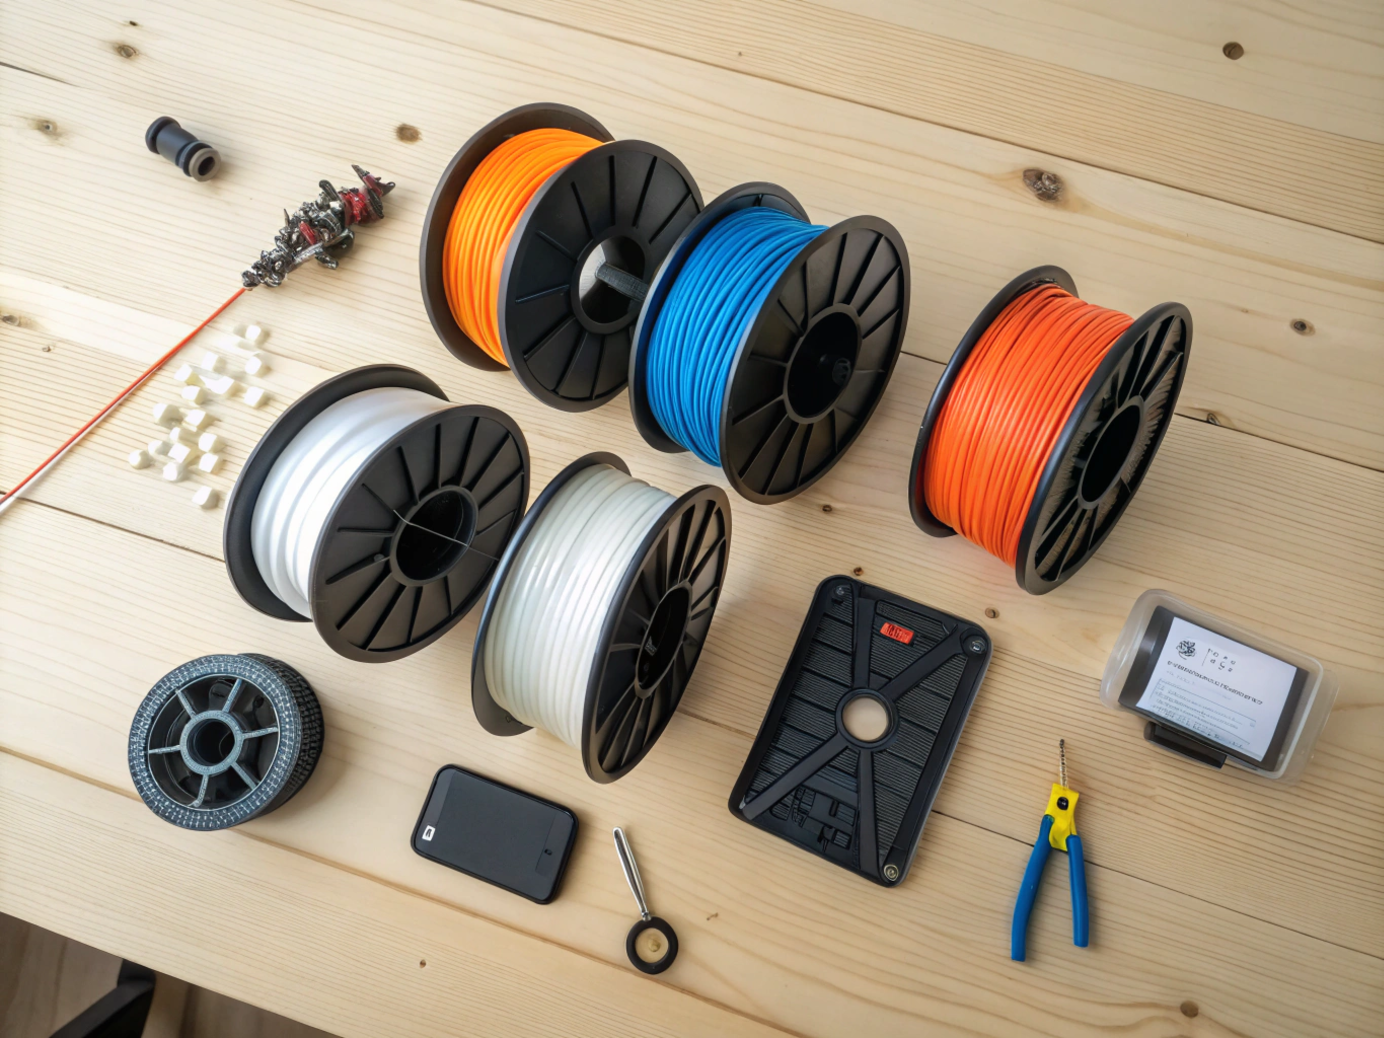
Filament is hygroscopic — it absorbs moisture from the air. Moisture-absorbed filament produces popping sounds during printing, rough surfaces, and brittle objects that snap during play. Stored correctly, a PLA spool lasts 12+ months without quality degradation.
5 filament storage rules:
-
After every session: reseal the filament bag immediately. Do not leave it open overnight.
-
Store in an airtight bag or container with a desiccant pack. Replace the desiccant pack every 3 months.
-
Keep away from direct sunlight. UV exposure degrades PLA over time and makes it brittle.
-
Do not store in a garage or basement — temperature cycling causes the filament to expand and contract, creating internal stress fractures.
-
Before loading an old spool: flex a 10cm piece of filament by hand. If it snaps cleanly without bending, the spool has absorbed too much moisture. Dry at 50°C for 4–6 hours before use.
Troubleshooting Common Beginner Issues

All3DP's 30 Fun and Easy 3D Prints to Level Up Your Skills After the Benchy identifies the five most common beginner print quality issues as the same ones that recur regardless of printer model or experience level. The table below maps each symptom to its cause and the 5-minute fix.
Common Issues with First Prints — Quick Fix Reference
|
What you see
|
Most likely cause
|
Quick fix (under 5 minutes)
|
|
First layer not bonding
|
Plate not clean or Z-offset too high
|
IPA wipe + reduce Z-offset 0.05mm + retry
|
|
Corners lifting (warping)
|
Bed too cold or cooling fan running from layer 1
|
Raise bed temp 5°C + disable fan for layers 1–3
|
|
Thin strings between parts
|
Nozzle temp too high or retraction setting low
|
Lower nozzle 5°C — app default handles this for Toy Library models
|
|
Print stopped mid-session
|
Filament tangle on spool or tube jam
|
Check spool rotation. Re-load filament with fresh 45° cut tip.
|
|
Object rough on bottom
|
Z-offset slightly high — first layer not flat
|
Reduce Z-offset 0.05mm. Confirm squished first layer on retry.
|
The First Session Planner — What Happens and When
|
Time
|
Phase
|
What happens
|
Child's role
|
|
Before
|
Preparation (5 min)
|
Parent wipes build plate with IPA. Confirms filament is sealed and loaded. Child opens the app and selects a model.
|
Browse the Toy Library. Choose the project. Note the print time estimate.
|
|
0:00
|
Start (1 min)
|
Child presses the start button in the app. Parent confirms first layer for the first 3 minutes.
|
Press start. Watch the first layer appear through the observation window.
|
|
0:05
|
Wait phase (print time)
|
Printer runs independently. Child can draw a habitat for the model, plan decoration, or choose next week's project.
|
Design the decoration plan. Select next project in the app. Draw or sketch while waiting.
|
|
End
|
Cool-down (5 min)
|
Print timer ends. Parent confirms surface temperature before object is handled.
|
Set a 5-minute timer. Do not touch until the timer ends.
|
|
After
|
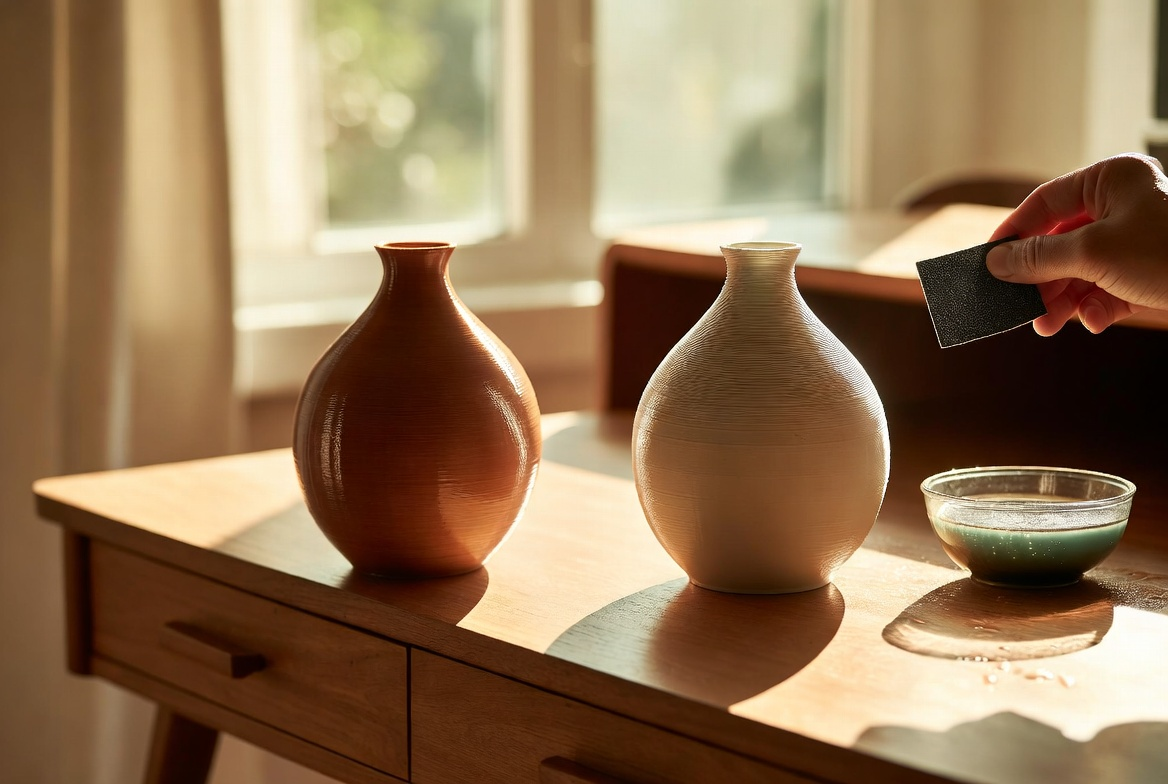
Decoration (10–30 min)
|
Child decorates the object with paint markers, stickers, or accessories. Object is displayed.
|
Decorate, name the object, and decide where it will live on the display shelf.
|
Take Advantage of Online Resources and Communities

The two richest sources of beginner project inspiration are curated libraries where every model has been print-tested and community forums where real users share both successful and failed attempts. Both are valuable and cover different situations.
Where to Find Simple 3D Printing Models — Resource Directory
|
Resource type
|
What it provides
|
Best for
|
|
AOSEED Toy Library
|
1500+ kid-tested models. Weekly updates. Organized by print time, age, and interest category.
|
Sessions 1–20+. The correct starting point for all family sessions.
|
|
Thingiverse (thingiverse.com)
|
The largest free 3D model library. 3M+ models. Searchable by category.
|
Families who want to explore models beyond the Toy Library after session 10+.
|
|
MyMiniFactory (myminifactory.com)
|
Curated library — models are tested for print quality. Higher reliability than Thingiverse.
|
Gift models, detailed figurines, and display pieces from session 5+.
|
|
Instructables (instructables.com)
|
Step-by-step project guides with 3D printing built into multi-craft projects.
|
Families who want to combine 3D printing with other making activities.
|
|
Tinkercad (tinkercad.com)
|
Free, browser-based 3D design tool. Drag-and-drop shapes. Ideal for first original designs.
|
Children ages 8+ who want to design original models from session 10+.
|
|
r/3Dprinting (reddit.com)
|
Community forum — real answers to specific problems from experienced makers.
|
Troubleshooting specific issues when the app's Learning Center has not resolved them.
|
Joining 3D Printing Communities
For beginner-specific questions — 'why did my first layer look like this?', 'which model should I try next?', 'is this a normal print or a failure?' — community forums provide faster and more contextually accurate answers than any single guide. The r/3Dprinting subreddit's dedicated beginner threads include photo-based diagnosis where experienced makers identify failure causes from photos of the failed print.
|
🤝 AOSEED Community and Learning Center
The X-MAKER app's Learning Center provides guided troubleshooting for every common beginner issue — with photos of the specific failure type and step-by-step resolution flows. It is the correct first resource before community forums for any issue that occurs during a Toy Library session. Support tickets answered within 24 hours for anything the Learning Center does not resolve.
|
Celebrate Your First Print and Build the Session Habit

The Project Progression — From First Session to Session 20+
5-Stage Project Progression Ladder
|
Stage
|
Project type
|
Print time
|
What the child masters
|
|
Stage 1Session 1
|
Spinning top, ring whistle, small token
|
5–15 min
|
The session habit: load, start, wait, collect
|
|
Stage 2Session 2–5
|
Name keychain, animal figurine, fidget ring
|
15–30 min
|
Color choice, model browsing, first decoration session
|
|
Stage 3Session 6–10
|
Pull-back car, flexi animal, game token set
|
30–60 min
|
Multi-layer observation, longer wait management, quality check
|
|
Stage 4Session 11–20
|
Puzzle set, building blocks, tool organizer
|
45–90 min
|
Design modification, first personal customization, gift-making
|
|
Stage 5Session 20+
|
Creation kits, STEM mechanisms, original designs
|
60–120 min per part
|
Independent session initiation, multi-session project management
|
The progression ladder is not a curriculum — it is a description of what naturally happens when first sessions are designed correctly. A family that completes 5 Stage 1 sessions before attempting Stage 2 will experience fewer failures, more child-initiated sessions, and faster design independence than a family that jumps to Stage 3 in the first week.
Understanding the Value of Trial and Error
A failed first print is not a failed first session. The most valuable learning in a first-session failure happens in the 60 seconds after the print stops — when the child sees the failed object and the parent asks 'what does it look like?' and 'what can we change?' This is the moment the child begins to understand that creative work produces information, not just outcomes.
Keep the first failed print on the shelf beside the first successful one. The comparison is more motivating than any achievement system.
Sharing Your First Print
The most sustainable maker motivation is an audience. A child who has shown their printed keychain to a grandparent, a teacher, or a friend has experienced the full creative loop: idea, production, and reception. This loop is what distinguishes a family maker habit from a passing interest. Build the audience before the first session by telling one person the printer arrived — and by the time the first object is decorated, there is already someone waiting to see it.
For families who have completed their first project and are ready to build the weekly session habit, the AOSEED 3D printers for kids collection shows both current models with guidance on the project ecosystems that accompany each.
Conclusion
One project. The shortest one available. That is how a strong 3D printing family habit begins. The families who try a complex model first learn the same things as the families who try the spinning top first — but the spinning top families learn them after a successful first print, not a failed one. The difference in what the child believes about the printer after session 1 changes everything about whether session 2 happens. Start simple. Succeed once. Then start building from there.
FAQs
What should I 3D print first?
The correct first project is the fastest successfully completed one available. A spinning top (5–10 minutes), a ring whistle (10–15 minutes), or a small token (10–20 minutes) are the right choices for session 1. The goal of the first session is not an impressive object — it is a successfully completed session that establishes the habit and teaches the full sequence: load, start, wait, cool, decorate. The Toy Library's shortest-print-time filter is the correct starting point.
How do you start a 3D printing project?
Six steps in order: (1) Open the app and browse the project library — filter by print time. (2) Select the shortest project available for the first session. (3) Confirm the filament is loaded and sealed. (4) Wipe the build plate with IPA. (5) Press start in the app. (6) Watch the first layer for 3–5 minutes to confirm it is bonding flat. Once the first layer is confirmed, the session can continue without supervision. Set a timer for the print time and prepare decoration supplies before the timer ends.
What is the best material to use for 3D printing for beginners?
PLA — without exception, for every beginner family session. It is non-toxic (plant-based from corn starch), has the lowest shrinkage of any common filament (meaning the least warping and adhesion failures), produces minimal odor at printing temperature, and works correctly at the printer's default settings without manual adjustment. PETG is the correct upgrade after 10+ successful PLA sessions. ABS requires high temperatures, ventilation, and an enclosure — it is not appropriate for family home use with children.
How do I avoid common printing issues?
Three checks before every session: (1) Wipe the build plate with 70%+ IPA — fingerprint oil prevents the first layer from bonding. (2) Confirm the filament was resealed after the last session and the tip is fresh at 45 degrees. (3) Use the default print settings — do not adjust speed or temperature until you have 10 successful sessions establishing a baseline. These three checks take under 3 minutes and prevent the majority of beginner printing failures.
Can I 3D print complex objects on my first try?
You can attempt any model on any session — but the probability of success on session 1 correlates strongly with the simplicity of the project. A spinning top has a near-100% first-session success rate. A detailed dragon with overhangs has a much lower success rate on session 1. The correct approach: build 3 to 5 successful simple sessions first, then attempt the complex model. By session 5, you understand the settings, the plate preparation, and the first-layer confirmation well enough to give the complex model a genuine chance.
How long does a 3D print take?
Print times range from 5 minutes (spinning top) to several hours (multi-part creation kit). For family session planning: Stage 1 projects run 5–30 minutes (ideal for first sessions, school nights, after-dinner sessions). Stage 2 and 3 projects run 30–90 minutes (weekend afternoon sessions). Stage 4+ projects run 1–3 hours per session for multi-part builds. The X-MAKER app displays the estimated print time before starting — use this to choose a project that fits the available session window.
What is the first step in 3D printing?
The first step is choosing a project — not setting up the printer. The project choice defines everything that follows: the session length, the decoration plan, and whether the child will be engaged throughout. Open the app, browse the Toy Library, filter by print time, and choose the shortest available project for session 1. The physical setup steps (plate clean, filament check, start) take under 5 minutes once the project is chosen.
Is 3D printing safe for home use with children?
PLA-based 3D printing in an enclosed printer is safe for home use with children from age 4 and up. PLA is non-toxic, plant-based, and produces minimal odor at printing temperature. An enclosed design (sealed chamber with observation window) physically separates the child from the nozzle, heated bed, and moving parts during printing. The three safety rules that apply to all family sessions: no touching the printer during printing, cool-down confirmation before the child handles the printed object, and parent oversight for all filament loading steps.
Sources
- Snapmaker Blog — 3D Printing Ideas for Beginners, 3D Printing Ideas for Beginners, 2024.
- All3DP — 30 Fun and Easy 3D Prints to Level Up Your Skills After the Benchy, 30 Fun and Easy 3D Prints to Level Up Your Skills After the Benchy, 2025.
- Hobarts — The 25 Great Beginner Projects for Home 3D Printers, The 25 Great Beginner Projects for Home 3D Printers, 2026.
- Instructables — Beginner 3D Printing Projects, Beginner 3D Printing Projects, 2025.
- Qidi3D Blog — 20+ Fun and Practical 3D Printing Projects for Beginners, 20+ Fun and Practical 3D Printing Projects for Beginners, 2025.


You may also like
Further reading

Printable STEM Challenges for Grades 4-6 Using 3D Printing
These printable STEM challenges turn 3D printing into real engineering by adding a problem, rules, testing, and redesign instead of stopping at a finished souvenir.Print a dinosaur and you've made ...

Small Group 3D Printing Activity With One Printer
This small group 3D printing activity shows teachers how to organize teams, rotate jobs, and keep one printer useful for the whole class.
The ratio sounds broken until you stop treating the printer...

Elementary STEM 3D Printing: Simple Projects Teachers Can Actually Run
This elementary STEM 3D printing guide focuses on fast classroom projects, simple routines, and beginner-friendly builds teachers can run in one class period.
the math most elementary teachers face...

Follow-Along 3D Printing Project: Make a Simple Toy
Most beginner 3D printer guides explain how the technology works, then stop. You end up with theory but no finished object. A follow-along project closes that gap. Pick a model. Prepare it. Print i...


