


How to Turn One 3D Printed Toy Activity Into a Full Weekend Plan
Three days. One toy. No trip to the store.
Day one is for choosing the 3D printed toy model, colors, and design details. Day two is for printing, building, and testing the toy through play. Day three is for using the finished 3D printed toy activity in a real game, story, or weekend project. Done with a little structure, a single print can hold a whole weekend without needing anything else.
This guide covers what to print, how to prepare, and how to stretch one 3D printed toy into three days of building, learning, and play — with the safety basics every family and classroom needs before touching a heated nozzle.
How to Turn One 3D Printed Toy Activity Into a Full Weekend Plan

The Three-Day Loop That Actually Works
Most home printers get used once, then sit. The reason isn't the machine — it's the missing structure. Three days changes that.
Day 1 is creative: choose, customize, decide. Day 2 is mechanical: watch it build, assemble, finish. Day 3 is play-led: the toy earns its time. Each stage teaches something the next one uses. Each stage also feels different enough that the same project doesn't feel repeated. The loop is what makes 3D printing stick.
What Kids Pick Up Without Noticing
Pick up an articulated dragon and ask a child why its tail bends one direction. Within thirty seconds they're turning it over, pressing the joints, testing the pivot points. That's a mechanics lesson with no worksheet attached.
Gear sets make force transfer visible the moment a child puts a finger on the small gear and feels the large one turn. Puzzle cubes build spatial reasoning while the child thinks they're just trying to beat their best time. The learning sticks because it's chasing the toy's behavior, not a grade.
The Real Cost of Home Printing
PLA runs $20–$25 per kilogram. A small figurine uses 15–30 grams — roughly $0.30 to $0.75 in material. A gear puzzle costs under $1.50. Most family prints don’t cross $3, even on ambitious builds.
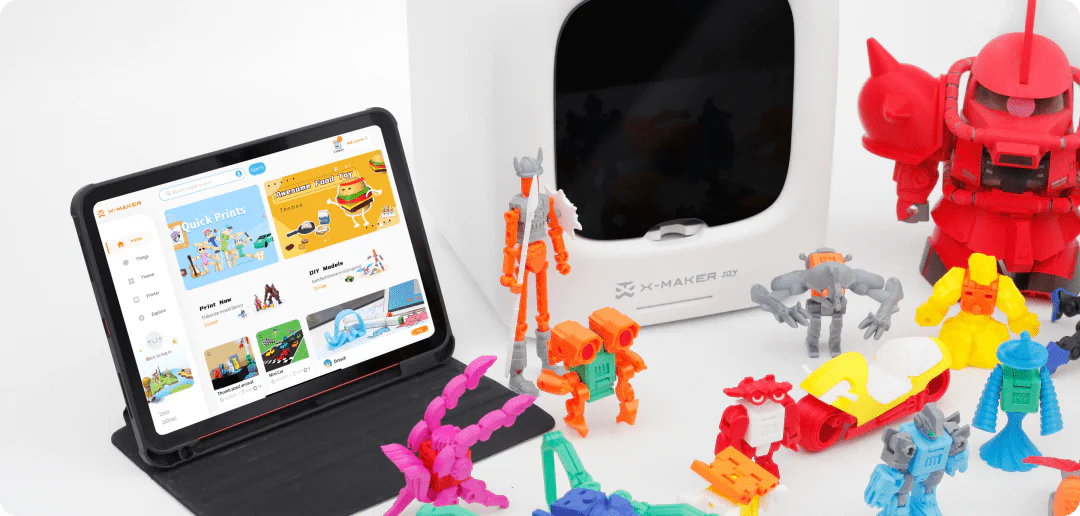
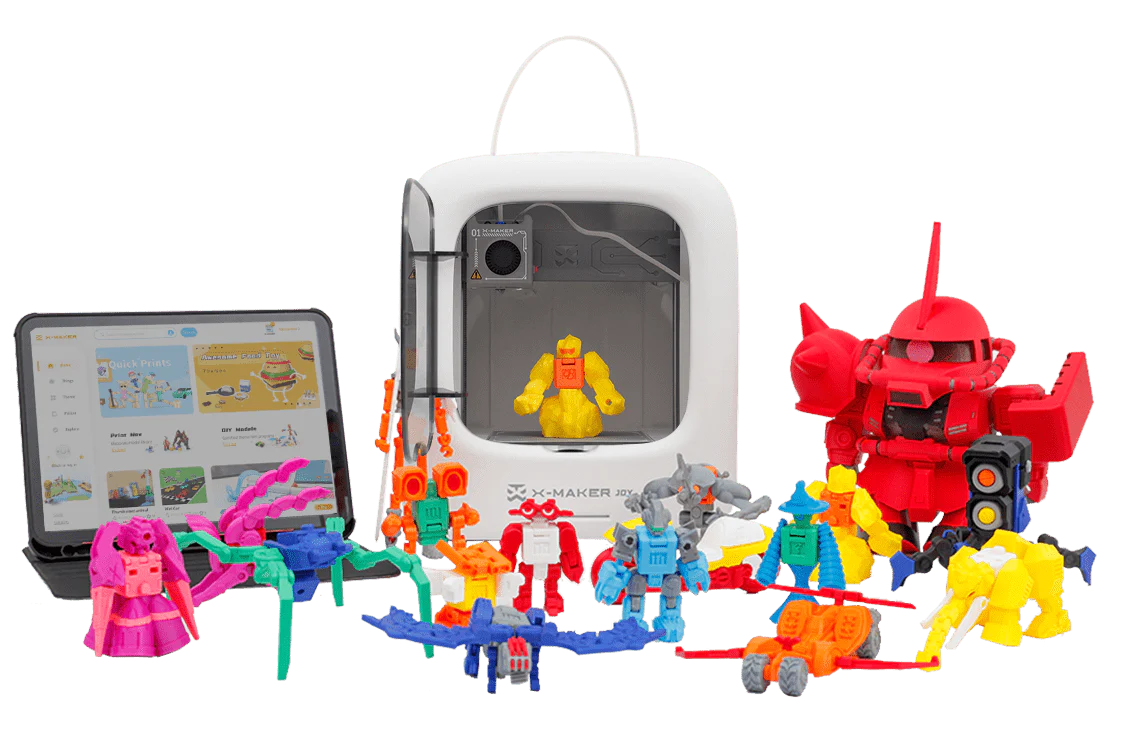
AOSEED’s family creativity platform extends this further with a weekly-updated Toy Library built into the app — so the next project is always ready when one finishes. There’s no blank screen to stare at.
Choosing the Right Toy to Print
Start With a Win, Not a Challenge

For a first or second print, the goal is a finished toy in two to three hours — not a twelve-hour build that fails at layer 400. Spinning tops, fidget cubes, and small animal figurines hit the right target. They print without supports, finish cleanly at standard settings, and look good the first time. A finished toy by noon leaves the afternoon for play.
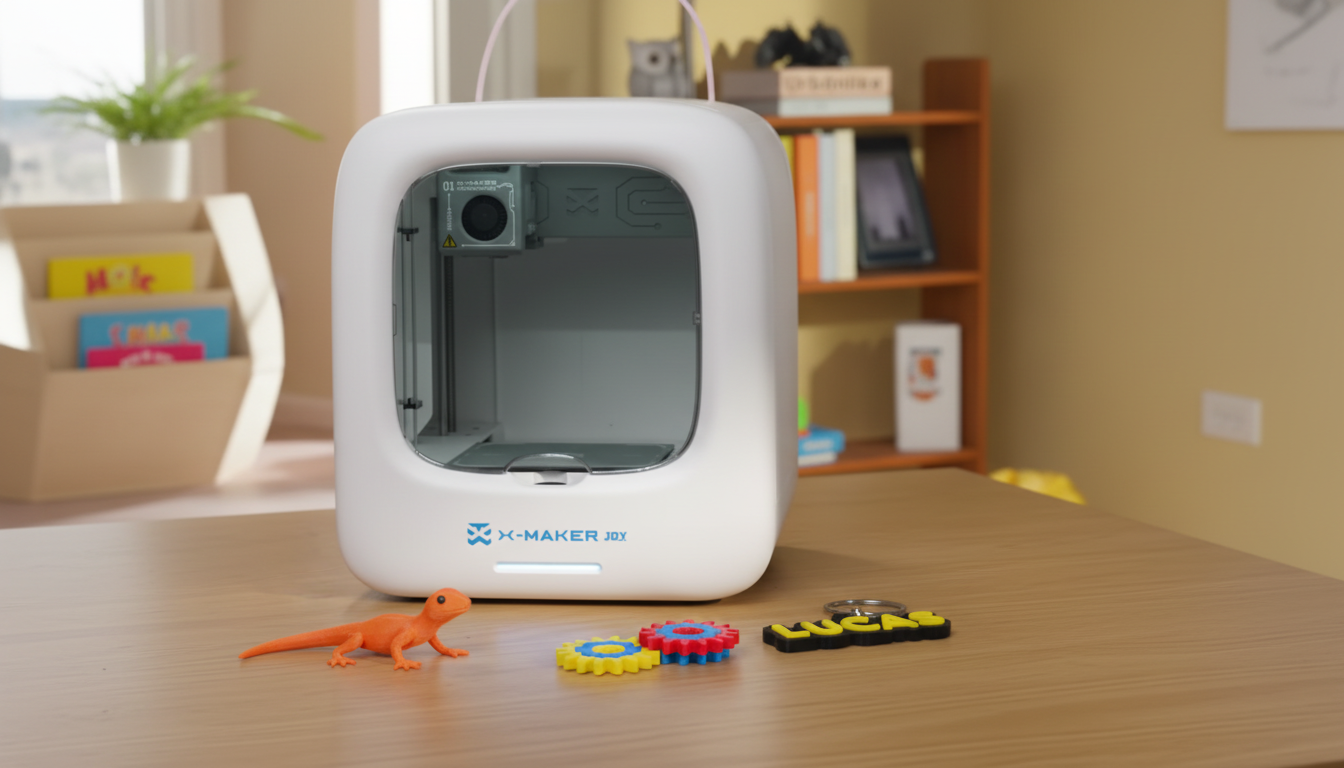
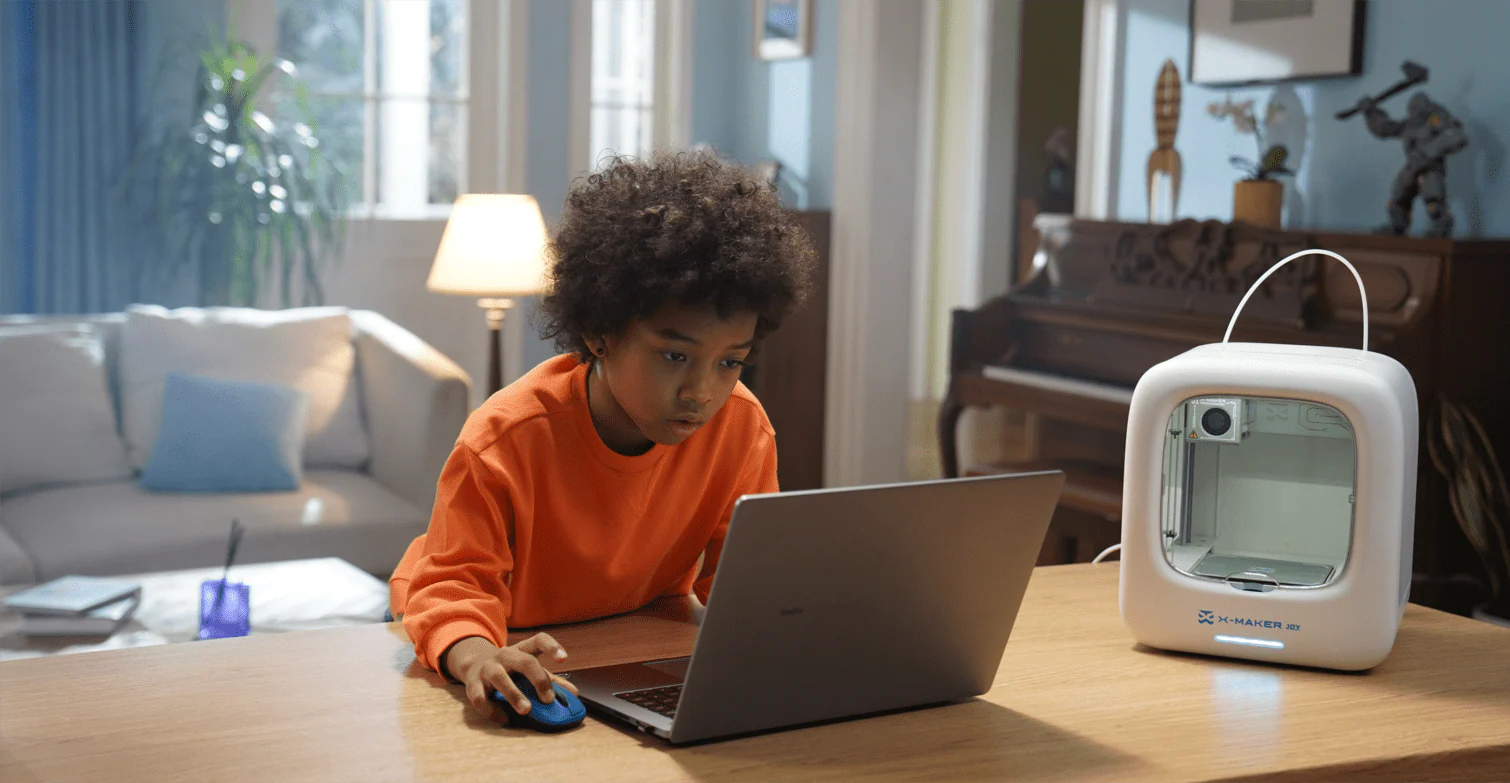
A guided toy-making printer for younger kids like the AOSEED X-MAKER JOY handles most of the setup automatically — one-press printing, app-led model selection, and a Toy Library sorted by age. For community models, beginner-tagged designs on Printables.com consistently deliver the highest first-print success rates.
Articulated Models Hold Attention Longer
Models with moving parts are a different category. An articulated octopus with flexible tentacles invites squeezing, posing, and stress-testing limits. A print-in-place claw comes off the bed already functional — no assembly, no instructions, instant payoff. These designs hold up over time too. A six-year-old plays with the movement; a ten-year-old starts analyzing why it works.
Look for designs tagged ‘print in place’ or ‘no supports.’ They deliver cleaner results and skip the support-removal frustration entirely for beginner printers.
Match the Model to the Child
Complexity should follow attention span, not just age. Here’s a quick reference:
|
Age Group |
Suitable Designs |
Avoid |
|
Under 6 |
Stacking blocks, simple figurines, chunky animals (no small parts) |
Articulation with tiny pins, multi-part kits |
|
Ages 6–9 |
Fidget toys, mini vehicles, small animal figurines |
Builds with many small assembly steps |
|
Ages 10–14 |
Gear sets, modular robots, chess sets, marble run segments |
Nothing — most designs work at this range |
|
14+ |
Full articulated mechanisms, functional print-in-place parts, custom-designed models |
— |
|
SMALL PARTS — CHECK BEFORE PRINTING For children under 3, any part smaller than 1.25 inches is a choking hazard. The CPSC toy safety guidelines apply to 3D printed items exactly as they do to any manufactured toy. Check part dimensions in your slicer before printing for young children. |
Setting Up Before the Weekend Starts

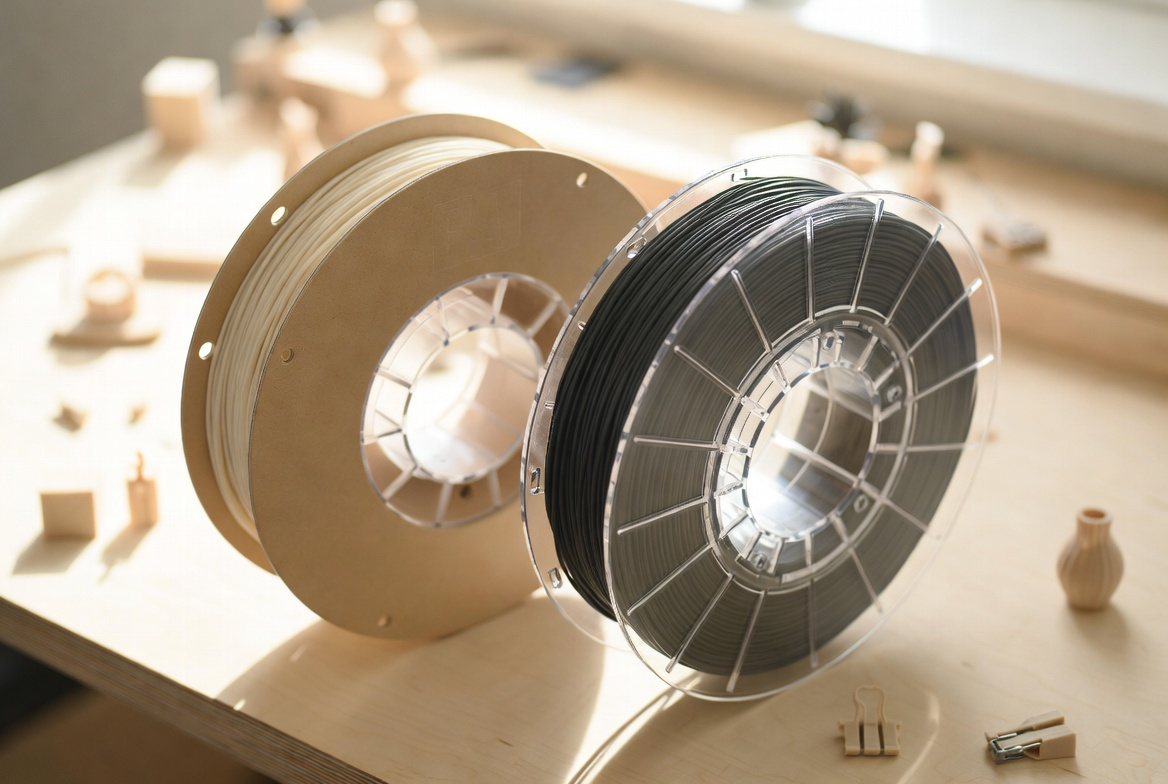
The Right Filament for Kids’ Toys
PLA handles 90% of family toy projects without issues. When it isn’t enough, here’s how the options compare:
|
Filament |
Best For |
Watch Out |
Difficulty |
|
PLA |
Figurines, puzzles, display models, first prints |
Can crack under heavy repeated impact |
Beginner |
|
PETG |
Active-play toys, vehicles, multi-color builds |
Strings slightly without careful retraction tuning |
Intermediate |
|
TPU |
Bendable toys, fidget items, squeezable figures |
Needs slow print speed to avoid tangling |
Intermediate |
|
ABS |
Outdoor builds, water-contact toys |
Emits fumes — enclosed printer with filter required |
Advanced |
Two Settings That Control Most of the Quality
Layer height and infill control how smooth, strong, and play-ready PLA filament for kids’ 3D printed toys will feel. 0.2mm layer height balances detail and speed for most toy prints. Drop to 0.1mm for fine figurine surfaces where texture matters. Infill at 15–20% handles display models; go to 30–40% for anything that takes active handling. Print speed at 40–50mm/s produces cleaner curves than default settings on most beginner machines.
Adjust one setting per failed print. Changing everything at once makes it impossible to know what fixed it.
Workspace and Hot-Part Basics
Flat, stable, dedicated table. Not a folding desk. Not a wheeled cart unless it locks. A printer table that moves when someone walks past is the wrong table.
PLA prints at 190–220°C. The hotend stays hot for ten minutes after the screen reads idle. Children stay out of the build area during and immediately after printing. Adults handle filament loading, stuck prints, and nozzle cleaning — every time.
Schools and families comparing enclosed machines can browse beginner 3D printers for families sorted by age band and enclosure type.
The Three-Day Activity Plan
One 3D printed toy. Three distinct experiences. Each stage teaches something the next one builds on.
Day 1 — Design and Decide

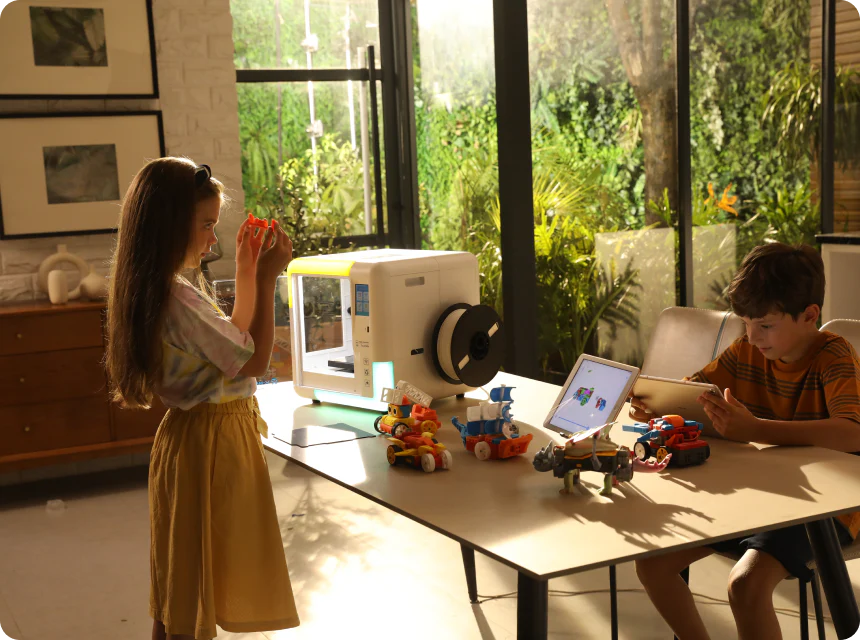
Let the child drive. Browse the model library, pick the design, choose colors. For ages 8 and up, open the AOSEED app and walk through one modification — resize the model, swap a part, add a name plate.
Keep the session to 30–45 minutes for younger children. Decision fatigue is real. End day one with the model queued and ready. The anticipation is part of the activity. For step-by-step project guides, the AOSEED Learning Center covers filament loading, first-layer checks, and print settings by model type.
Day 2 — Print and Build

Start the print in the morning. Check in every thirty minutes — not to monitor the machine, but because watching a toy materialize layer by layer is genuinely interesting. Ask what layer it’s on. Talk about what the extruder is doing.
Let the print cool twenty minutes before handling. PLA at 60°C still deforms under pressure. Remove supports together if the model has them. Light sanding on rough edges — 220-grit, two minutes — makes the toy feel noticeably more finished. For multi-part models: hand the child the pieces and let them figure out the assembly before stepping in.
|
THE ASSEMBLY MOMENT This is when a child stops seeing a printed object and starts seeing their toy. Don’t rush it. Those ten minutes of quiet problem-solving are often the most engaged they get all weekend. |
Day 3 — Play and Push It
Don’t plan the play. Introduce a constraint instead. “Can you build a course for it using what’s on the shelf?” or “What’s the most weight it can carry?” A constraint gives a child something to solve rather than something to consume.
An articulated animal becomes a character. A gear puzzle becomes a timed challenge. A printed vehicle starts a track-building session. The toy is the prop. The play is the point.
Extending Learning Through Play
Mini STEM Experiments
A spinning top demonstrates gyroscopic stability — ask why it stays upright longer when spun faster. A gear set shows force multiplication the moment the large gear turns slower than the small one. Print two versions of the same toy at 10% and 40% infill and drop-test them. Materials science for under $1.50. No worksheet required.
Storytelling and Challenge Formats
A character a child watched materialize layer by layer carries more narrative weight than anything bought off a shelf. Ask: What’s its name? What does it need to solve? Simple printed props — a tiny door, a box, a chair — expand play without permanent clutter.
Rotating challenge formats extends toy life: timed assembly, distance-carry, obstacle course from shelf items. The same toy, different problem every session.
Caring for 3D Printed Toys

Finishing and Storage
Remove supports. Sand rough edges with 220-grit paper. Two minutes. For gifted or displayed toys, a primer coat and hobby paint is an hour of work that transforms a layer-line print into something that looks made. Children 8 and up handle sanding well; painting is fully kid-led.
Store articulated models loosely — not stacked. Sustained pressure on PLA joint points causes deformation over weeks. PETG and ABS handle stacking better. Label bins once the collection hits ten items.
Quick Inspection Checks
Every few weeks: look for stress cracks at joint pivot points, check that small connectors haven’t loosened, run a finger along any edge that contacts a hand. PLA cracks predictably at weak points. Catching a hairline fracture early is simple if you look.
Replace cracked joints — don’t glue. Super glue on PLA rarely holds under play stress. A replacement part prints in twenty minutes.
|
Problem |
Most Likely Cause |
Quick Fix |
Time |
|
Print won’t stick |
Dirty plate, unlevel bed |
IPA wipe + re-level |
5 min |
|
Nozzle clogging |
Wet filament, worn nozzle |
Cold pull, check filament moisture |
10 min |
|
Layers shifting |
Loose belt, bumped printer |
Check tension, clear debris |
5 min |
|
Toy cracking at joint |
PLA stress at pivot point |
Print replacement part |
20 min |
Conclusion
A 3D printed toy weekend isn't about the machine. It's about the loop — design, print, play, and the question a child asks at the end of day three: What can we make next?
That question is the whole point. Not the print quality. Not the layer height. The moment a child starts thinking of the printer as a tool they own rather than a gadget they watched — that's when something shifts.
Most families don't get there because nobody told them the activity needs structure. They unbox the printer, run one print, set it on the shelf, and call it done. Three days fixes that. Day one builds anticipation. Day two builds the toy. Day three builds the habit.
The toys don't have to be complicated. A spinning top that a five-year-old chose the color of will get more daily use than a precision mechanism a parent picked. Ownership starts at the design screen, not the build plate. Let the child decide what gets made — even if the choice surprises you.
Some of the best sessions start with a failed print. A curled corner or a shifted layer is a problem a curious kid will spend twenty minutes trying to understand. That's not a setback. That's the lesson.
AOSEED's family creativity platform is running in over 5,000 schools on exactly that rhythm. The Toy Library updates every week so there's always a next project ready. The Learning Center walks through setup, materials, and troubleshooting in plain language — no manual required.A guided STEM 3D printer for older kids and tweens isn't valuable because of its first print — it's valuable because of its tenth. That's when the routine sticks, the questions get better, and the machine earns its shelf space for good.
Start this weekend. Pick the simplest model in the library. Let your child name it before it exists.
|
THE THREEDAY MINDSET Design it Saturday. Print it Sunday. Play it Monday. A simple 3D printed toy activity that fits every weekend is often the printer kids use most. |
FAQs
What kind of toys can you make with a 3D printer?
Articulated animals, fidget toys, mini vehicles, puzzles, chess sets, action figures, gear sets, and modular builds. Most families start with small figurines and move to multi-part designs within a few sessions.
Practical tip: browse beginner-tagged models on Printables.com for the highest first-print success rate.
Is it safe to play with 3D printed toys?
Yes — PLA is plant-derived, prints without harmful fumes, and is safe for most family use. Sand rough edges and confirm no small parts for children under 3.
Practical tip: print toys for toddlers with solid infill and no detachable pieces. Inspect joints every few weeks.
What are the most fun things to 3D print for kids?
Print-in-place articulated animals, gear sets, spinning tops, fidget cubes, and modular robots. Anything that moves holds a child’s attention longer than a static model.
Practical tip: ‘print in place’ designs come off the bed already working — no assembly frustration.
How long do 3D printed toys last?
PLA toys last months to years with normal handling. Active-play builds last significantly longer in PETG.
Practical tip: print spare joint pieces on the same bed as the toy — replacements print in twenty minutes.
What should you not 3D print for kids?
Avoid small-part designs for children under 3, ABS without proper ventilation, and copyrighted characters for resale. Water-play toys need water-resistant filament — PLA degrades with sustained moisture.
Practical tip: stick to PLA and verified-safe enclosure designs for home and classroom settings.
How much does it cost to run a 3D printer for one hour?
Electricity runs $0.05–$0.15 per hour. Filament adds $0.50–$2.00 per typical toy print. Most family-sized builds cost under $3.00 total in material.
Practical tip: test at a smaller model size before committing filament to a multi-hour build.
How difficult is it to 3D print toys for beginners?
Easier than it looks. Download a model, load it into free slicer software, press start. Most families complete a successful first print their first session.
Practical tip: choose ‘no supports’ models for the cleanest beginner results.
Can you legally sell 3D-printed items?
Original designs are fully legal to sell. Reproducing trademarked characters requires a license. Check local consumer product safety regulations if selling at volume.
Practical tip: unique custom designs have higher resale value and zero IP complications.
Sources
- U.S. Consumer Product Safety Commission — federal toy safety standards and small-parts guidelines for children under 3
- Autodesk Tinkercad — free browser-based 3D design tool for beginners,
- Printables.com — Toys & Games — community-verified STL model library for 3D printed toys and games
- AOSEED Kids 3D Printer Collection — full lineup of enclosed kid-friendly 3D printers sorted by age range


You may also like
X-MAKER JOY:AI-Powered ToyMaker 3D Printer for Kids
AOSEED X-MAKER: Kid-Friendly AI-Powered 3D Printing Revolution
Further reading
Why “Make, Play, Share” Works Better Than Another Passive App
Family Creativity Night: A Simple Weekly Plan for Parents and Kids

Screen-Light Weekend Activities That End With Something Kids Can Hold


